How to Draw a Cartoon Woman: Easy 10-Step Guide
Ready to bring a character to life? This tutorial is perfect for ages 6+ and helps young artists master facial proportions and basic clothing details. All you need is a pencil, an eraser, and a piece of paper to get started.
🎯 Final Result

Step-by-Step Instructions
Step 1: Sketching the Face Shape

Draw a smooth, rounded shape for the chin and cheeks. Teacher's Tip: Keep your pencil pressure light here; you want a soft, gentle curve rather than a sharp point.
Step 2: Adding the First Ear

Draw a 'C' shaped line on the side of the head for the ear, adding a small circle at the bottom for an earring. Tip: Make the earring circle small so it looks like a delicate stud.
Step 3: Balancing the Second Ear

Mirror the first ear on the opposite side of the head. Tip: Use your fingers to measure the distance from the center of the face to ensure both ears are symmetrical.
Step 4: Drawing the Neck

Extend two short, curved lines downward from the base of the head. Tip: Keep these lines parallel to give the neck a sturdy, natural look.
Step 5: Sketching the Shoulders

Draw a curved line extending outward from each side of the neck. Tip: Imagine the slope of a coat hanger to get the right angle for the shoulders.
Step 6: Adding Expressive Eyes

Draw two sets of curved lines for the lids, then add circles for the pupils. Shade the pupils darkly. Tip: Add a tiny white dot inside the pupil to create a 'sparkle' effect, making the character look more alive.
Step 7: Nose and Smile
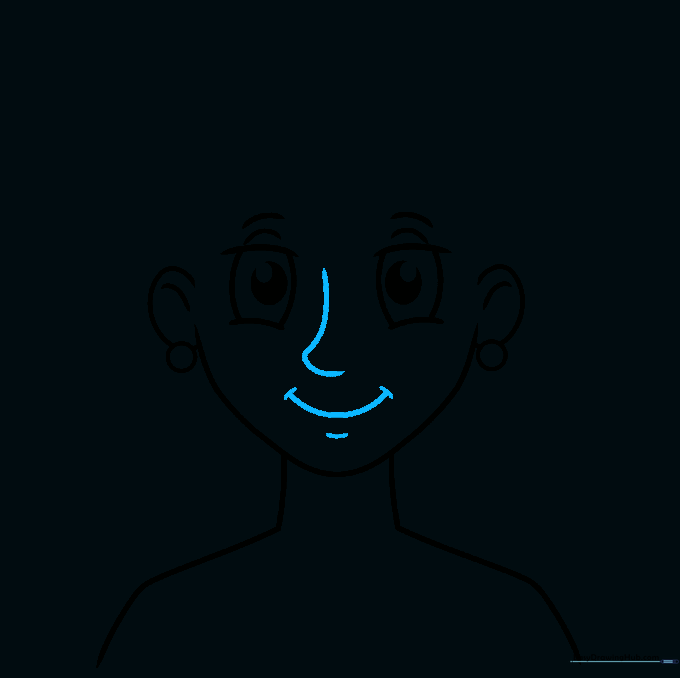
Draw a small curved line for the nose and a wide 'U' shape for the mouth. Tip: Add tiny curves at the corners of the mouth to make her smile look warm and genuine.
Step 8: Styling the Hair

Use long, flowing curved lines to frame the face with hair. Tip: Vary the length of your strokes to make the hair look more natural and less like a solid block.
Step 9: Adding Clothing Details
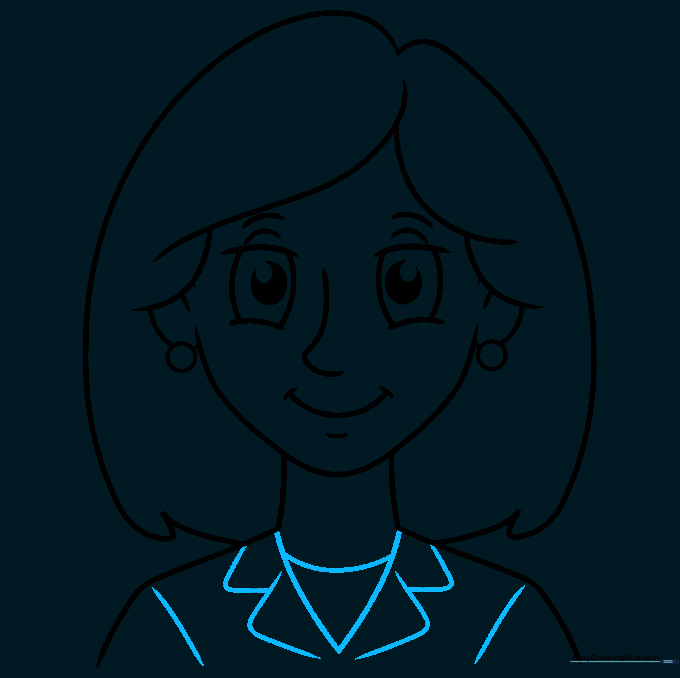
Draw a 'V' shape at the neck to create a collar, and add lines on the shoulders for the jacket sleeves. Tip: Use short, overlapping lines to suggest the fabric folds of the collar.
Step 10: Adding Color

Bring your character to life with color! Choose your favorite shades for her hair, eyes, and outfit. Tip: Use light pressure for skin tones and darker, bolder colors for the clothes to create contrast.
More Tutorials


