How to Draw a Cartoon Velociraptor: Easy 10-Step Guide
Ready to bring a prehistoric predator to life? This tutorial is perfect for young artists ages 6+ who want to master dinosaur anatomy. Grab your pencil, eraser, and paper, and follow these simple steps to build your own cartoon velociraptor from the ground up.
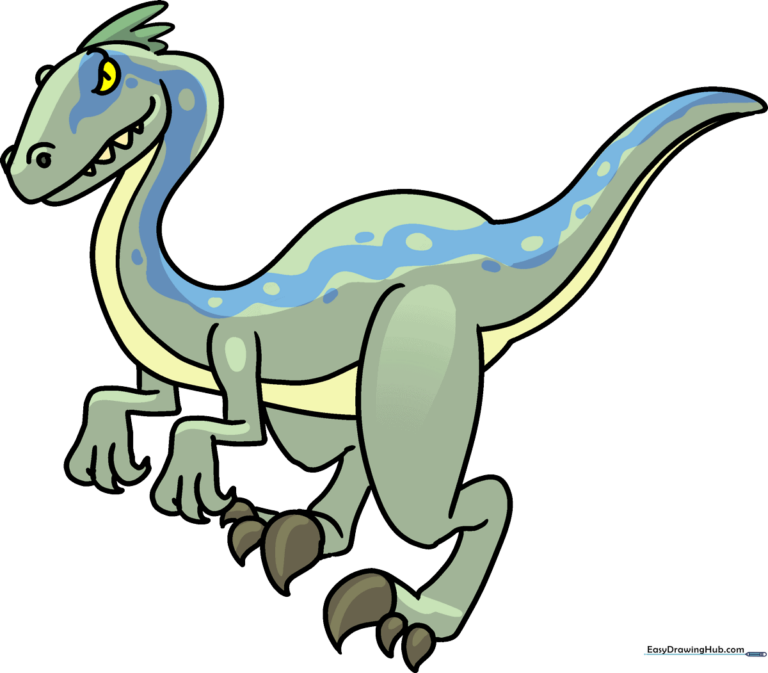
🎯 Final Result
Step-by-Step Instructions
Step 1: Sketching the Head Shape

Draw an irregular, open oval shape using light, overlapping curved lines. Teacher's Tip: Keep your pencil strokes very faint here; the overlap at the bottom will eventually become the open mouth, so you'll want to erase the extra lines later.
Step 2: Adding Facial Features

Add a curved line for the mouth, sharp triangles for teeth, and an upside-down teardrop for the eye. Teacher's Tip: Add small 'U' shapes on the back of the head to represent feathers—velociraptors were actually feathered dinosaurs!
Step 3: Defining the Neck and Body
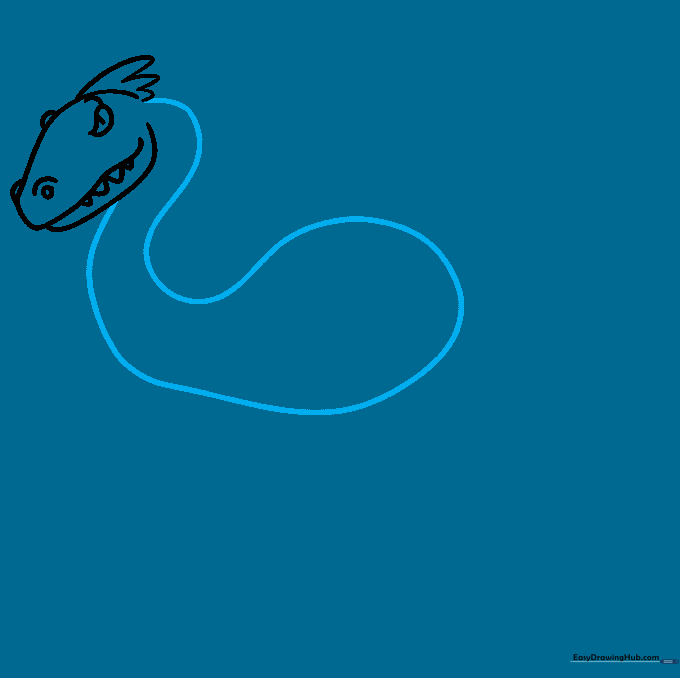
Extend a long, smooth curved line from the back of the head to create the neck and back. Teacher's Tip: Use a fluid, continuous motion for the neck to make your raptor look agile and ready to pounce.
Step 4: Sketching the Tail
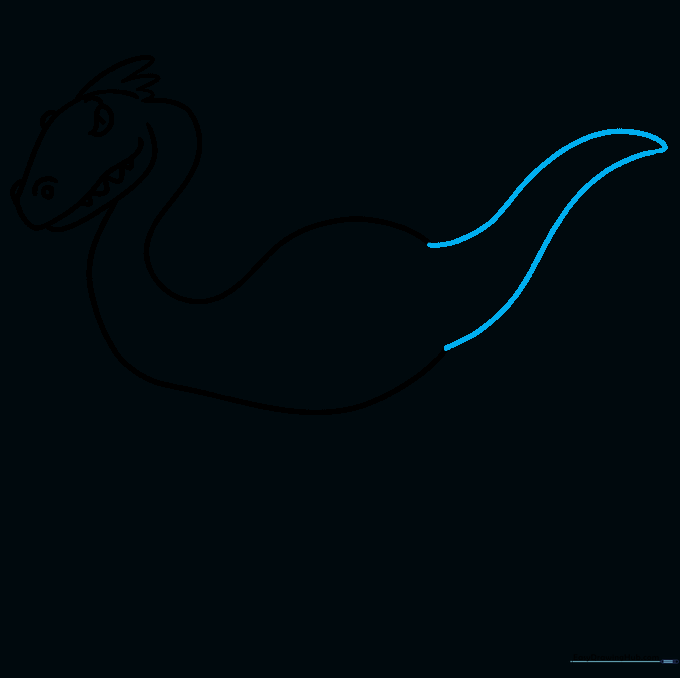
Extend two curved lines from the body, tapering them to a gentle point. Teacher's Tip: Don't worry if it's not perfect on the first try; use your eraser to soften the curve so the tail looks like a natural extension of the spine.
Step 5: Connecting the Underbelly

Draw a long, sweeping curved line from the chin down to the tail. Teacher's Tip: This line defines the raptor's posture, so keep it slightly rounded to give your dinosaur a friendly, cartoonish look.
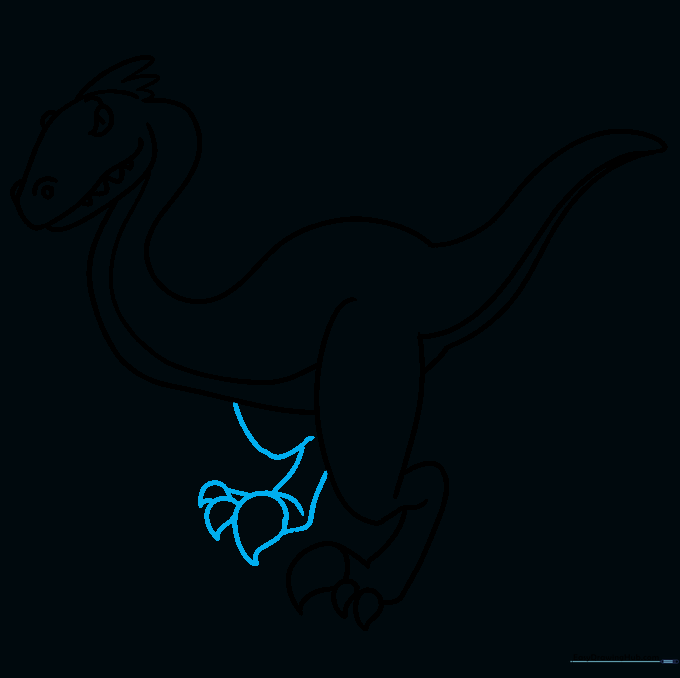
Step 6: Drawing the First Leg
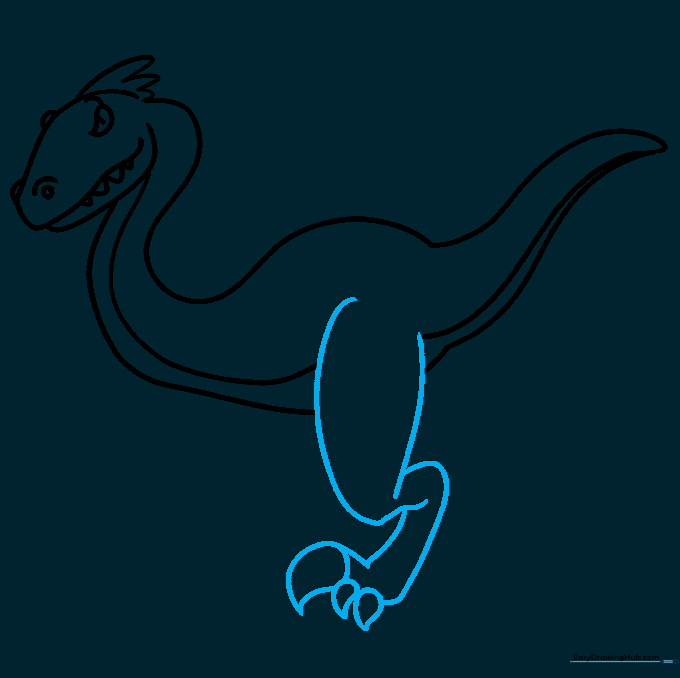
Sketch the upper and lower leg segments, finishing with teardrop-shaped claws. Teacher's Tip: Remember to include that iconic, large sickle-shaped claw on the foot—it's the velociraptor's signature feature!
Step 7: Adding the Second Leg
Draw the remaining leg slightly behind the first one to create depth. Teacher's Tip: By drawing the second leg partially hidden, you create a sense of perspective, making your drawing look more professional.
Step 8: Sketching the Forearm
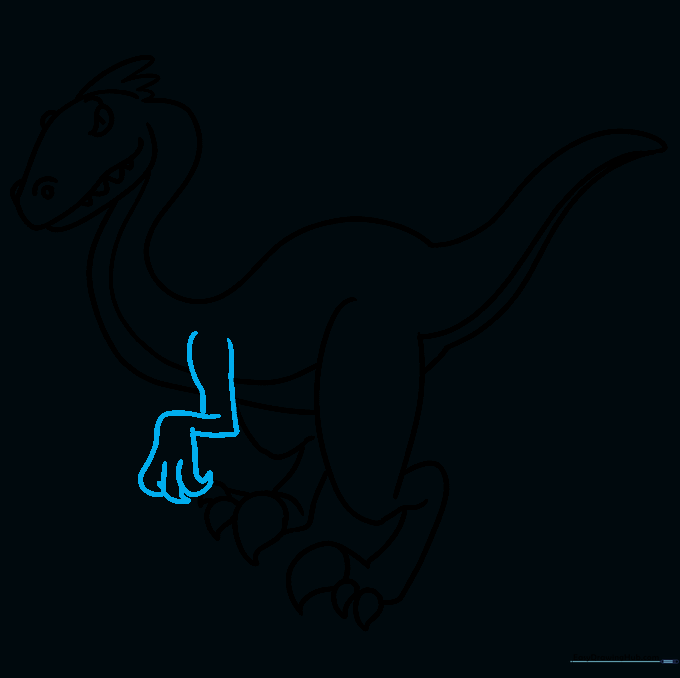
Draw the forearm using pairs of lines to show the elbow and finger joints. Teacher's Tip: Keep the arms small; velociraptors had short, nimble arms compared to their powerful legs.
Step 9: Finalizing the Arms
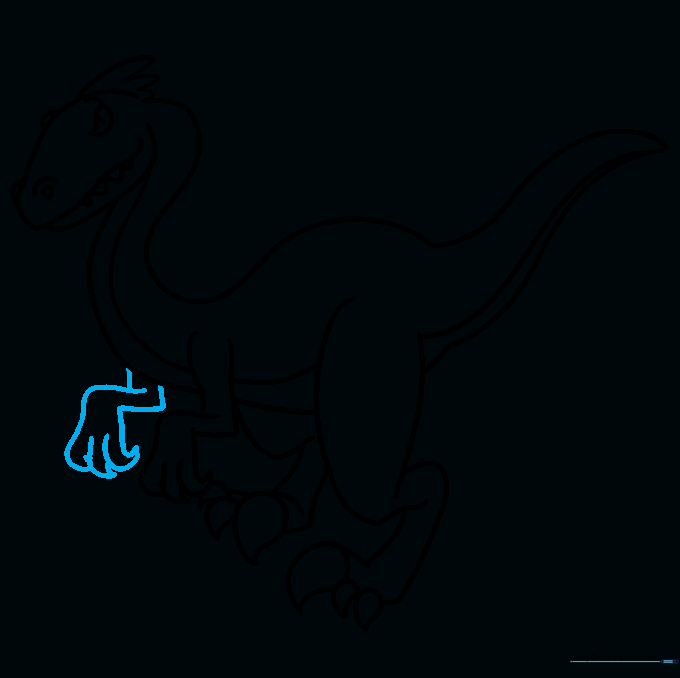
Sketch the remaining forearm and claws to complete the body outline. Teacher's Tip: Use short, quick strokes for the claws to make them look sharp and defined.
Step 10: Bringing it to Life with Color
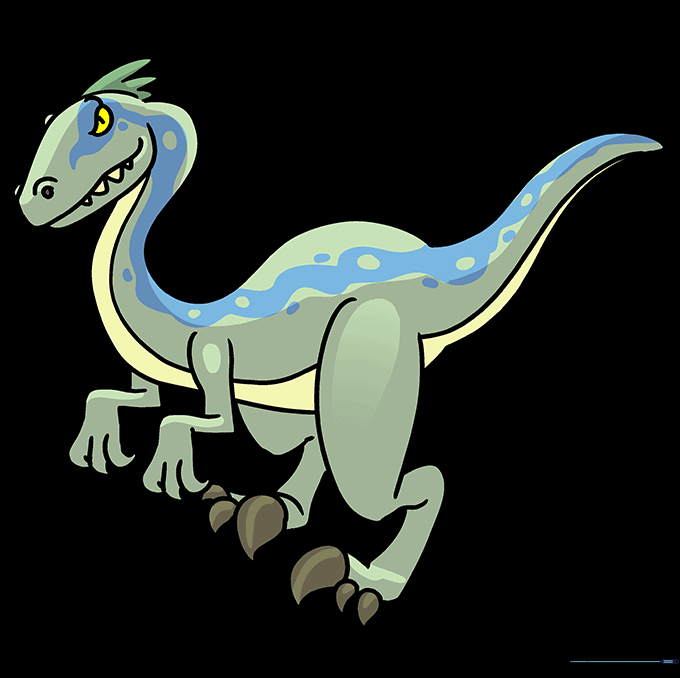
Time to color! Since we don't know the exact colors of dinosaurs, feel free to use bright greens, oranges, or even patterns. Teacher's Tip: Use a darker shade for the shadows under the belly to give your drawing a 3D effect.
More Tutorials


