How to Draw a Cartoon Snowflake: Easy 10-Step Guide
Bring a touch of winter magic to your sketchbook with this friendly cartoon snowflake! Designed for artists ages 5 and up, this project uses basic geometric shapes to build a character that is as fun to draw as it is to color. Grab your pencil and eraser—we’ll be creating a symmetrical masterpiece in just a few minutes.
🎯 Final Result

Step-by-Step Instructions
Step 1: Sketching the Hexagon Base
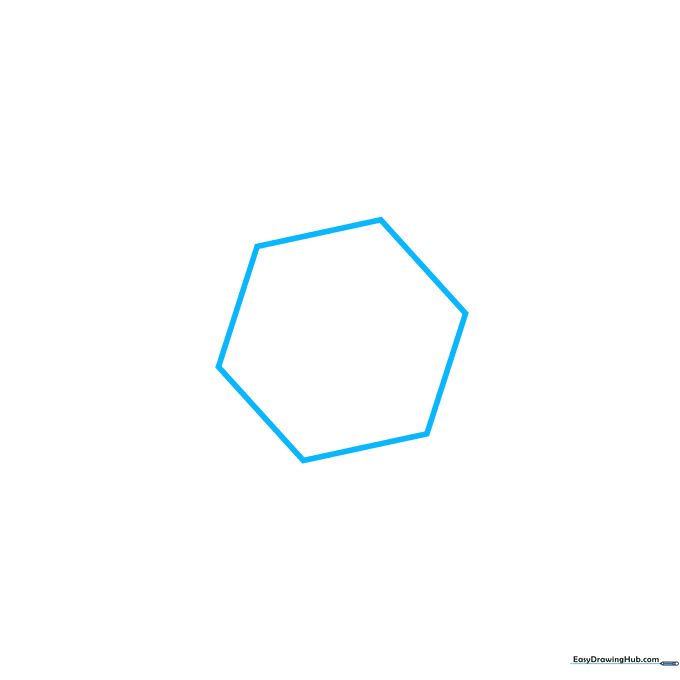
Start by drawing a light hexagon in the center of your page. Teacher’s Tip: Keep your pencil strokes very faint here; this shape acts as our guide and will be erased later, so don't press too hard!
Step 2: Adding the Expressive Face
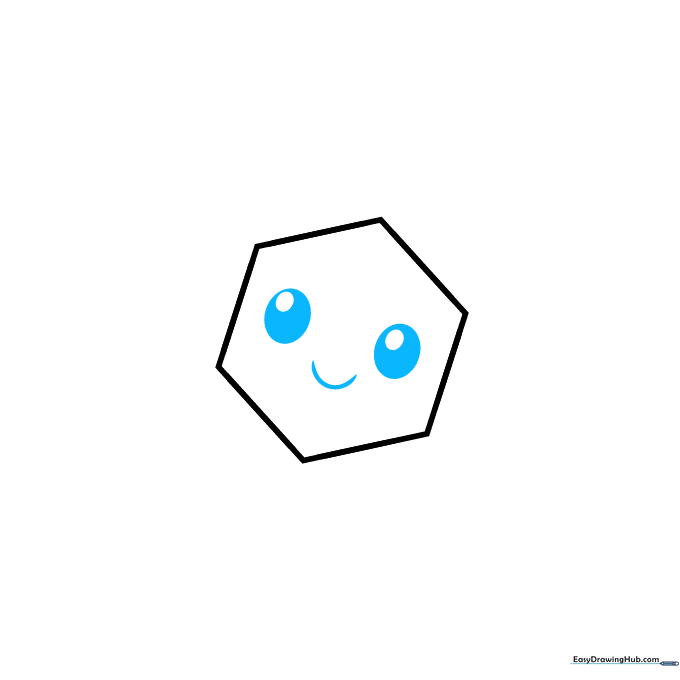
Inside the hexagon, draw two ovals for eyes with smaller circles inside for pupils. Add a gentle 'U' shaped curve below them for a happy smile. Tip: Centering the face helps the snowflake look balanced and friendly.
Step 3: Defining the First Arm
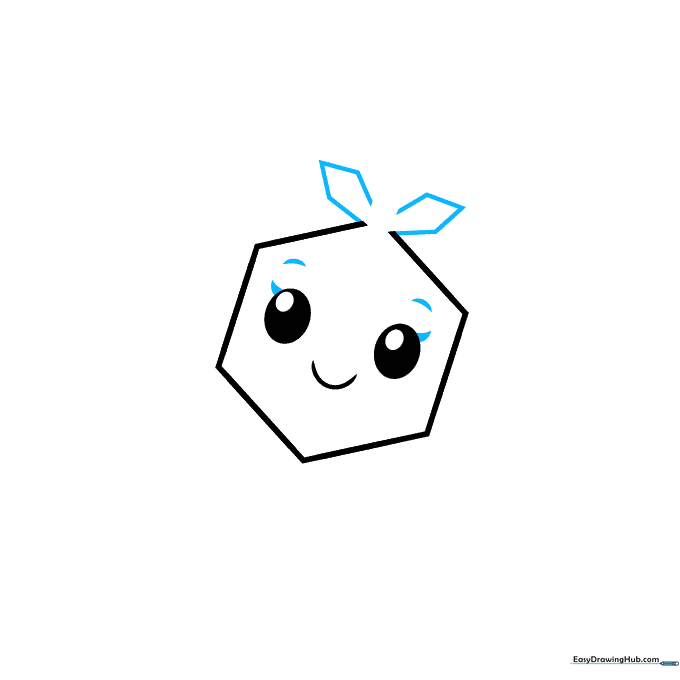
Add eyelashes and eyebrows to give your snowflake personality. Now, erase the top point of the hexagon and draw two angled lines to start the first snowflake arm. Tip: Use a ruler if you struggle with straight lines, but freehand adds a nice, organic feel.
Step 4: Expanding the Symmetry
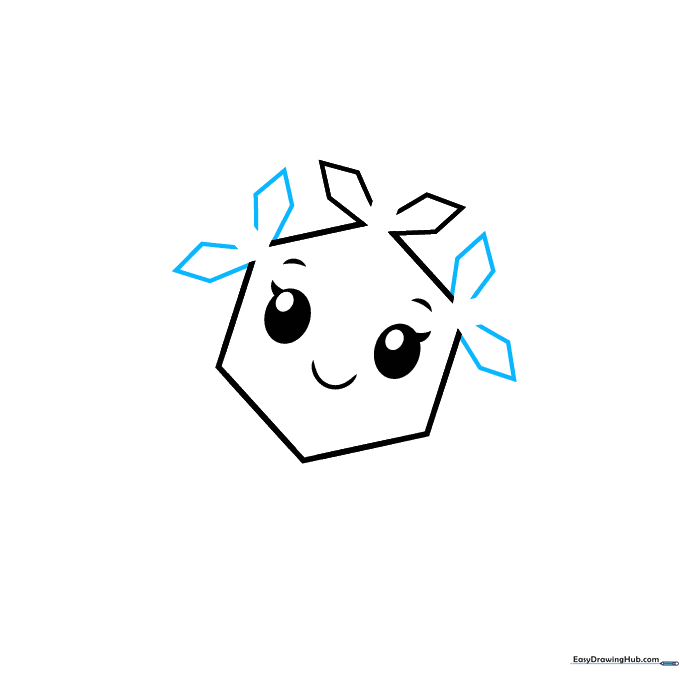
Erase two more points of the hexagon and repeat the diamond-arm process on the sides. Tip: Try to keep the arms the same length to maintain that classic, beautiful snowflake symmetry.
Step 5: Completing the Base Arms
Erase the remaining hexagon points and finish the primary arms. Tip: If your eraser leaves smudges, gently brush them away with a clean cloth before continuing.
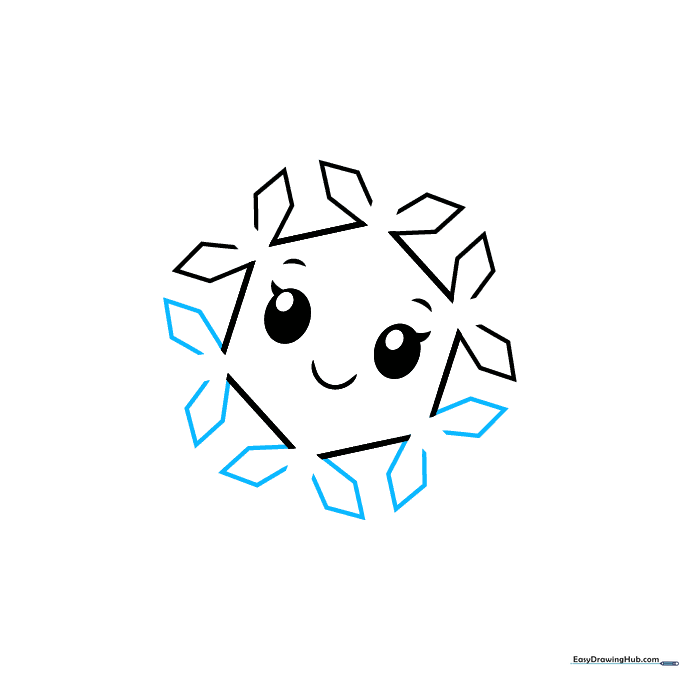
Step 6: Adding Crystal Detail

Extend parallel lines from the openings between your diamonds. This makes your snowflake look like it's growing! Tip: Think of these as the 'branches' of your crystal.
Step 7: Building the Crystal Tips

Add more incomplete diamond shapes to the ends of your new branches. Tip: Keep your lines sharp and confident for a crisp, icy look.
Step 8: Finalizing the Structure
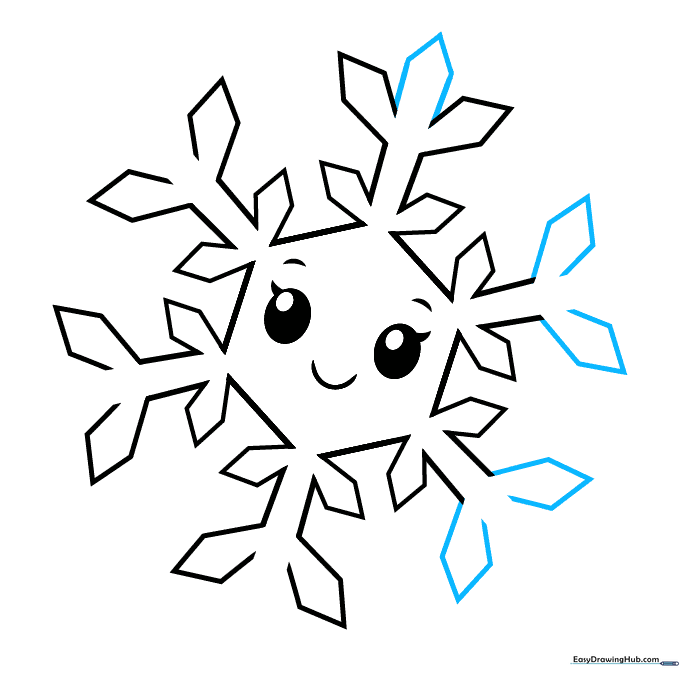
Continue adding diamond shapes to all remaining branches and cap the top with a pentagon. Tip: Don't worry if they aren't perfect; real snowflakes are unique, and so is your drawing!
Step 9: Refining the Outline
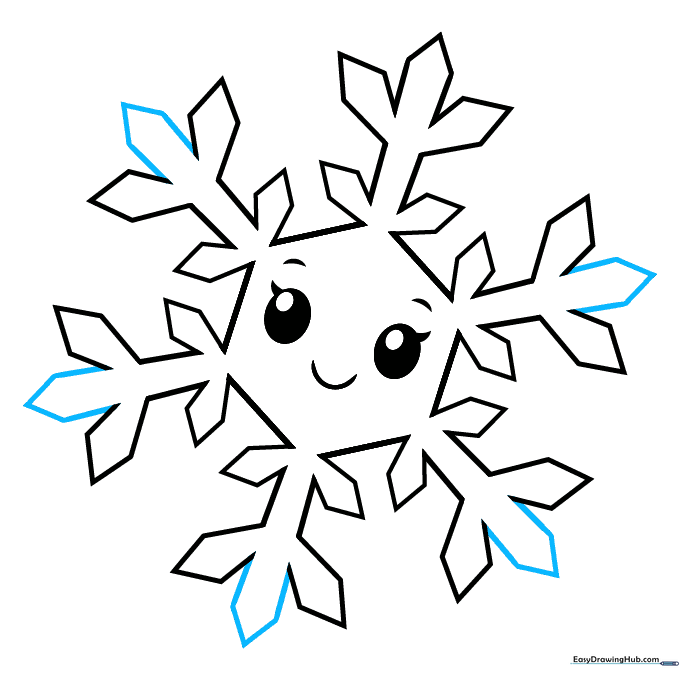
Clean up your drawing by darkening the final lines. Use four straight lines to finish the pentagon caps at the tip of each arm. Tip: Use a fine-liner pen to make your drawing pop before coloring.
Step 10: Adding Color

Bring your snowflake to life! Use cool blues and purples to shade the edges, or keep it crisp white. Tip: Try adding a touch of glitter or light blue pencil shading to give it that icy, magical sparkle.
More Tutorials


