How to Draw a Cartoon Seahorse: Easy 10-Step Guide
Bring the magic of the ocean to your sketchbook with this friendly cartoon seahorse tutorial. Designed for young artists and beginners, this project uses basic shapes to build confidence and coordination. Grab your pencil and eraser—let’s dive into some creative fun!
🎯 Final Result

Step-by-Step Instructions
Step 1: Sketching the Eye

Start by drawing the eye. Create two short, curved lines for the upper and lower lids, then connect them with a partial oval. Teacher's Tip: Keep the eye relatively large to give your seahorse a cute, expressive personality.
Step 2: Adding the Pupil and Brow
Draw a smaller oval inside the eye and shade it in to create the pupil. Add two curved lines above the eye for the brow. Teacher's Tip: Leaving a tiny white dot unshaded inside the pupil makes the eye look shiny and alive.
Step 3: Shaping the Head and Snout

Draw a long, smooth curved line around the eye to form the head. Double it back at the front to create the snout and a happy, smiling mouth. Teacher's Tip: Use a fluid motion for the head shape to keep it looking organic and soft.
Step 4: Creating the Belly and Tail

Add a curved line for the lower jaw, then extend a long, graceful spiral line downward to form the belly and the curled tail. Teacher's Tip: Imagine you are drawing a question mark shape to get the curve of the tail just right.
Step 5: Closing the Body and Starting the Fin

Connect the back of the head to the tip of the tail to close the body. Then, draw two short lines that meet at a point on the back to begin the dorsal fin. Teacher's Tip: Keep your pencil pressure light here so you can adjust the fin shape if needed.
Step 6: Refining the Dorsal Fin

Continue the dorsal fin along the back using small, pointed, curved lines. Notice how the lines become shorter as they reach the bottom. Teacher's Tip: Think of these as little waves or triangles to keep the spacing consistent.
Step 7: Adding the Back Fin

Draw a second fin in the middle of the back using a series of connected 'U' shapes to create a scalloped, decorative edge. Teacher's Tip: This adds a nice texture contrast to the smooth body of the seahorse.
Step 8: Texturing the Fins
Add depth to your fins by drawing small, curved lines inside them. Teacher's Tip: These lines represent the delicate rays of the fin, so keep them light and spaced evenly.
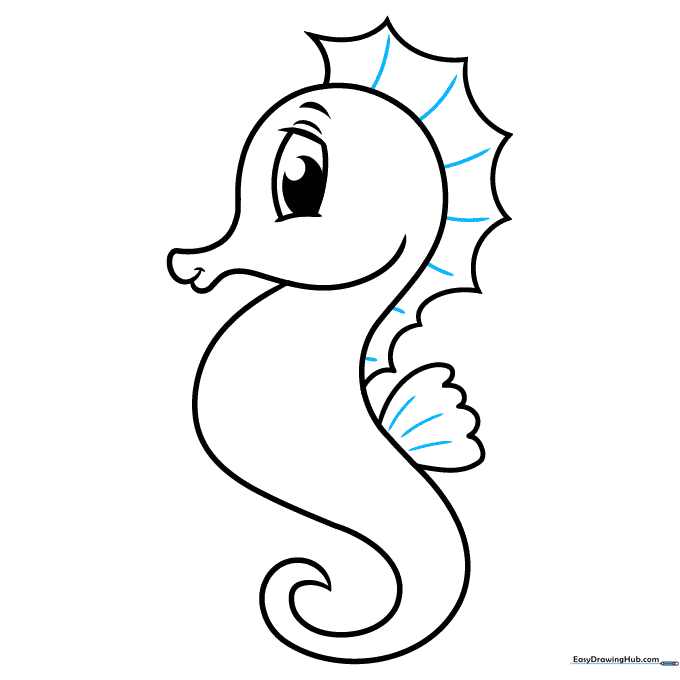
Step 9: Finalizing the Body Details
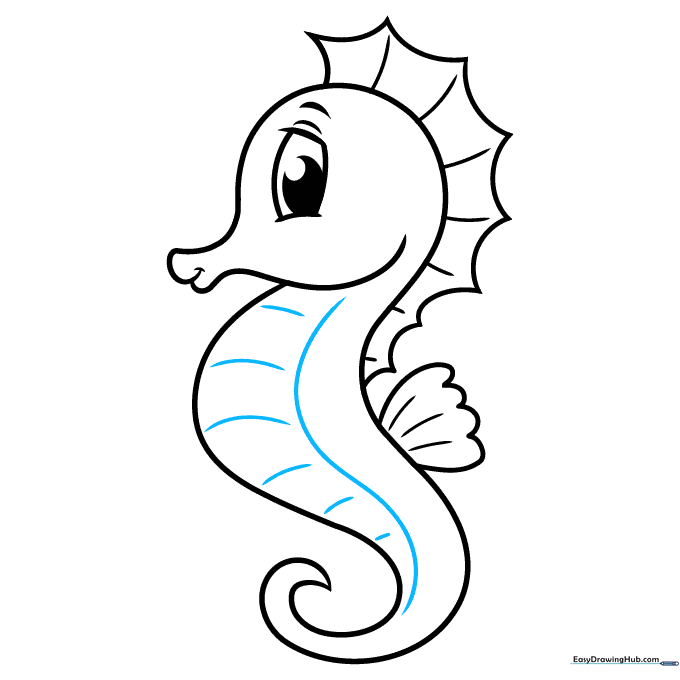
Draw a long curved line running parallel to the belly, then add horizontal curved lines across the belly area. Teacher's Tip: These lines give the seahorse its characteristic segmented, armored look.
Step 10: Bringing Your Seahorse to Life with Color
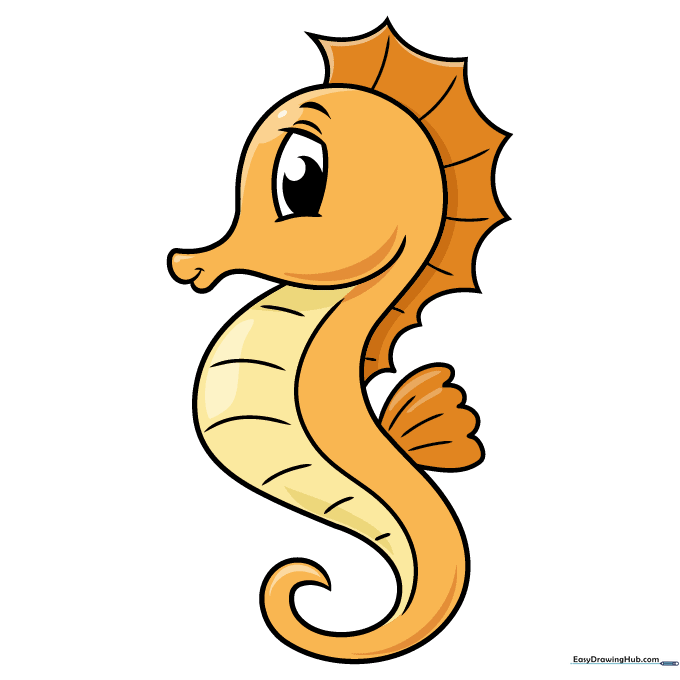
Your outline is complete! Now, add color. Seahorses are vibrant creatures—try using bright yellows, oranges, or even soft greens. Teacher's Tip: Use a darker shade of your chosen color near the edges to give your drawing a 3D effect.
More Tutorials


