How to Draw a Cute Cartoon Sea Otter: Easy 10-Step Guide
Looking for a fun, creative activity? This sea otter tutorial is perfect for young artists ages 5 and up. All you need is a pencil, paper, and an eraser to bring this playful ocean friend to life while practicing basic shapes and line control.
🎯 Final Result

Step-by-Step Instructions
Step 1: Sketching the Expressive Face

Start by drawing two half-oval shapes for the eyes. Inside each, add a smaller circle and shade it in to create a bright, curious pupil. Add a small inverted triangle for the nose and a rounded 'W' shape below it for the mouth. Teacher's Tip: Keep the eyes symmetrical to give your otter a friendly, balanced look.
Step 2: Adding the Mouth and Whiskers
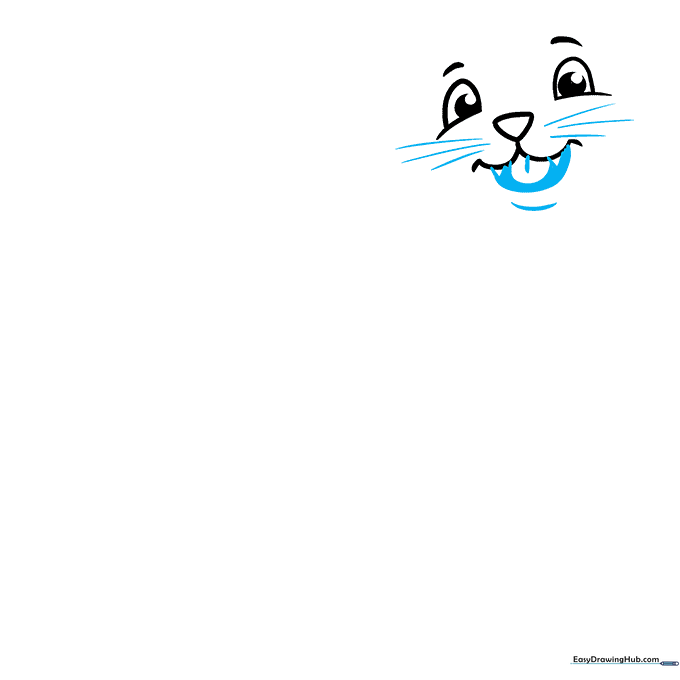
Connect the mouth lines to show a happy expression, adding a small tongue inside. Draw three quick, flicking lines on each side of the nose for whiskers. Teacher's Tip: Use a light touch for the whiskers so they look delicate, like real fur.
Step 3: Defining the Head and Ears

Draw a smooth, long curve to outline the head. Add two 'C' shaped ears on the sides. Teacher's Tip: Think of the head shape like a soft, rounded bean to keep it looking cute and cartoonish.
Step 4: Starting the Arms
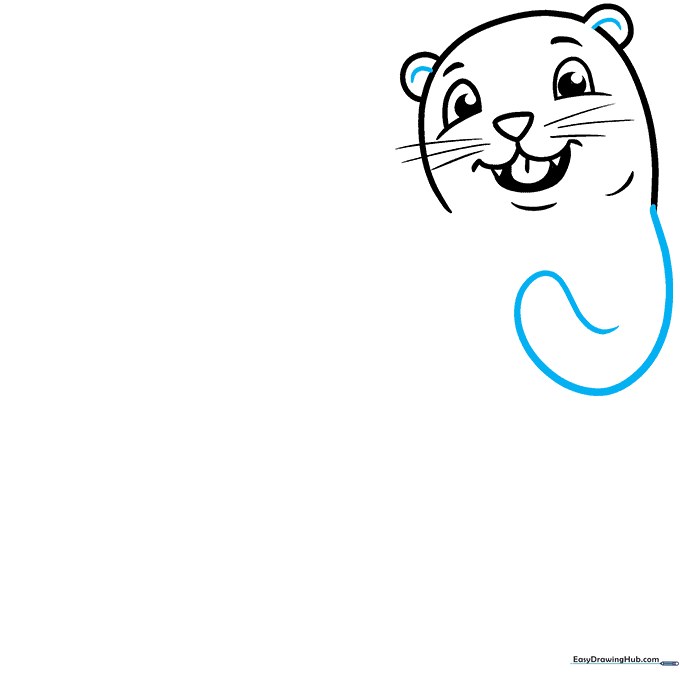
Add small curved lines inside the ears for depth. Then, extend a line from the head to create the first arm, doubling it back to show the paw. Teacher's Tip: Keep the arm shape rounded to make the otter look cuddly.
Step 5: Forming the Torso

Draw the shoulder and the second arm, then continue the line down to form the side of the body. Teacher's Tip: Imagine the otter is floating on its back; keep the body lines soft and flowing.
Step 6: Adding the Clam Rock

Draw a small oval between the paws to represent the rock otters use to crack shells. Add tiny lines on the paws for toes. Teacher's Tip: This is a fun detail—you could change the rock to a seashell or a starfish!
Step 7: Drawing the Tail
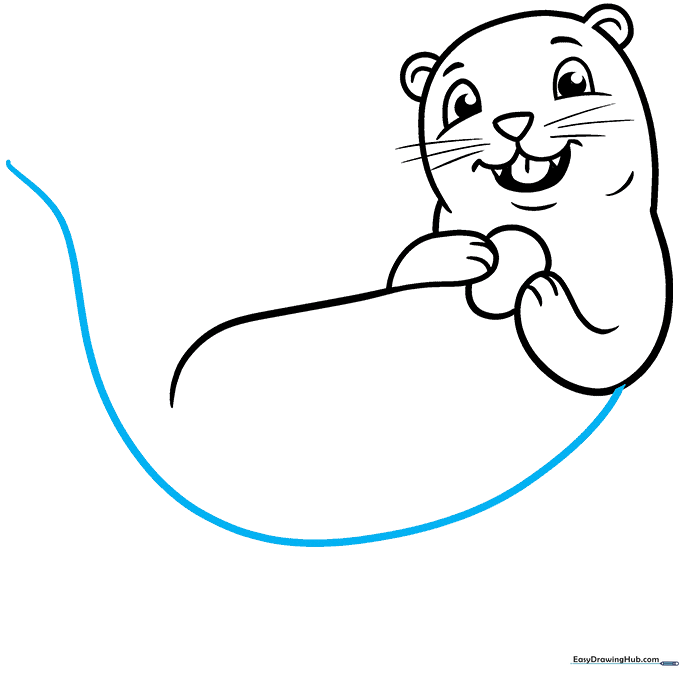
Extend a long, graceful curved line from the elbow down to the tip of the tail. Teacher's Tip: Make the tail wide and paddle-shaped, as this helps the otter swim.
Step 8: Completing the Tail and Hind Leg
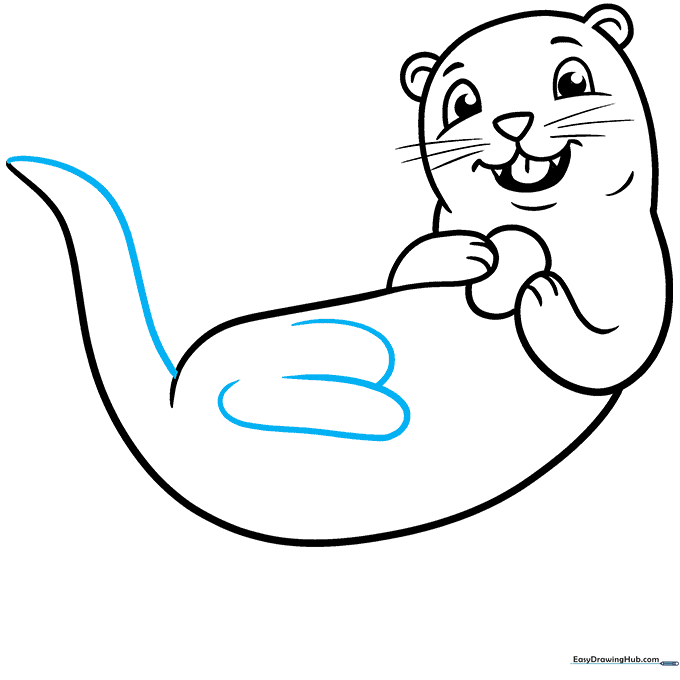
Close the tail shape and draw the back leg using overlapping curves. Teacher's Tip: Overlapping lines create the illusion of depth, making your drawing look more 3D.
Step 9: Finalizing the Feet
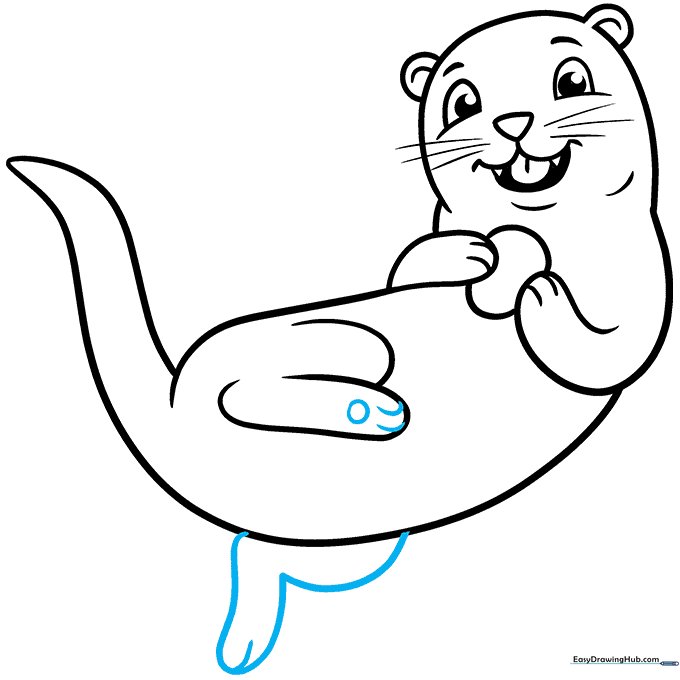
Draw the final leg and foot with a rounded pad on the bottom. Add small lines for toes. Teacher's Tip: Ensure the foot looks webbed to match the anatomy of a real sea otter.
Step 10: Adding Color

Time to bring your otter to life! Use shades of brown for the fur, keeping the belly a lighter shade. You can also use gray if you prefer. Teacher's Tip: Use light, circular motions with your colored pencils to create a soft, fuzzy texture.
More Tutorials


