How to Draw a Cartoon Santa Claus: Easy 9-Step Guide
Bring the holiday spirit to life with this fun, screen-free drawing activity perfect for artists ages 5 and up. You will need a pencil, an eraser, and your favorite markers or crayons to complete this festive character. Follow along to develop your spatial awareness and confidence in drawing expressive cartoon faces.
🎯 Final Result

Step-by-Step Instructions
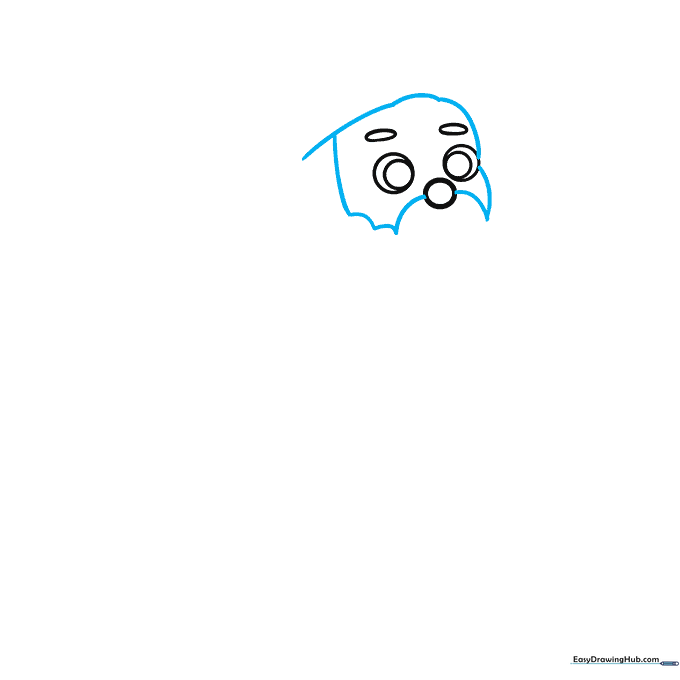
Step 1: Sketching the Face

Start by drawing a small circle for the nose and two circles for the eyes. Add flattened ovals above the eyes for the eyebrows. Teacher's Tip: Keep the eyes close to the nose to give Santa a friendly, focused expression.
Step 2: Defining the Beard Outline
Use short, connected curved lines to outline the face and beard. Tip: Use a 'bumpy' motion with your pencil to make the beard look soft and fluffy rather than stiff.
Step 3: Adding Facial Features
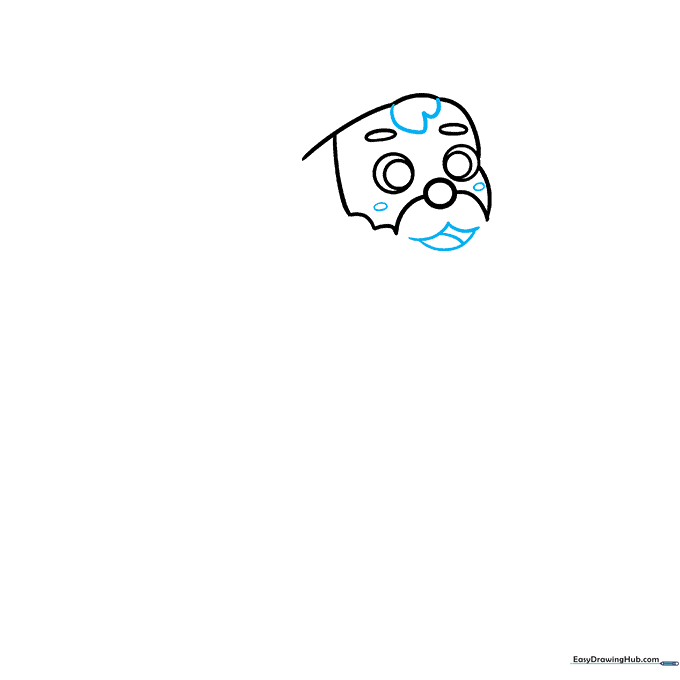
Draw a tuft of hair on the forehead, a mustache, and a small tongue inside the mouth. Add small ovals on the cheeks for a rosy glow. Tip: Keep the mouth small to maintain the 'cartoon' style.
Step 4: Sketching the Hat
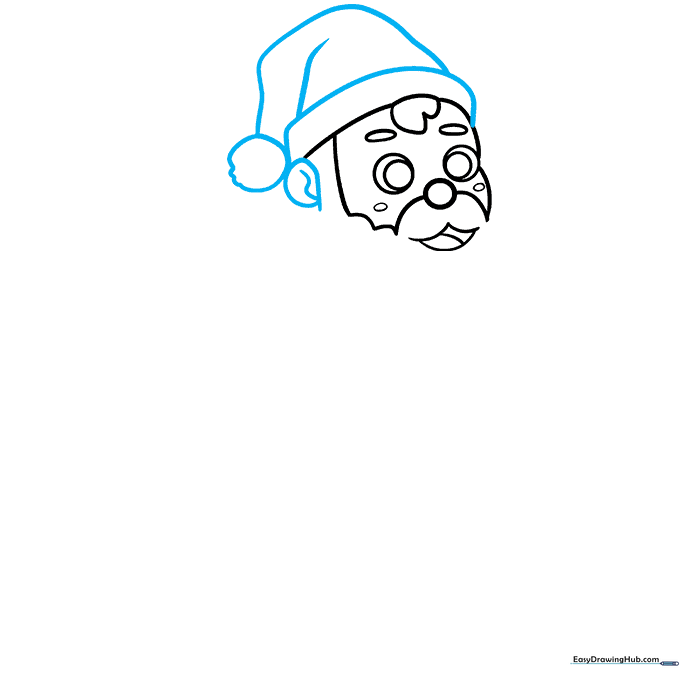
Draw the hat band, the triangular top, and a pom-pom at the tip. Add a small ear on the side. Tip: The pom-pom should look like a slightly irregular circle to appear soft.
Step 5: Drawing the Arm and Sack
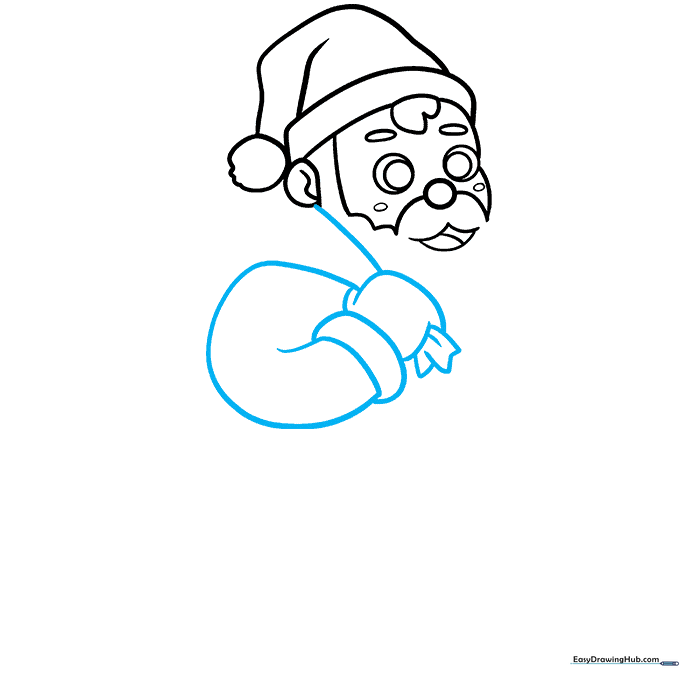
Sketch the bent arm, the sleeve cuff, the mitten, and the top of a toy sack. Tip: Use a 'C' shape for the mitten to make it look like a simple glove.
Step 6: Completing the Sack and Beard
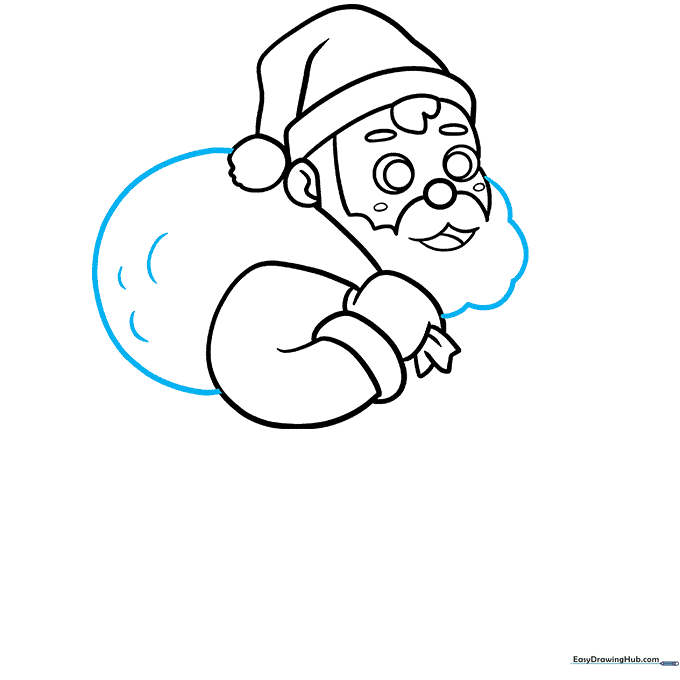
Finish the sack with curved lines to show volume, and complete the cloud-like beard. Tip: Vary the size of your curves to make the beard look natural and full.
Step 7: Adding the Belt
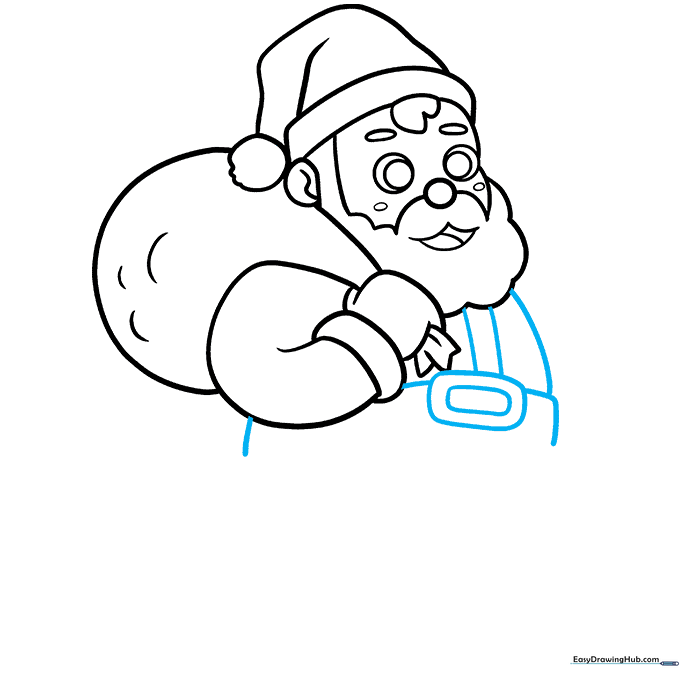
Draw a rounded rectangle for the belt buckle in the center of the torso. Connect it to the sides of the coat. Tip: Make the buckle slightly wider than it is tall for a classic look.
Step 8: Detailing the Coat
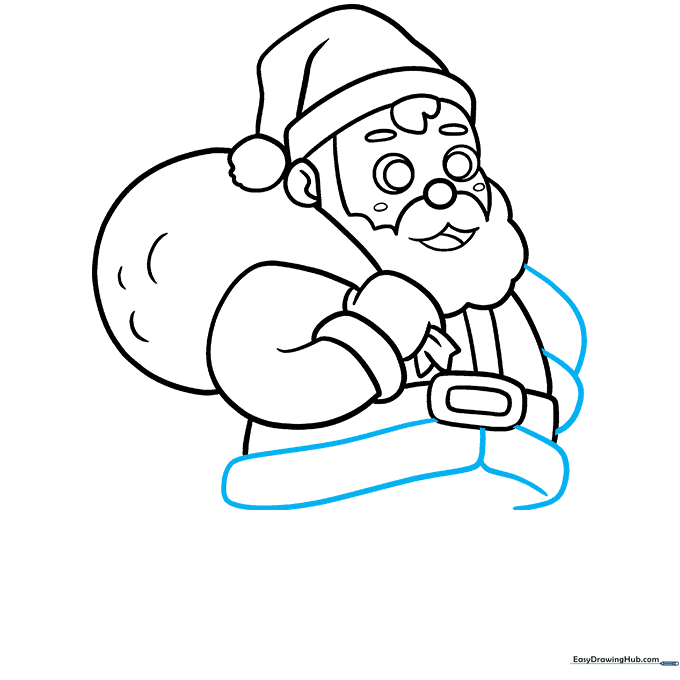
Sketch the second arm, sleeve cuff, and the bottom hem of the coat. Tip: Ensure the bottom hem aligns with the belt to keep the proportions balanced.
Step 9: Drawing Legs and Boots
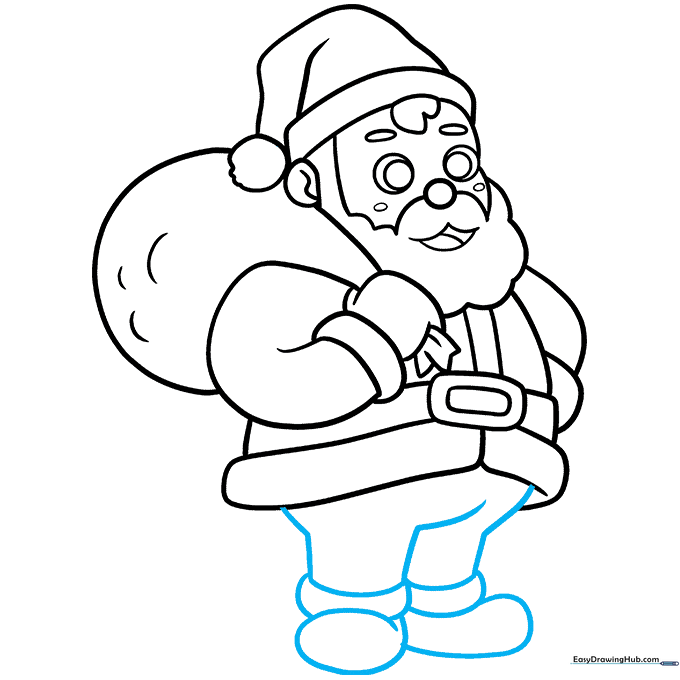
Finish by sketching the legs and boots at the bottom. Tip: Keep the boots simple and rounded to match the cartoon style of the rest of the body.
Step 10: Coloring Your Santa
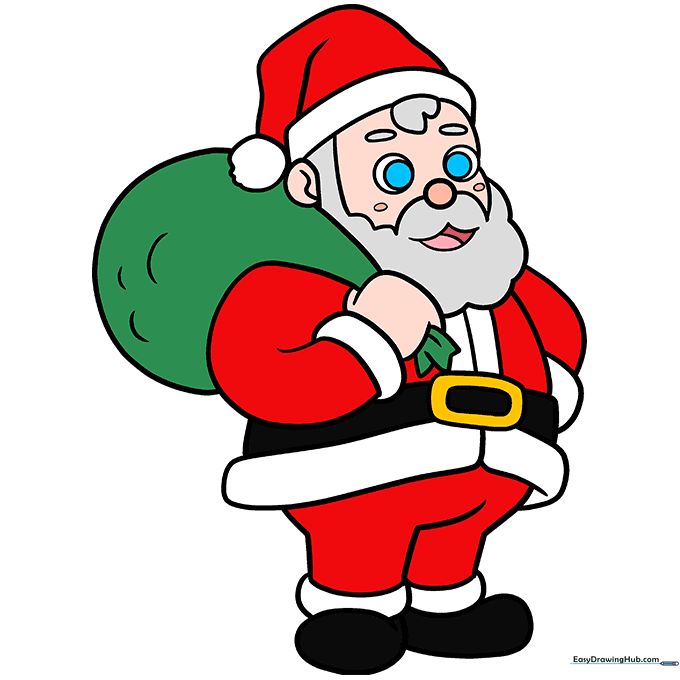
Bring your Santa to life with color! Use bright red for the suit and hat, and keep the beard and trim white. Tip: Use a light pink or peach for the face to make the rosy cheeks stand out.
More Tutorials


