How to Draw a Cartoon Rock: Easy 9-Step Guide for Kids
Bring a silly character to life with this easy cartoon rock drawing tutorial, perfect for artists ages 5 and up. All you need is a pencil, an eraser, and a piece of paper to get started. By the end of this lesson, you will have mastered basic shapes and expressive facial features to create your own rocky friend.
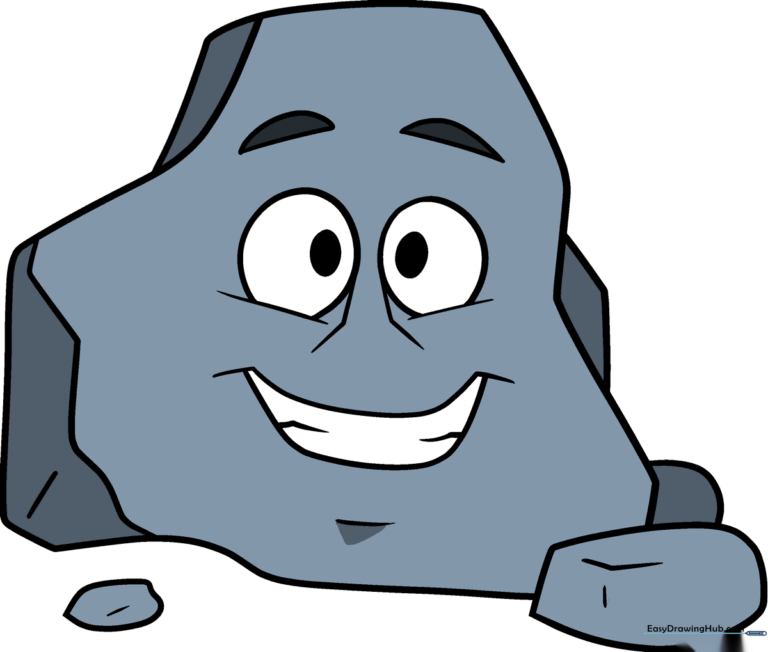
🎯 Final Result
Step-by-Step Instructions
Step 1: Sketching the Expressive Eyes

Draw two small, vertical lines for the cheeks, then cap each with a partial oval to form the eyes. Teacher's Tip: Keep these shapes symmetrical to give your rock a balanced, friendly look.
Step 2: Adding Pupils and Nose

Add a small shaded oval inside each eye for pupils. Between the eyes, draw two sets of angled lines to form a simple nose. Teacher's Tip: Using sharp angles for the nose makes the rock look more rugged and stone-like.
Step 3: Drawing the Brows and Mouth

Draw two curved shapes above the eyes for eyebrows, and a long, sweeping curved line below the nose for the mouth. Teacher's Tip: Varying the curve of the mouth changes the character's mood—a wider curve makes a bigger smile!
Step 4: Defining the Smile and Chin

Enclose the mouth with a curved line and add small details for teeth and a chin contour. Teacher's Tip: Keep your pencil pressure light here so you can easily adjust the shape of the chin later.
Step 5: Starting the Rock Outline
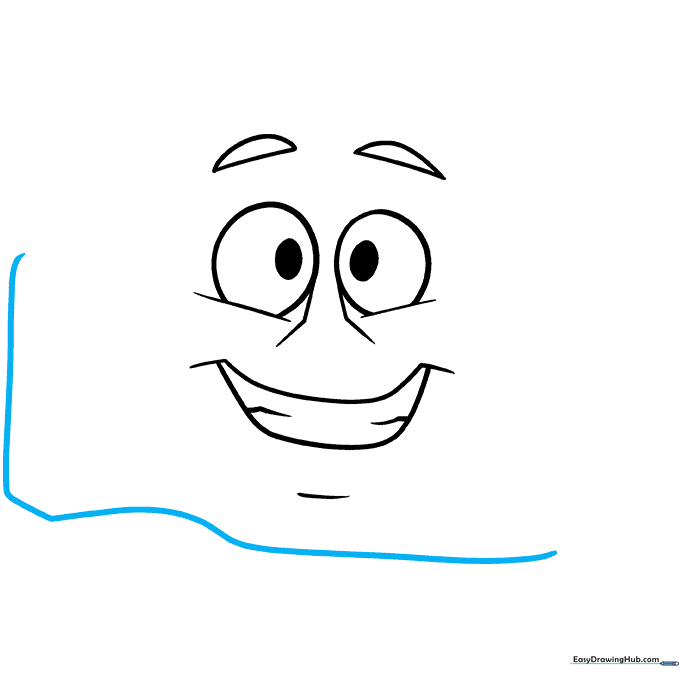
Use a long, flowing curved line to begin the main body of the rock. Teacher's Tip: Rocks aren't perfect circles, so don't be afraid to make this line a bit wobbly and organic.
Step 6: Adding Dimension
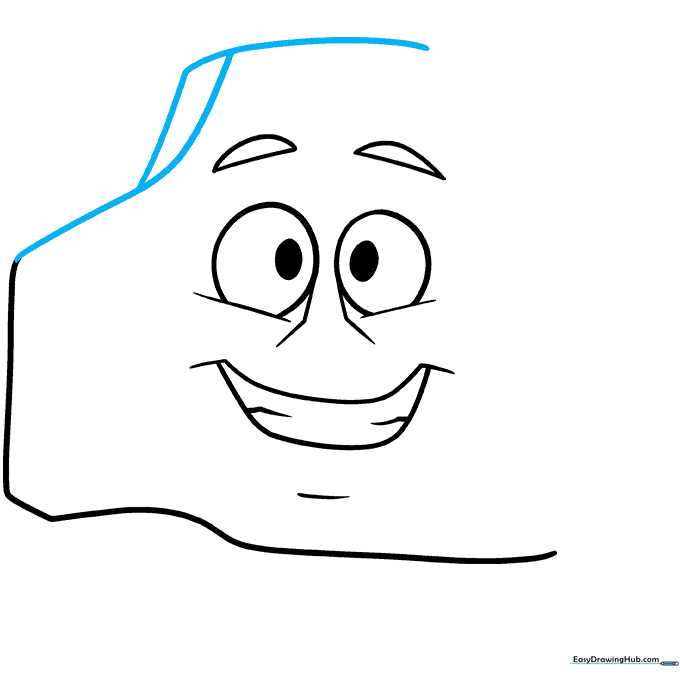
Continue the outline and add an irregular shape on one side to give the rock a 3D feel. Teacher's Tip: Think of this as adding a 'bump' or a side-facet to the stone.
Step 7: Closing the Shape
Connect the remaining open edges with a long, curved line to complete the main rock body. Teacher's Tip: Ensure your lines meet cleanly at the corners to make the rock look solid.
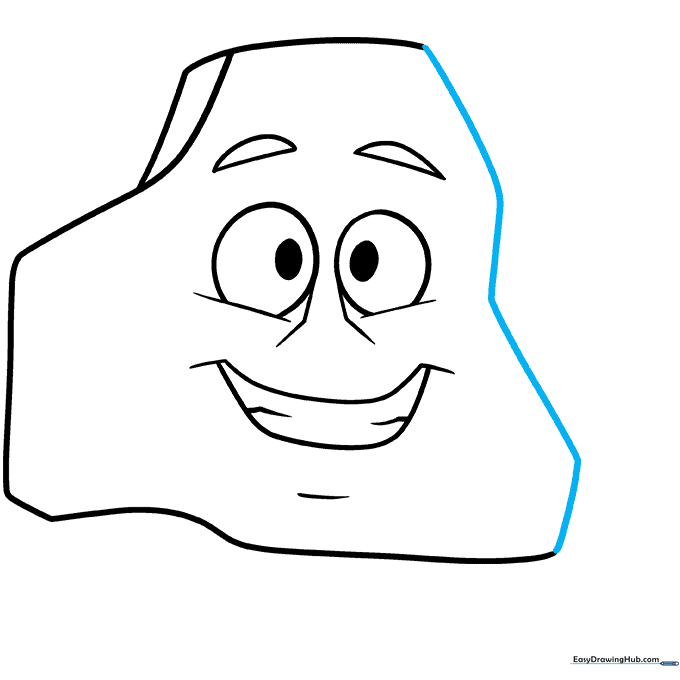
Step 8: Adding Texture Details
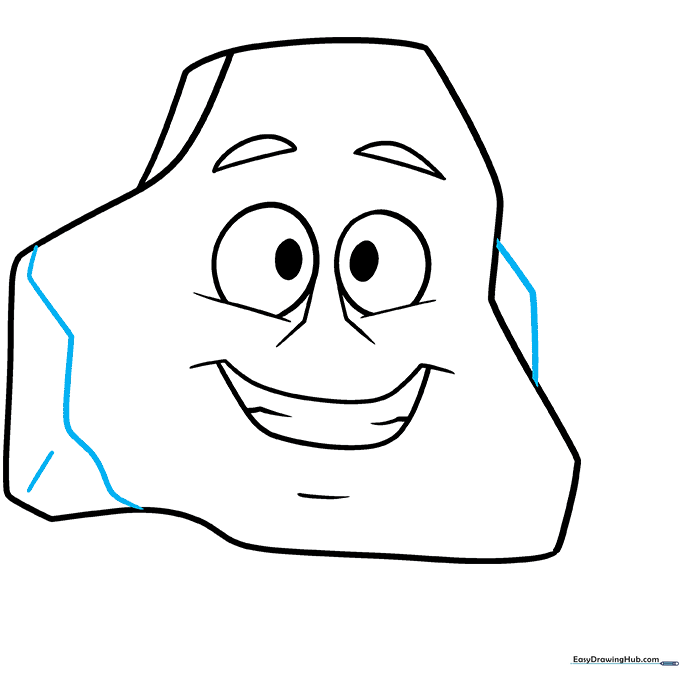
Add a diamond shape and a zigzag line to the surface to represent cracks or texture. Teacher's Tip: Rocks are rarely smooth, so these small lines add great character and realism.
Step 9: Final Touches
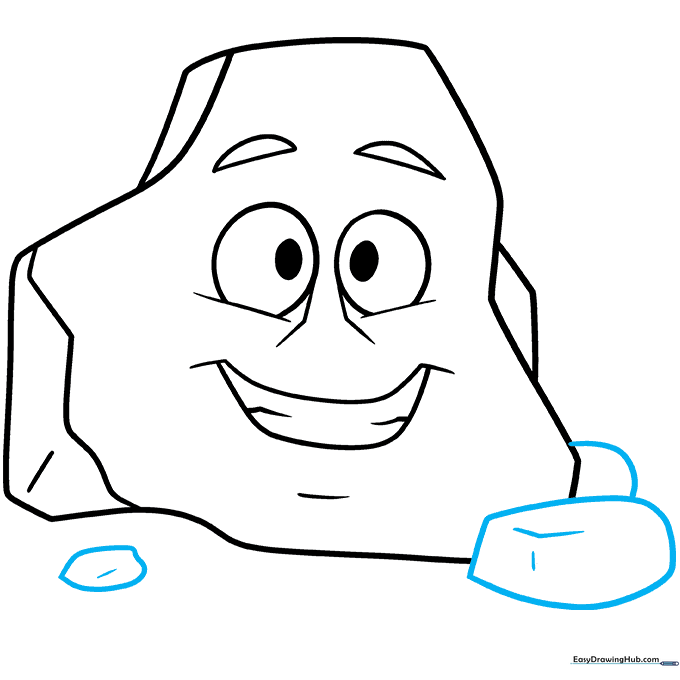
Draw a few smaller stones around your main character to create a scene. Teacher's Tip: Use light, quick strokes for the background stones so they don't distract from your main character.
Step 10: Bring Your Rock to Life with Color
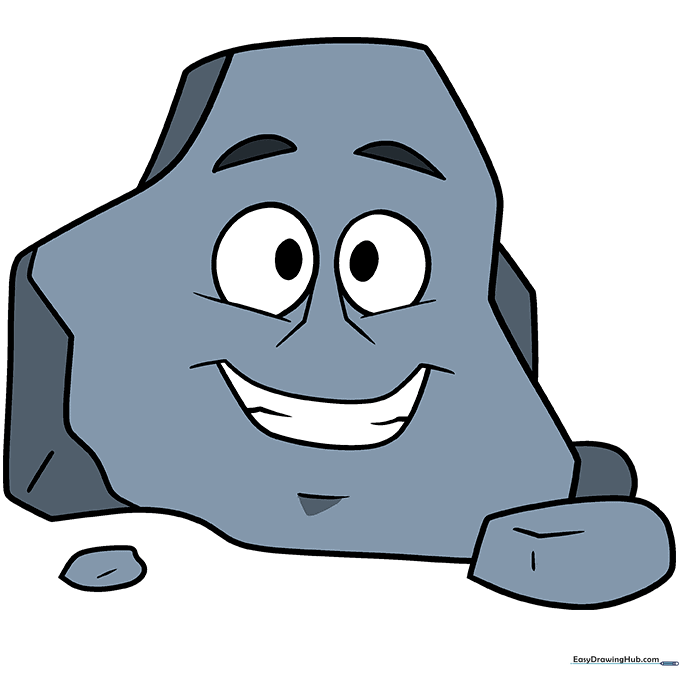
Color your rock! Use shades of gray, brown, or tan for a natural look, or get creative with marble patterns. Teacher's Tip: Use a darker shade of your chosen color on the edges to create a sense of depth and shadow.
More Tutorials


