How to Draw a Cartoon Revolver: Easy 20-Step Guide
Ready to add some Wild West flair to your sketchbook? This tutorial is perfect for young artists ages 7+ looking to practice geometric construction. Grab a pencil, an eraser, and a piece of paper to build this iconic shape step-by-step.
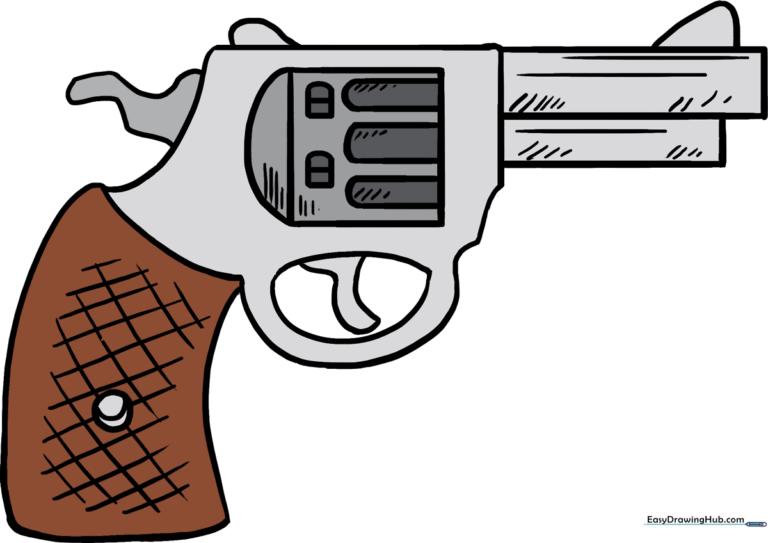
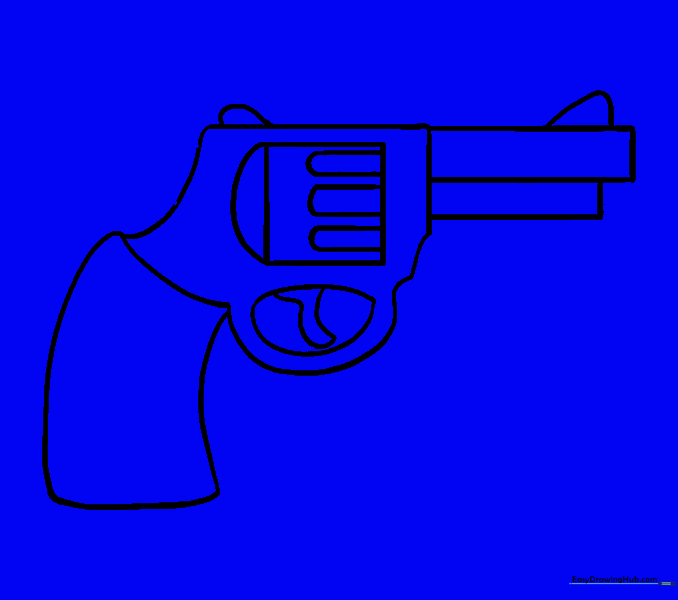
🎯 Final Result
Step-by-Step Instructions
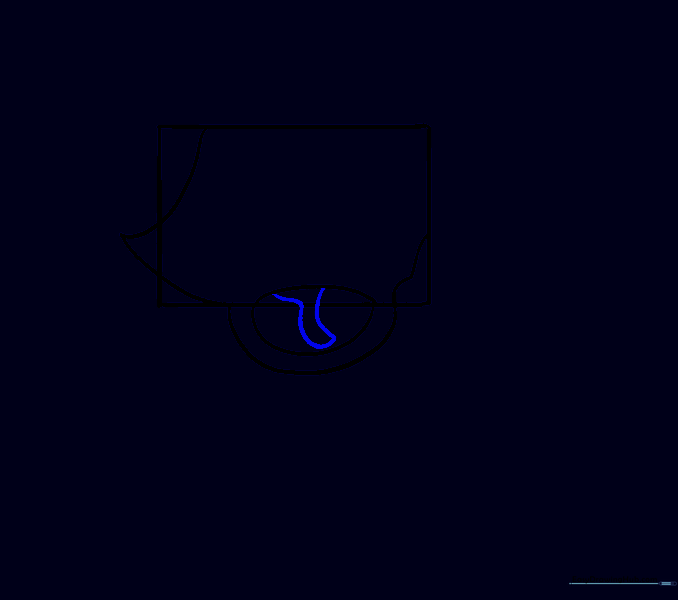
Step 1: Establishing the Frame
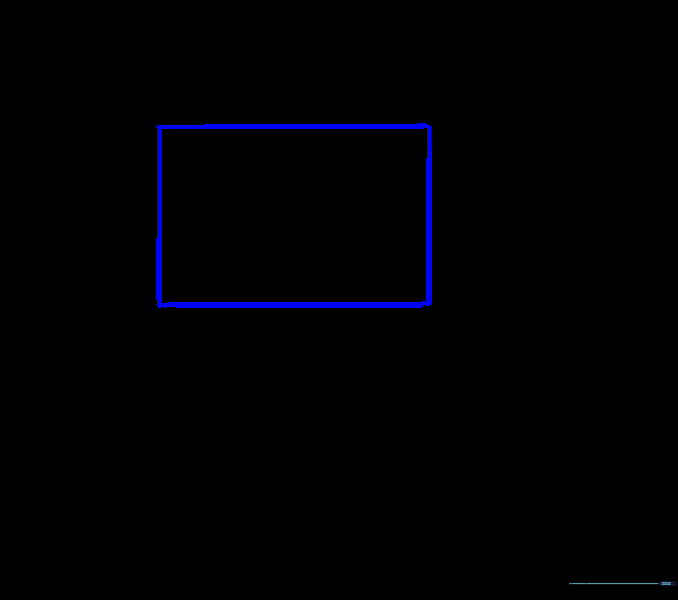
Start by drawing a simple rectangle to act as the base frame. Tip: Keep your pencil pressure light so you can easily erase these guide lines later.
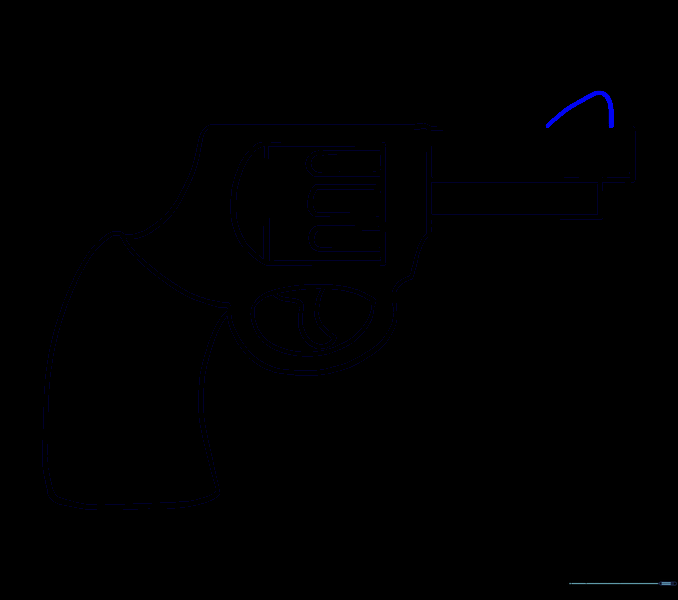
Step 2: Shaping the Barrel
Draw a curved line extending from the top of your rectangle. Add another curve inward to create the barrel's silhouette. Tip: Use smooth, continuous motions for a cleaner look.
Step 3: Defining the Frame
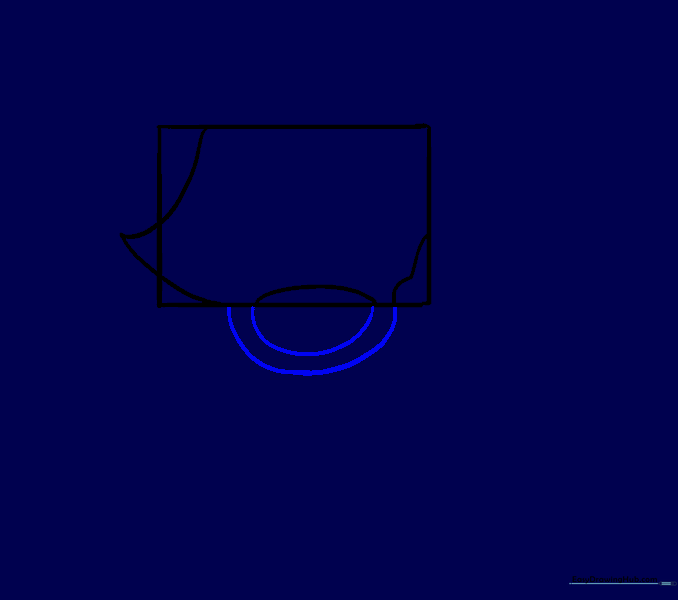
Add two curved lines beneath the rectangle to connect the barrel to the handle area. Tip: Ensure these lines align with the ones inside the rectangle for a cohesive look.
Step 4: Adding the Trigger Guard
Draw an irregular curved shape inside the lower oval to form the trigger guard. Tip: Imagine the shape of a small 'D' to help guide your hand.
Step 5: Cleaning the Sketch
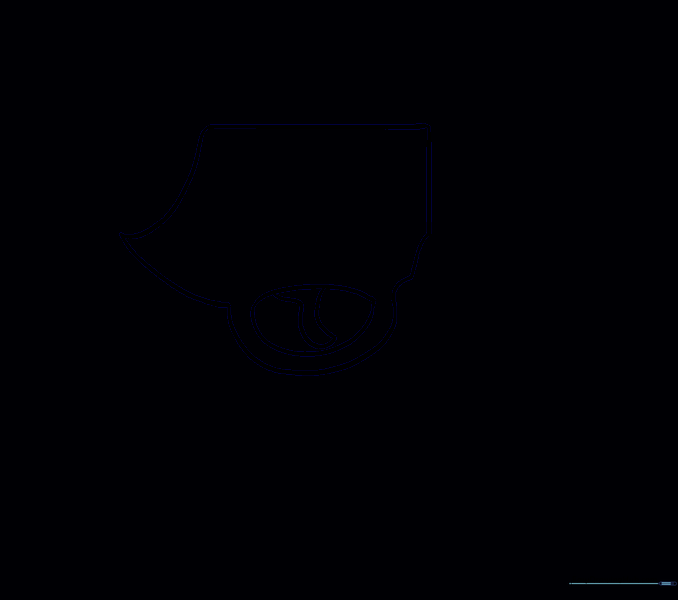
Carefully erase the original rectangle guide lines. Tip: Use a kneaded eraser if you have one—it's gentler on the paper!
Step 6: Drawing the Grip

Extend two long, curved lines downward from the left side to create the handle. Connect them at the bottom. Tip: Make sure the handle looks comfortable to hold!
Step 7: The Cylinder Base
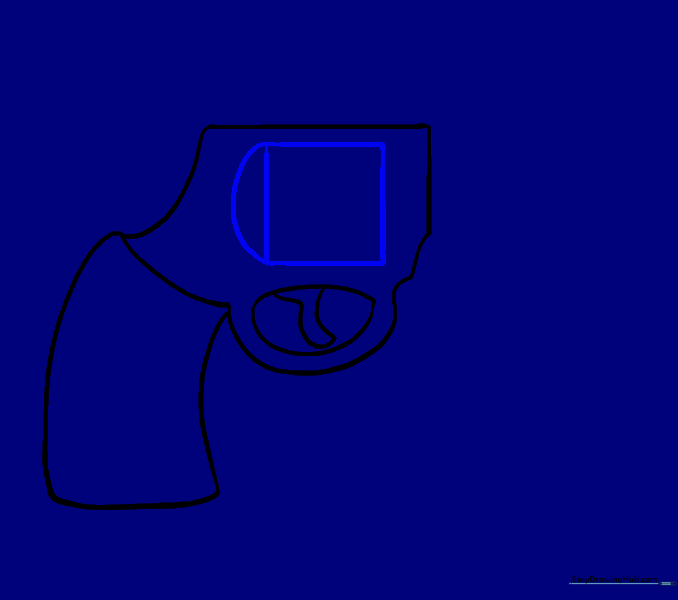
Draw a square in the center of the body. Add a curved line on the left side. Tip: This square will eventually become the rotating cylinder.
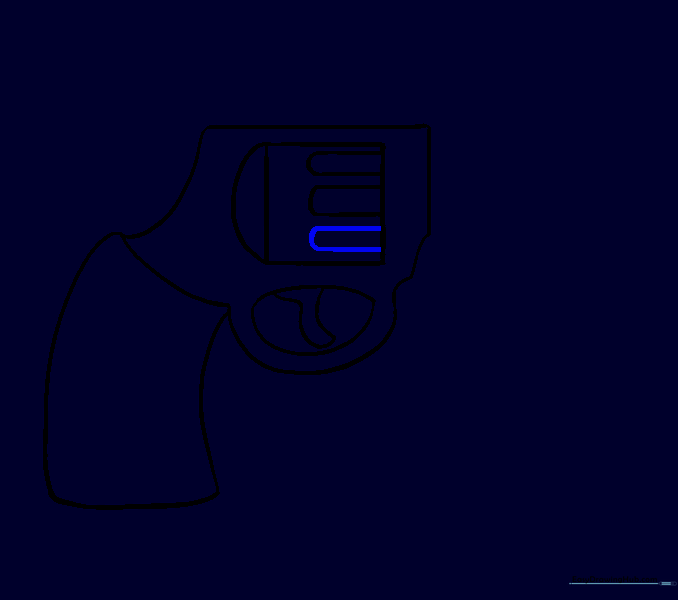
Step 8: Barrel Detail
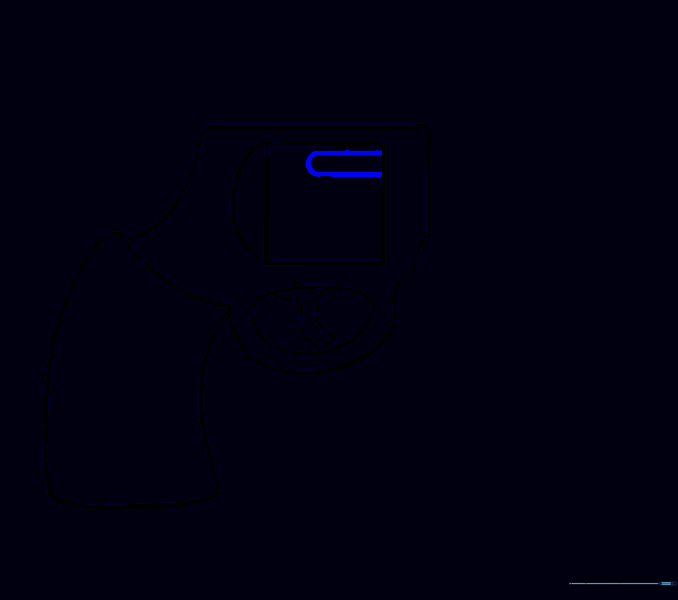
Draw two parallel lines extending from the top right of the square, connecting them with a curve. Tip: Keep these lines straight to make the barrel look sturdy.
Step 9: Extending the Barrel
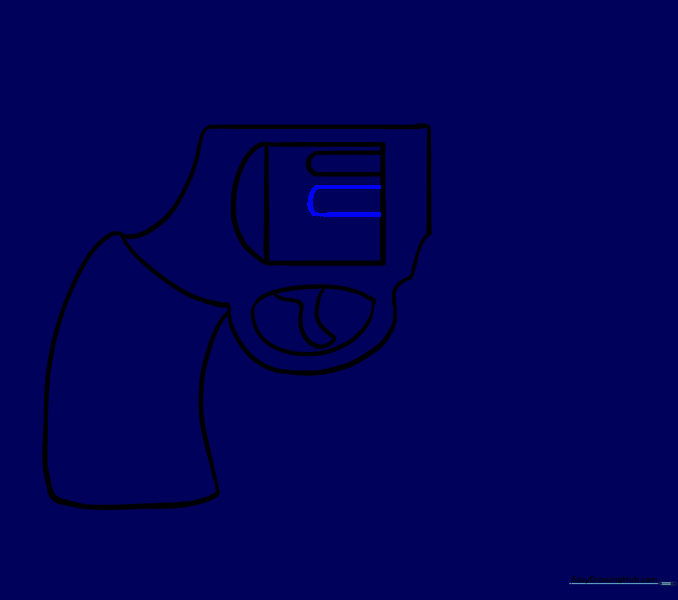
Add another set of parallel lines below the first. Tip: Use a ruler if you struggle with straight lines, but freehand is great for practice!
Step 10: Final Barrel Segment
Add a third set of parallel lines to finish the barrel length. Tip: Ensure the spacing between lines is consistent.
Step 11: Adding Sights
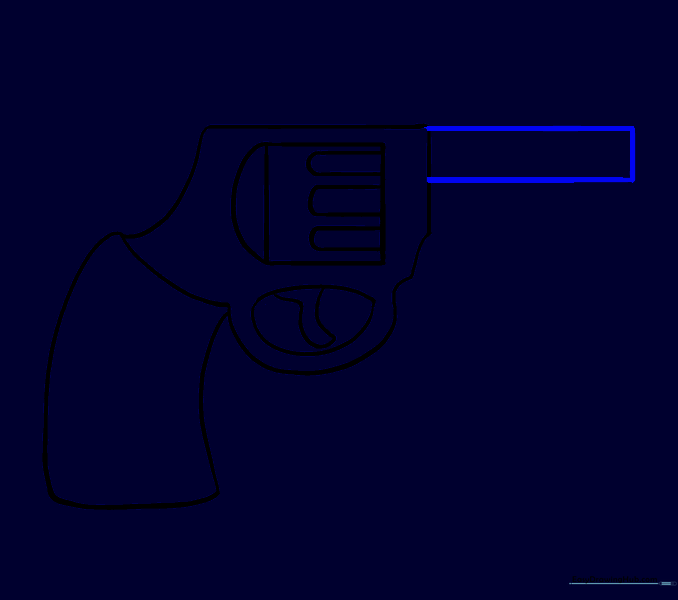
Draw a long, narrow rectangle on the right side of the barrel. Tip: This will act as the front sight.
Step 12: Refining the Sight
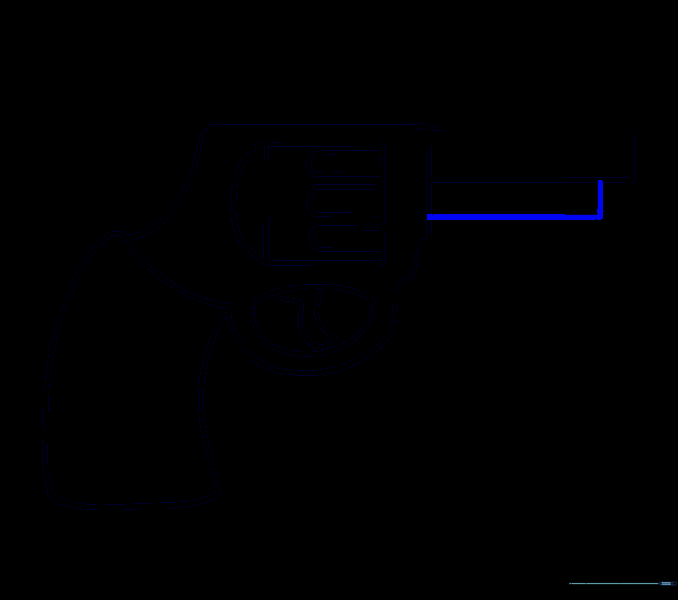
Draw a slightly shorter rectangle below the first one. Tip: This adds a nice 3D effect to the sight.
Step 13: Top Detail
Enclose a small triangular shape above the barrel. Tip: Keep this small so it doesn't distract from the main shape.
Step 14: Hammer Detail
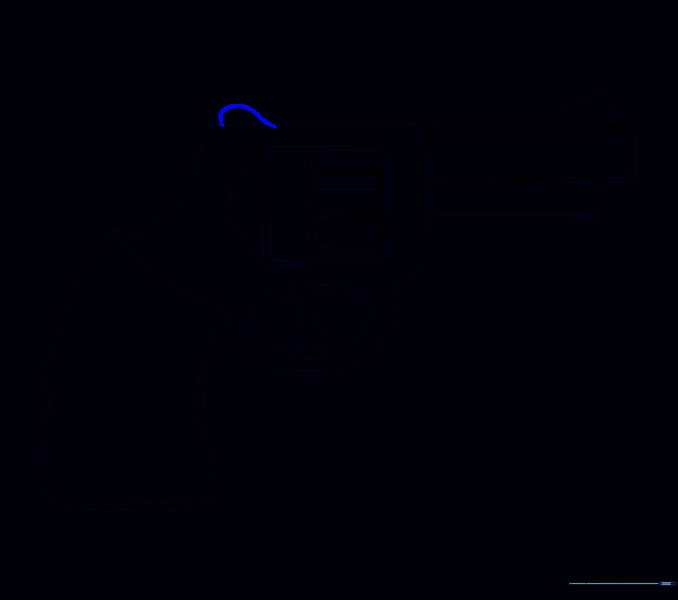
Draw a small curved shape at the top left corner. Tip: This represents the hammer of the revolver.
Step 15: Frame Detail
Add an irregular curved shape on the left side of the gun body. Tip: This helps define the frame's structure.
Step 16: Cylinder Details
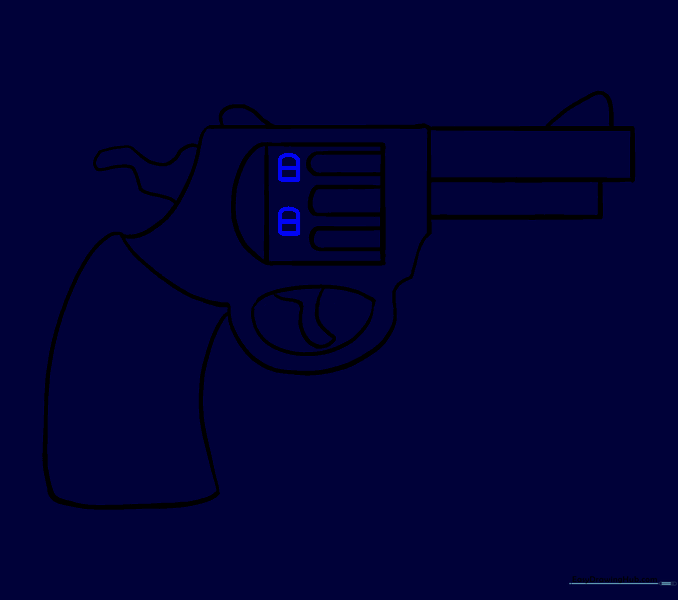
Draw two small rectangles in the center of the cylinder. Add a horizontal line through each. Tip: These represent the bullet chambers.
Step 17: Grip Detail
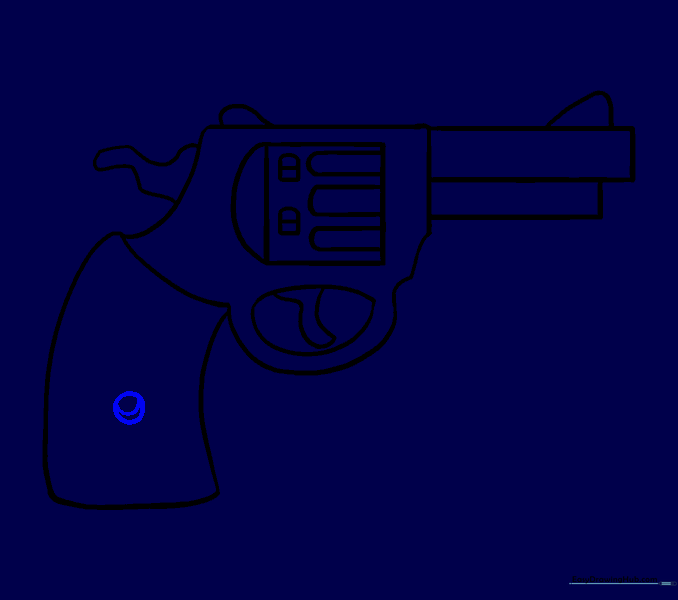
Draw a circle in the middle of the grip, then add a line through it. Tip: This looks like a decorative screw or pin.
Step 18: Adding Texture
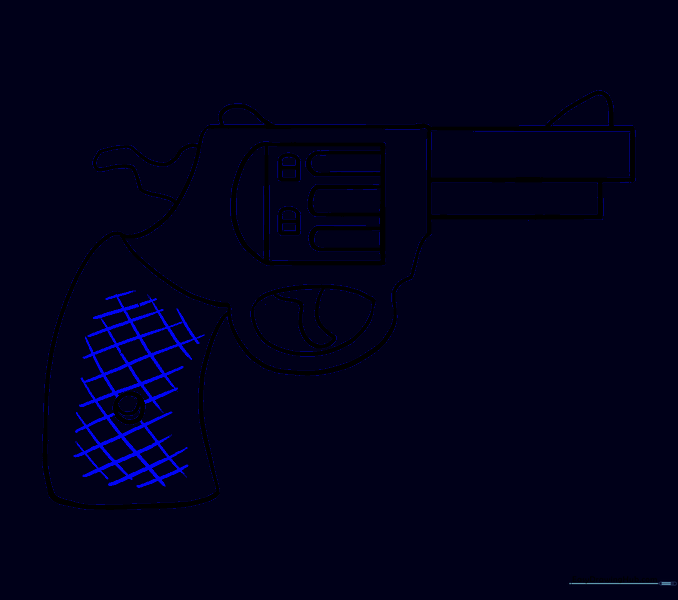
Use cross-hatching (diagonal lines in both directions) on the grip. Tip: This creates a realistic 'checkered' texture for the handle.
Step 19: Final Shading
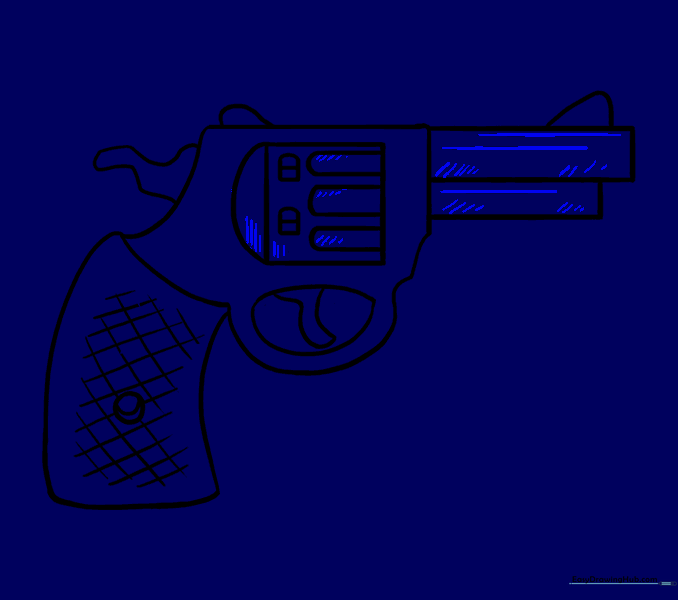
Add straight lines along the barrel and light shading to the bottom. Tip: Keep your lines close together for darker shadows.
Step 20: Adding Color
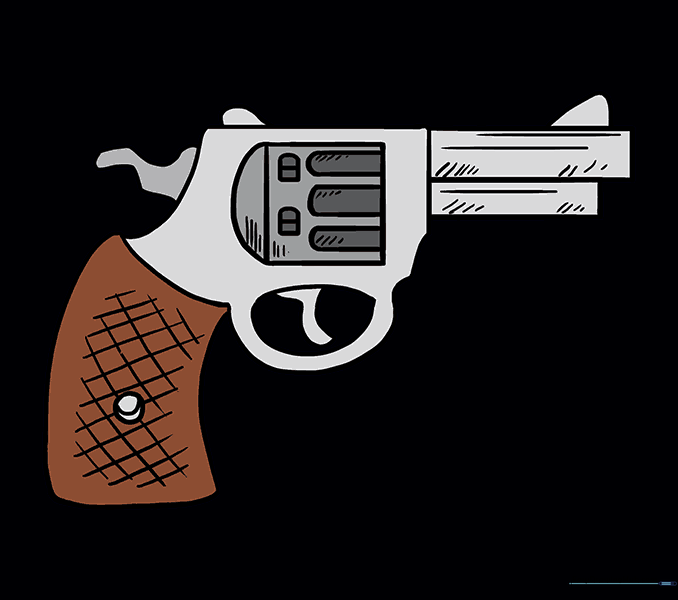
Color the handle brown and the metal parts in shades of grey. Tip: Leave a tiny white space on the metal to make it look shiny!
More Tutorials


