How to Draw a Cartoon Princess: Easy 9-Step Guide
Bring a fairytale character to life with this simple, guided drawing lesson. Designed for young artists ages 5 and up, this tutorial requires only a pencil, paper, and an eraser. Follow along to build confidence in character design and character proportions.
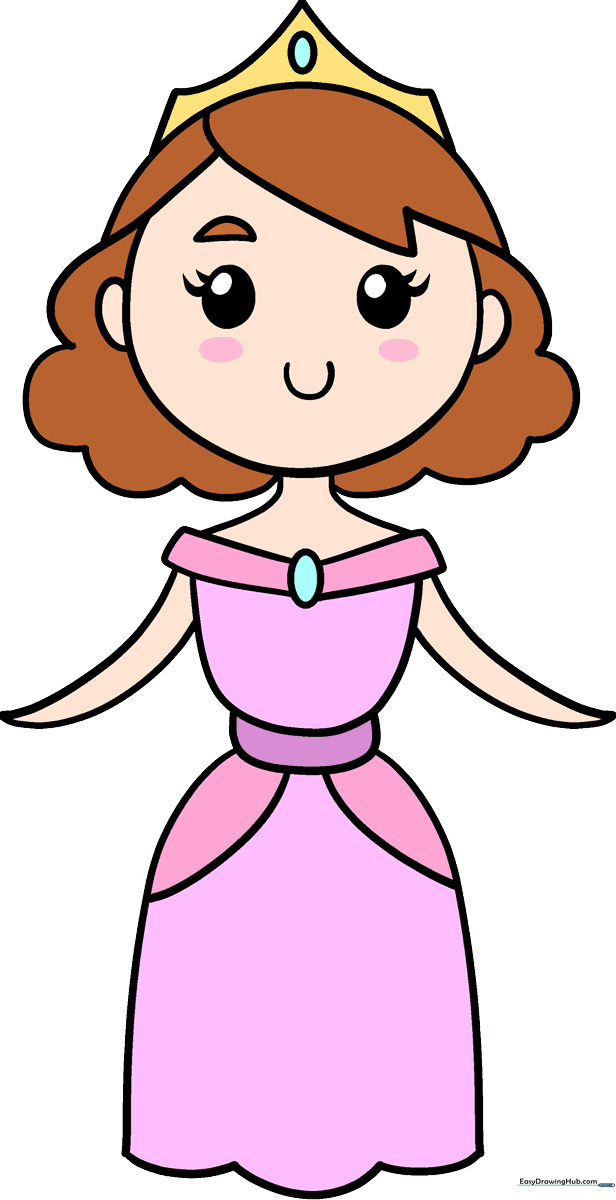
🎯 Final Result
Step-by-Step Instructions
Step 1: Sketching the Expressive Eyes
Draw two circles for the eyes, placing a smaller circle inside each for the pupil. Shade the pupils dark. Tip: Add two small curved lines on the outer edges for eyelashes to give her a friendly, bright-eyed look.
Step 2: Defining the Face and Smile
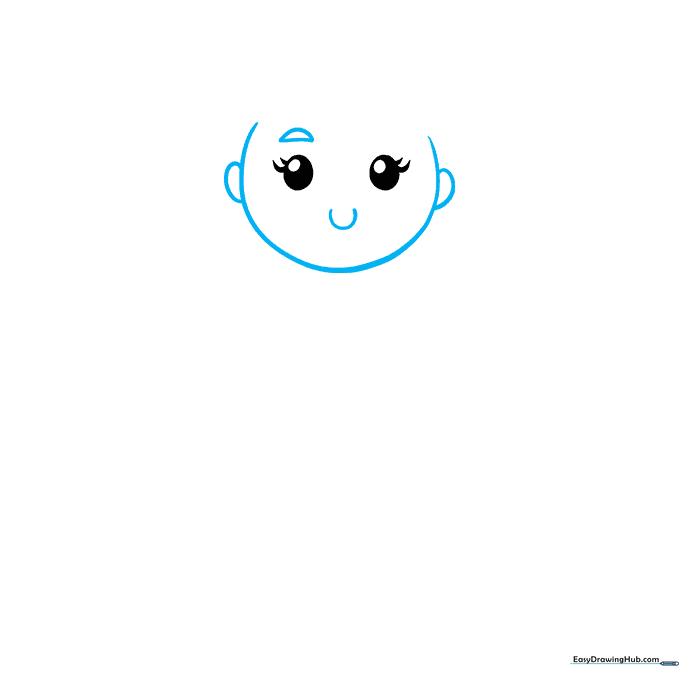
Frame the eyes with a long, soft curved line to create the chin. Add small 'C' shapes on the sides for ears and a gentle 'U' curve for a smiling mouth. Tip: Keep the smile small and centered to maintain a sweet, cartoonish expression.
Step 3: Creating the Hairline
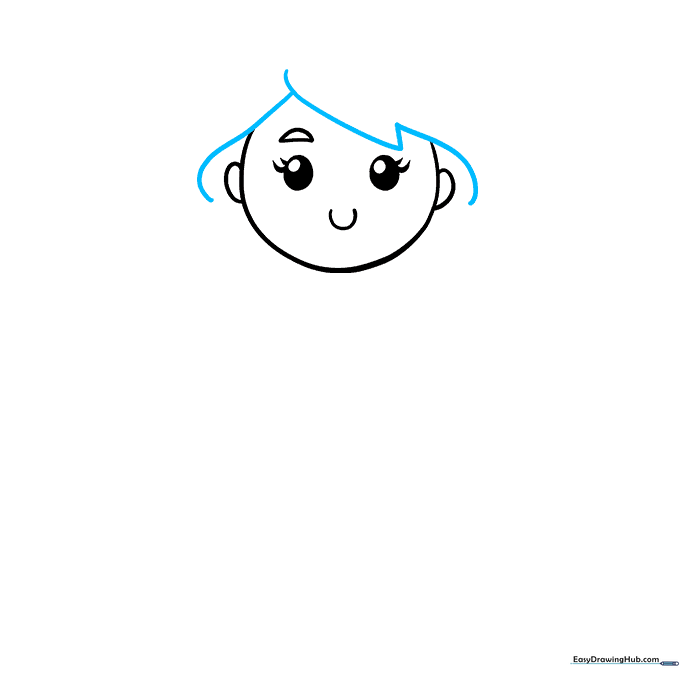
Use long, flowing curved lines to frame the face with hair. Let the lines intersect to create volume. Tip: Don't worry about making the lines perfectly straight; hair has natural movement and bounce.
Step 4: Adding the Royal Crown
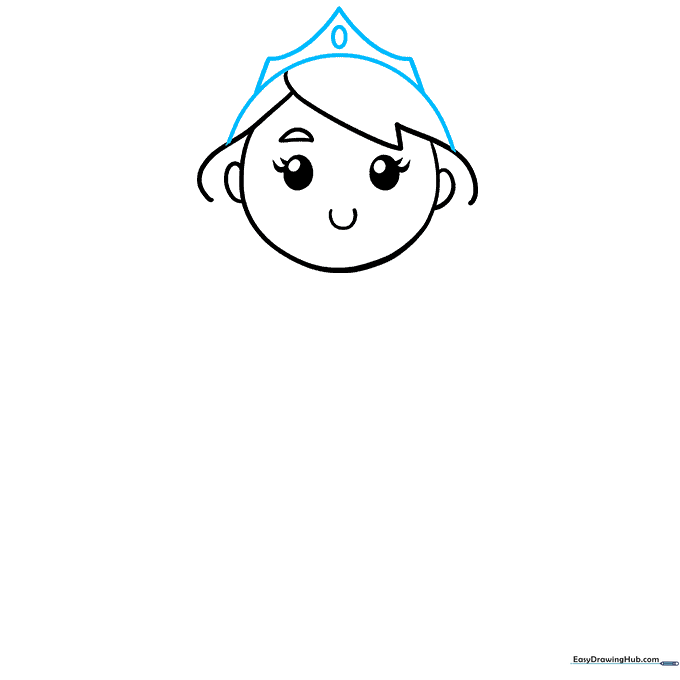
Draw a half-circle on top of the head for the crown base. Add points to the top and a small oval in the center for a gemstone. Tip: Use a light touch here so you can easily erase the hair line hidden behind the crown.
Step 5: Finishing the Hair and Neck
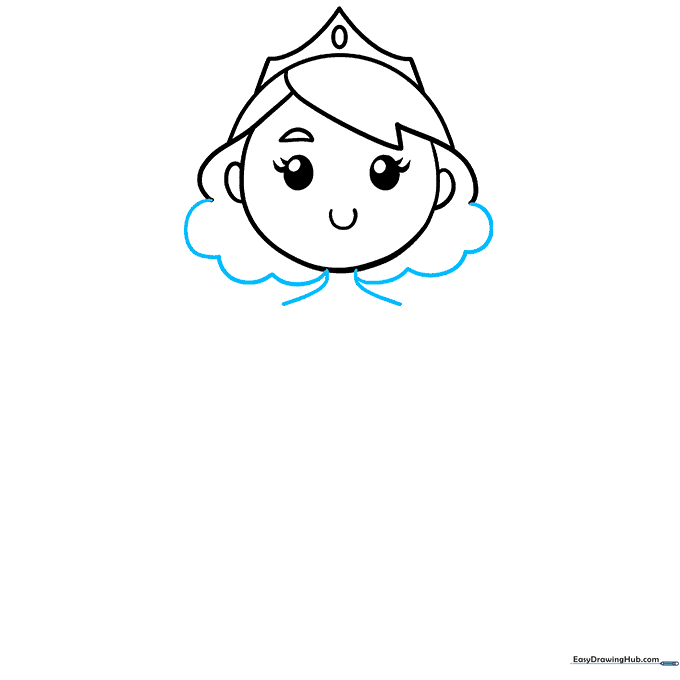
Add scalloped lines at the bottom of the hair to show texture. Extend two parallel lines downward to form the neck. Tip: Make the neck lines slightly curved to give the princess a graceful posture.
Step 6: Sketching the Bodice
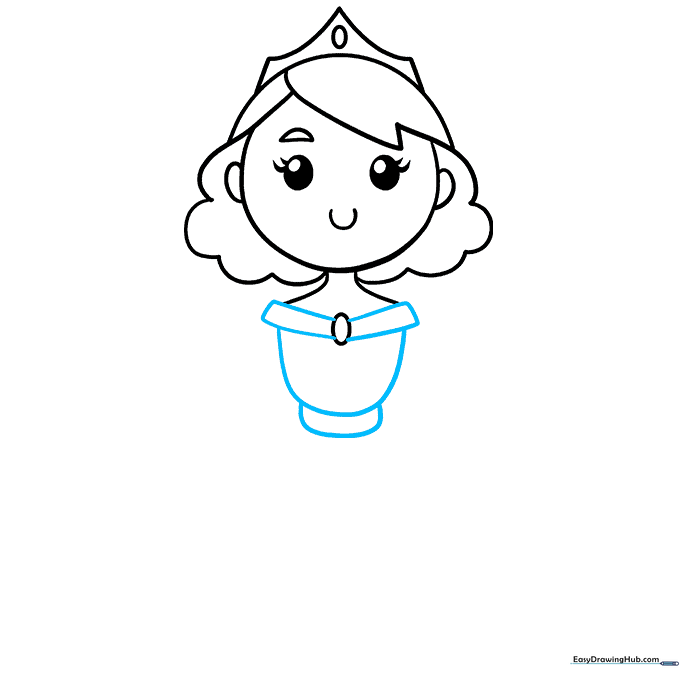
Draw an oval for the neckline, then add rectangles for the bodice. Use curved lines to define the waist and belt area. Tip: Think of the bodice as a simple geometric shape to keep the proportions balanced.
Step 7: Adding the Arms
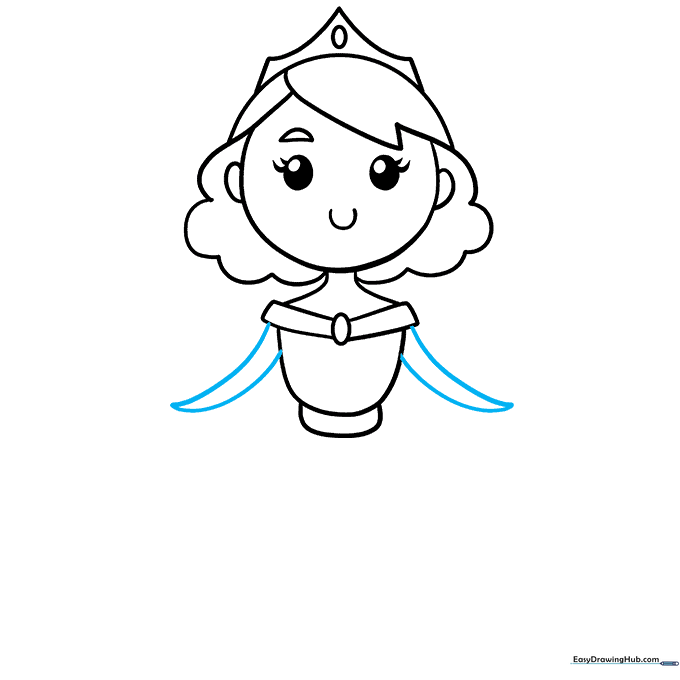
Extend two curved lines from the bodice on each side, meeting at a point to suggest sleeves or arms. Tip: Keep the arms close to the body to maintain the 'cartoon' style.
Step 8: Drawing the Skirt
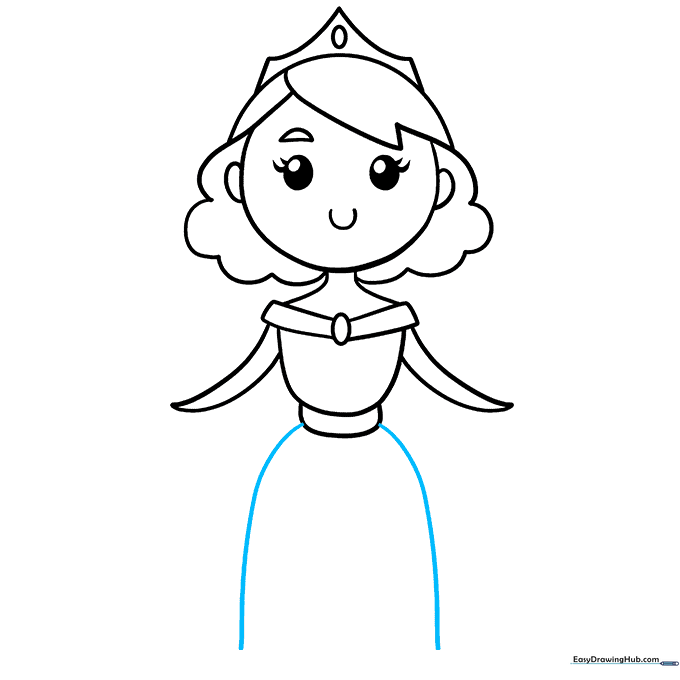
Draw two long, sweeping curved lines down from the belt to create the skirt. Tip: Make these lines wide at the bottom to give the dress a full, regal appearance.
Step 9: Finalizing the Dress
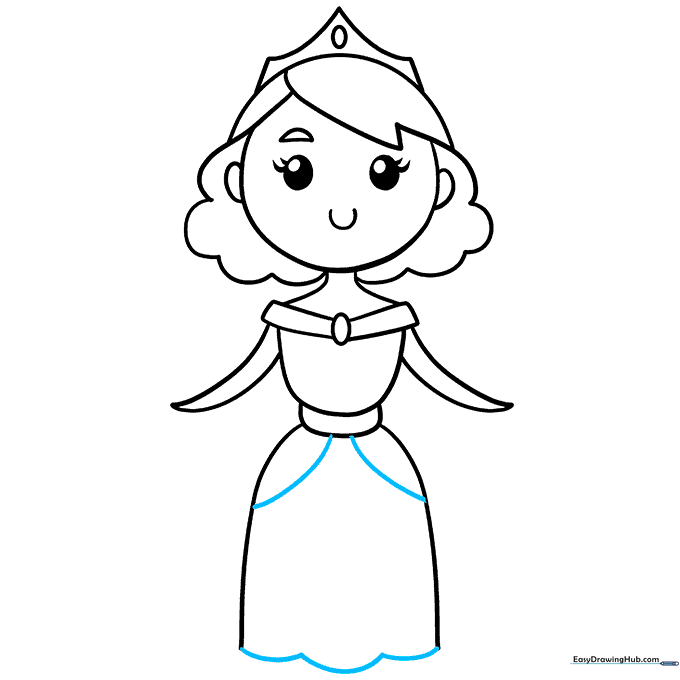
Connect the bottom of the skirt with a scalloped line to add detail to the hem. Tip: Use a steady hand for the scallops to ensure they look uniform and neat.
Step 10: Bringing Her to Life with Color
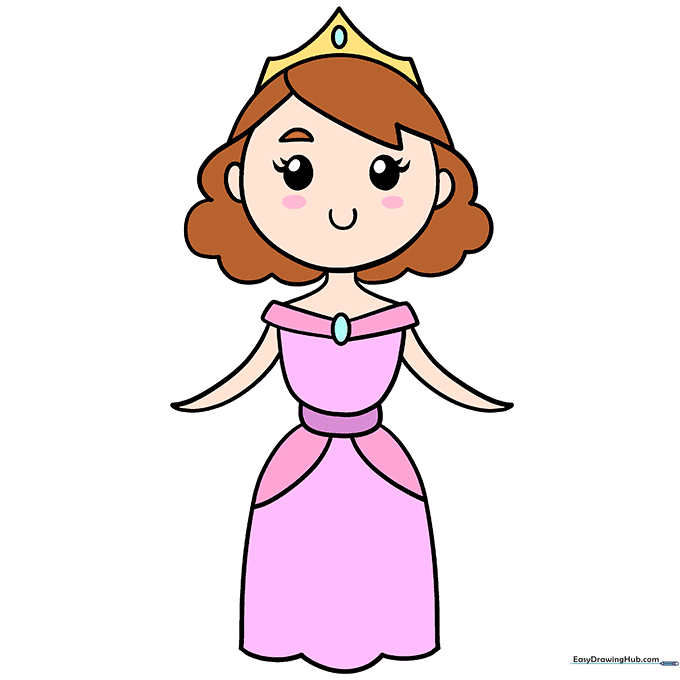
Your outline is complete! Now, have fun coloring. Use bright colors for the dress and gold for the crown. Tip: Use light pressure with your colored pencils to blend colors smoothly.
More Tutorials


