How to Draw a Cartoon Polar Bear: Easy 10-Step Guide
Bring the Arctic to your sketchbook with this fun, beginner-friendly polar bear tutorial. Designed for ages 5 and up, this activity requires only a pencil, paper, and an eraser to build essential fine motor skills. Follow along to create your own friendly bear character in just a few simple steps.
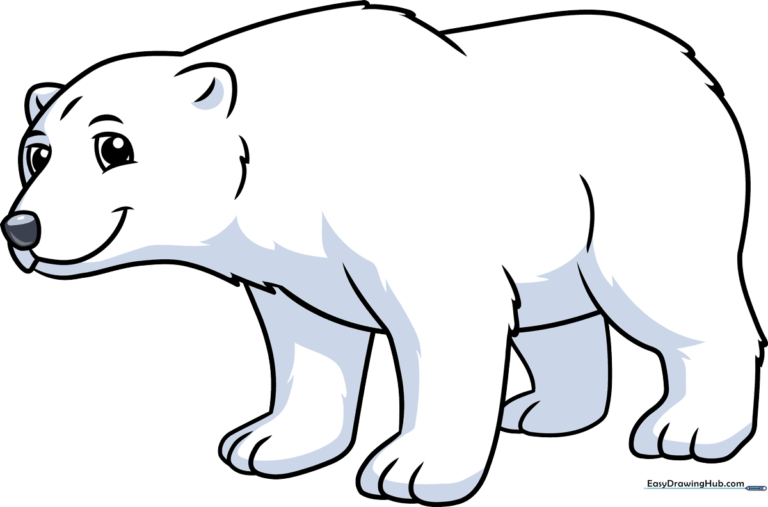
🎯 Final Result
Step-by-Step Instructions
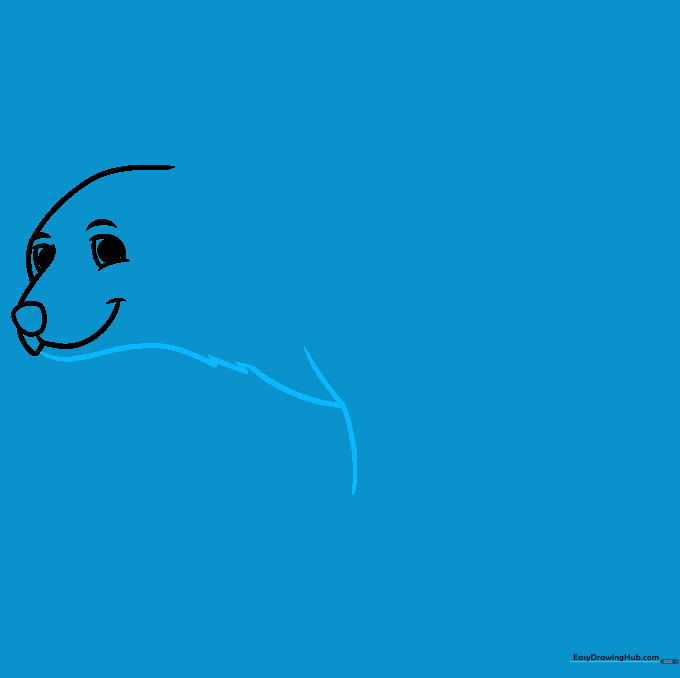
Step 1: Sketching the Expressive Eyes

Draw two curved lines for the eyes, connecting one to the nose area. Tip: Keep these lines soft and rounded to give your bear a friendly, approachable expression.
Step 2: Defining the Snout and Head

Sketch an irregular rounded shape for the nose and connect it to the top of the head. Tip: Don't worry about perfect symmetry; a slightly wobbly line adds character to your cartoon.
Step 3: Creating the Furry Neck
Use short, jagged curved lines to outline the jaw and neck. Tip: Use quick, flicking motions with your pencil to mimic the look of fluffy fur.
Step 4: Adding Ears and Front Leg
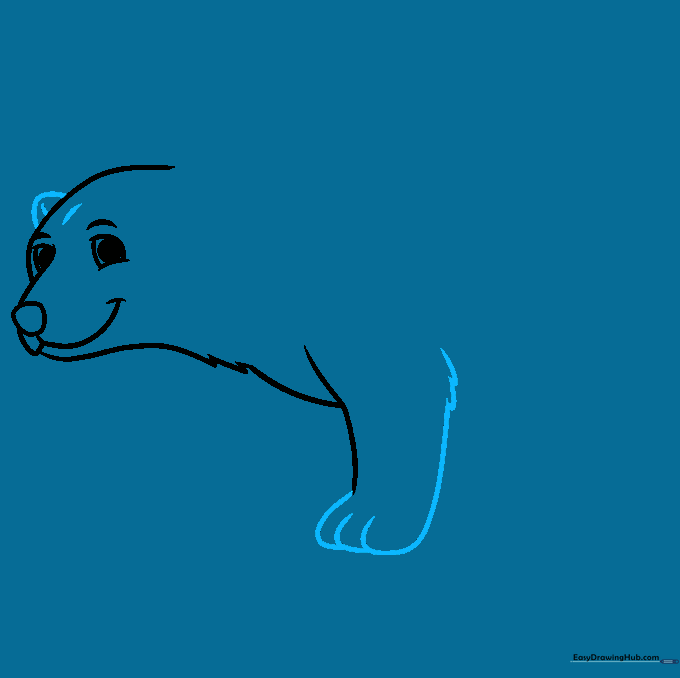
Draw the ears with small curves and start the front leg. Tip: Make the ear small and rounded to keep the bear looking cute and young.
Step 5: Refining the Furry Shoulder
Add the second ear and use jagged lines to define the shoulder. Tip: Vary the length of your lines to make the fur look natural and thick.
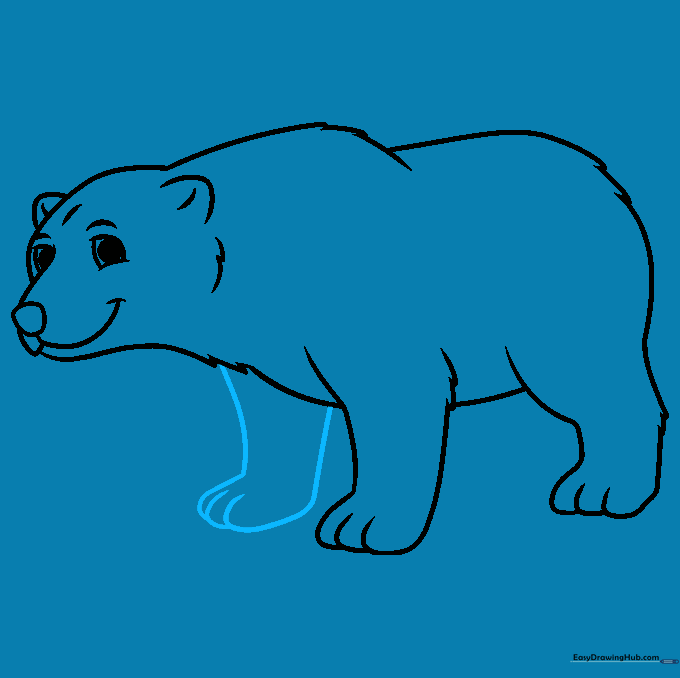
Step 6: Drawing the Belly and Rear Leg

Extend a line from the shoulder to form the belly, then add the back leg. Tip: Keep the belly line curved to give your bear a soft, cuddly shape.
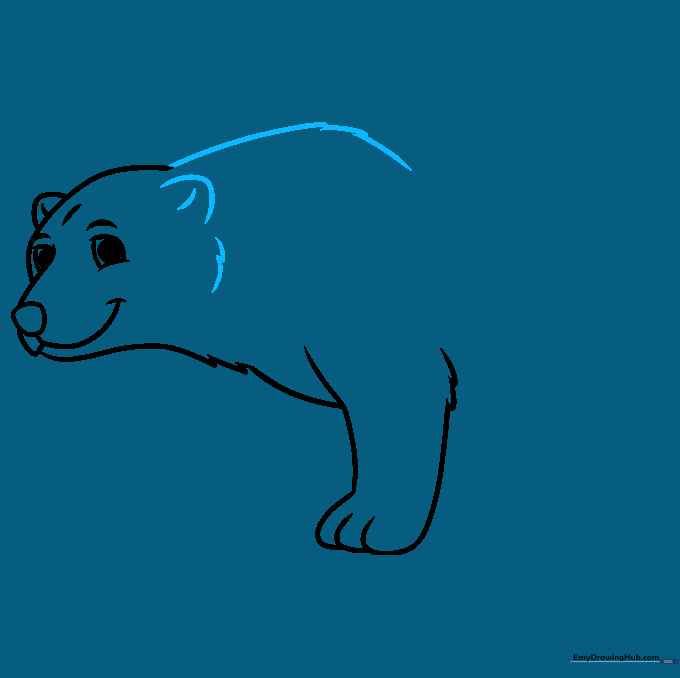
Step 7: Shaping the Back and Rump
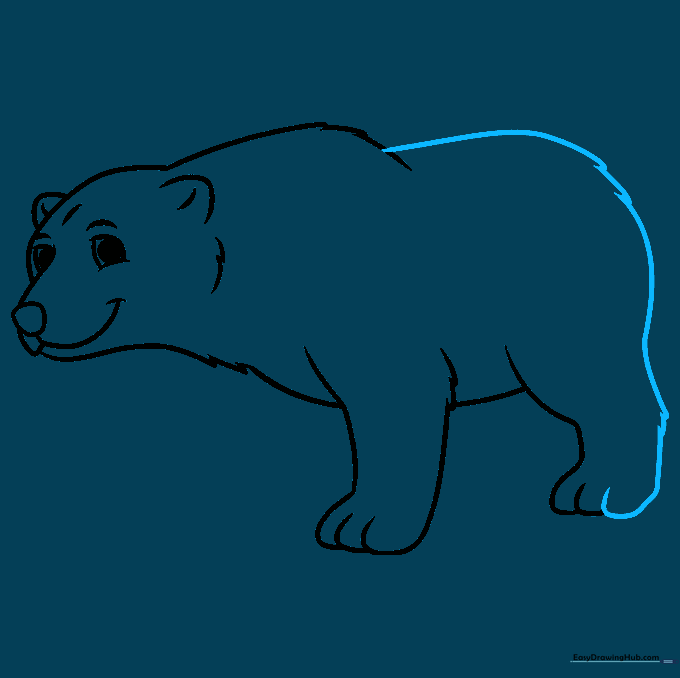
Connect the back and rump using long, flowing curved lines. Tip: Imagine the bear is sitting down; ensure the lines reflect a rounded, comfortable posture.
Step 8: Adding Front Paws
Use overlapping curved lines to draw the front paws and toes. Tip: Draw the toes as small, rounded bumps to make them look like soft bear paws.
Step 9: Finalizing the Rear Paws
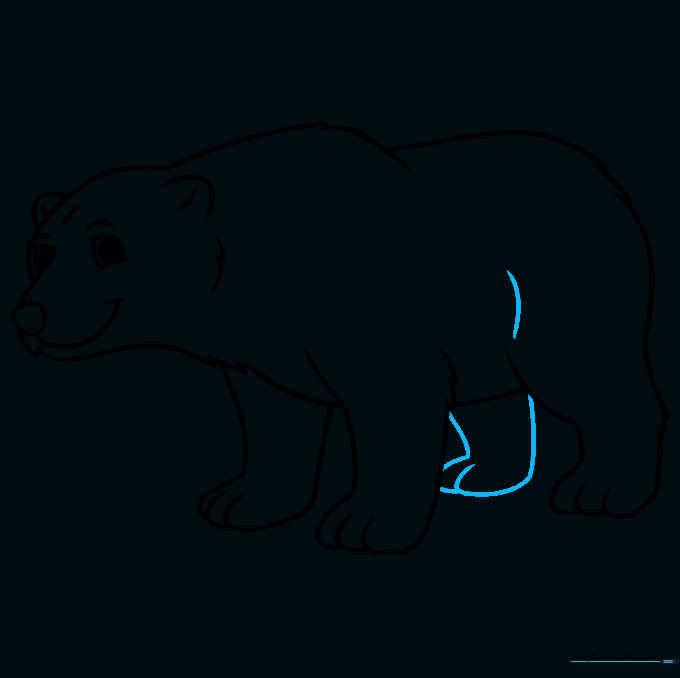
Sketch the remaining rear leg and paw to complete the body outline. Tip: Ensure the rear paw is slightly larger than the front to show perspective.
Step 10: Bringing Your Bear to Life with Color
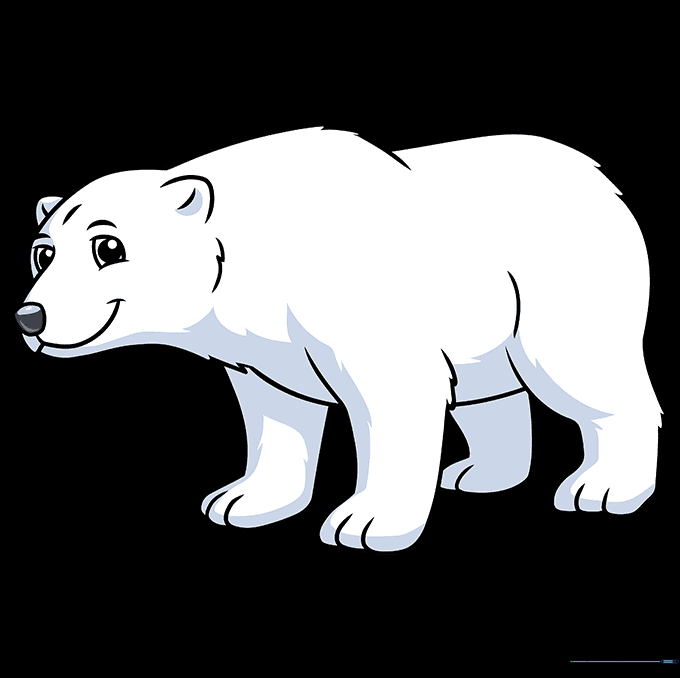
Color your bear! While they look white, try using a very light blue or grey for shading to give the fur depth. Fun Fact: Polar bears actually have black skin under their clear fur to soak up the sun's heat!
More Tutorials


