How to Draw a Cartoon Nose: Easy 9-Step Guide for Beginners
Ready to bring your characters to life? This tutorial is perfect for young artists ages 6+ looking to master facial features. Grab a pencil, an eraser, and a sheet of paper to follow along as we break down the structure of a classic cartoon nose into simple, manageable shapes.
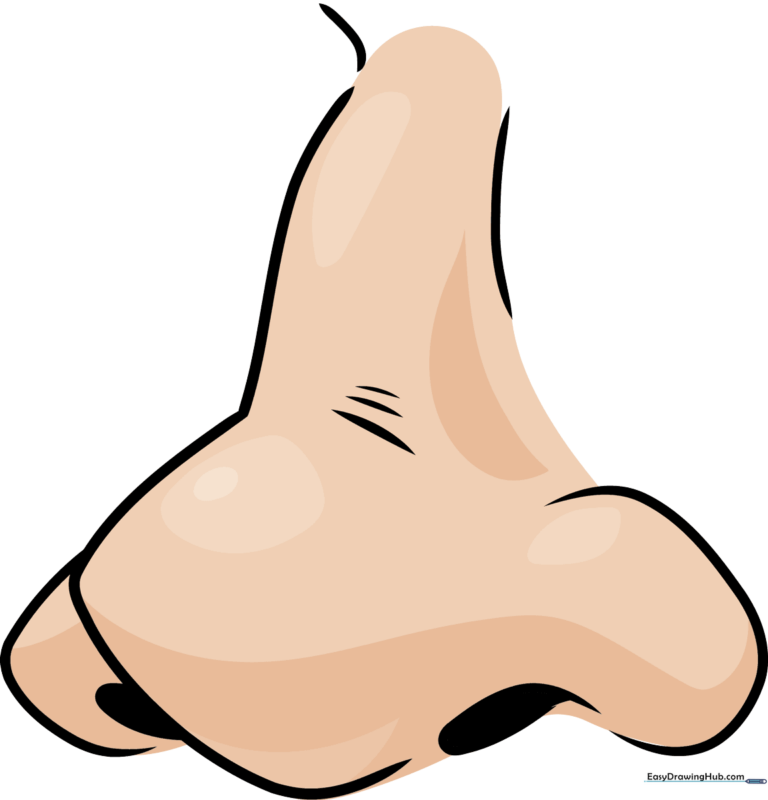
🎯 Final Result
Step-by-Step Instructions
Step 1: Establishing the Bridge
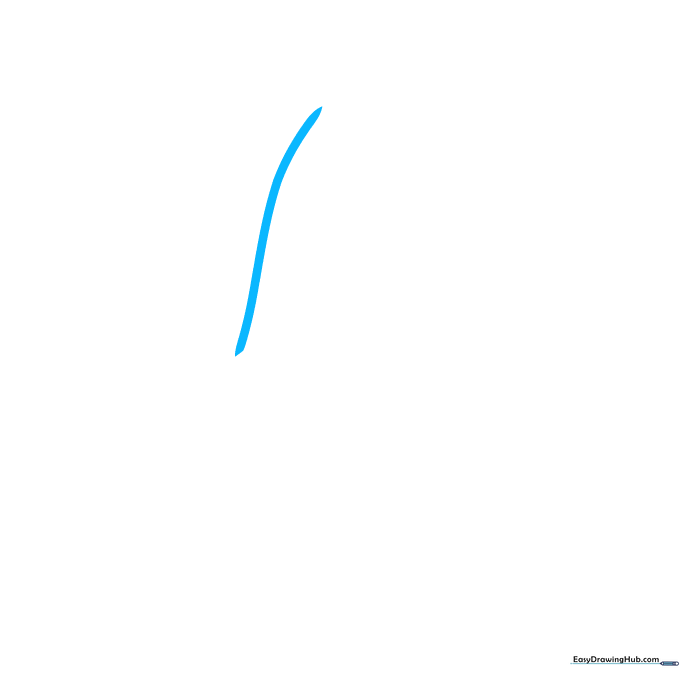
Start your cartoon nose by drawing a gentle, vertical wavy line. Teacher's Tip: Keep your pencil pressure very light here; this is just a guide line to help you place the nose on the face.
Step 2: Defining the Tip

Sketch a wide, open arrow shape pointing to the left. Tip: Think of this as the 'button' part of the nose—try to keep the lines rounded rather than sharp to give it a friendly, cartoonish look.
Step 3: Adding the Bridge Curve
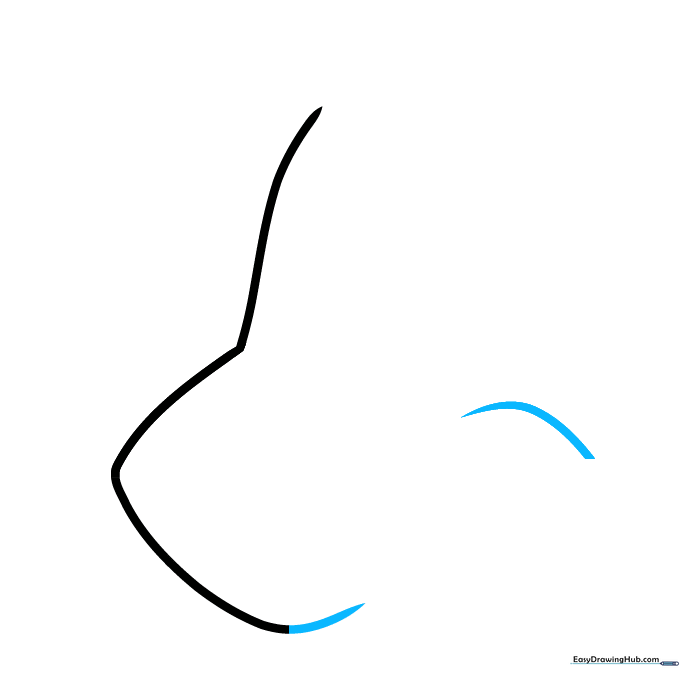
Add a short line pointing upward from the tip, then sketch a smooth curve to the right. Tip: Use a fluid motion with your wrist to get a nice, clean arc.
Step 4: Creating the Base
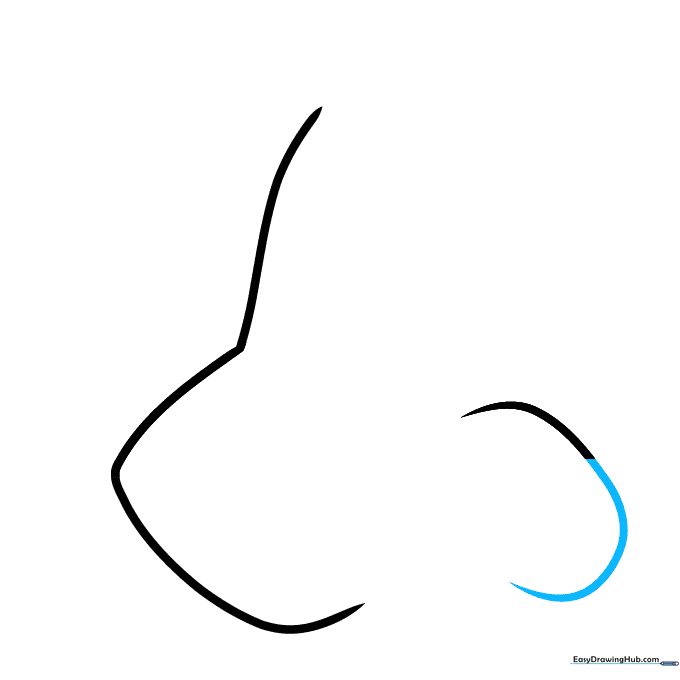
Draw a wider curve underneath to form a semi-circle. Tip: This creates the bottom of the nose; make sure it connects smoothly to the previous lines for a seamless look.
Step 5: Sketching the Nostril Detail
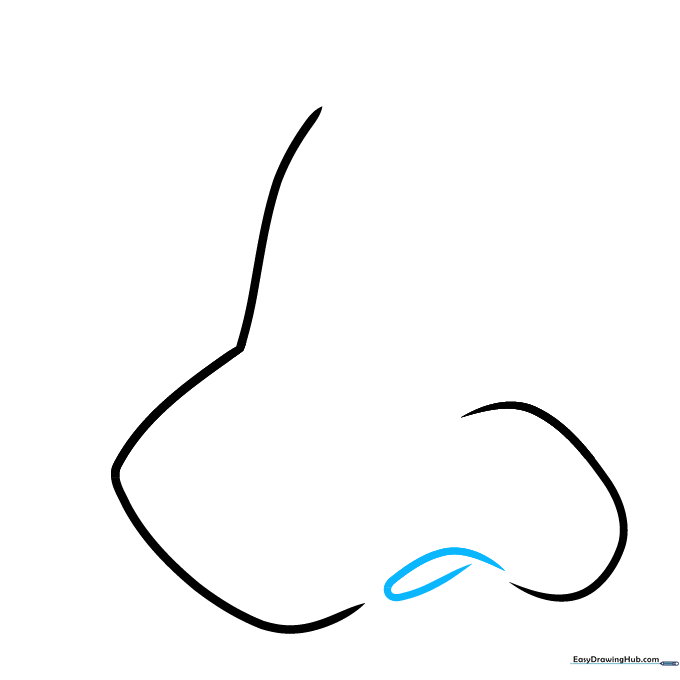
Sketch a hook shape, similar to the end of a sewing needle, between the lines you just drew. Tip: This adds depth and character to your drawing, making it look more professional.
Step 6: Adding the Side Nostril
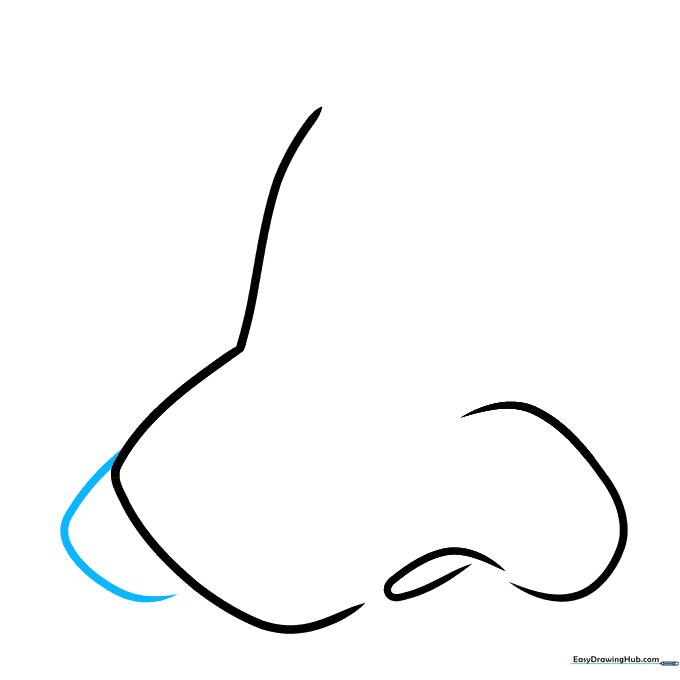
Add a smaller arrow pointing to the left on the side of the nose. Tip: Keep this shape small so it doesn't overpower the main nose structure.
Step 7: Defining the Nostril
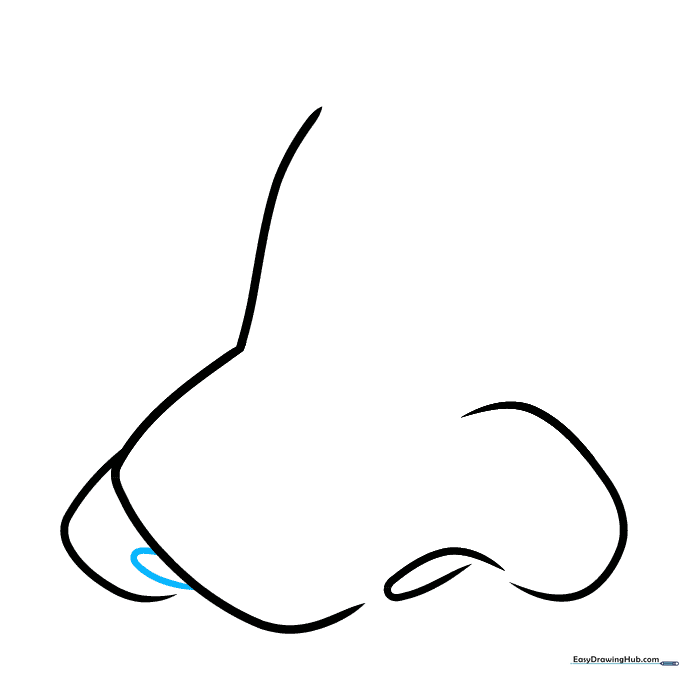
Sketch a small loop inside the side shape to outline the nostril. Tip: Don't press too hard; a delicate line looks more natural and less like a heavy outline.
Step 8: Adding Highlights
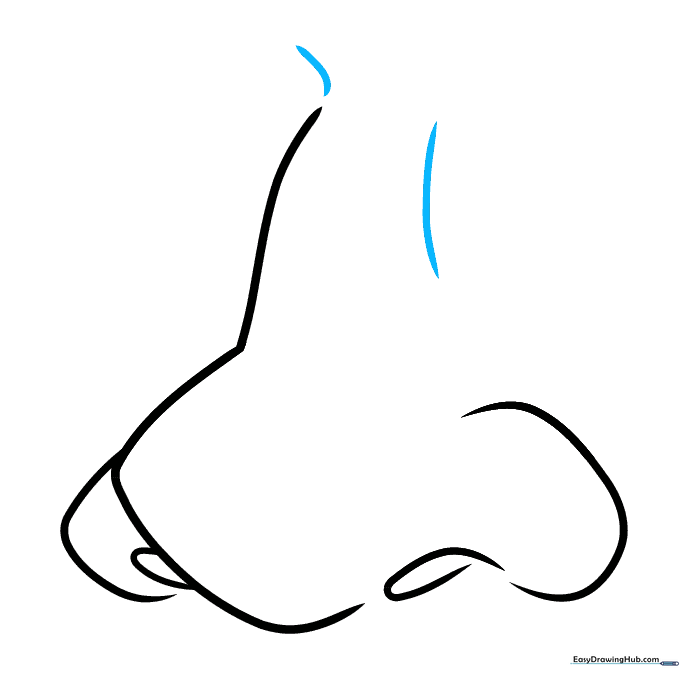
Add a dash on the top of the nose with a vertical curve to the side. Tip: These lines suggest where light is hitting the nose, giving it a 3D effect.
Step 9: Final Details
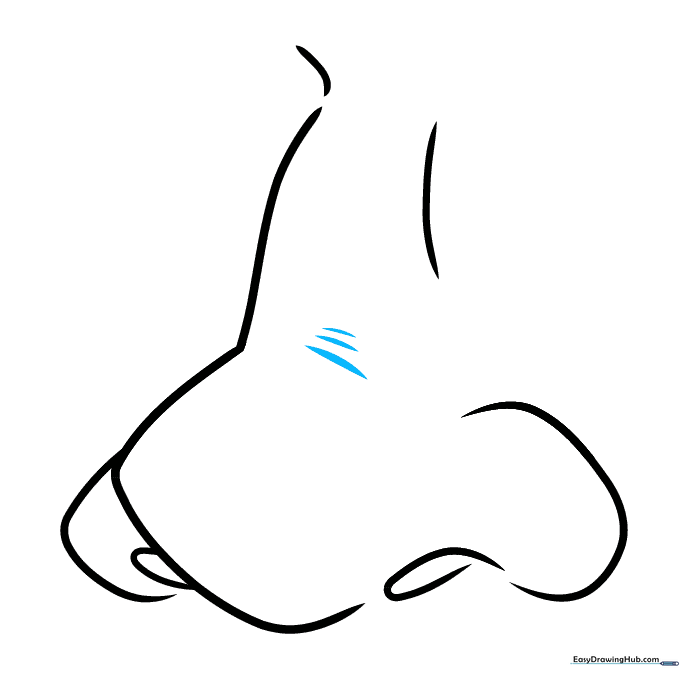
Sketch three dashes to highlight the tip of the nose. Tip: Vary the length of the dashes slightly to make the drawing look more organic and less mechanical.
Step 10: Inking and Shading
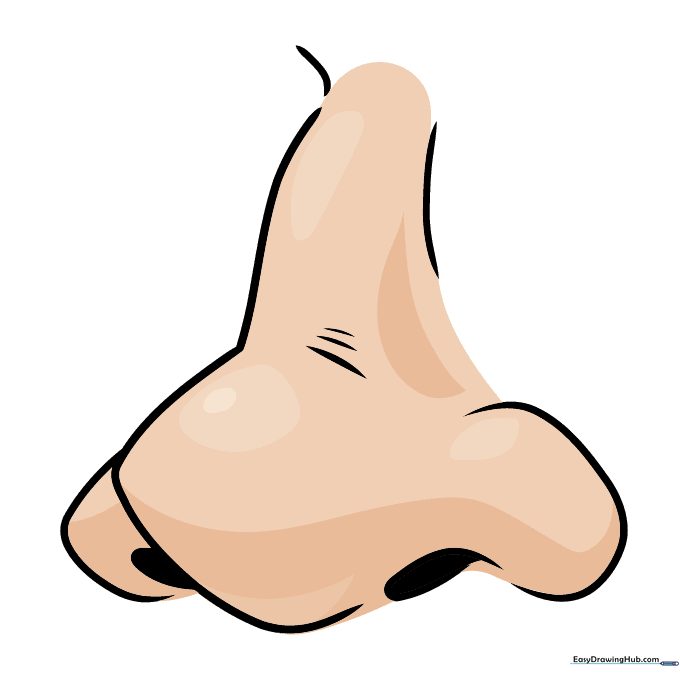
Outline your drawing with a black pen. Once the ink is dry, erase your pencil lines. For shading, use a light skin tone, keeping the top of the nose brightest and adding a soft shadow near the nostrils.
More Tutorials


