How to Draw a Cartoon Ninja: Easy 10-Step Guide
Ready to master the art of stealth? This tutorial is perfect for young artists ages 6+ who want to create their own action-packed character. All you need is a pencil, an eraser, and a sheet of paper to bring this ninja to life.
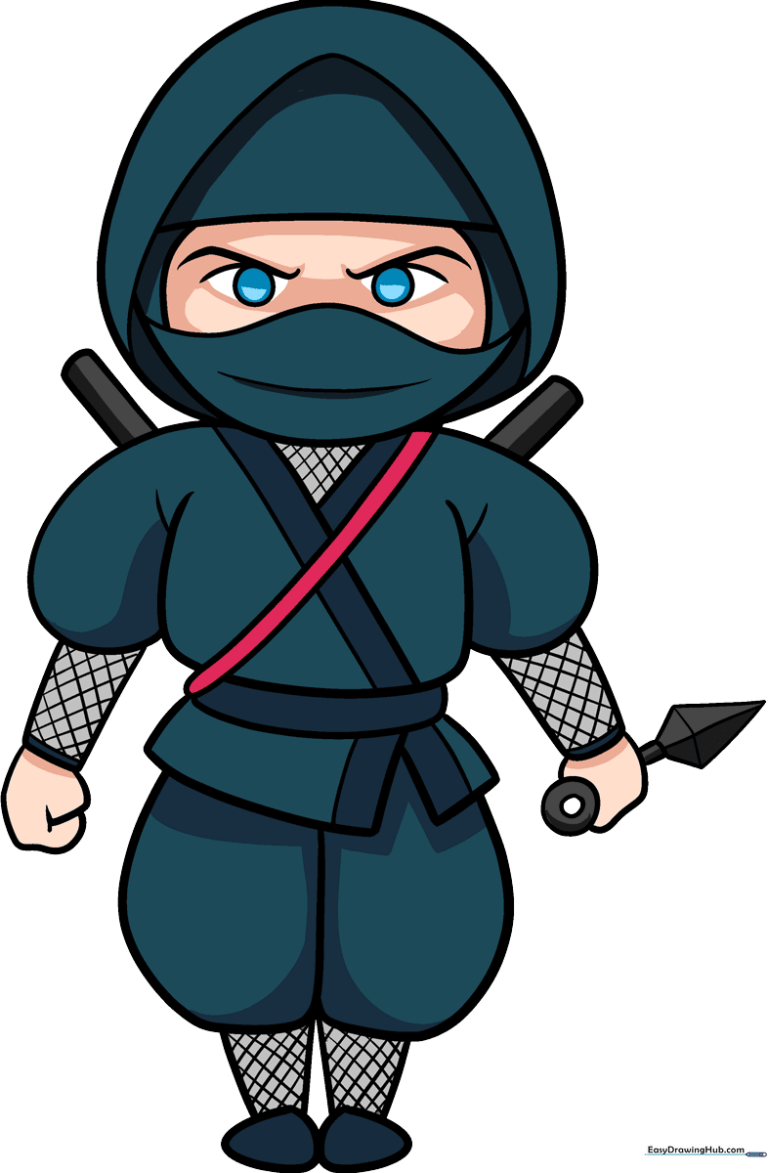
🎯 Final Result
Step-by-Step Instructions
Step 1: Sketching the Hood
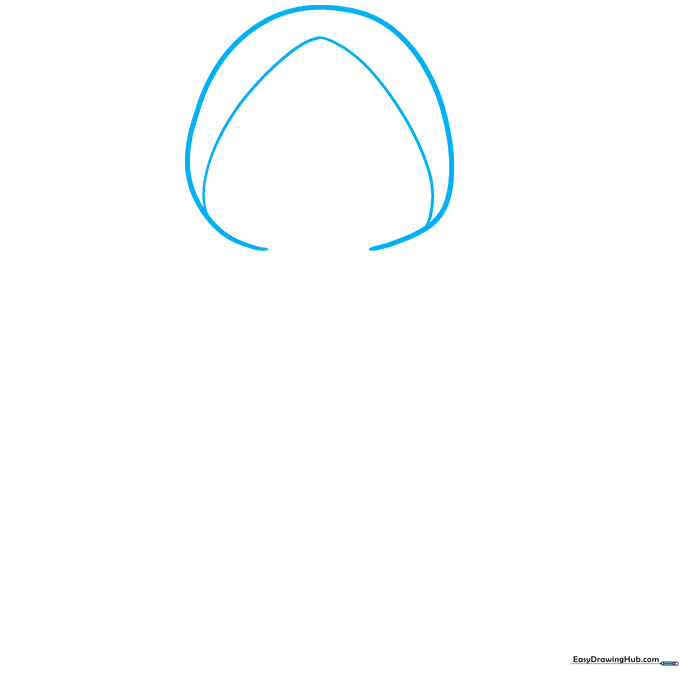
Begin by sketching the ninja’s head using a long, curved line to form an incomplete circle. Add a rounded, inverted “V” shape inside to define the hood opening. Teacher's Tip: Keep your lines light and loose—this is just the foundation for your character's face.
Step 2: Adding the Face Mask
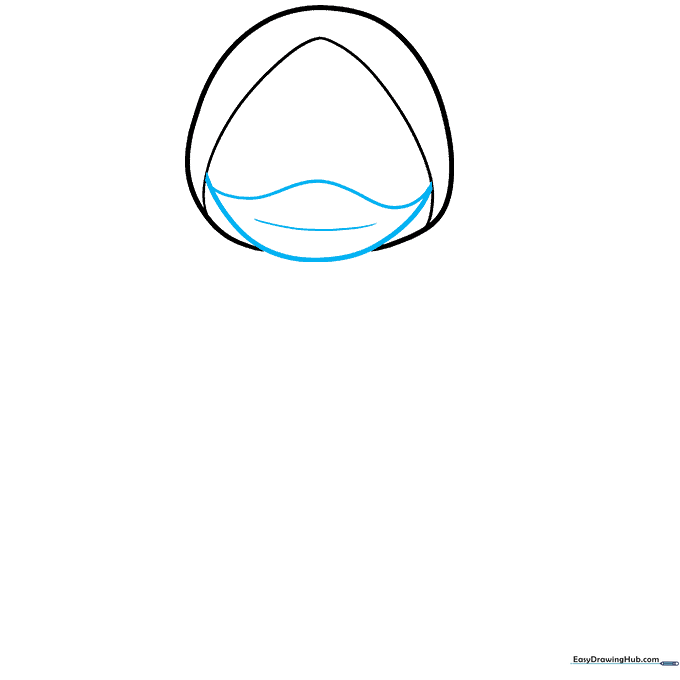
Draw a mask across the lower part of the face using curved lines that follow the contour of the chin. Teacher's Tip: Make sure the mask looks like it is wrapping around the head by curving your lines slightly toward the ears.
Step 3: Drawing the Eyes
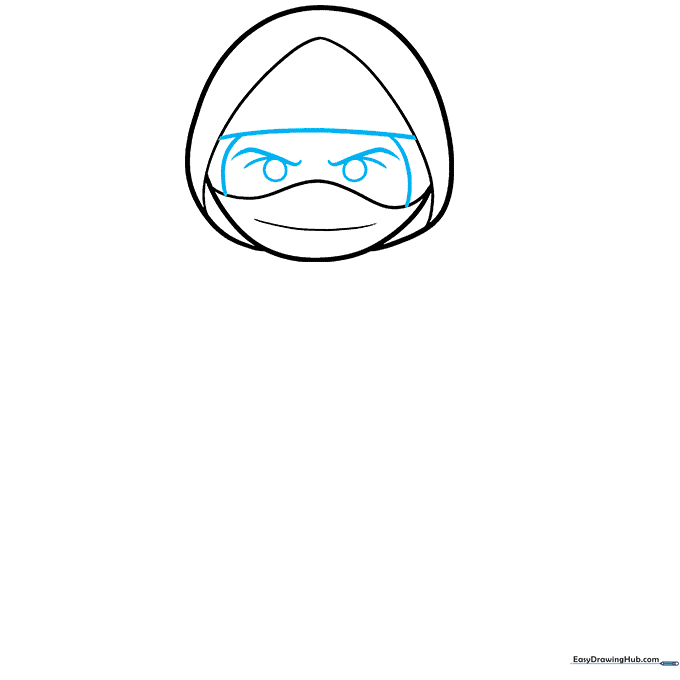
Add a horizontal line across the top of the face and vertical lines at the sides to frame the eyes. Draw two curved lines for the eyebrows and enclose circles for the eyes. Teacher's Tip: Keep the eyes symmetrical to give your ninja a focused, alert expression.
Step 4: Outlining the Torso
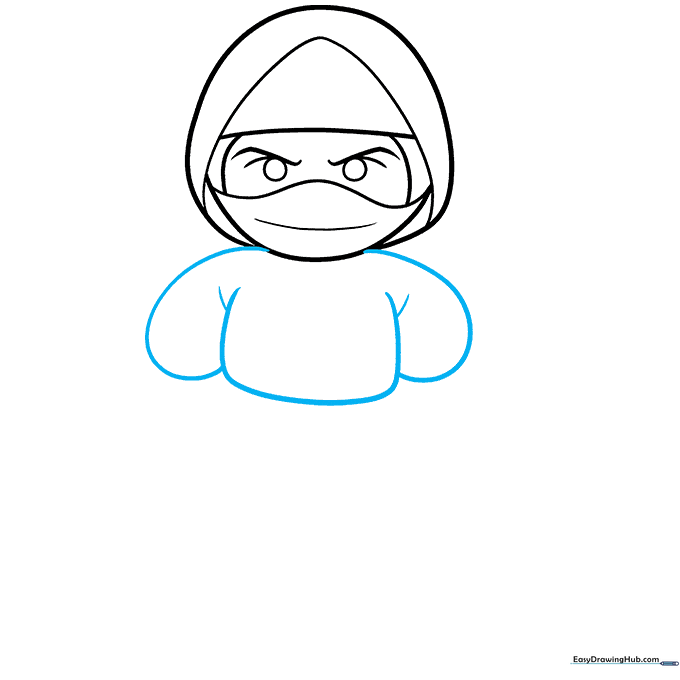
Sketch the torso and arms using smooth, curved lines. Draw a short line to form a “Y” shape where the arms meet the body. Teacher's Tip: Use long, sweeping strokes to make the ninja look agile and ready for action.
Step 5: Adding Tunic Details
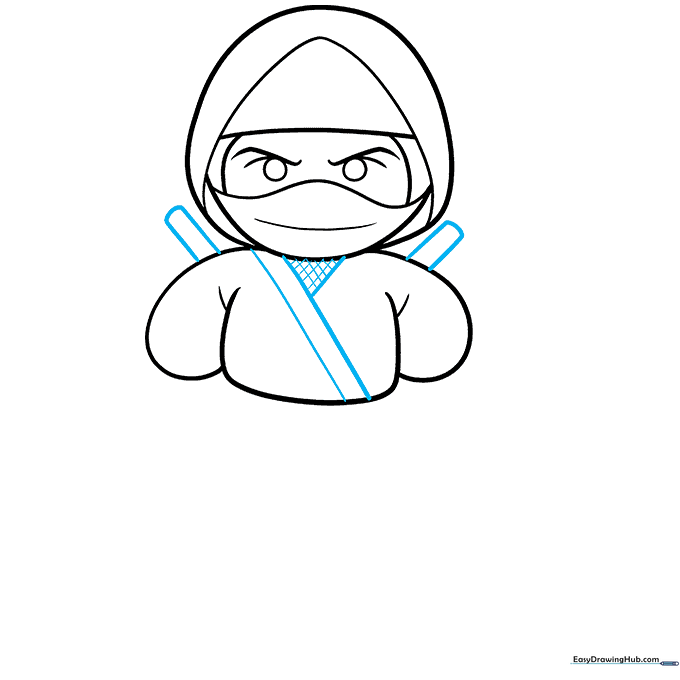
Draw parallel diagonal lines across the tunic, then cross them to create a checkerboard pattern. Add narrow rectangles above the shoulders for weapon handles. Teacher's Tip: Use a ruler if you find it hard to keep your crosshatch lines straight!
Step 6: Drawing the Belt and Tunic Ends
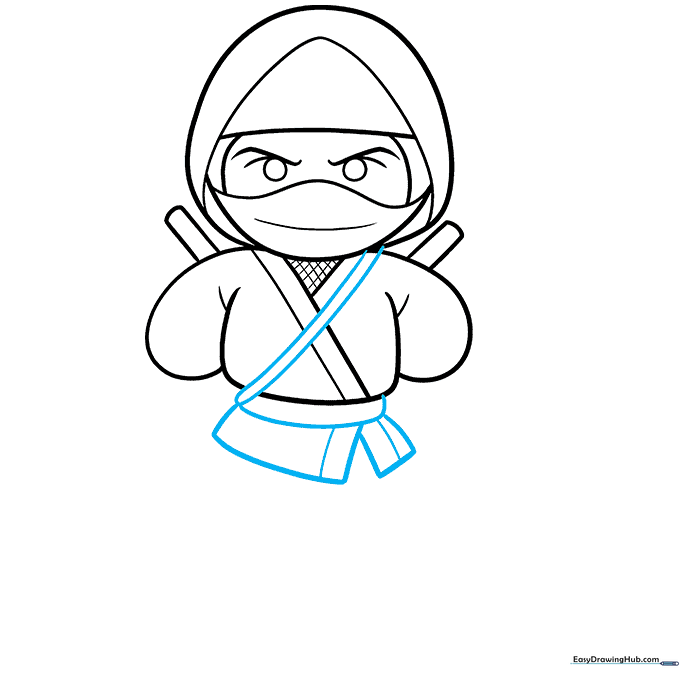
Draw a curved rectangle for the belt and two more for the ends of the tunic. Band each section with a curved line for detail. Teacher's Tip: Ensure the belt looks tight to show the ninja is prepared for movement.
Step 7: Sketching Legs and Feet
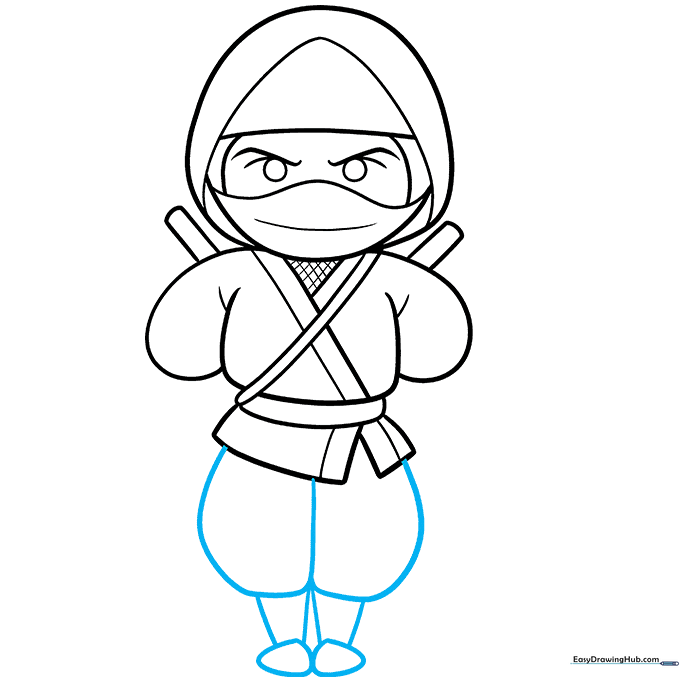
Use curved lines to enclose the legs and feet. Connect them with pairs of lines to show the ninja's stance. Teacher's Tip: Keep the legs slightly bent to give your character a dynamic, ready-to-jump pose.
Step 8: Adding Sleeve and Leg Details
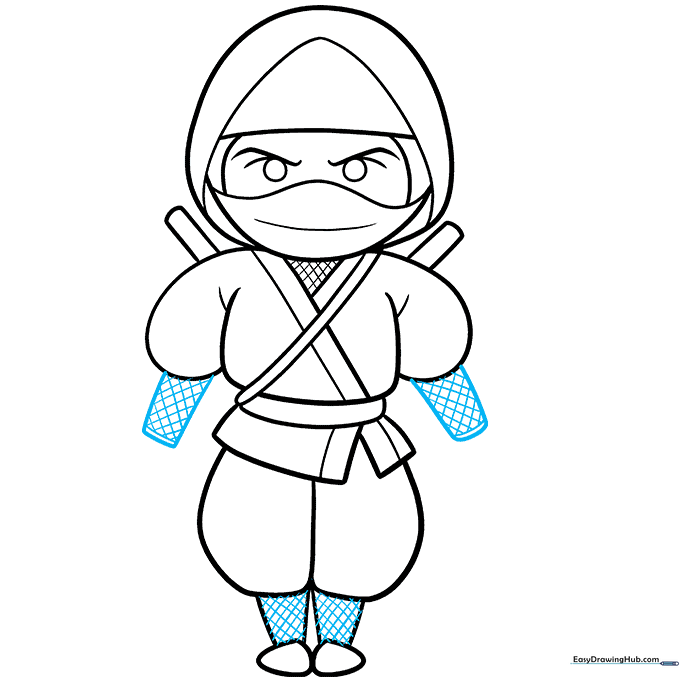
Draw rectangles on the sleeves and legs, then fill them with a crosshatch pattern. Teacher's Tip: This texture adds depth and makes the ninja's outfit look like authentic fabric wrappings.
Step 9: Finalizing the Weapon
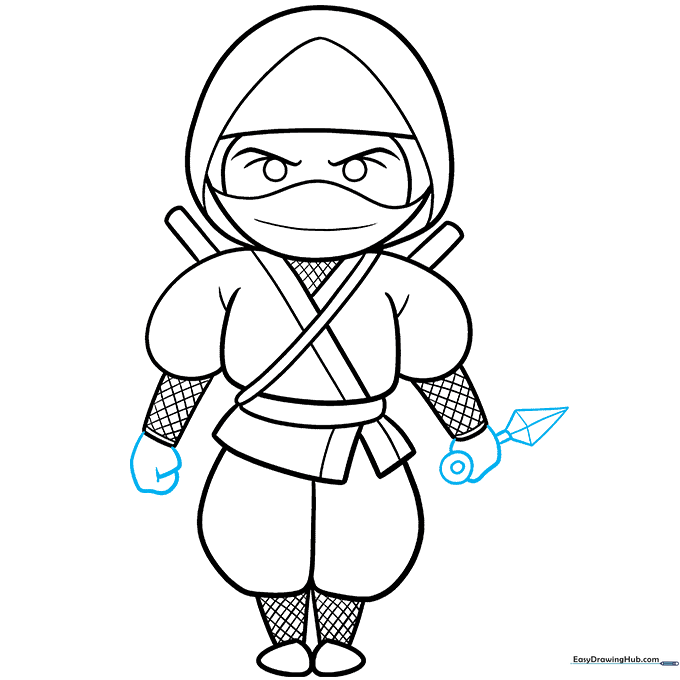
Enclose the fists and draw a dagger in one hand. Use small circles for the pummel and a diamond shape for the blade. Teacher's Tip: Focus on the grip—make sure the hand lines overlap the weapon handle to show it's being held firmly.
Step 10: Color Your Ninja
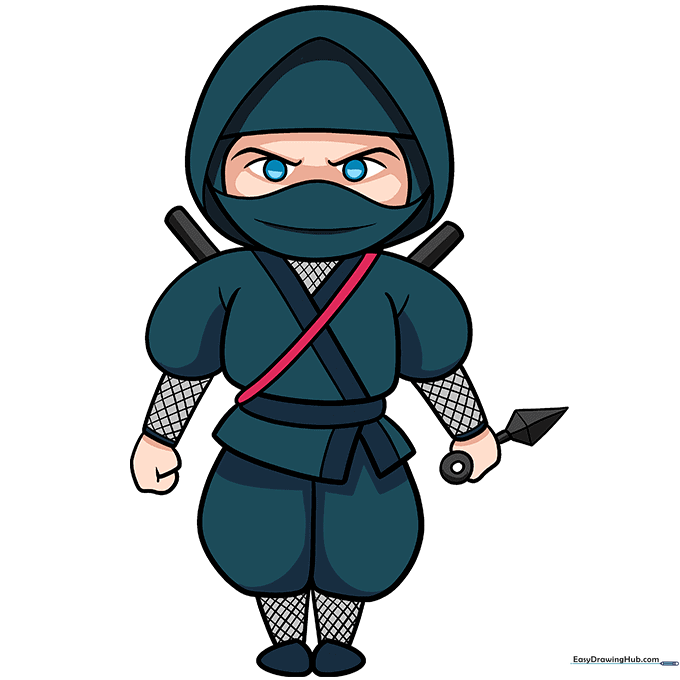
Your outline is complete! Now, bring your ninja to life with color. Traditional ninjas wear dark blues or blacks, but feel free to get creative with your own color scheme. Teacher's Tip: Use markers for bold, flat colors that really make your character pop.
More Tutorials


