How to Draw a Cartoon Moon: Easy 9-Step Guide for Kids
Bring the night sky to life with this friendly cartoon moon! This screen-free activity is perfect for young artists ages 5 and up, requiring only a pencil, paper, and an eraser. Follow these simple steps to build confidence and develop essential fine motor skills through fun, character-based drawing.
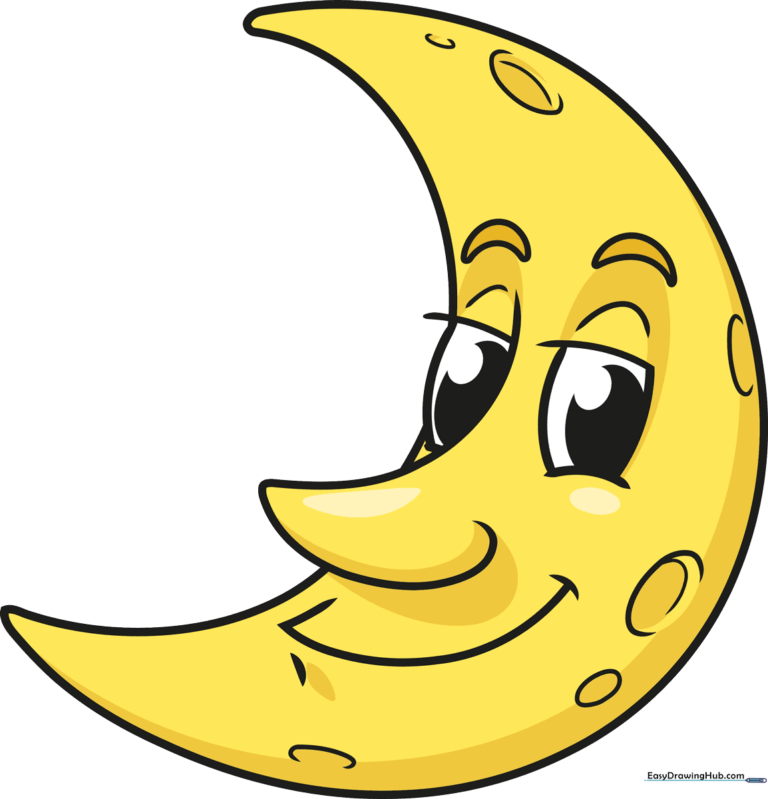
🎯 Final Result
Step-by-Step Instructions
Step 1: Sketching the First Eye
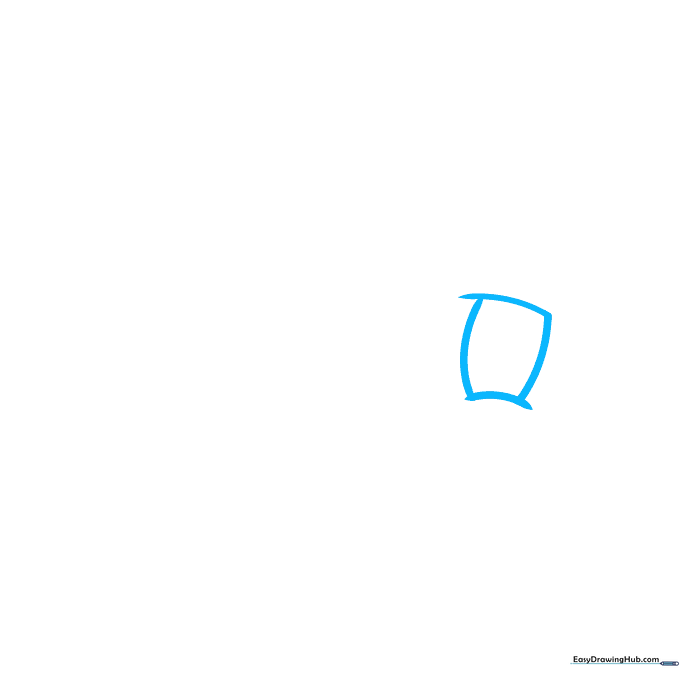
Start by drawing a rectangle with slightly curved lines for the moon's first eye. Teacher's Tip: Make sure the corners overlap slightly to give it a classic cartoon look.
Step 2: Adding Detail to the Eye
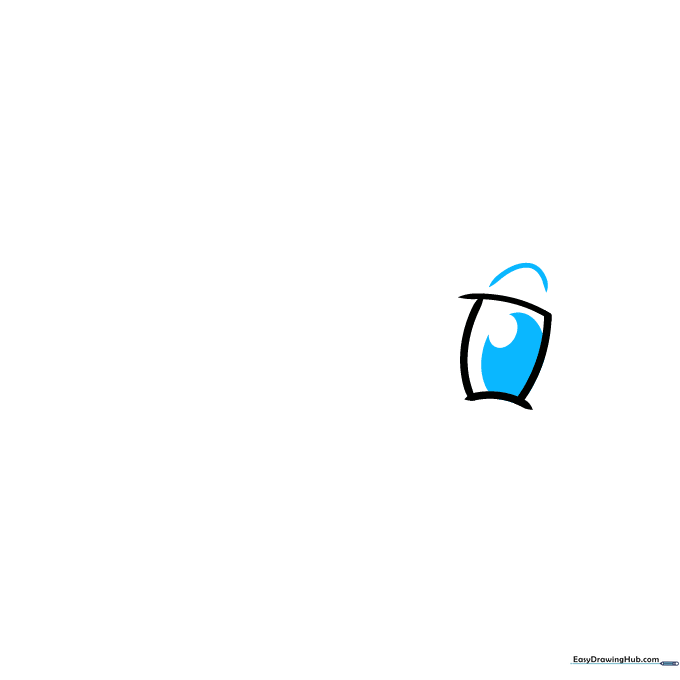
Draw a curved line above the eye for the eyelid. Inside, add an oval for the pupil and shade it in. Teacher's Tip: Leave a tiny white dot unshaded in the pupil to make the moon look like it's sparkling!
Step 3: Drawing the Nose
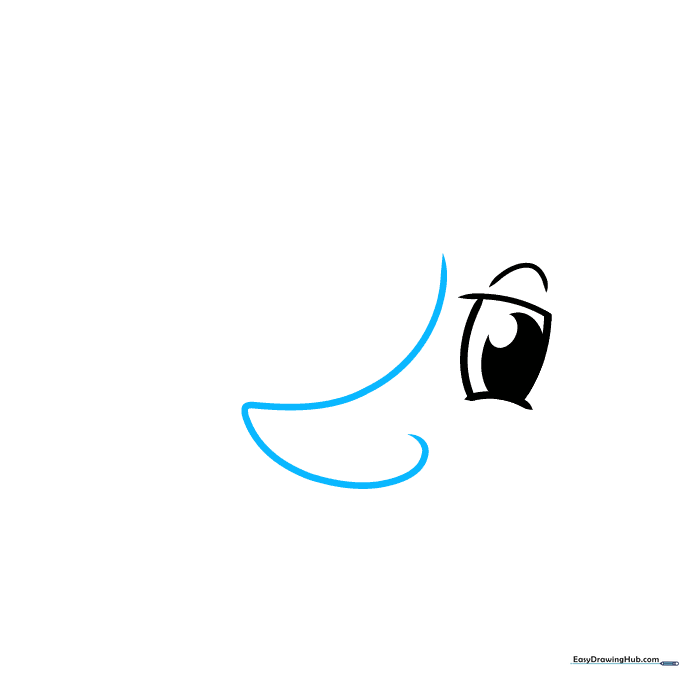
Draw a long, curved line that doubles back to form the nose, ending in a small spiral for the nostril. Teacher's Tip: Keep your hand relaxed to get a smooth, flowing curve.
Step 4: Sketching the Second Eye
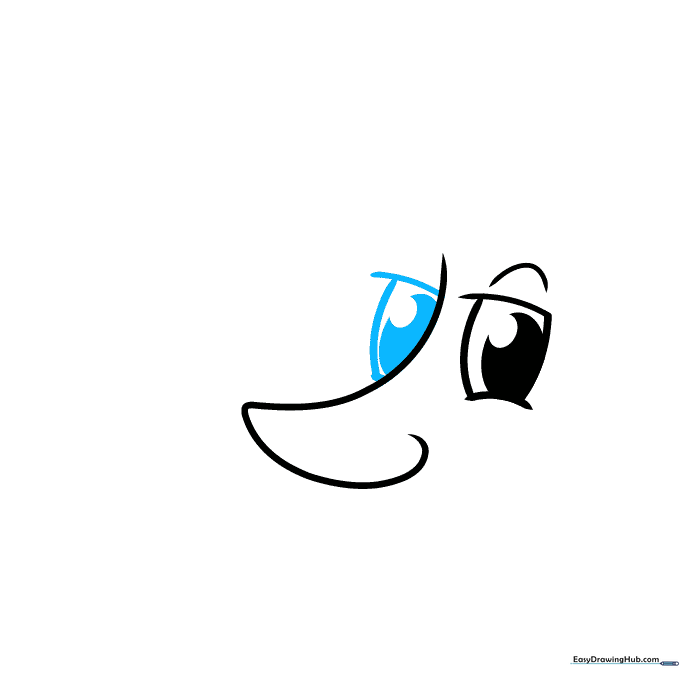
Draw the second eye partially hidden behind the nose. Add the pupil and shading just like you did in step two. Teacher's Tip: Consistency in eye size helps the character look balanced.
Step 5: Adding Eyebrows
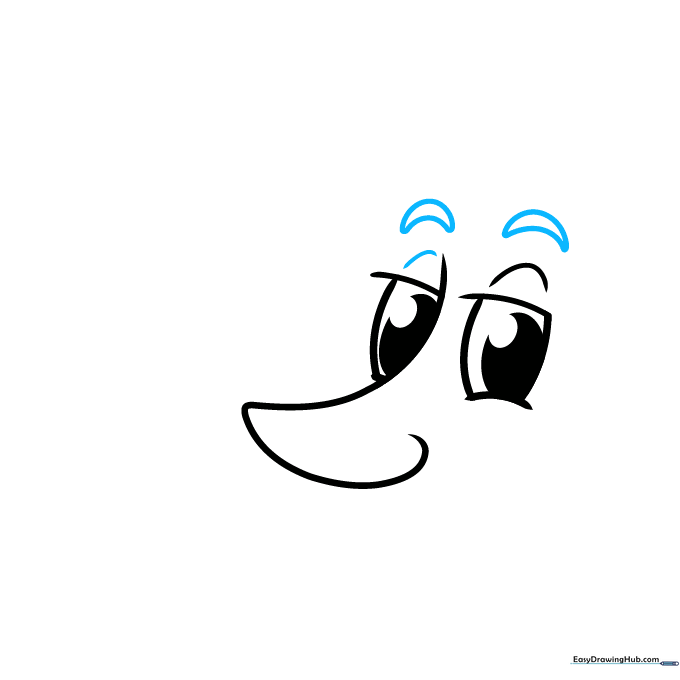
Draw curved lines above each eye, then enclose them to create crescent-shaped eyebrows. Teacher's Tip: Angling them slightly gives your moon a friendly, surprised expression.
Step 6: Drawing the Smile
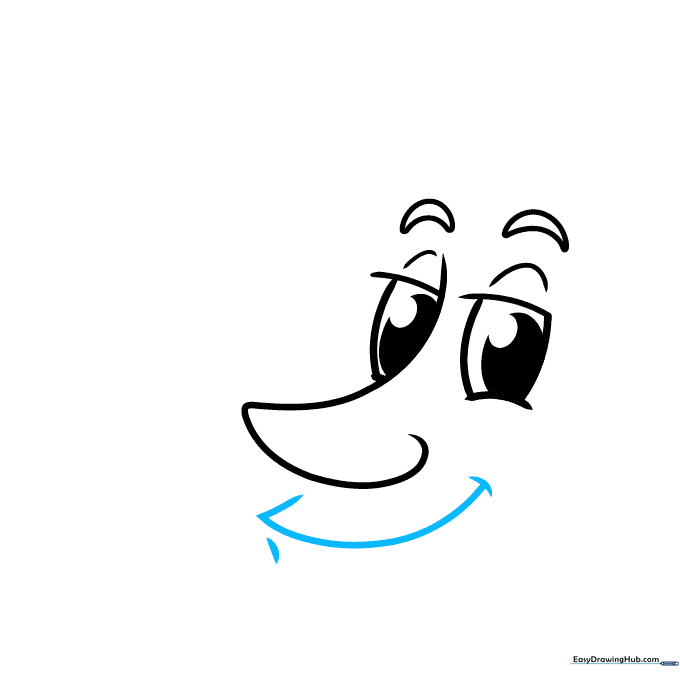
Draw a wide, happy curved line for the mouth, adding small lines at the corners and the lip for detail. Teacher's Tip: A big smile makes the moon look warm and inviting.
Step 7: Defining the Crescent Shape
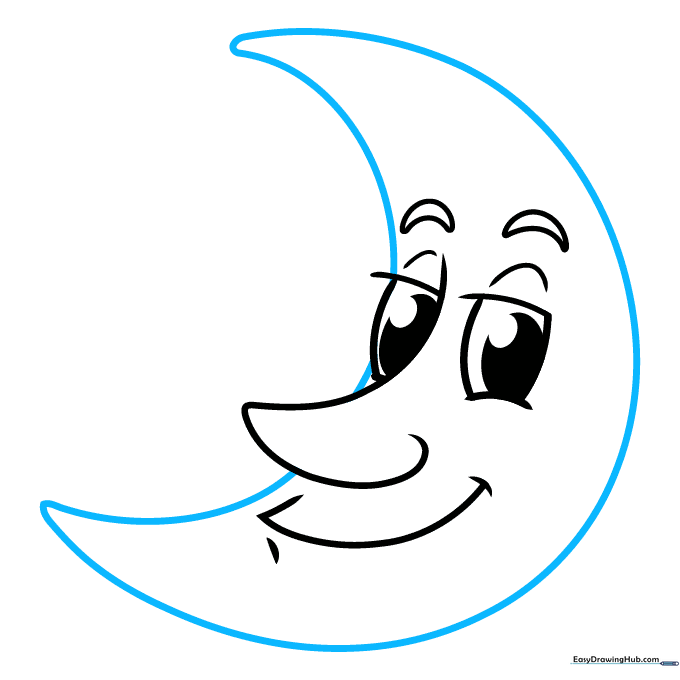
Use two long, sweeping curved lines to enclose the crescent moon shape. Teacher's Tip: Imagine the moon is wrapping around the face you just drew.
Step 8: Adding Craters

Add texture by drawing small ovals and 'C' shaped lines across the surface. Teacher's Tip: Varying the size of the craters makes the moon look more realistic.
Step 9: Final Touches
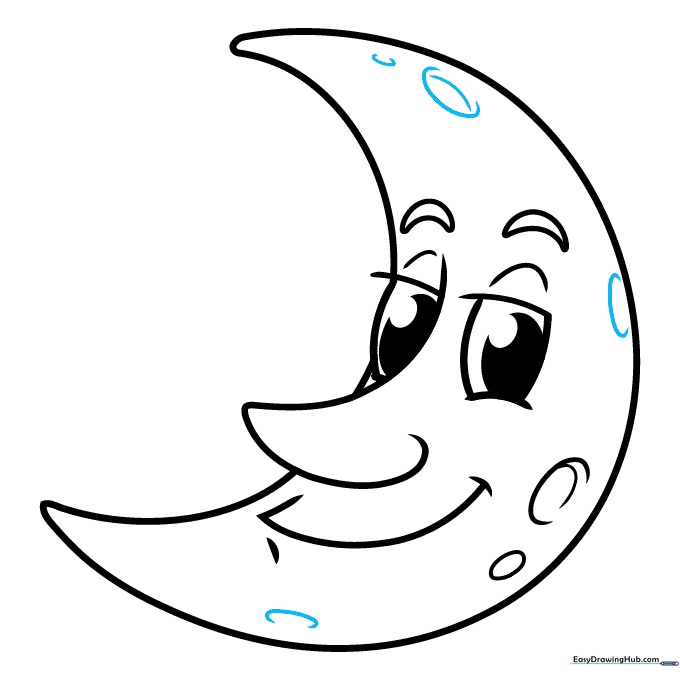
Add a few more 'C' shaped craters to complete the surface texture. Teacher's Tip: Now is the time to erase any stray pencil marks before you start coloring!
Color Your Cartoon Moon
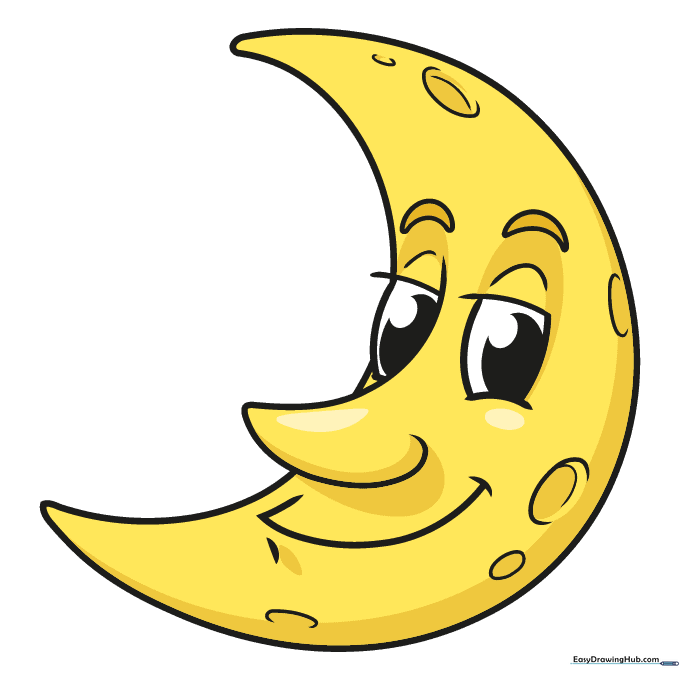
Bring your moon to life with color! Use yellow, soft orange, or even a pale blue. Teacher's Tip: Try using light yellow for the base and a slightly darker orange for the craters to create depth.
More Tutorials


