How to Draw a Cartoon Lizard: Easy 9-Step Guide
Ready to bring a friendly reptile to life? This tutorial is perfect for young artists ages 5 and up. You only need a pencil, an eraser, and a piece of paper to practice these simple, confidence-building shapes.
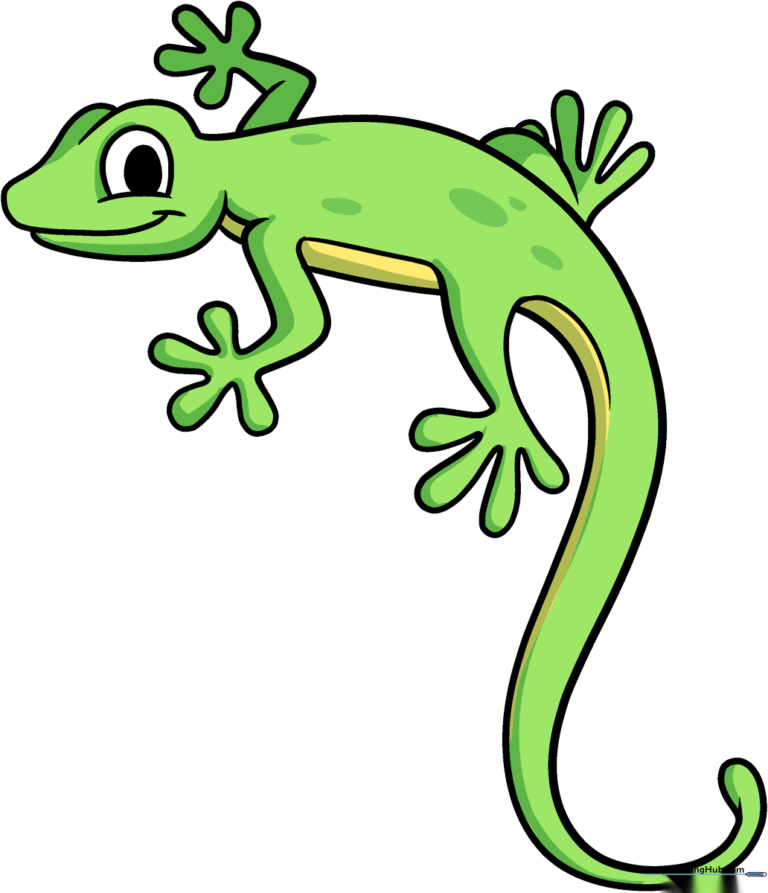
🎯 Final Result
Step-by-Step Instructions
Step 1: Sketching the Head and Eye
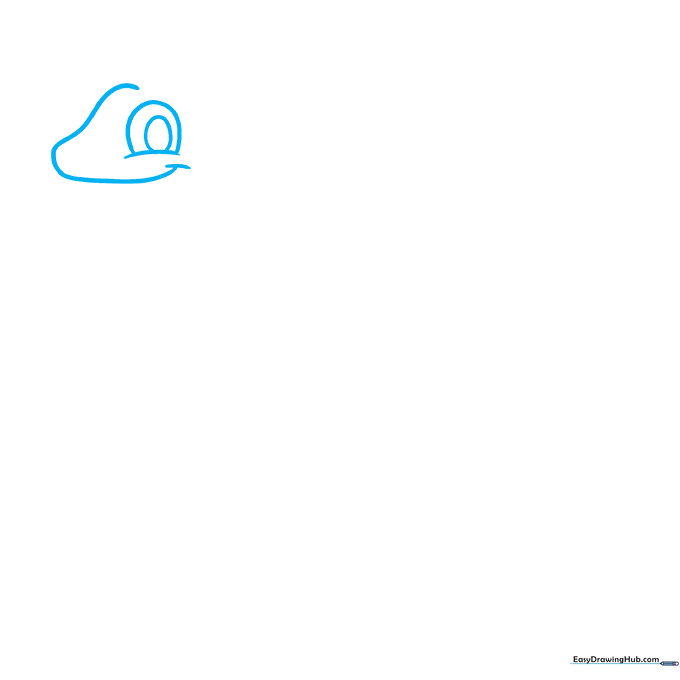
Draw a gentle curved line to form the top of the head. Add a small curve for the mouth, then sketch a partial oval for the eye. Teacher's Tip: Keep the eye shape simple—a smaller circle inside a larger one creates a friendly, alert expression.
Step 2: Defining the Jaw and Ridge
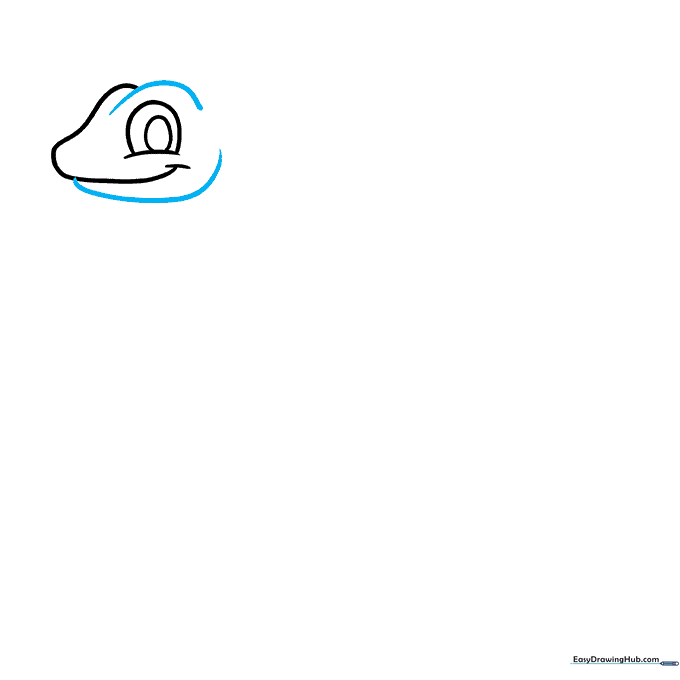
Add curved lines above and below the eye to create the brow ridge and the lower jaw. Tip: Use short, light strokes to help you find the right curve before committing to a darker line.
Step 3: Drawing the Back
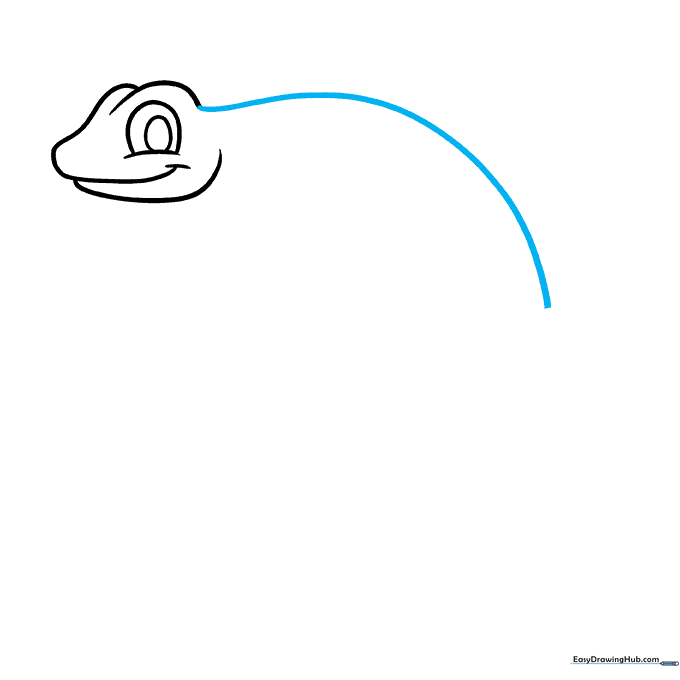
Extend a long, smooth curved line from the back of the head. This will be the lizard's back. Tip: Imagine the shape of a gentle hill to get the right flow for the spine.
Step 4: Starting the Tail
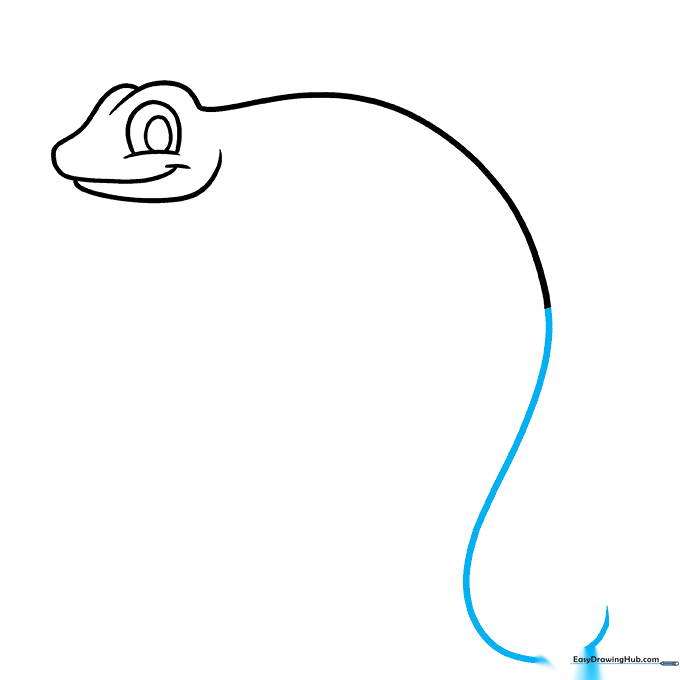
Continue that long line from the back to start the tail. Tip: Don't worry about making it perfect; lizards have flexible tails, so a natural, sweeping curve looks best.
Step 5: Finishing the Tail
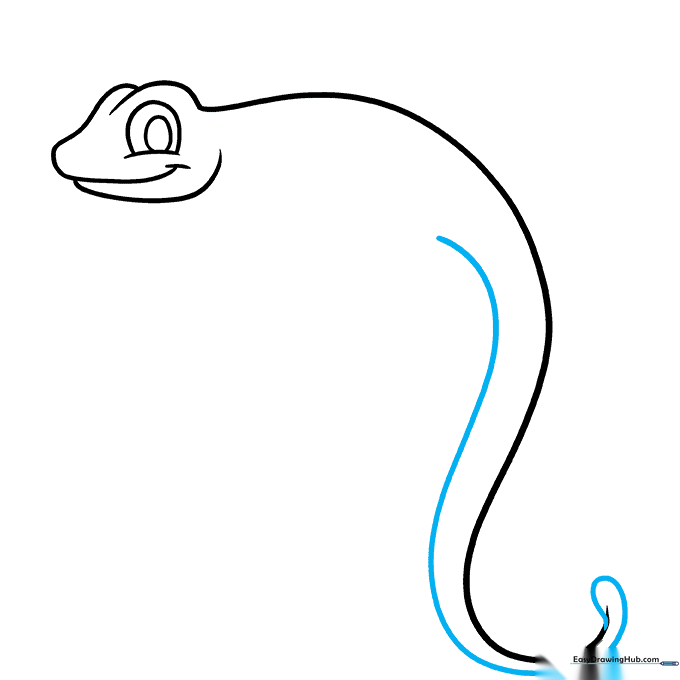
Draw a parallel line to complete the tail, rounding off the tip. Tip: Keep the tail slightly thicker at the base and taper it toward the end for a realistic cartoon look.
Step 6: Adding the Legs
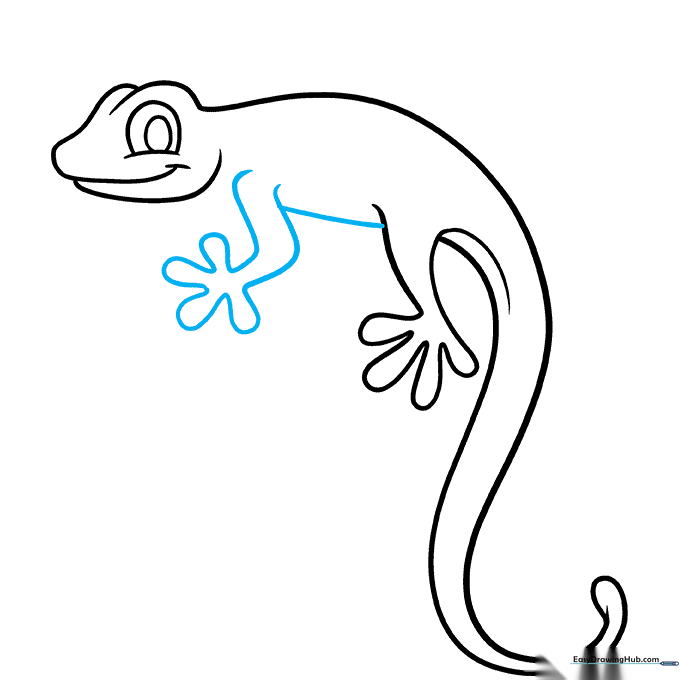
Draw the legs using curved lines that double back to form toes. Connect them with a line for the belly. Tip: Use short 'U' shapes for the toes to give them that cute, cartoonish grip.
Step 7: Connecting the Body
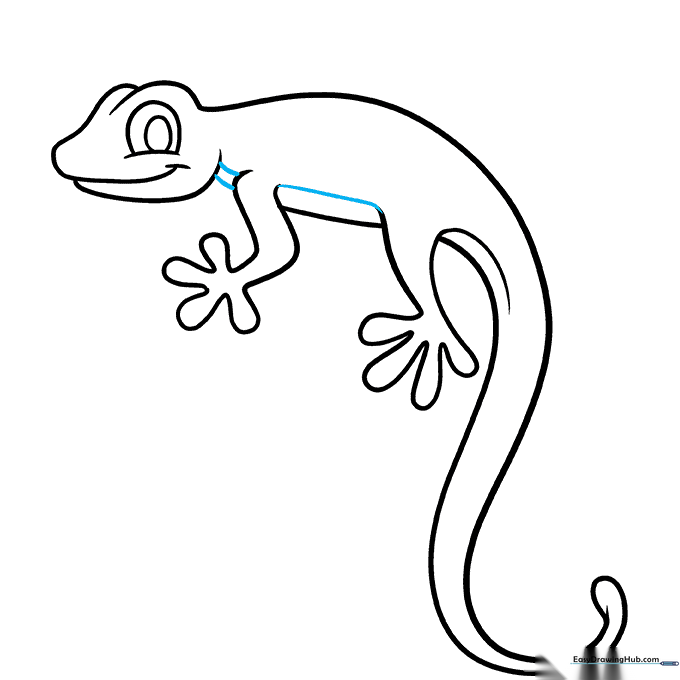
Draw short lines connecting the front leg to the head to close the outline. Add a line to separate the belly from the back. Tip: This helps define the lizard's posture.
Step 8: Adding the Foreleg
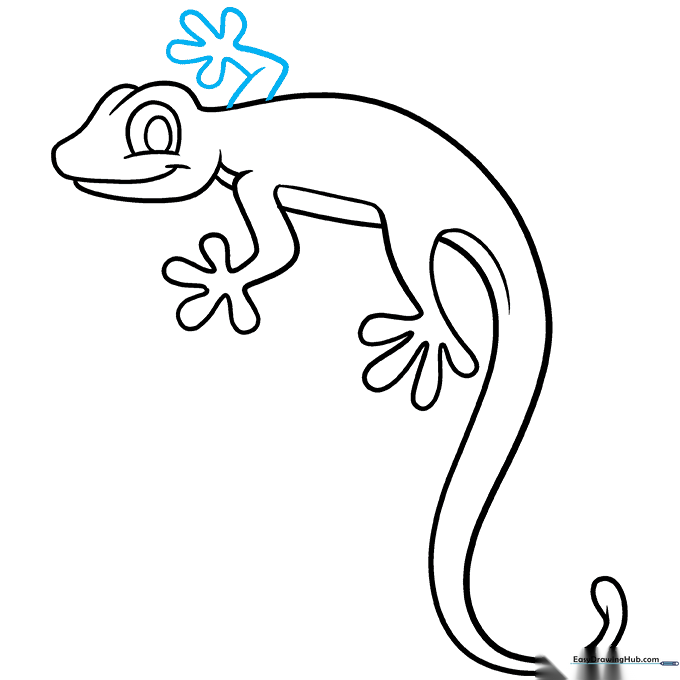
Draw the remaining foreleg using overlapping curved lines. Tip: Overlapping lines create the illusion of joints, making your drawing look more dynamic.
Step 9: Final Touches
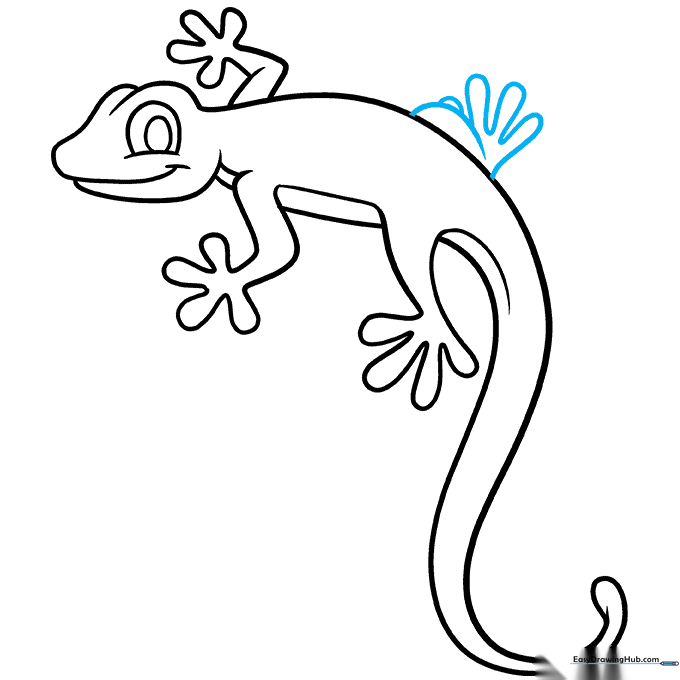
Draw the final back leg to complete the lizard's stance. Tip: Ensure the toes are consistent in size with the other feet to keep the drawing balanced.
Coloring Your Lizard
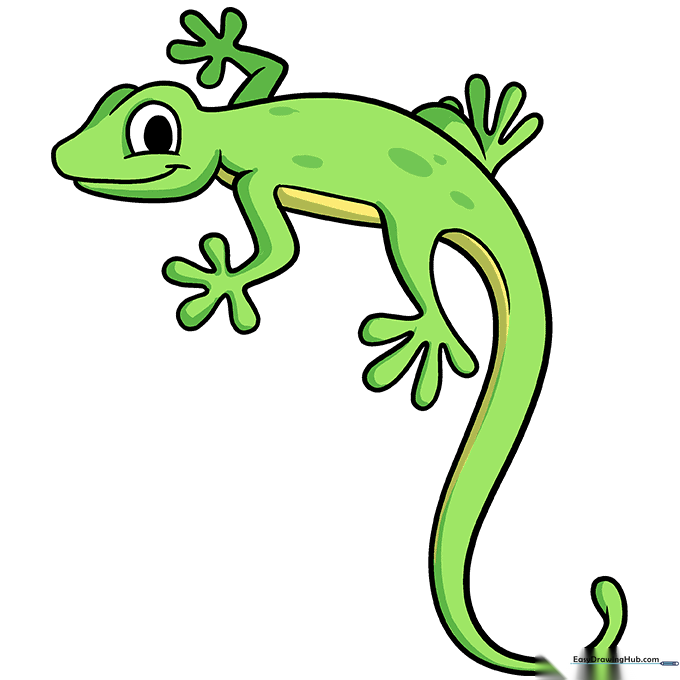
Time to bring your lizard to life! We used bright green for a classic look, but feel free to use yellow, orange, or even spots to make it your own. Tip: Use lighter colors for the belly to create contrast.
More Tutorials


