How to Draw a Cartoon Leprechaun: Easy 9-Step Guide
Bring a bit of Irish magic to your sketchbook! This tutorial is perfect for artists ages 5 and up, requiring only a pencil, eraser, and paper. You will learn to construct a friendly character from basic shapes, helping you master character proportions and facial expressions.
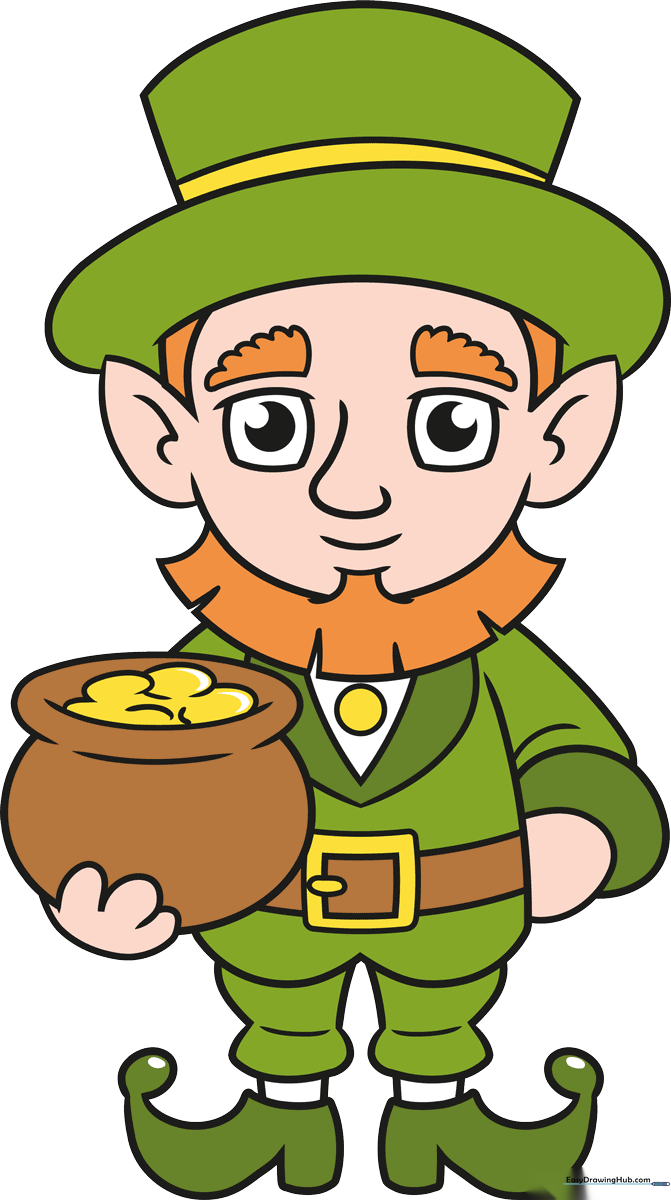
🎯 Final Result
Step-by-Step Instructions
Step 1: Sketching the Head and Ears

Draw a light, rounded shape for the chin and a curved line for the shoulders. Add two pointed triangles on the sides for ears. Teacher's Tip: Keep your pencil grip loose to ensure these lines stay light and easy to adjust later.
Step 2: Drawing the Pot of Gold
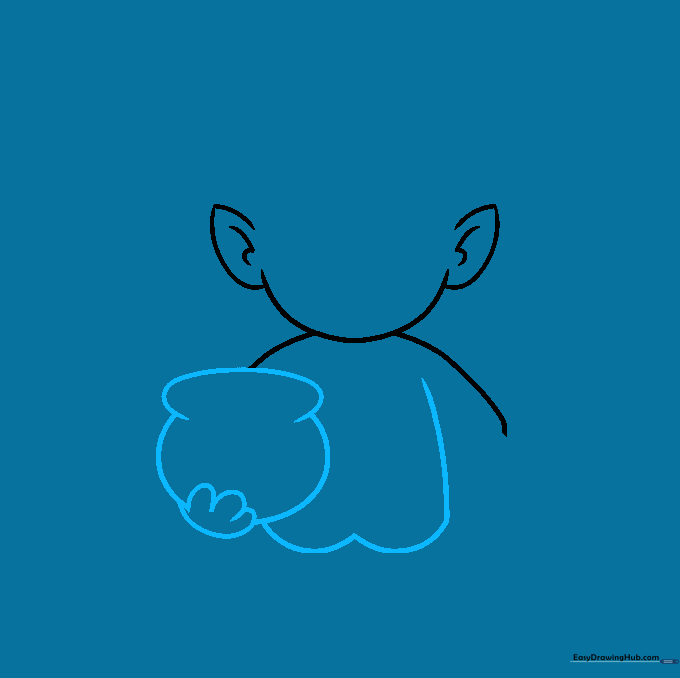
Use 'U' shaped lines to draw the hand gripping the pot, then enclose the pot with a rounded shape. Add a wide 'W' line for the torso. Teacher's Tip: Think of the pot as a simple bowl shape; don't worry about perfect symmetry!
Step 3: Adding the Collar
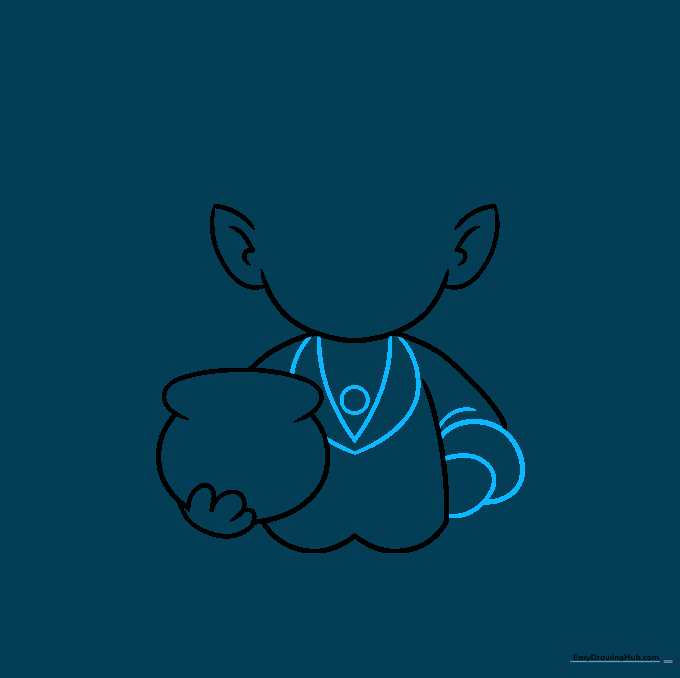
Complete the second arm and draw a 'V' shape under the neck for the collar. Add a small circle for the shirt button. Teacher's Tip: The collar should look like a folded piece of fabric, so keep your lines slightly angled.
Step 4: Designing the Belt
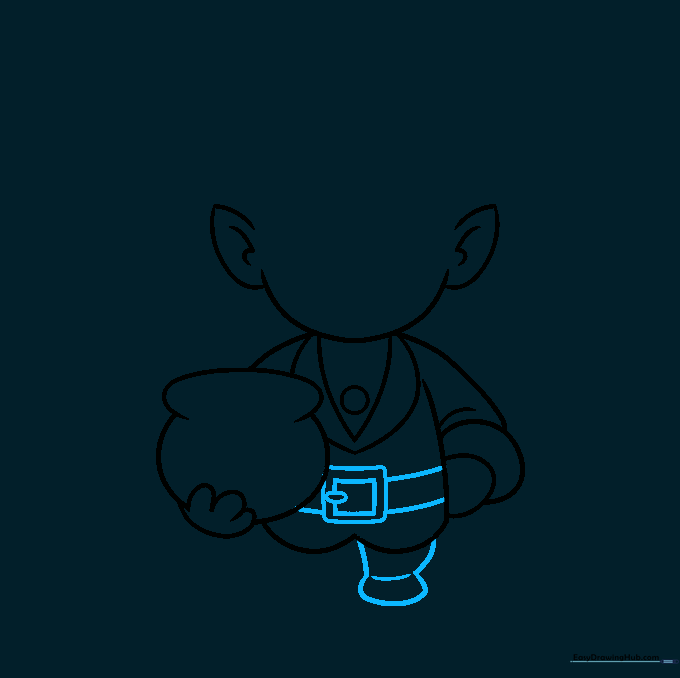
Draw a square buckle with an oval prong, then add parallel lines for the belt. Sketch the legs below the coat. Teacher's Tip: Use a ruler if you struggle with straight lines, but freehand adds more character!
Step 5: Filling the Pot
Draw the second leg and add partial ovals inside the pot to represent gold coins. Teacher's Tip: Vary the size of the ovals to make the gold look like a messy, overflowing pile.
Step 6: Drawing the Face
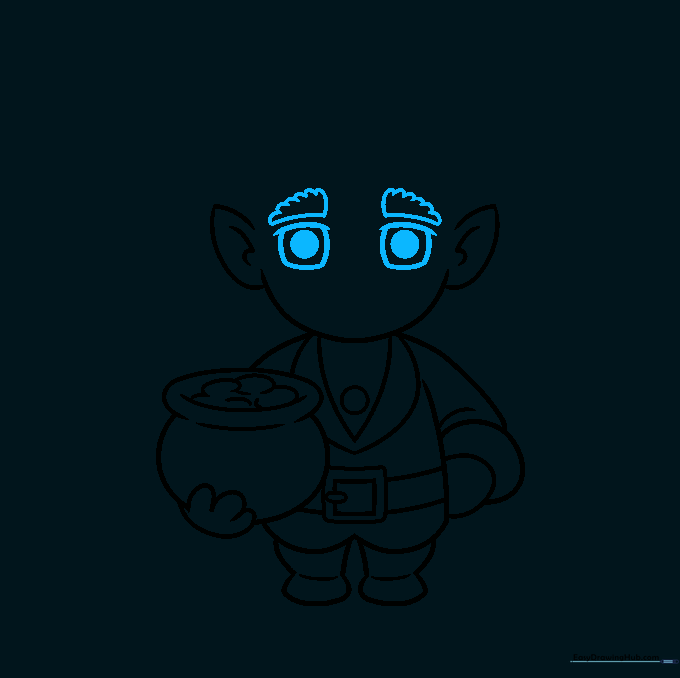
Sketch rectangular eyes with shaded pupils and bushy, scalloped eyebrows. Teacher's Tip: Make the eyebrows thick to give your leprechaun a grumpy or mischievous expression.
Step 7: Adding the Beard
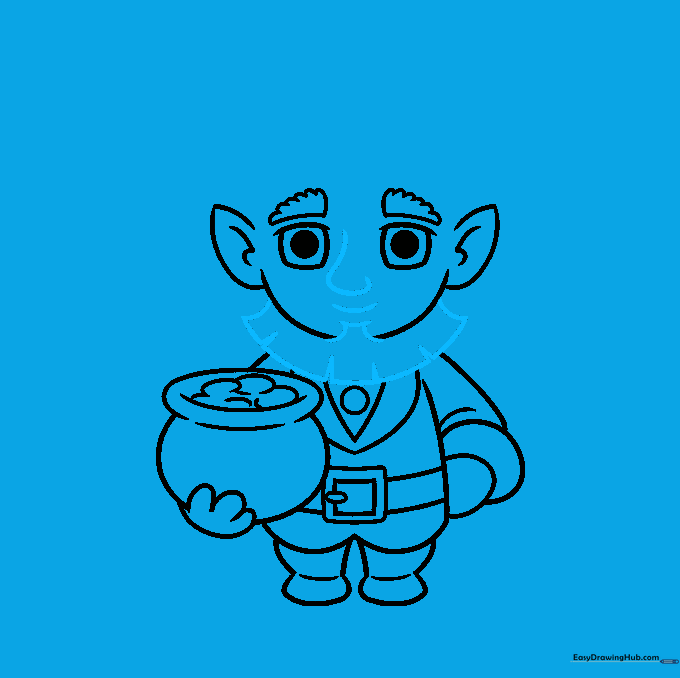
Draw a nose and a smiling mouth. Use 'V' shapes to create a bushy beard around the chin. Teacher's Tip: Erase the chin line behind the beard so it looks like it's sitting on top of his face.
Step 8: The Iconic Hat
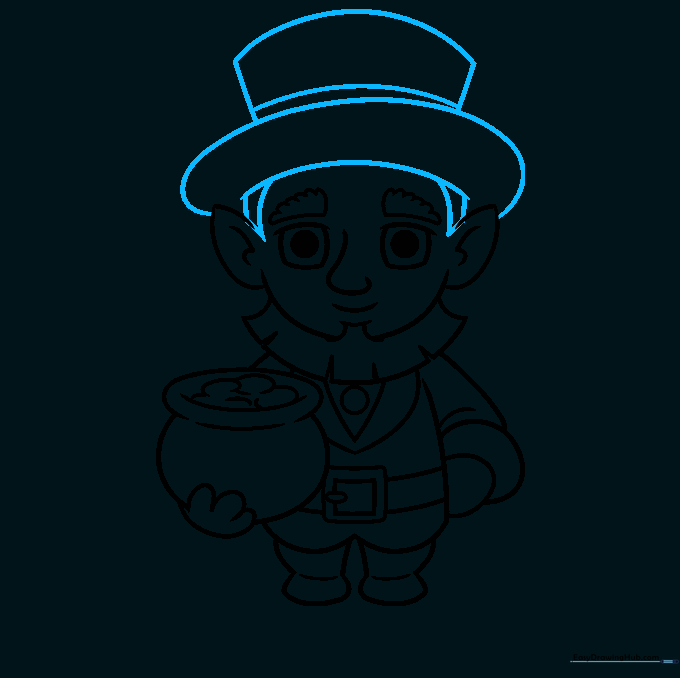
Draw the brim and crown of the hat, then add sideburns connecting to the ears. Teacher's Tip: Make the hat slightly tilted to give your character more personality.
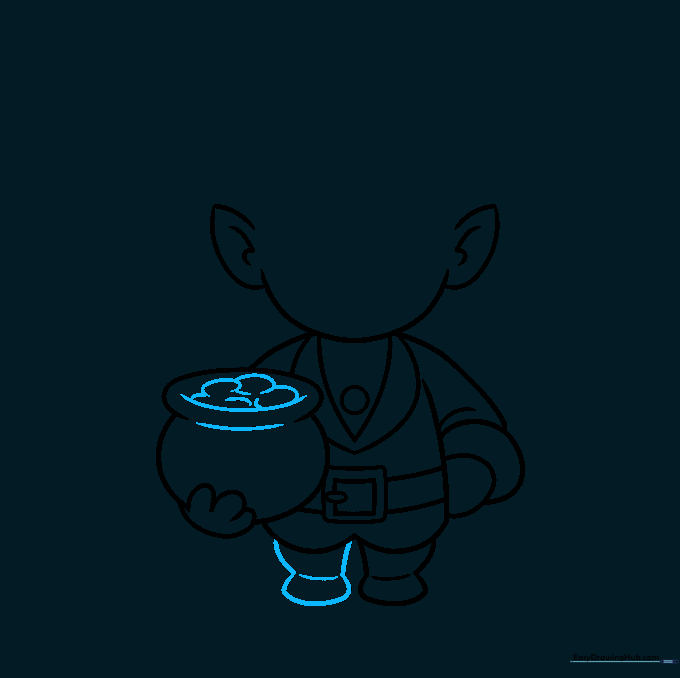
Step 9: Finishing the Shoes

Draw the pointed, heeled shoes with little balls at the tips. Teacher's Tip: These shoes are very stylized, so don't worry about making them look like normal sneakers!
Step 10: Coloring Time

Color your leprechaun with bright greens and orange hair. Teacher's Tip: Use a darker shade of green for the shadows under the hat to make your drawing pop.
More Tutorials


