How to Draw a Cartoon Knight: Easy 10-Step Guide
Ready to create your own brave defender? This tutorial is perfect for young artists ages 6+ looking to master character design. Grab your pencil, eraser, and paper, and follow along to build a knight from the ground up using simple geometric shapes.
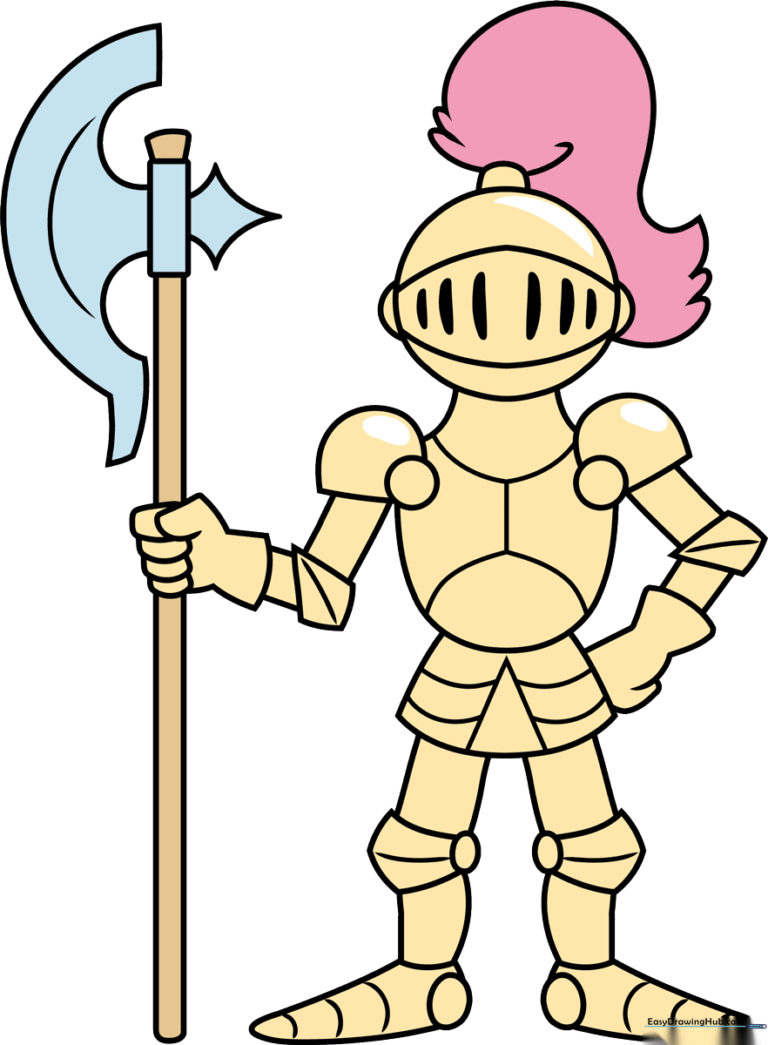
🎯 Final Result
Step-by-Step Instructions
Sketching the Neck and Shoulder Armor
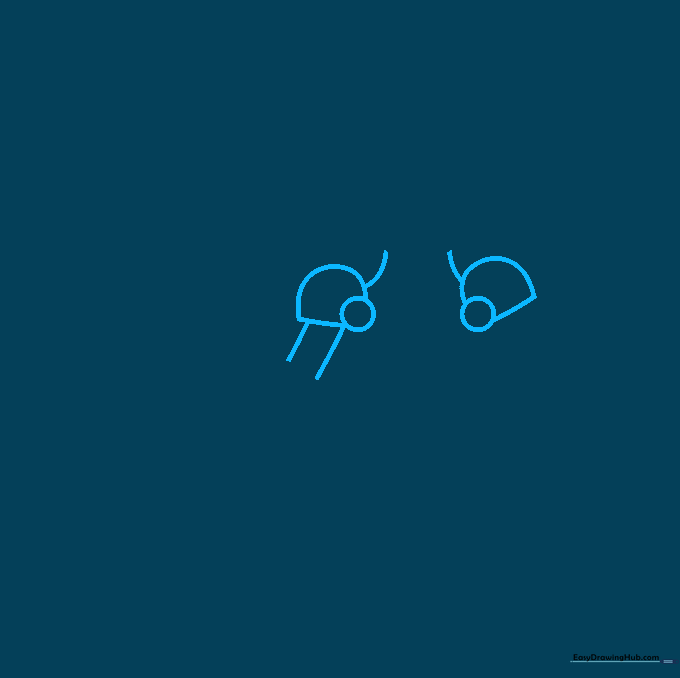
Start by drawing two curved lines for the neck. At the base, add a small circle flanked by larger half-circles to create the shoulder pads. Teacher's Tip: Keep your lines light and sketchy; you'll want to erase the overlapping parts later to make the armor look solid.
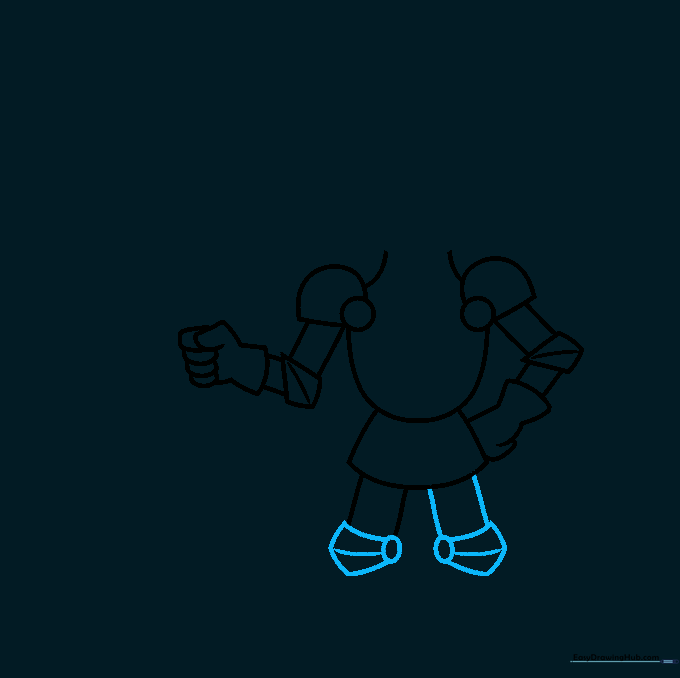
Forming the Elbow and Forearm

Draw a diamond shape for the elbow joint with a center line for detail. Extend two lines downward for the forearm and sketch the hand using simple, overlapping curved shapes. Teacher's Tip: If the fingers look tricky, think of them as small, rounded sausages attached to the wrist.
Adding the Second Arm
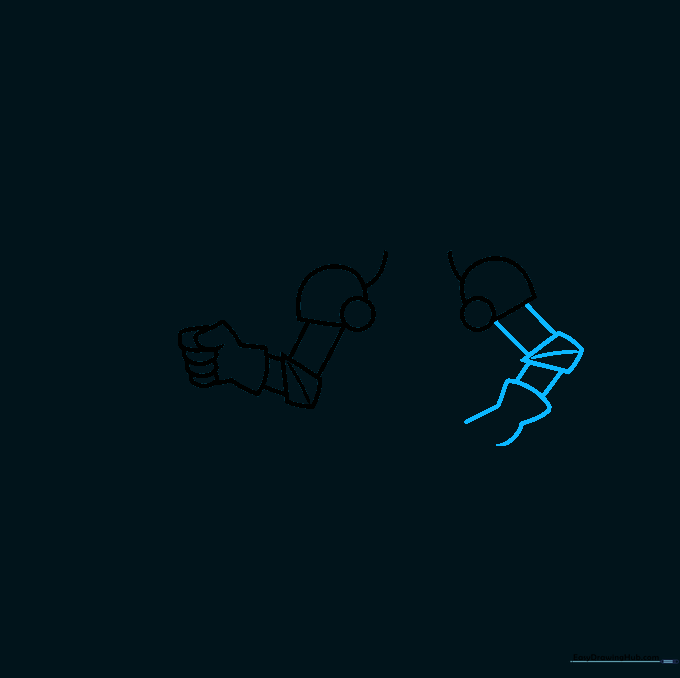
Mirror the process for the other arm: straight lines for the upper arm, a diamond for the elbow, and curved lines for the glove cuff. Teacher's Tip: Symmetry is key here, but don't worry if it's not perfect—knights are meant to look rugged!
Constructing the Torso
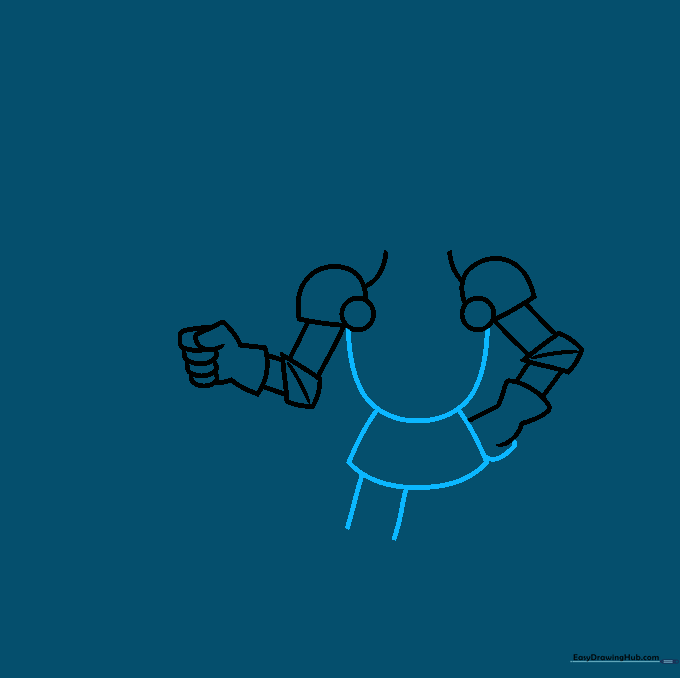
Draw a large 'U' shape for the torso and connect it to the shoulders. Extend two lines below to start the legs. Teacher's Tip: Make the torso wide to give your knight a strong, heroic posture.
Defining the Knees
Add the second leg and place a small circle at each knee, followed by partial diamond shapes for the knee armor. Teacher's Tip: Adding these small circles makes the joints look like real articulated armor.
Drawing the Helmet and Plume
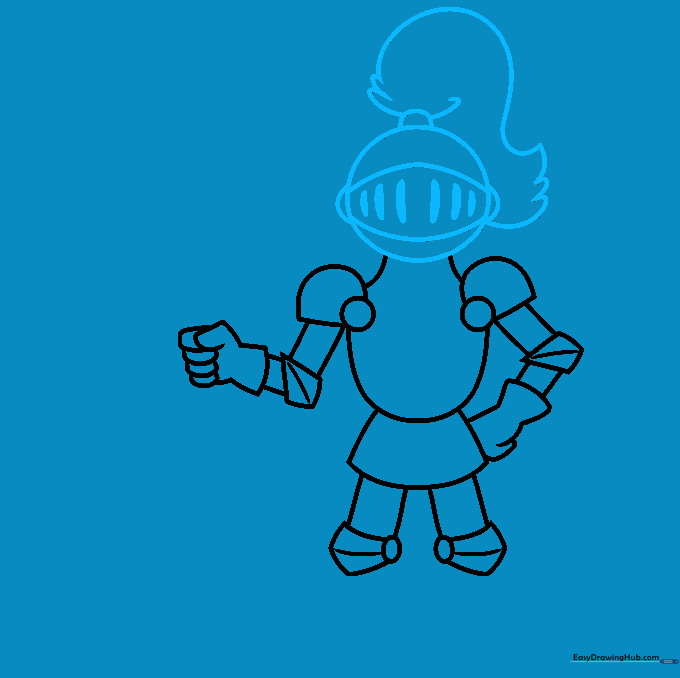
Draw a circle for the head, adding a grate pattern for the visor and a feathery plume on top. Teacher's Tip: Use quick, flicking motions with your pencil to make the plume look soft and feathery.
Adding Boots and Ankle Details

Enclose the lower legs with rectangles and add rounded triangles for the feet. Add a small circle at the ankle for extra detail. Teacher's Tip: Keep the feet slightly pointed to give the knight a dynamic, standing pose.
Refining the Armor
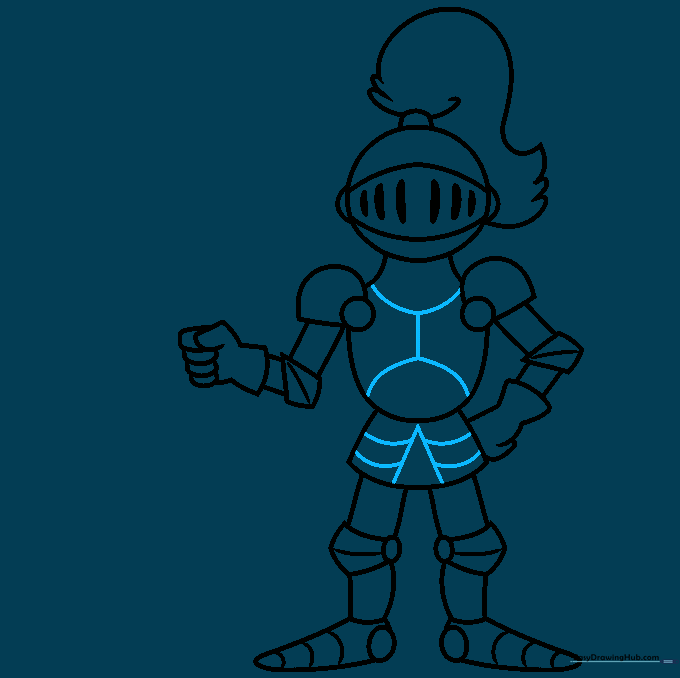
Add 'V' shaped lines and extra curves to the armor plates to make them look layered. Teacher's Tip: These small lines add texture, making the armor look like it's made of multiple pieces of metal.
Drawing the Pole Axe
Draw a long handle with a rectangle and trapezoid at the top, then add curved blades to finish the pole axe. Teacher's Tip: Use a ruler if you want the handle to be perfectly straight!
Coloring Your Knight
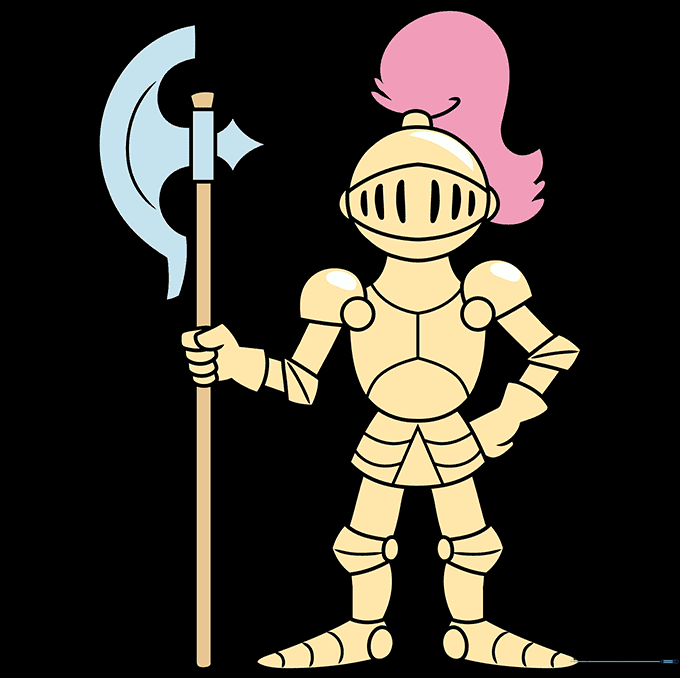
Bring your knight to life with color! Use metallic grays for a classic look, or try gold or bronze for a royal feel. Teacher's Tip: Leave small white spaces on the armor to mimic the shine of polished metal.
More Tutorials


