How to Draw a Cartoon Kangaroo: Easy 10-Step Guide
Ready to hop into some art? This tutorial is perfect for young artists ages 5 and up. All you need is a pencil, an eraser, and a piece of paper to bring this friendly kangaroo to life while practicing basic geometric shapes.
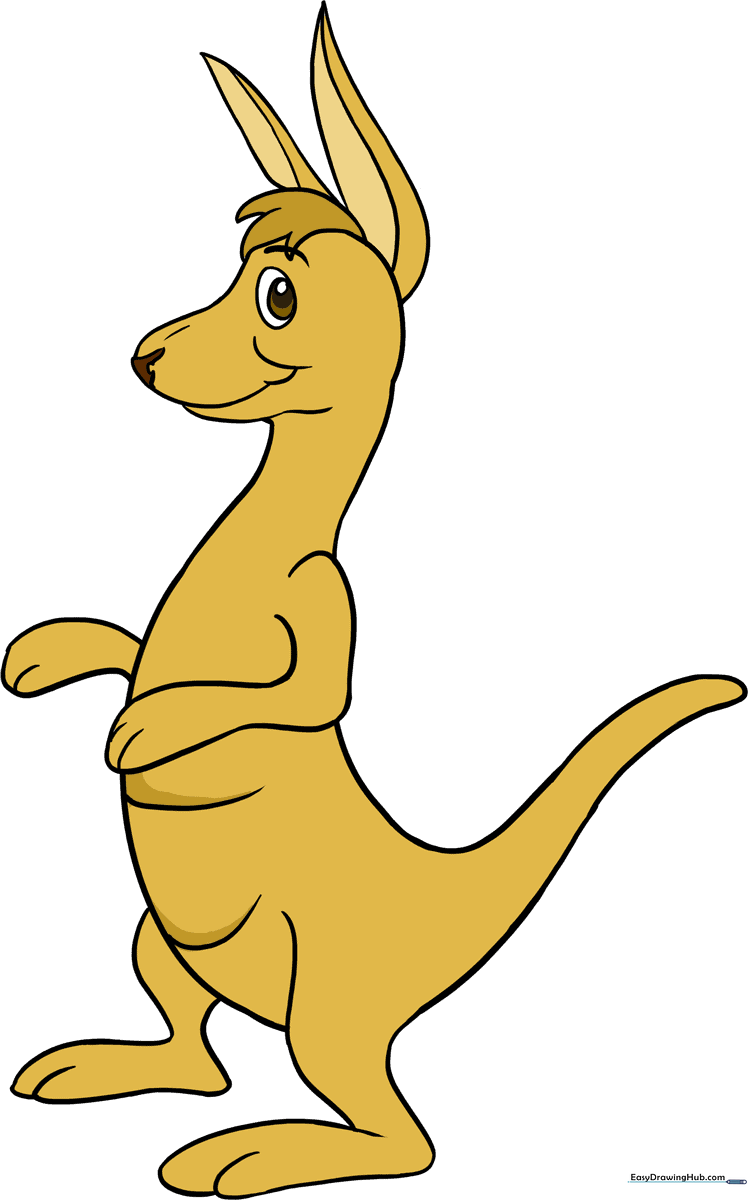
🎯 Final Result
Step-by-Step Instructions
Step 1: Sketching the Base Shapes

Draw a light circle for the head and a rounded, bean-like shape for the body. Teacher's Tip: Keep your pencil strokes very light so you can easily erase these guide shapes later!
Step 2: Connecting the Neck and Tail
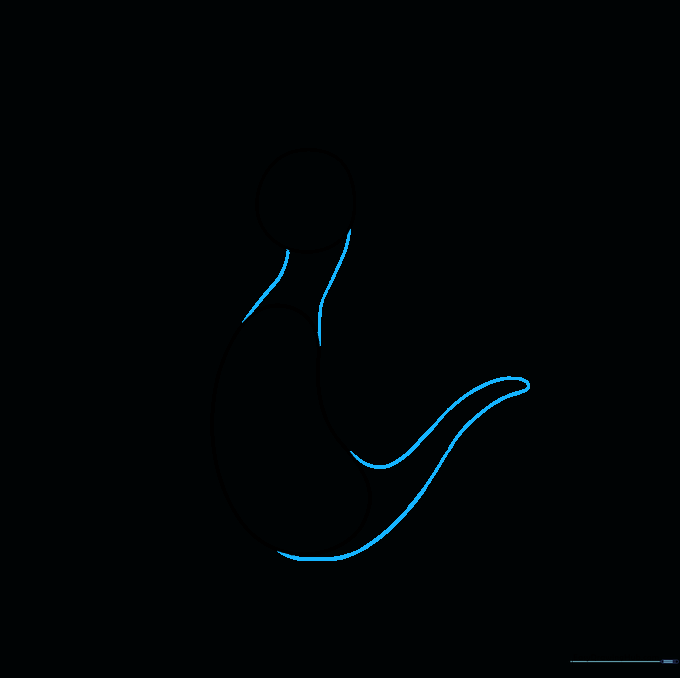
Connect the head and body with two curved lines for the neck. Then, draw two long, sweeping lines from the back of the body that meet at a point to create a strong, muscular tail.
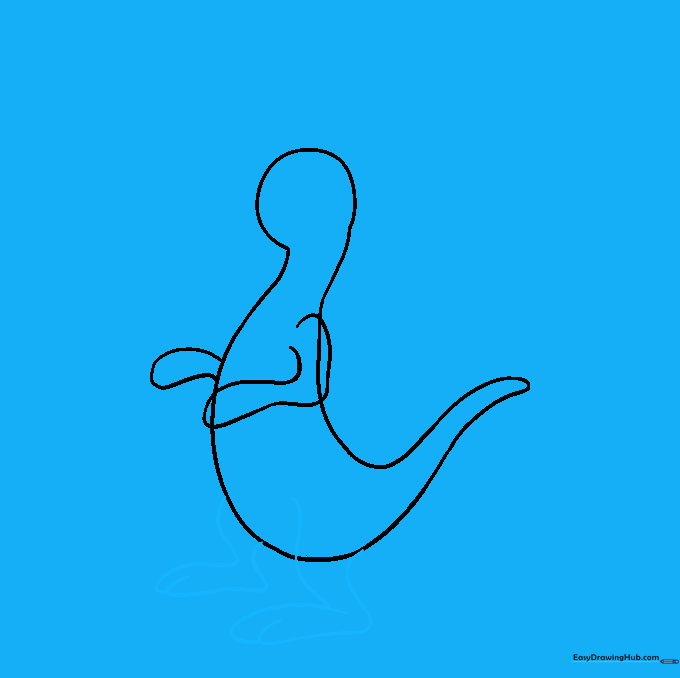
Step 3: Cleaning Your Canvas

Gently erase the overlapping lines inside the neck and body. Tip: Use a soft eraser and hold the paper down firmly to avoid wrinkling the page.
Step 4: Adding the Arms
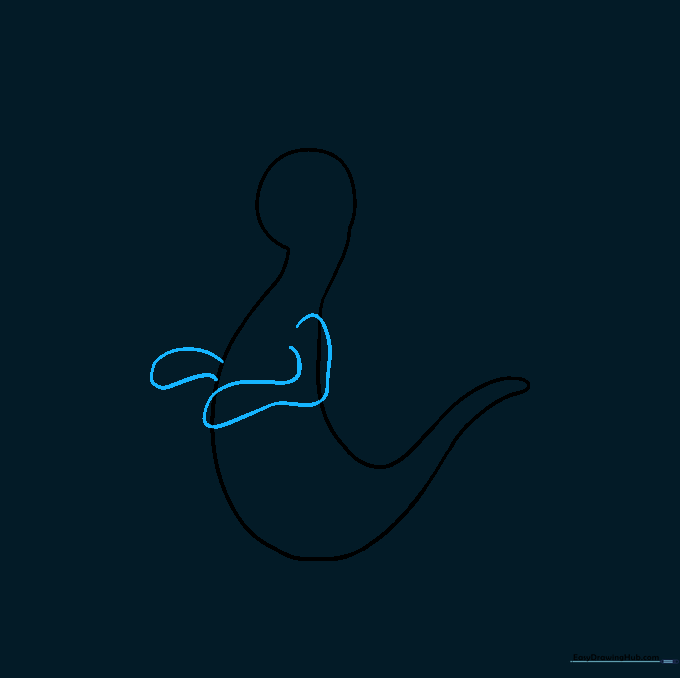
Draw the arms using long, curved lines. For the near arm, loop the line to show the shoulder and forearm. For the far arm, use a simple 'U' shape to suggest it's tucked behind the body.
Step 5: Sketching the Powerful Legs
Kangaroos have big feet! Draw a long, curved line for the front of the leg and foot, then double it back. Add a tiny curved line at the bottom to define the toes.
Step 6: Defining the Snout

Use soft, curved lines to outline the snout, cheek, and jaw. Think of it like drawing a rounded triangle that flows into the neck.
Step 7: Refining the Silhouette

Erase any remaining guide lines on the face and limbs. Leave a small gap at the top of the head—we'll add some fun fur details there in the next step!
Step 8: Adding Ears and Fur

Draw a tuft of fur on top of the head using zigzag lines. Then, add two long, pointed ears. Tip: Draw a line inside each ear to give them a realistic, folded look.
Step 9: Final Details
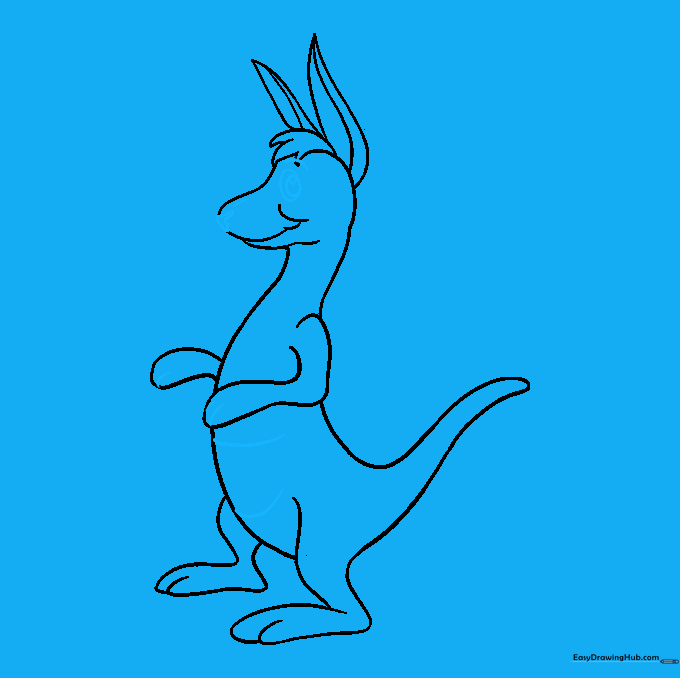
Draw the nose, eye, and the iconic pouch. For the eye, draw an oval with a smaller circle inside, and shade the pupil dark. Add little lines for fingers to finish the paws.
Step 10: Bring It to Life with Color
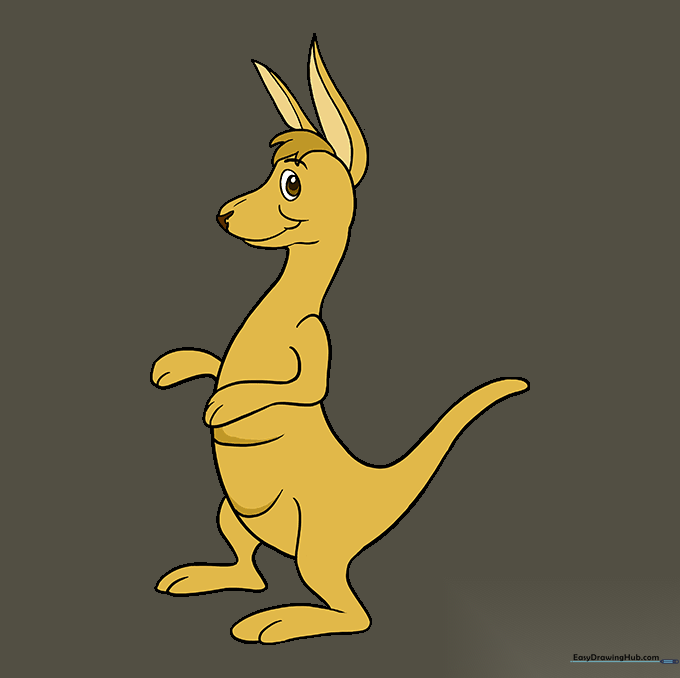
Time to color! Use warm browns, soft greys, or even bright colors if you want a creative cartoon style. Remember to press lightly with your crayons for a smooth, even look.
More Tutorials


