How to Draw a Cartoon Heart: Easy 9-Step Guide
Looking for a fun, creative project? This cartoon heart tutorial is perfect for artists ages 5 and up. Grab a pencil, an eraser, and some markers to create a sparkling, professional-looking heart that builds confidence and line-control skills.
🎯 Final Result

Step-by-Step Instructions
Step 1: Sketching the First Curve
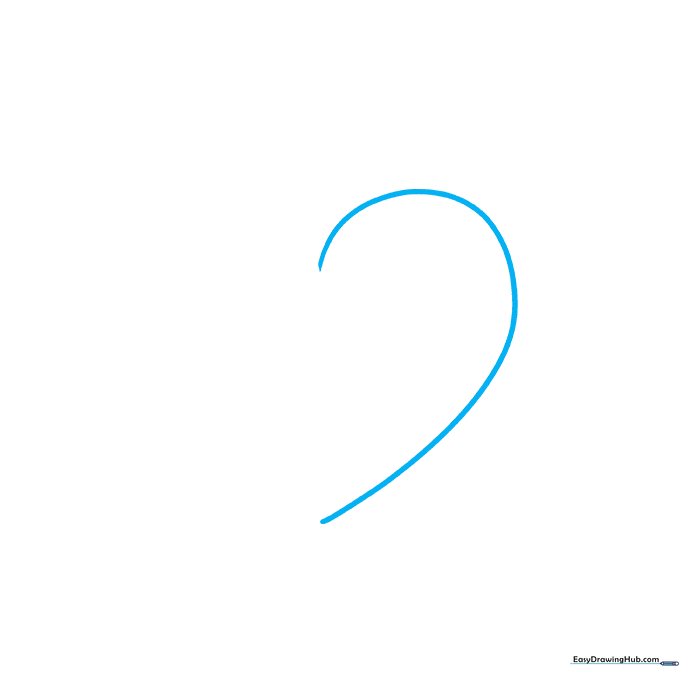
Start by drawing a smooth, downward-curving line to form the left lobe and side of the heart. Teacher's Tip: Imagine you are drawing the top of a letter 'C' that stretches down into a point.
Step 2: Closing the Heart Shape
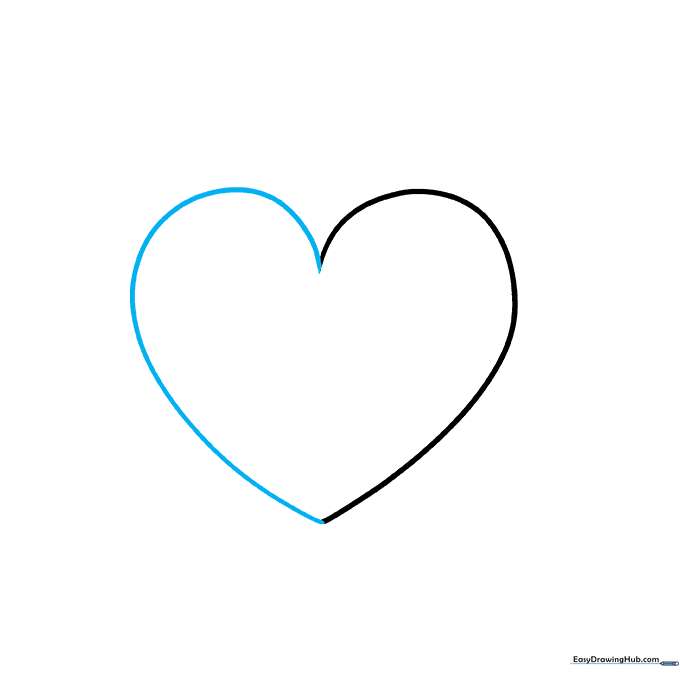
Mirror the first line on the right side to close the heart shape. Tip: Try to keep the two sides symmetrical so your heart looks balanced.
Step 3: Adding Depth
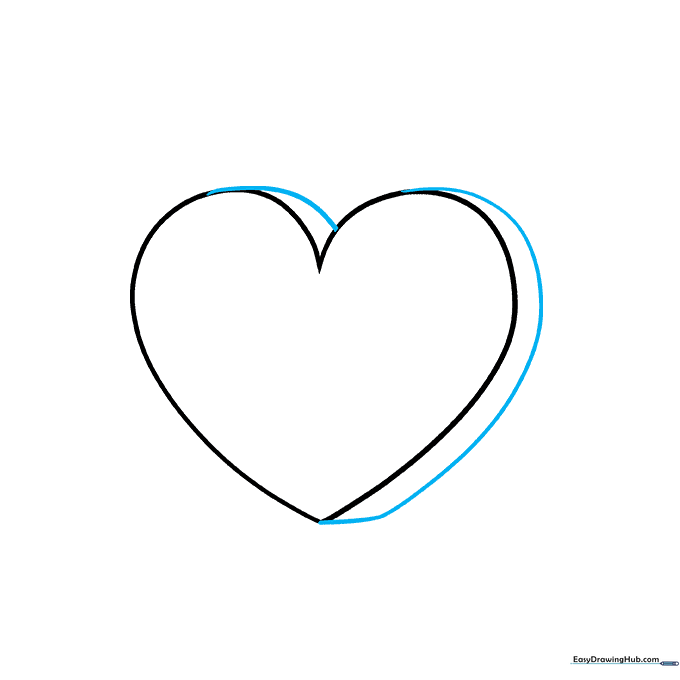
Draw a curved line inside the heart along the right lobe to create a 3D effect. Tip: Keep this line parallel to the outer edge for a clean, professional look.
Step 4: Drawing Highlights
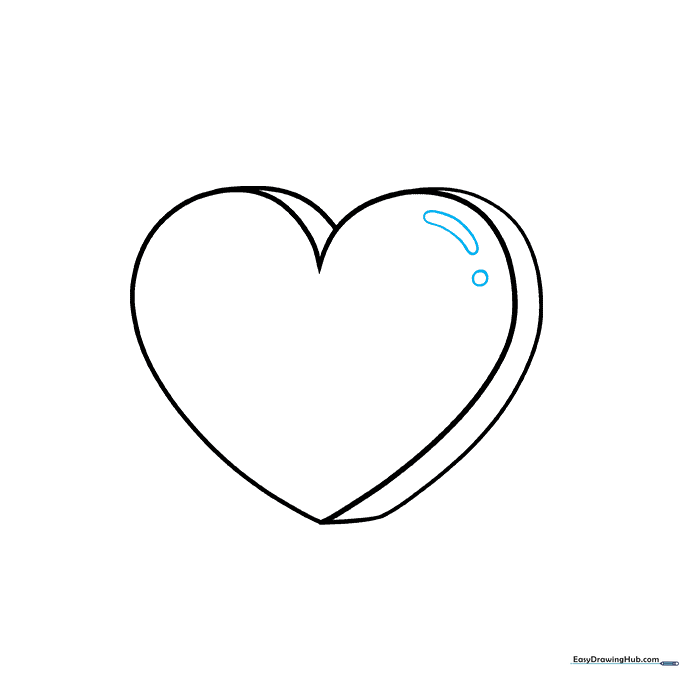
Add a small circle and an elongated oval near the top of the heart to represent light reflections. Tip: Leave these shapes white when coloring to make the heart look shiny and glossy.
Step 5: Adding Smaller Hearts
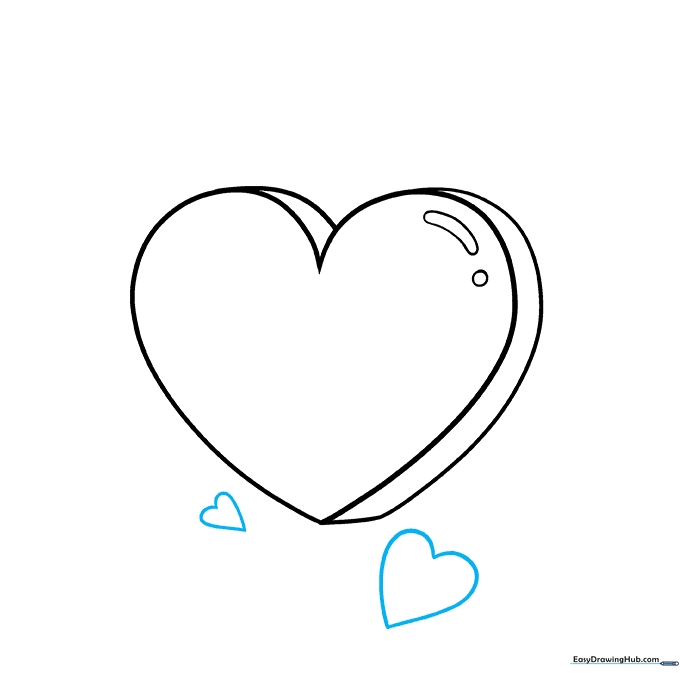
Draw two smaller hearts beneath the main one. Tip: Varying the sizes creates a sense of depth and movement in your composition.
Step 6: Adding Sparkle Stars
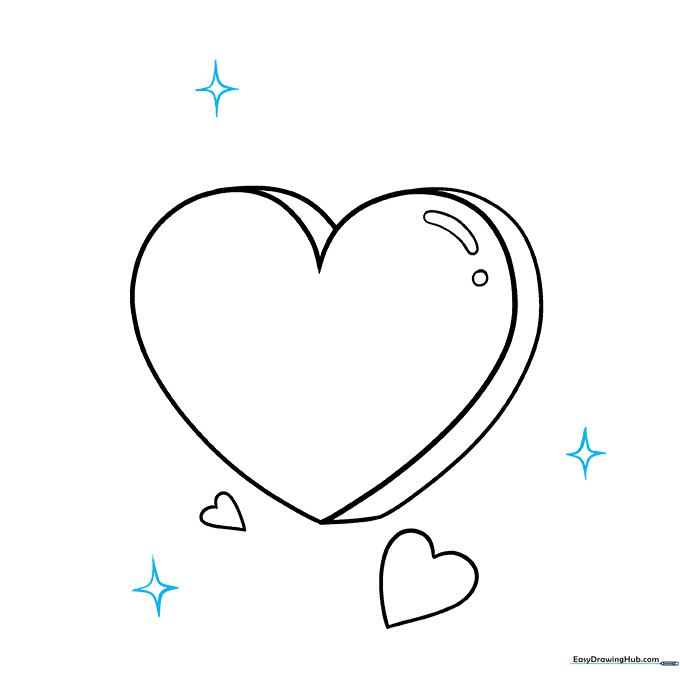
Draw small, four-pointed star shapes around the heart. Tip: Keep the stars simple by using two intersecting lines, like a tiny 'x' with a '+' over it.
Step 7: Adding Starbursts
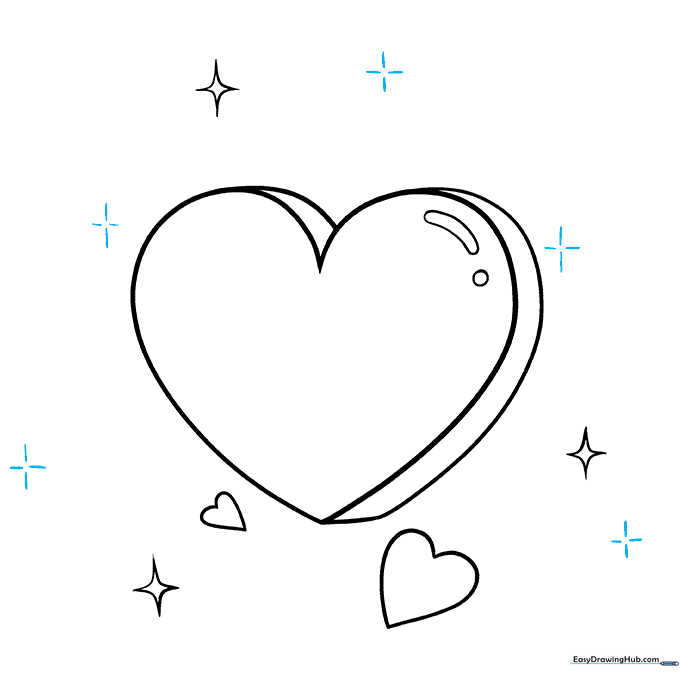
Draw larger cross-like starbursts around the heart. Tip: Use straight, confident lines. Don't worry if they don't meet in the center; this 'broken' look actually makes them look more like twinkling light.
Step 8: Adding Glowing Lines
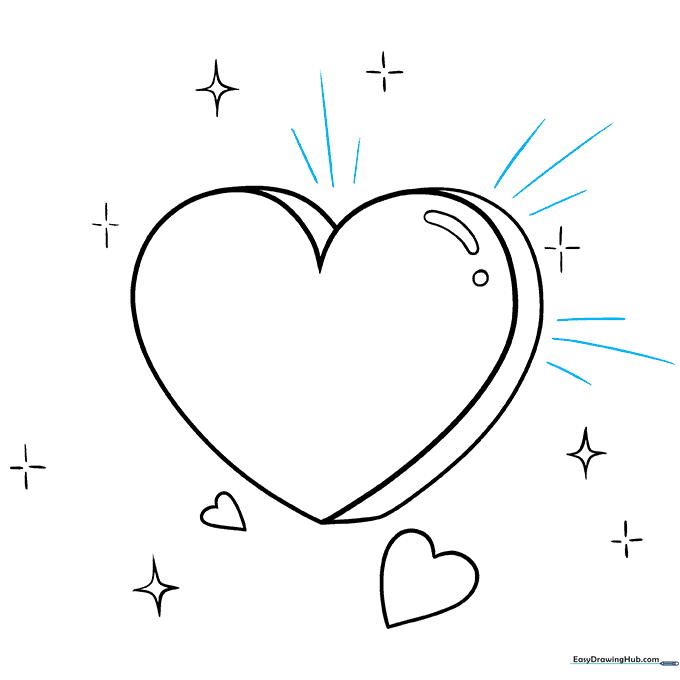
Draw small groupings of three straight lines radiating from the heart. Tip: Vary the length of these lines to make the 'glow' look natural and energetic.
Step 9: Finalizing the Details

Add a few final, longer lines to complete the sparkle effect. Tip: Step back and look at your drawing from a distance to ensure the lines are evenly spaced around the heart.
Step 10: Coloring Your Heart

Bring your drawing to life with color! We used deep reds for the heart and bright yellows for the stars. Tip: Use a darker shade of red on the side opposite the light reflection to add even more dimension.
More Tutorials


