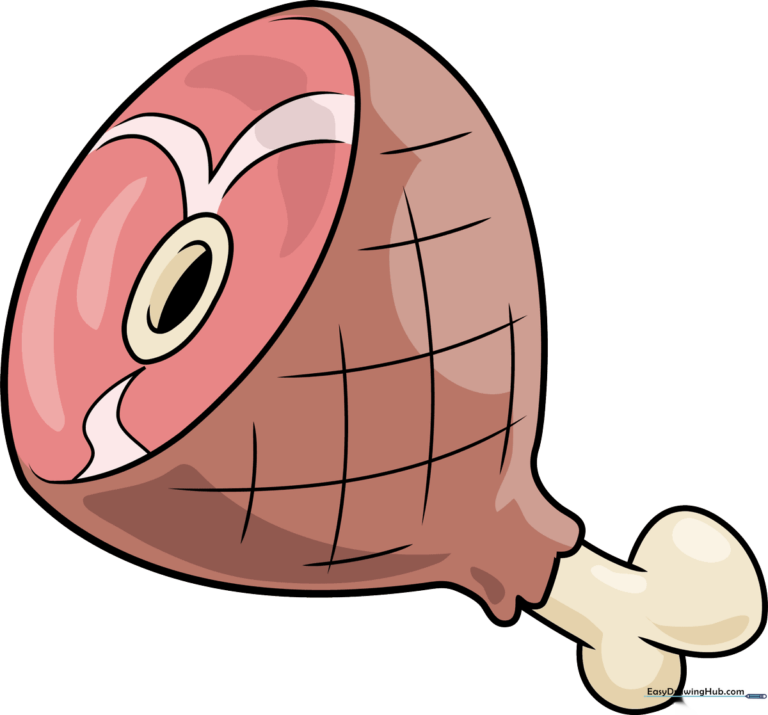
How to Draw a Cartoon Ham: Easy 10-Step Guide
Looking for a fun, screen-free activity? This cartoon ham tutorial is perfect for artists ages 5 and up. You will only need a pencil, an eraser, and your favorite coloring markers to bring this savory treat to life while practicing your curved line work.
🎯 Final Result
Step-by-Step Instructions
Step 1: Sketching the Main Body
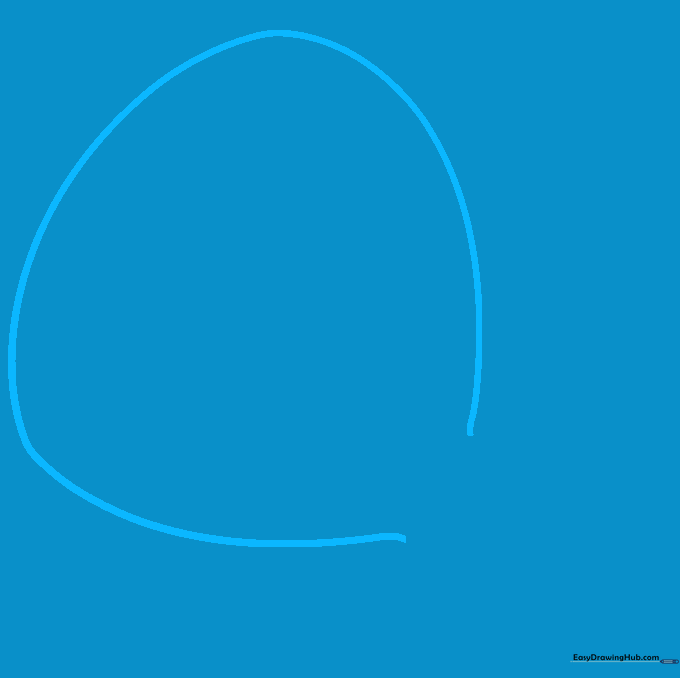
Draw a long, sweeping curved line to create the main body of the ham. Teacher's Tip: Think of this as a rounded triangle shape; keep your hand loose to get a nice, organic curve.
Step 2: Defining the Bone Opening
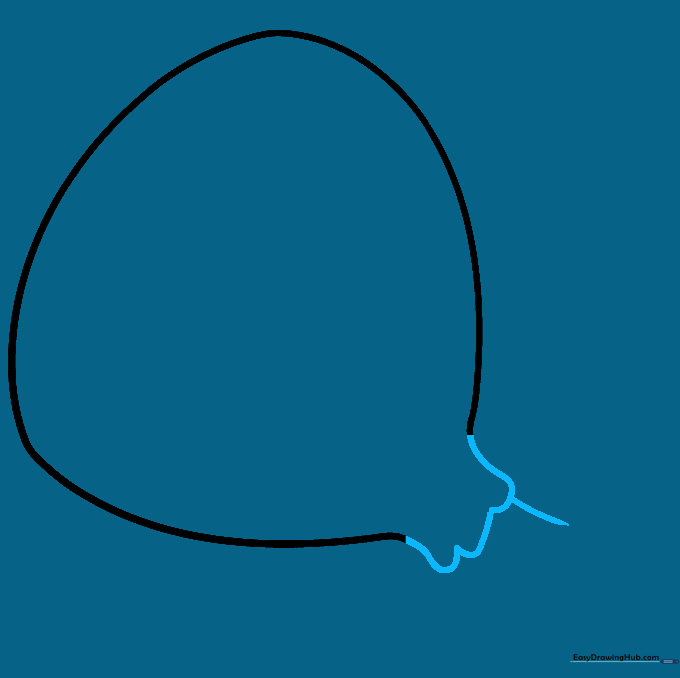
Draw a small curved line at the narrow end to show where the bone sticks out. Tip: Leave a small gap to make the bone look like it is resting inside the meat.
Step 3: Drawing the Bone Structure

Extend two curved lines from the opening to form the shaft of the bone. Tip: Keep these lines parallel to make the bone look sturdy.
Step 4: Adding the Bone Knob
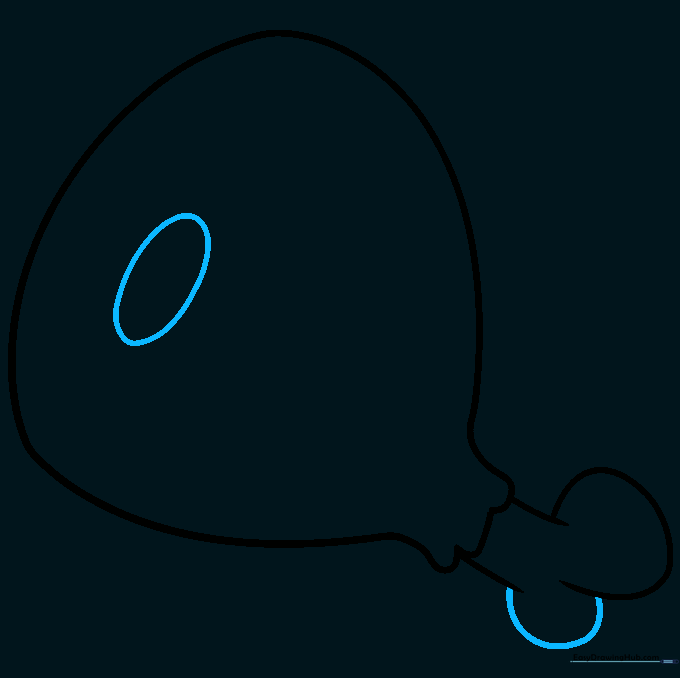
Close the end of the bone with a rounded cap and add a small oval in the center. Tip: The oval adds a 3D effect, making the bone look round rather than flat.
Step 5: Detailing the Bone

Draw a 'C' shape inside the oval and cross it with a small line. Tip: This creates a simple highlight, giving your drawing a professional cartoon look.
Step 6: Defining the Cut Surface
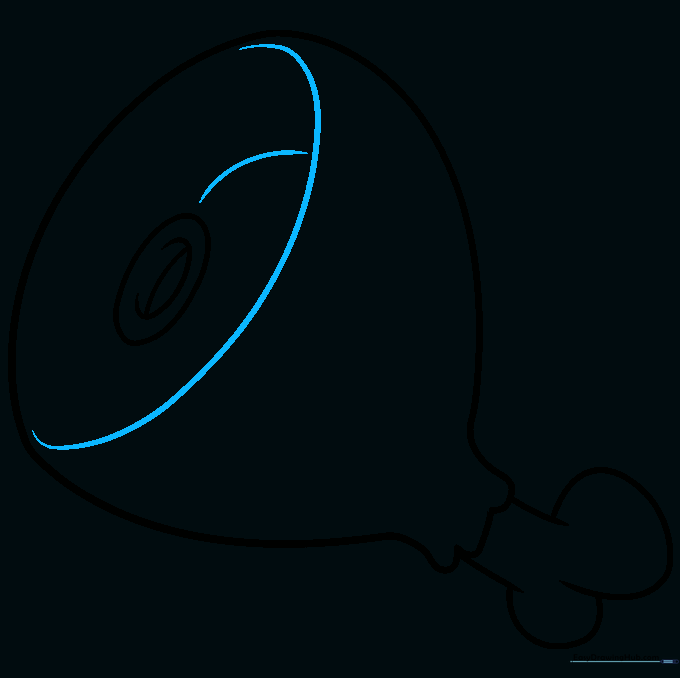
Draw a large curved line across the top of the ham to show the flat, sliced end. Tip: This line should look like a gentle 'U' shape.
Step 7: Adding Texture Lines
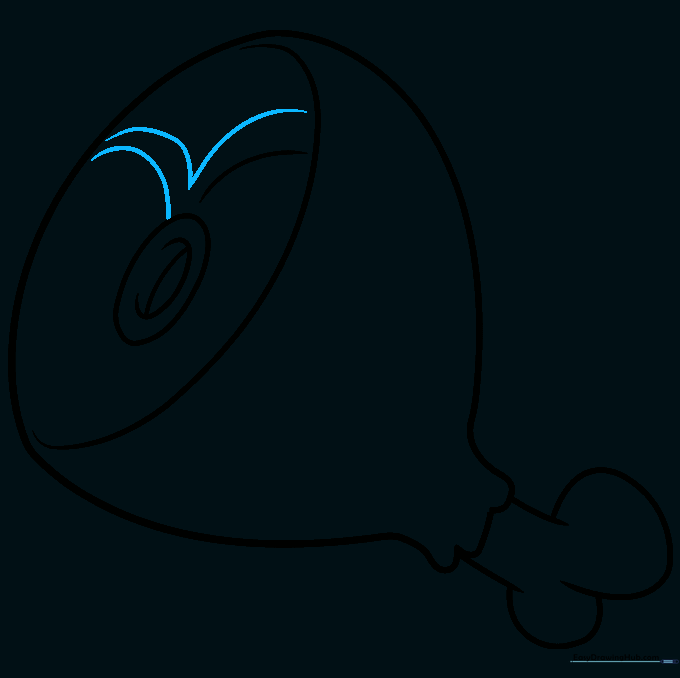
Add small 'V' shaped lines on the flat surface. Tip: These represent the texture of the meat—don't worry about making them perfect, as ham is naturally irregular!
Step 8: Refining the Surface

Continue adding curved lines along the side of the ham to show its roundness. Tip: Follow the curve of the outer edge to keep the shape consistent.
Step 9: Finalizing the Crosshatch
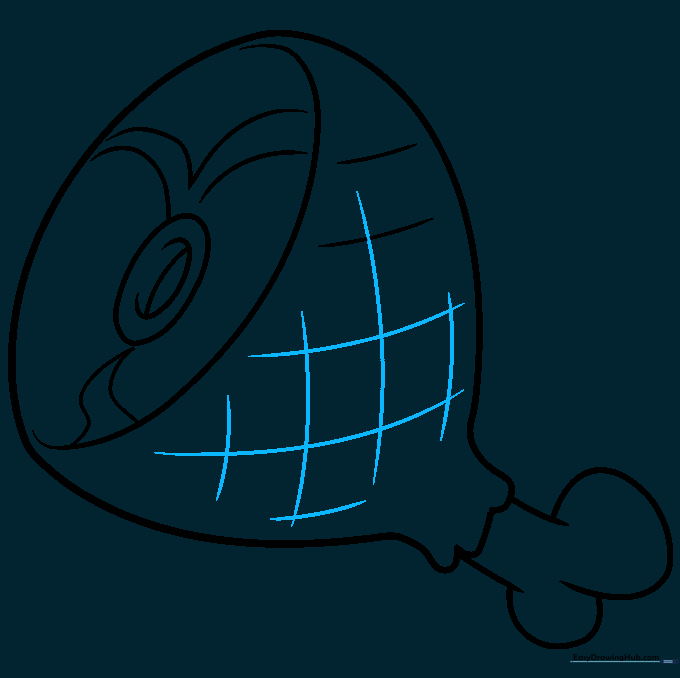
Draw diagonal lines across the ham to create a crosshatch pattern. Tip: This is a classic way to draw a glazed ham; space your lines evenly for a neat look.
Step 10: Adding Color
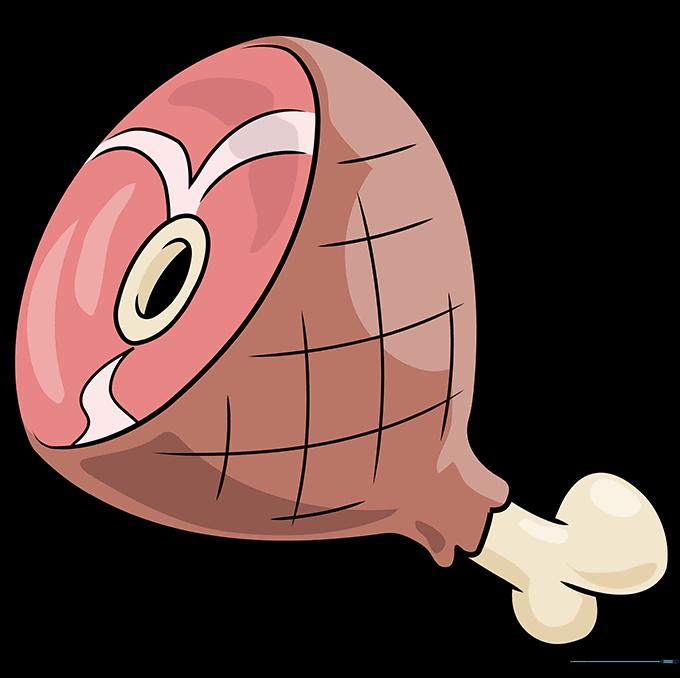
Color your ham using shades of pink and brown. Tip: Use a lighter cream color for the fat areas to make your drawing look more realistic and appetizing!
More Tutorials


