How to Draw a Cartoon Fox: Easy 10-Step Guide for Kids
Ready to bring a clever little fox to life? This tutorial is perfect for young artists ages 5 and up. You only need a pencil, an eraser, and a piece of paper to get started. Follow these simple steps to build your character from basic shapes into a charming forest friend.
🎯 Final Result

Step-by-Step Instructions
Step 1: Sketching the Eyes and Nose

Start by drawing the nose as an inverted rounded triangle. Then, sketch two eyes with curved lines. Teacher's Tip: Keep the eyes symmetrical to give your fox a balanced, friendly look. Shade in small circles for the pupils to bring the character to life.
Step 2: Defining the Snout and Cheeks
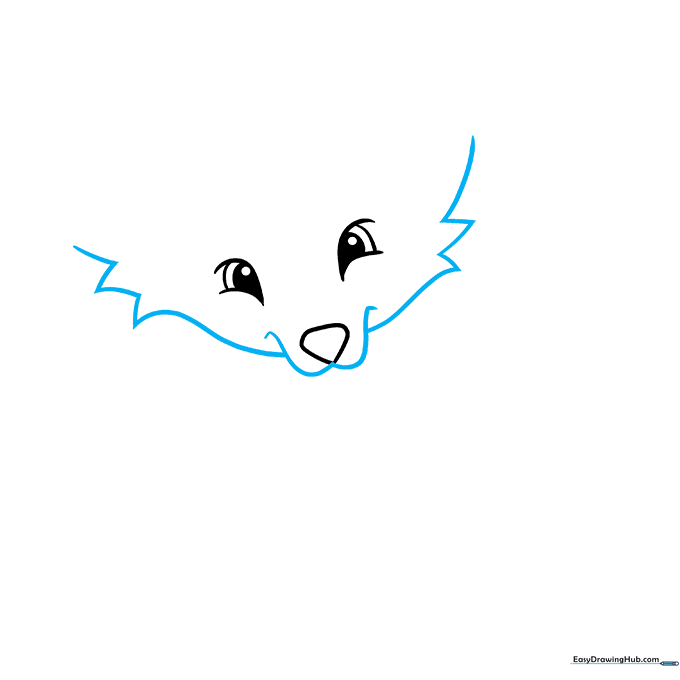
Draw a rounded 'W' shape below the nose to form the snout. Add furry cheeks by extending curved lines that meet at soft points. Teacher's Tip: Use short, quick strokes to make the cheeks look fluffy rather than perfectly smooth.
Step 3: Shaping the Ears

Draw long curved lines from the cheeks up to the top of the head. Double these lines back to create the inner ear structure. Teacher's Tip: Make the ears slightly pointed to capture that classic fox silhouette.
Step 4: Adding Head Fur
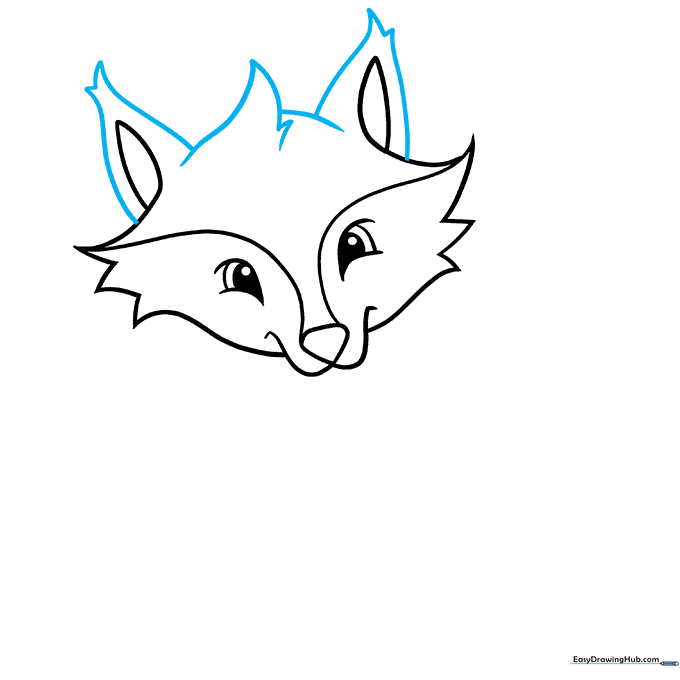
Use overlapping curved lines that meet at sharp points to create a tuft of fur on the top of the head. Teacher's Tip: Vary the size of the points to make the fur look natural and wild.
Step 5: Sketching the Chest
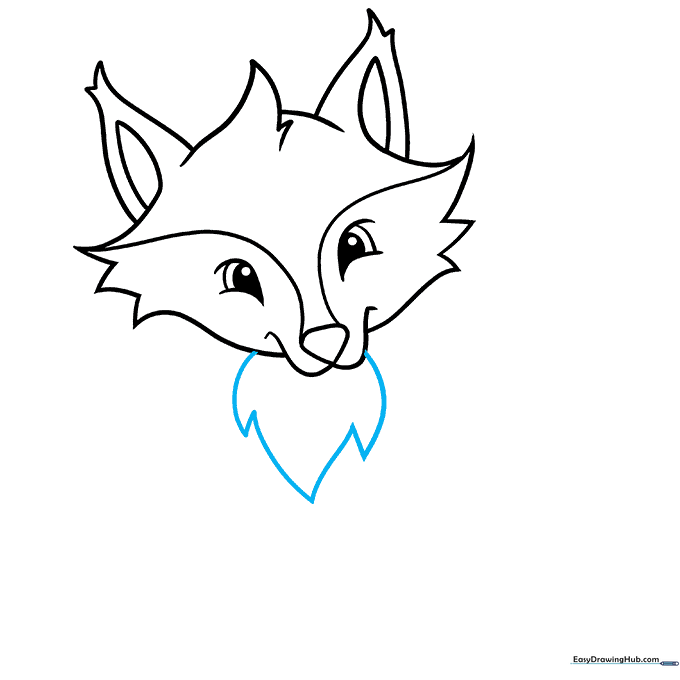
Draw the fox's chest using a series of connected curved lines that meet at points. Teacher's Tip: Think of this as the fox's 'fluffy collar'—keep it wide to make your character look cuddly.
Step 6: Drawing the Legs and Back
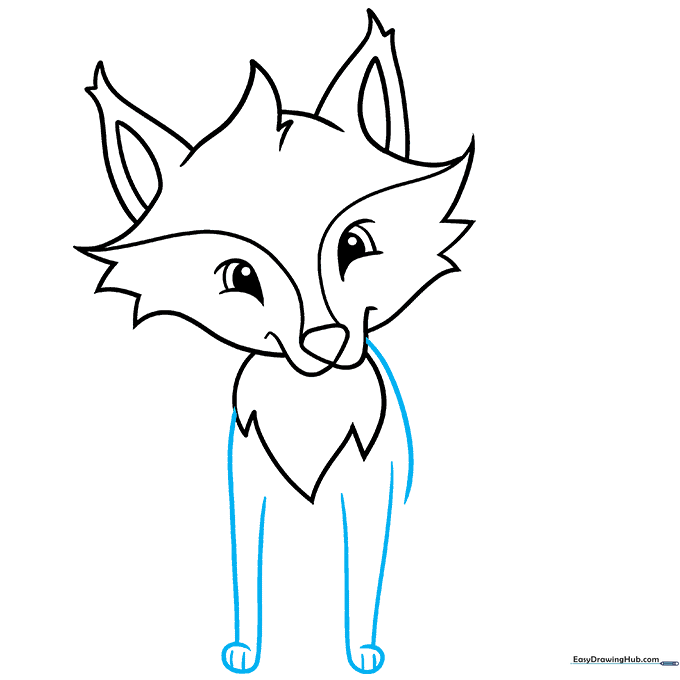
Use pairs of long curved lines for the legs, doubling back at the bottom to form the paws. Add small lines for the toes. Teacher's Tip: Keep the legs slightly bent to give your fox a playful, active pose.
Step 7: Adding the Haunches
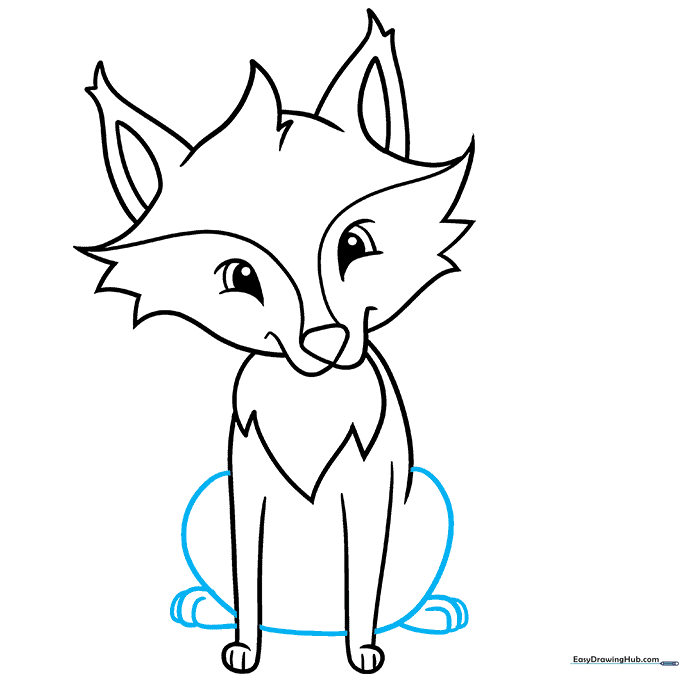
Draw a long, smooth curved line behind the forelegs to enclose the haunches. Sketch the rear paws using overlapping lines. Teacher's Tip: Ensure the back legs look slightly larger than the front ones to show perspective.
Step 8: Drawing the Tail
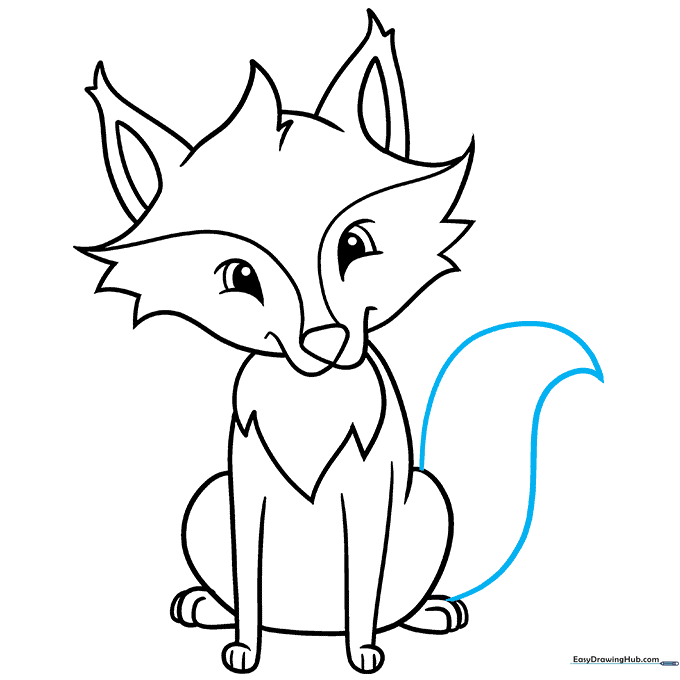
Extend two long curved lines from the rear leg, meeting at a point to form the tail. Teacher's Tip: Make the tail big and bushy—it's a fox's best feature!
Step 9: Adding Final Fur Details
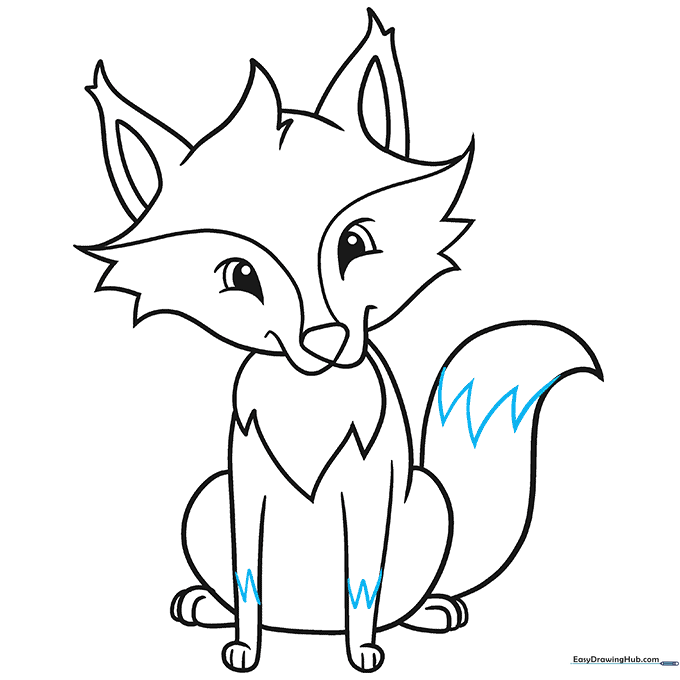
Draw a zigzag line across the forelegs and the tip of the tail to show color separation. Teacher's Tip: These zigzags are perfect for showing where the white fur meets the orange fur.
Step 10: Bringing Your Fox to Life with Color

Your outline is complete! Now, add color. Use vibrant oranges for the body and white for the chest and tail tip. Teacher's Tip: Use light pressure with your colored pencils to create smooth, even shading.
More Tutorials


