How to Draw a Cartoon Elephant: Easy 9-Step Guide
Ready to bring a friendly safari friend to life? This tutorial is perfect for young artists ages 5 and up. All you need is a pencil, an eraser, and a piece of paper to start building your elephant’s character, one simple shape at a time.
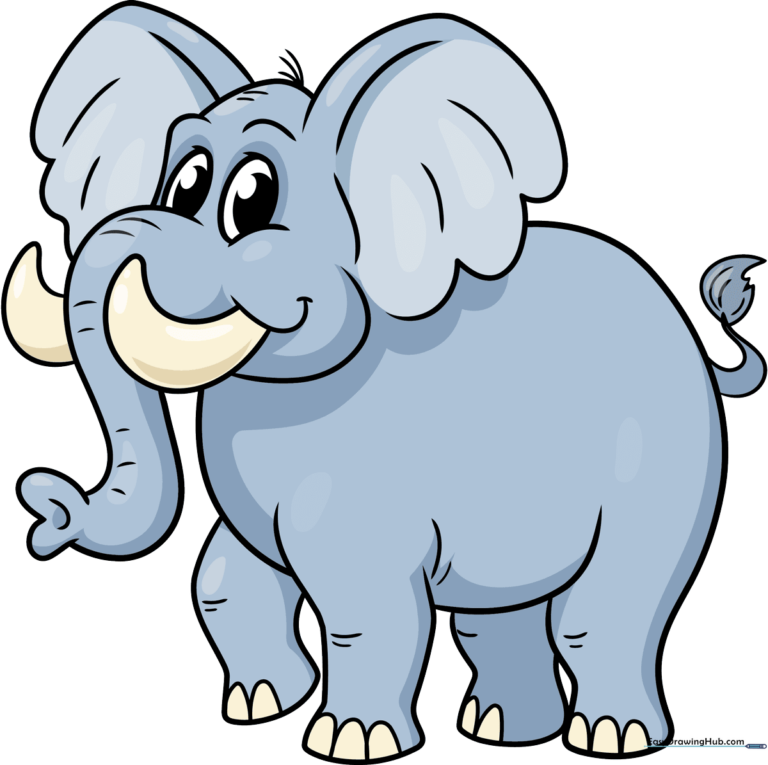
🎯 Final Result
Step-by-Step Instructions
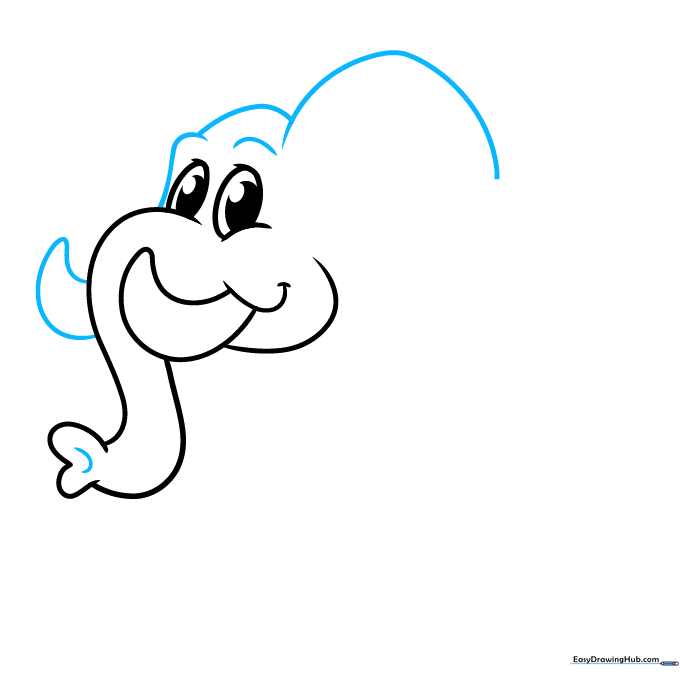
Step 1: Sketching the Eye and Trunk Base
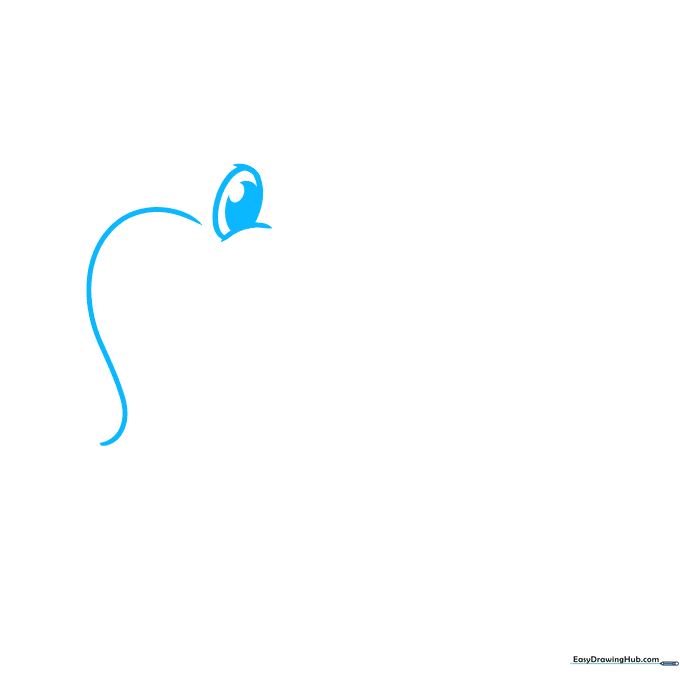
Start by drawing a small, partial oval for the eye, then add two smaller circles inside for the pupil. Shade the center to give your elephant a bright, alert look. Next, draw a long, sweeping curved line to begin the trunk. Teacher's Tip: Keep the trunk line loose and fluid; it should look like a gentle 'S' shape.
Step 2: Adding the Smile
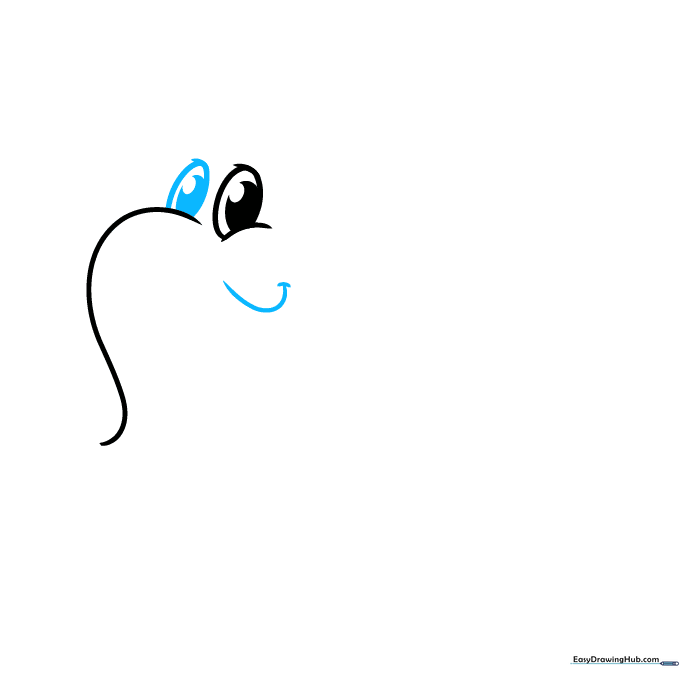
Draw a second partial oval above the trunk to balance the face, then add a wide 'U' shaped curve below the trunk for a happy, smiling mouth. Tip: A small curved line at the corner of the mouth adds a touch of warmth to your character's expression.
Step 3: Defining the Tusk and Chin
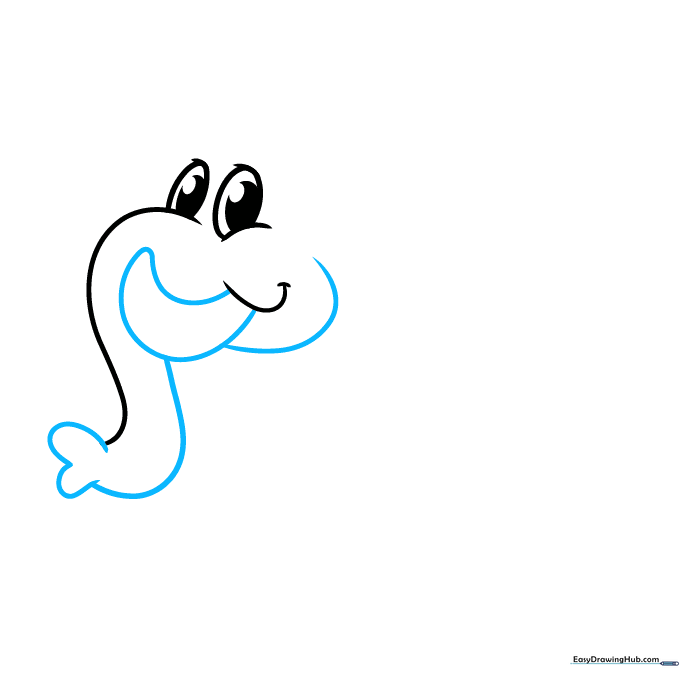
Extend a curved line from the trunk and double it back to form a sharp, pointed tusk. Then, draw the chin by connecting a line from the tusk to the trunk, creating a shape that looks like the number '3'. Tip: Make sure your tusk is slightly rounded at the base so it looks natural, not too sharp.
Step 4: Shaping the Head and Ears
Add a 'C' shaped line near the trunk tip for detail, then draw the second tusk. Use a series of overlapping, soft curves to build the forehead and the large, floppy ear. Tip: Don't worry if the ear isn't perfectly symmetrical; elephant ears are naturally wavy and unique!
Step 5: Completing the Ears
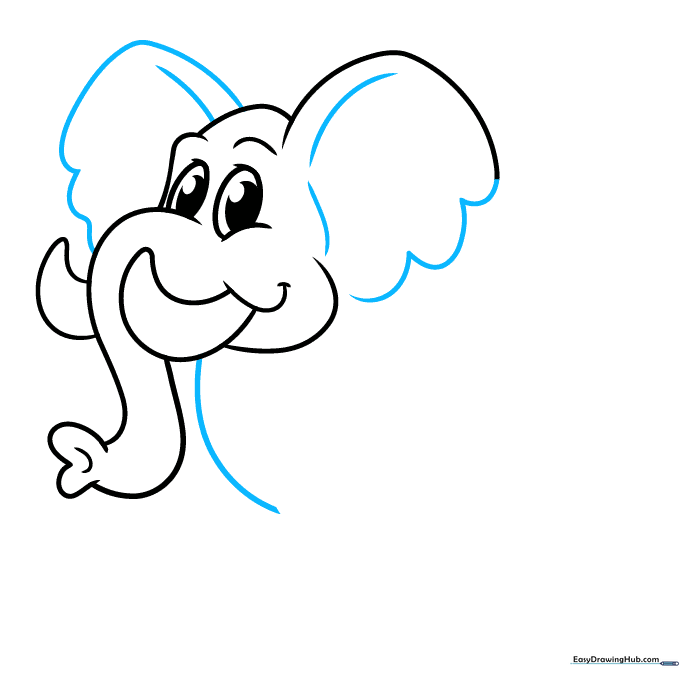
Use a scalloped line to finish the edge of the first ear, then mirror this on the other side to create the second ear. Add a few contour lines inside the ears to show their folds. Tip: Use light, feathery pencil strokes for the ear folds to keep them looking soft.
Step 6: Drawing the Body
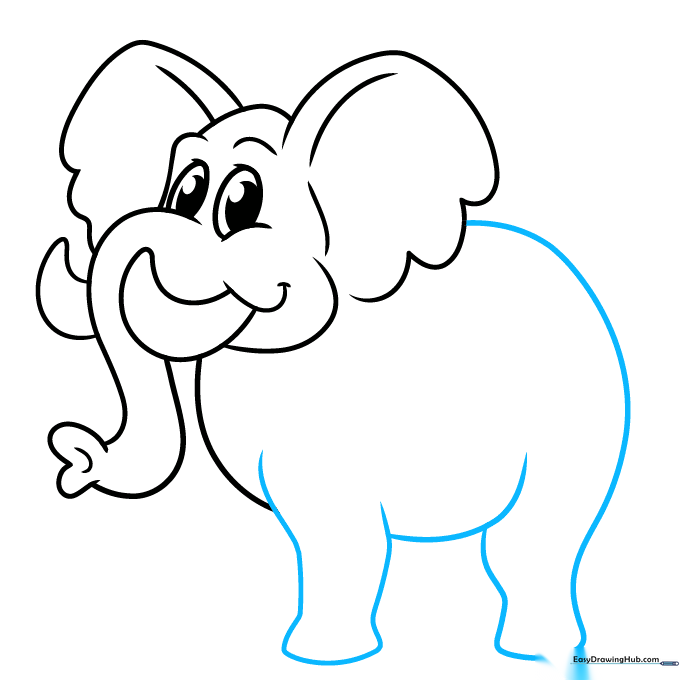
Extend two curved lines downward from the head to form the sturdy body and legs. Keep the lines rounded to emphasize the elephant's gentle, heavy nature. Tip: Imagine you are drawing a large, soft bean shape for the body.
Step 7: Adding Legs and Toenails
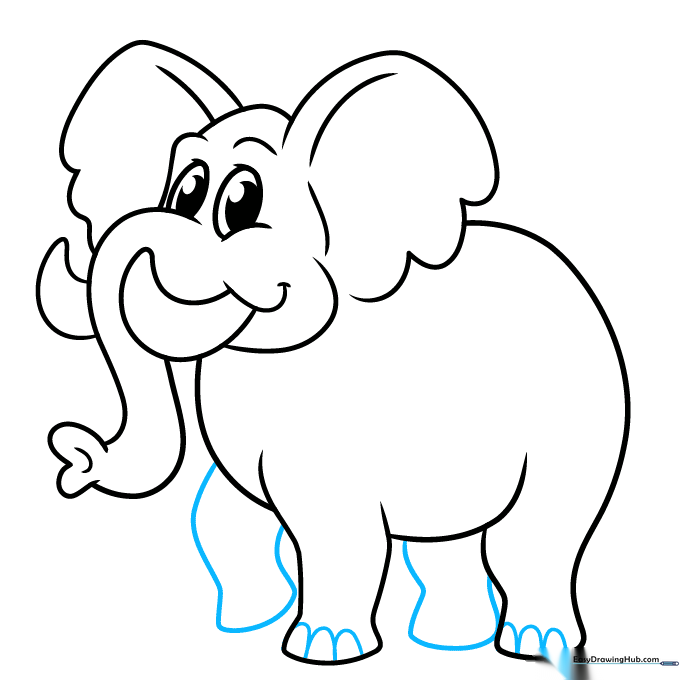
Draw the remaining legs using long, curved lines that connect to the body. At the bottom of each leg, add small 'U' shapes to represent the toenails. Tip: Make the toenails slightly different sizes to give the feet a more realistic, organic look.
Step 8: The Tail and Fur
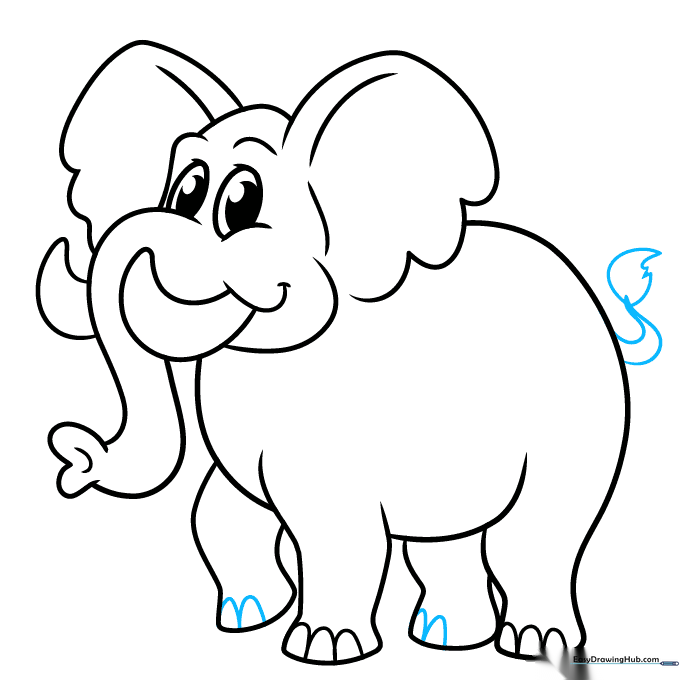
Extend two lines from the rump to create a tail, meeting at a point. Add a small tuft of fur at the end using short, jagged lines. Tip: Use quick, flicking motions with your pencil to make the fur look light and fluffy.
Step 9: Final Details and Texture
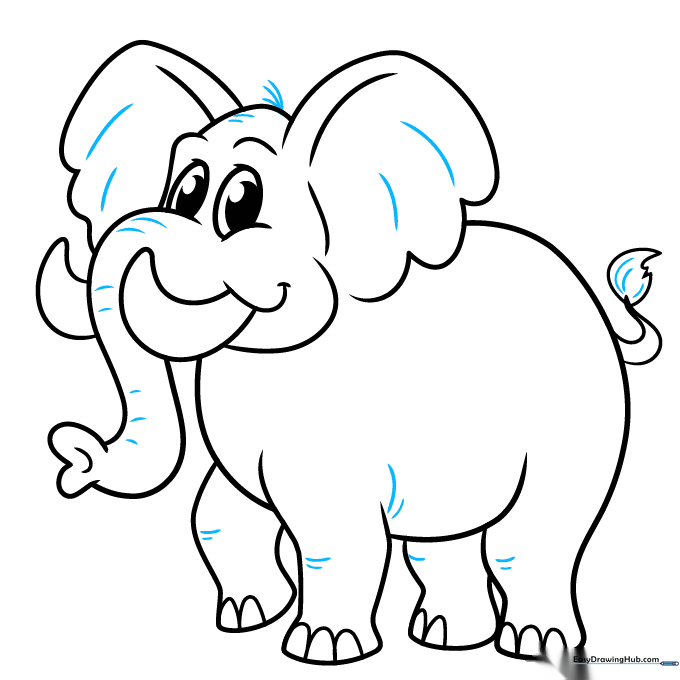
Add final touches by drawing small lines on the trunk, knees, and ears to suggest skin texture. Add a little tuft of hair on top of the head for extra personality. Tip: Less is more! A few well-placed lines are better than too many, which can make the drawing look cluttered.
Step 10: Coloring Your Elephant
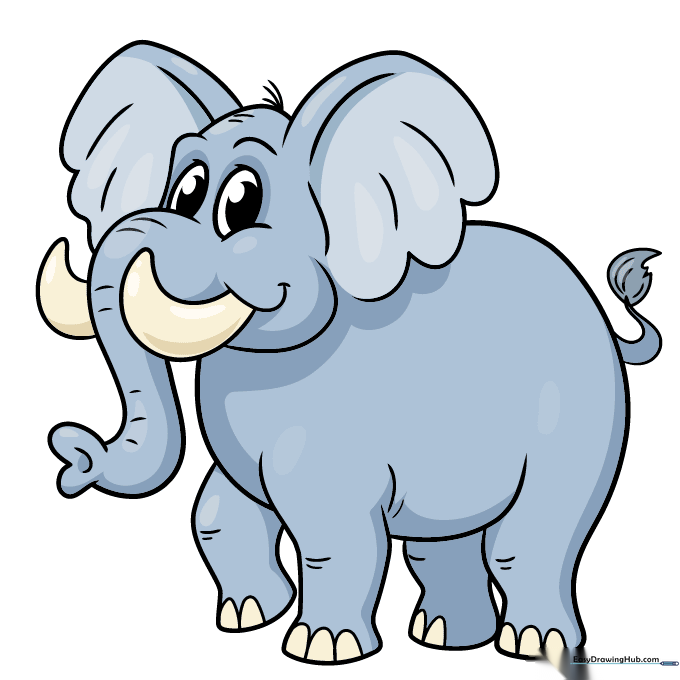
Now for the fun part! Color your elephant in shades of gray, blue, or even a whimsical purple. Use a lighter shade for the inside of the ears to create depth. Tip: Try using circular motions with your colored pencil to get a smooth, even fill.
More Tutorials


