How to Draw a Cartoon Ear: Simple 9-Step Guide
Ready to bring your cartoon characters to life? This tutorial is perfect for young artists ages 6+ looking to master facial features. All you need is a pencil, an eraser, and a piece of paper to start building your character design skills.
🎯 Final Result

Step-by-Step Instructions
Step 1: Sketching the Outer Helix

Draw a long, gentle curve to form the outer rim of the ear, known as the helix. Teacher's Tip: Keep your pencil grip loose to ensure the curve is smooth and fluid.
Step 2: Defining the Earlobe

Extend the bottom of your curve inward and back up to create the soft bulge of the earlobe. Tip: Make this shape rounded like a small pebble.
Step 3: Adding the Inner Curve
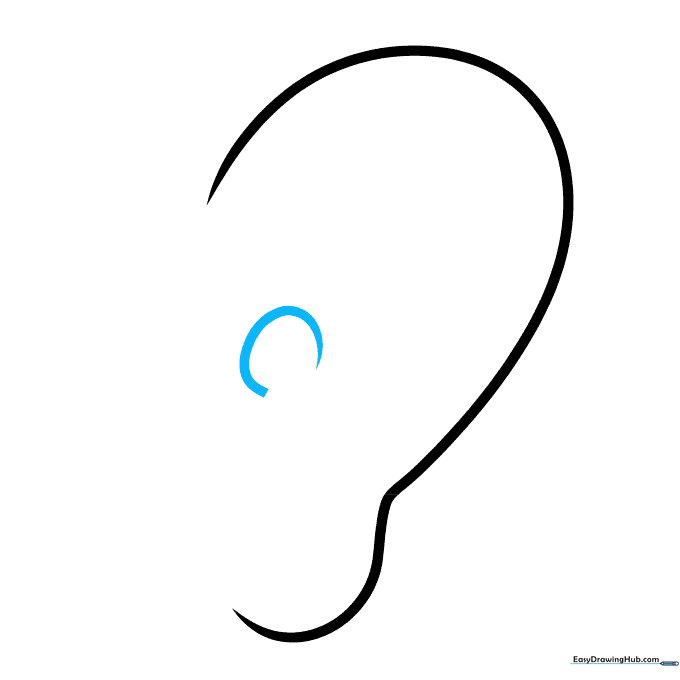
Draw a 'C' shaped line inside the ear to represent the inner structure. Tip: Imagine you are drawing the letter 'C' but keep it slightly flattened.
Step 4: Forming the Tragus
Extend the bottom of your 'C' shape to create a small, triangular flap known as the tragus. Tip: This part covers the ear canal, so keep it small and pointed.
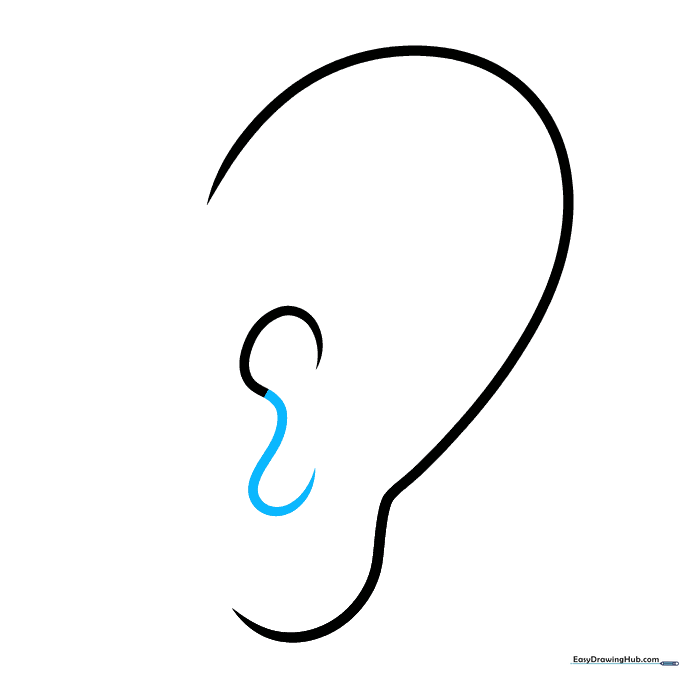
Step 5: Sketching the Antihelix

Draw another 'C' shape near the top to define the antihelix. Tip: This line should mirror the curve of the outer ear but stay inside the boundary.
Step 6: Defining the Concha

Extend a curved line from your previous mark to outline the concha, the bowl-like depression of the ear. Tip: Keep this line soft and rounded to look natural.
Step 7: Adding the Triangular Fossa

Draw a small, curved line that doubles back on itself to create the triangular fossa. Tip: This adds depth to your drawing, making it look 3D.
Step 8: Refining the Antihelix

Add a final curved line below the 'C' shape to complete the antihelix. Tip: Ensure this line flows smoothly into the existing shapes.
Step 9: Final Details

Add a parallel line to the outer helix and a small mark for the ear canal. Tip: Use a darker pencil stroke here to make these details pop.
Step 10: Color Your Creation
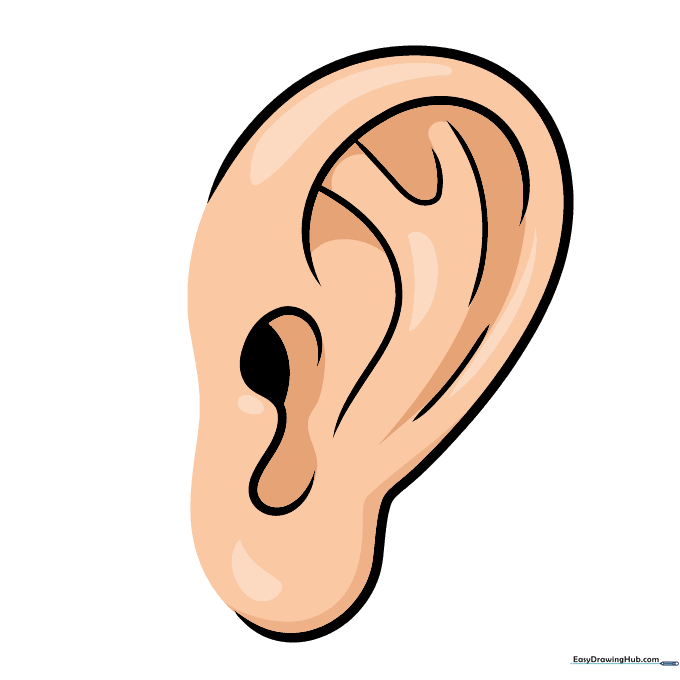
Erase your guide lines and add color. Tip: Use a light peach or tan for the skin tone, and add a slightly darker shade in the crevices for a realistic shadow effect.
More Tutorials


