How to Draw a Cartoon Dragon: Easy 10-Step Guide
Ready to bring a mythical creature to life? This tutorial is perfect for young artists ages 5 and up. All you need is a pencil, an eraser, and a piece of paper to start building your own friendly dragon character.
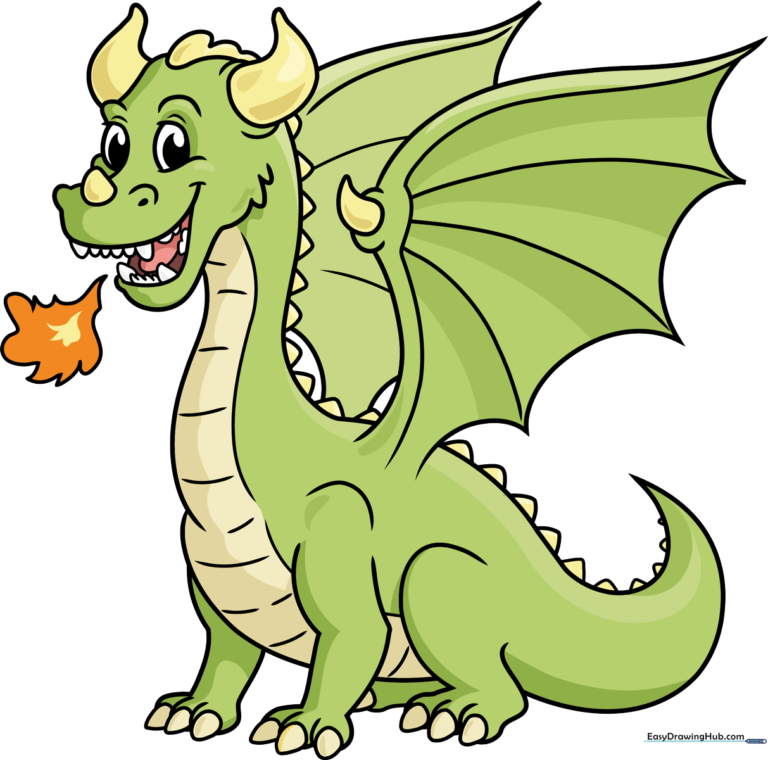
🎯 Final Result
Step-by-Step Instructions
Step 1: Sketching the Face

Start by sketching the dragon's face using light, curved lines for the eyes, eyebrows, and a happy, smiling mouth. Add a small rounded triangle for the nose horn. Teacher's Tip: Keep your pencil grip loose to ensure your lines stay light and easy to erase later.
Step 2: Defining the Jaw

Draw the open mouth using a curved line, adding 'U' shapes for the teeth. Sketch the bottom jawline to give your dragon character. Teacher's Tip: Make the teeth look rounded rather than sharp to keep the dragon looking friendly and approachable.
Step 3: Adding Horns and Mane
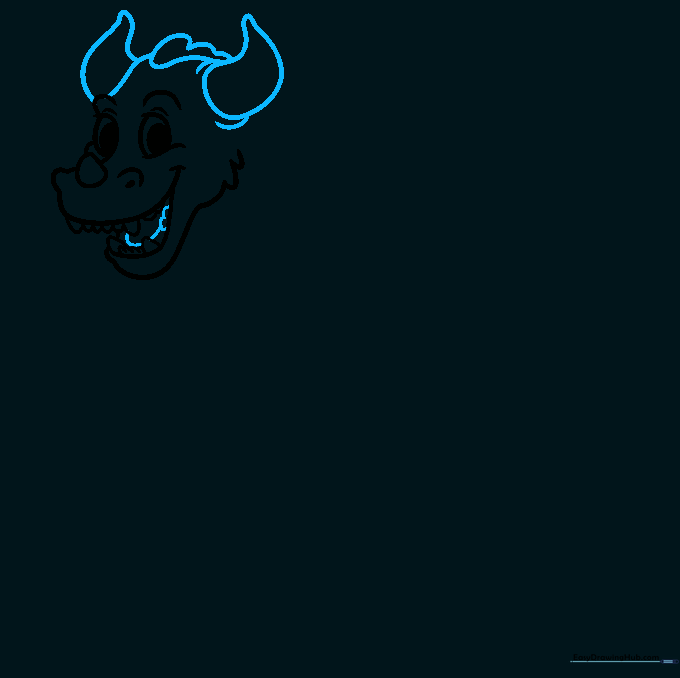
Sketch two wavy triangles on top of the head for horns, then add a frilly mane between them. Teacher's Tip: Use short, quick strokes for the mane to give it a textured, feathery look.
Step 4: Sketching the Neck and Leg
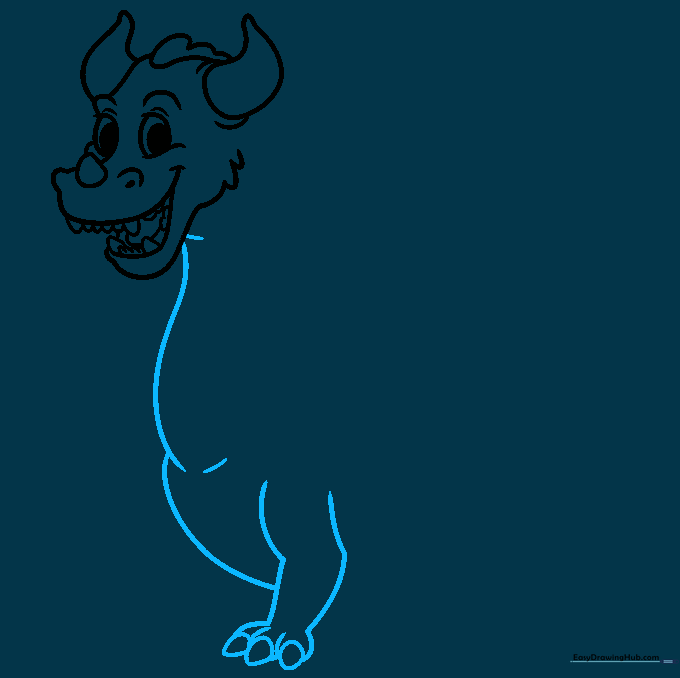
Use long, sweeping lines to form the neck and belly. Add a leg with rounded triangular claws at the end. Teacher's Tip: Connect the toes with overlapping curves to make the feet look sturdy.
Step 5: Drawing the Remaining Legs
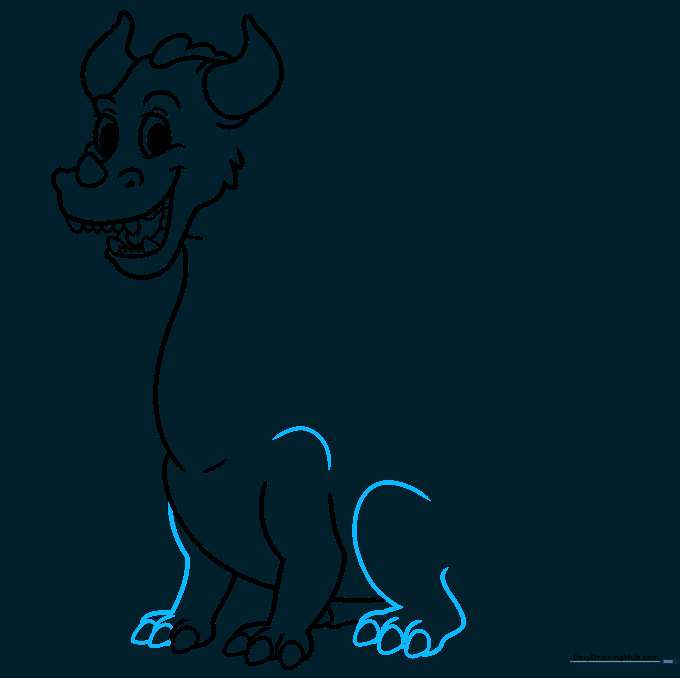
Repeat the process from the previous step to draw the other legs. Teacher's Tip: Ensure the legs are positioned slightly behind the first one to create a sense of depth.
Step 6: Forming the Back and Tail
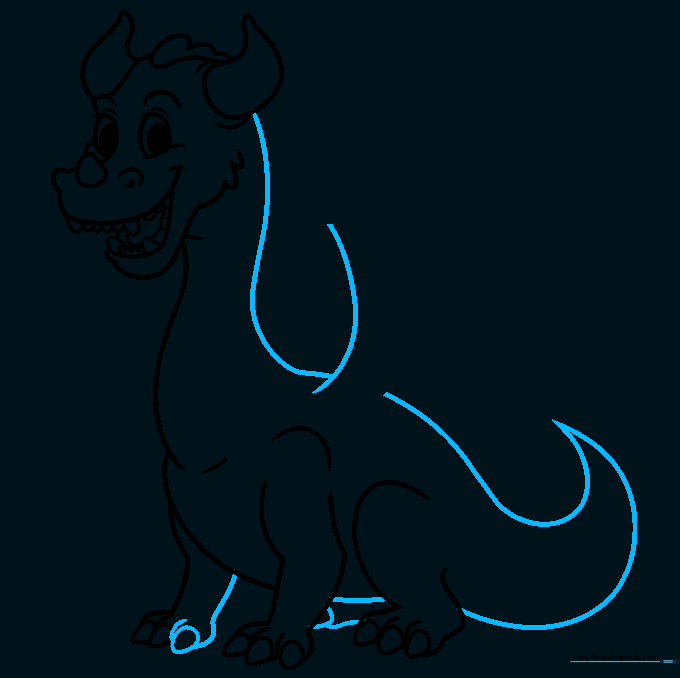
Draw a long, graceful curve for the back that tapers into a pointed tail. Add a line for the wing base. Teacher's Tip: Let the tail curve naturally to give your dragon a sense of movement.
Step 7: Designing the Wing
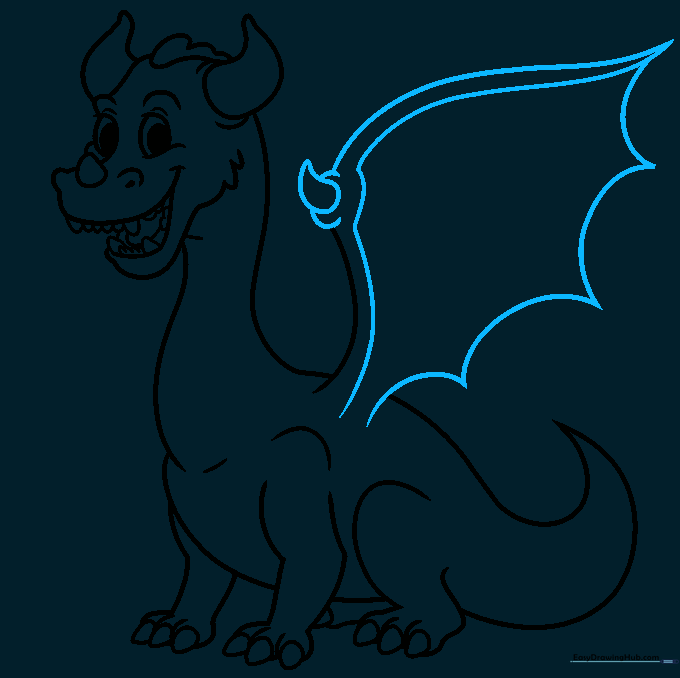
Draw the wing structure with a claw at the top and a bat-like membrane using connected curved lines. Teacher's Tip: Think of the wing like an umbrella; the lines should radiate from the base.
Step 8: Adding Spikes and Details
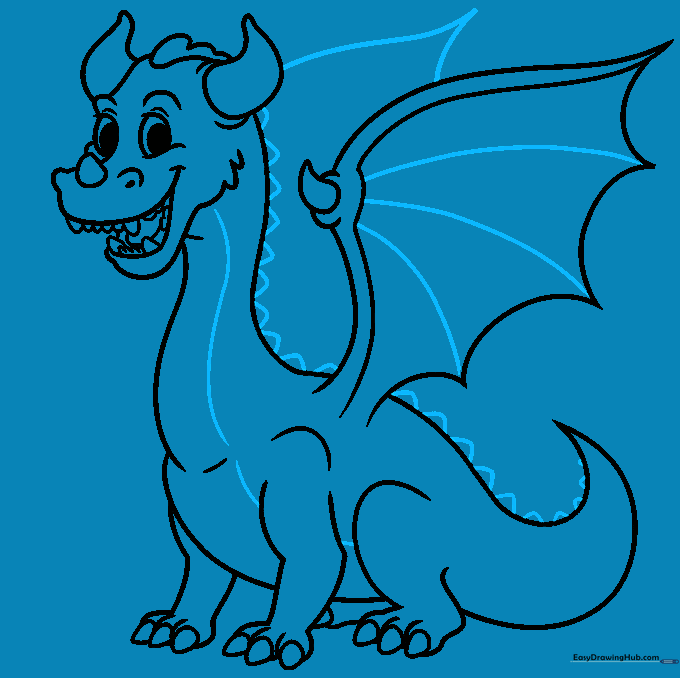
Add triangular spikes down the back and tail. Trace the wing veins for extra detail. Teacher's Tip: Vary the size of the spikes slightly to make them look more natural.
Step 9: Final Touches
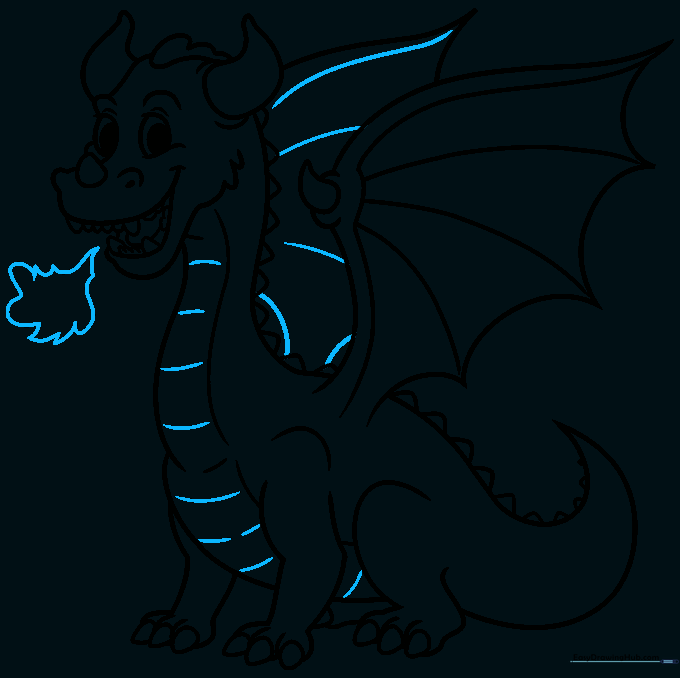
Refine the wing and belly details, and sketch a small puff of flame escaping the mouth. Teacher's Tip: Use a wavy line for the flame to make it look like it's flickering in the wind.
Step 10: Bring Your Dragon to Life with Color

Time to color! Whether you choose classic green, fiery red, or a magical blue, use your favorite colors to make your dragon unique. Teacher's Tip: Try using two shades of the same color to add shadows and depth to the scales.
More Tutorials


