How to Draw a Cartoon Dad: Easy 9-Step Guide
Looking for a fun, screen-free activity? This guide is perfect for children ages 5+ to learn how to draw a classic cartoon dad. All you need is a pencil, an eraser, and a piece of paper to bring this character to life.
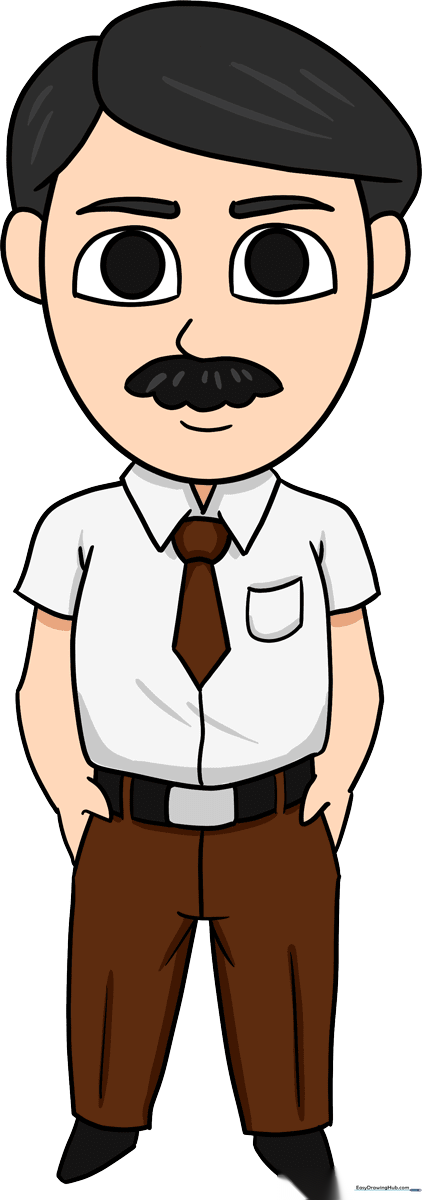
🎯 Final Result
Step-by-Step Instructions
Step 1: Sketching the Face Guide

Draw a light oval for the head. Add a vertical and horizontal line crossing in the center to create a crosshair. Teacher's Tip: Keep these lines faint—they are just a map to help you place the eyes and nose perfectly later.
Step 2: Adding Eyes and Brows
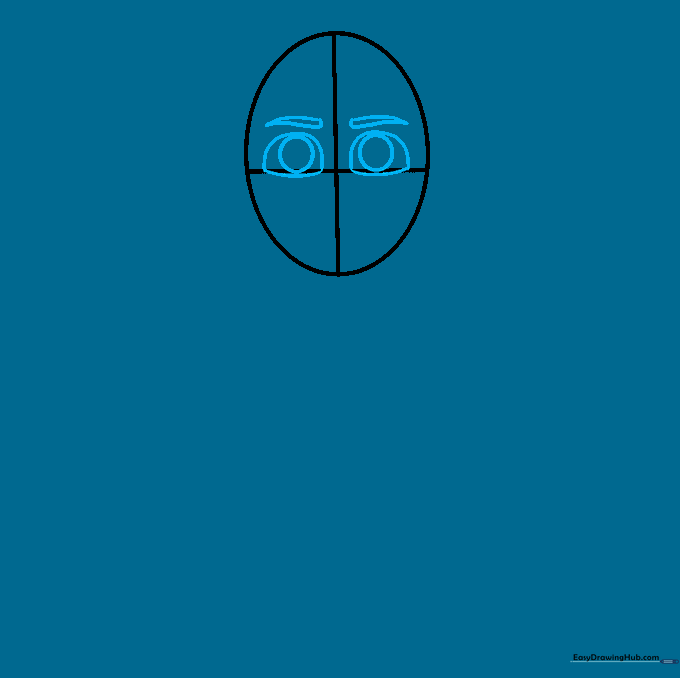
Draw two teardrop-shaped eyes resting on the horizontal line, then add circular pupils inside. Draw two curved lines above for the eyebrows. Teacher's Tip: Make the eyebrows slightly angled to give your character a friendly, expressive look.
Step 3: Defining Facial Features
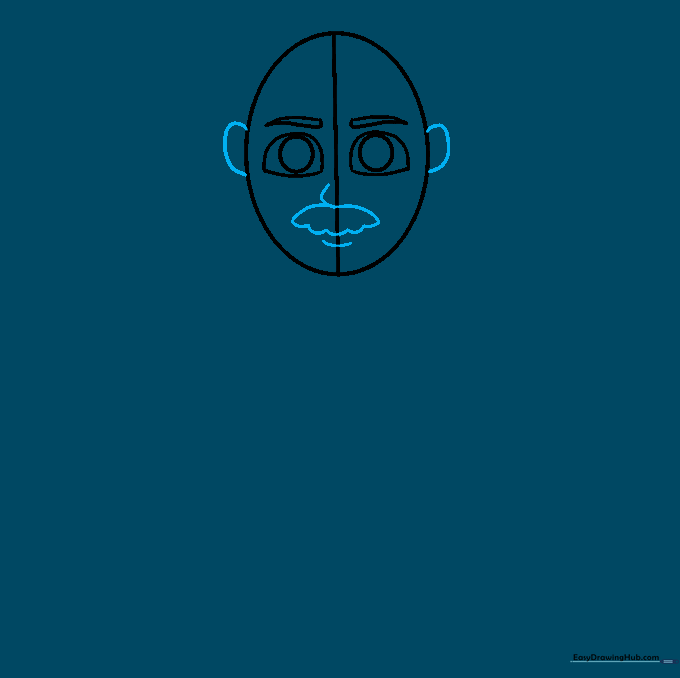
Erase the horizontal guide line. Add 'C' shaped ears, a curved nose, a mustache, and a rounded chin. Teacher's Tip: Use short, quick strokes for the mustache to give it a textured, realistic appearance.
Step 4: Sketching the Hair
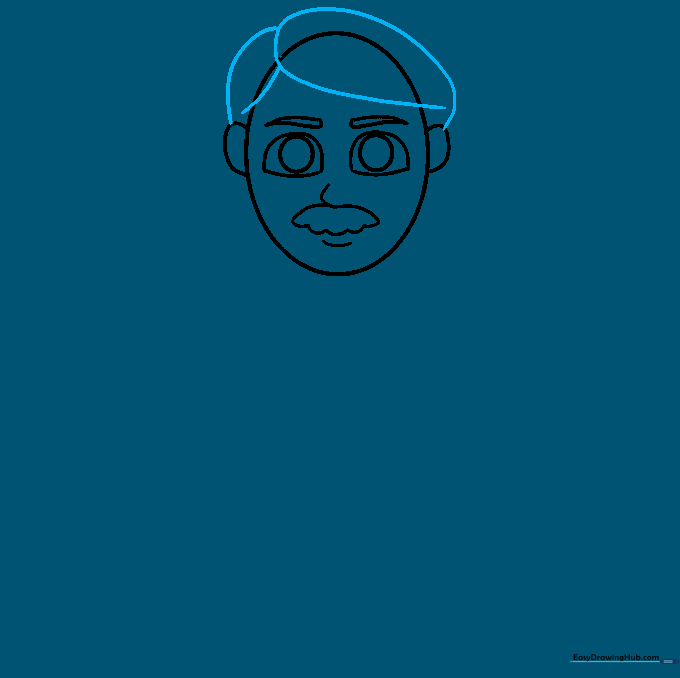
Erase the vertical guide line and draw the hair using overlapping curved lines. Teacher's Tip: Don't worry about making every hair strand perfect; focus on the overall shape of the hairstyle.
Step 5: Drawing the Shirt and Neck
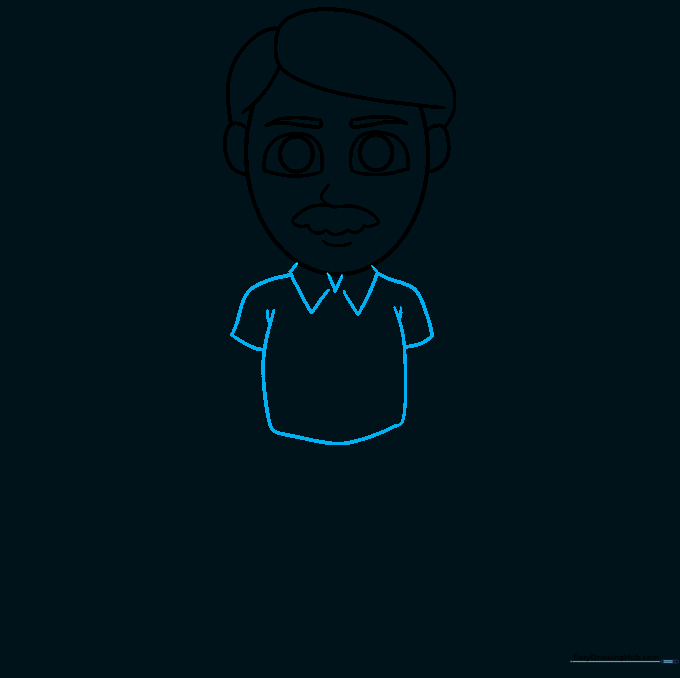
Draw a 'V' shape for the neck and add a rectangular collar. Sketch the sleeves and torso. Teacher's Tip: Keep your lines bold for the shirt to make it stand out from the face.
Step 6: Adding the Tie and Details
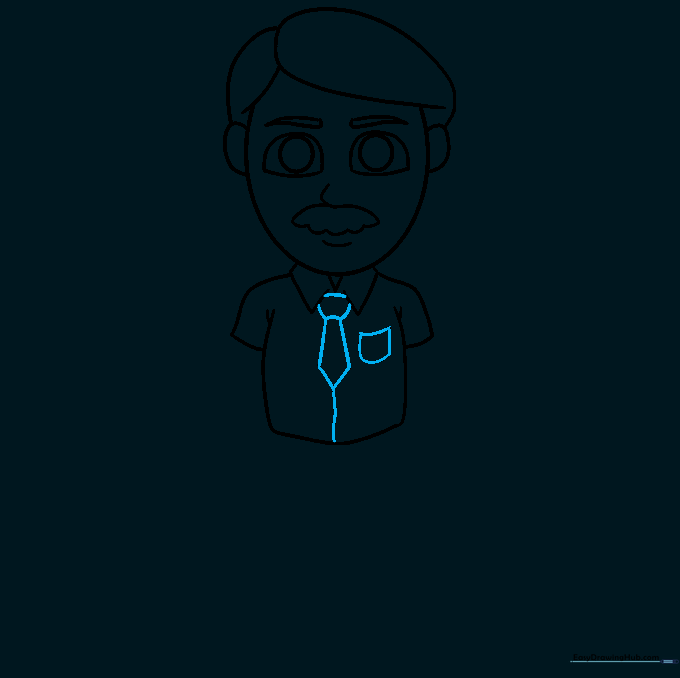
Draw a necktie, a button placket, and a pocket on the shirt. Teacher's Tip: Use a ruler if you struggle with straight lines for the tie, but freehand is great for a 'cartoon' style!
Step 7: Drawing the Pants
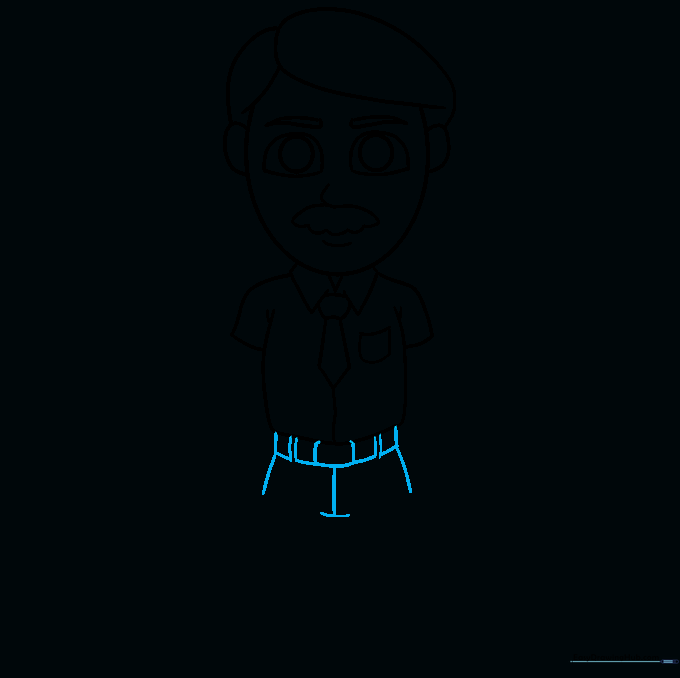
Draw the pants, including the belt loops and buckle. Teacher's Tip: Ensure the belt sits right at the waistline of the shirt for a natural look.
Step 8: Adding Arms and Hands
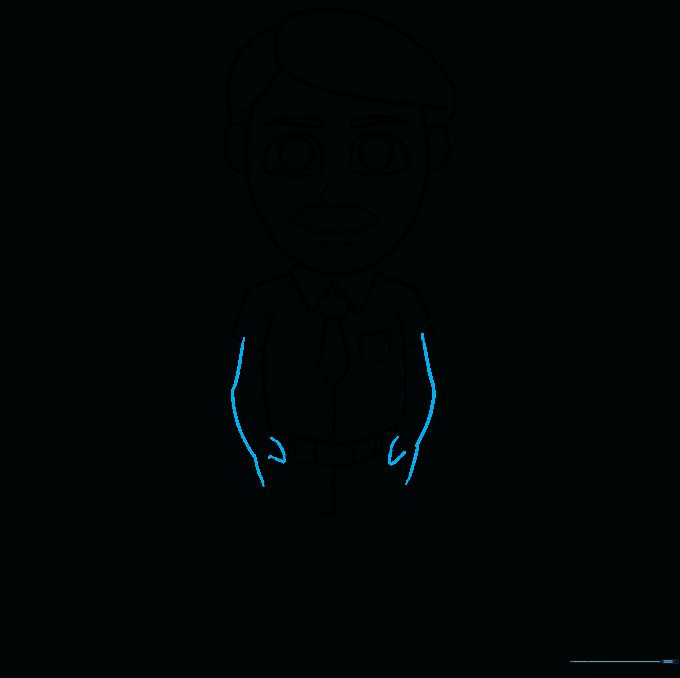
Draw the arms with hands tucked into the pockets. Teacher's Tip: Keep the thumb visible over the pocket edge to make it look like he's actually holding onto his pants.
Step 9: Finishing the Legs and Shoes

Complete the legs and add pointed shoes. Add a few small lines to indicate creases in the pants. Teacher's Tip: Crease lines add depth and make your drawing look more professional!
Step 10: Bring Him to Life with Color
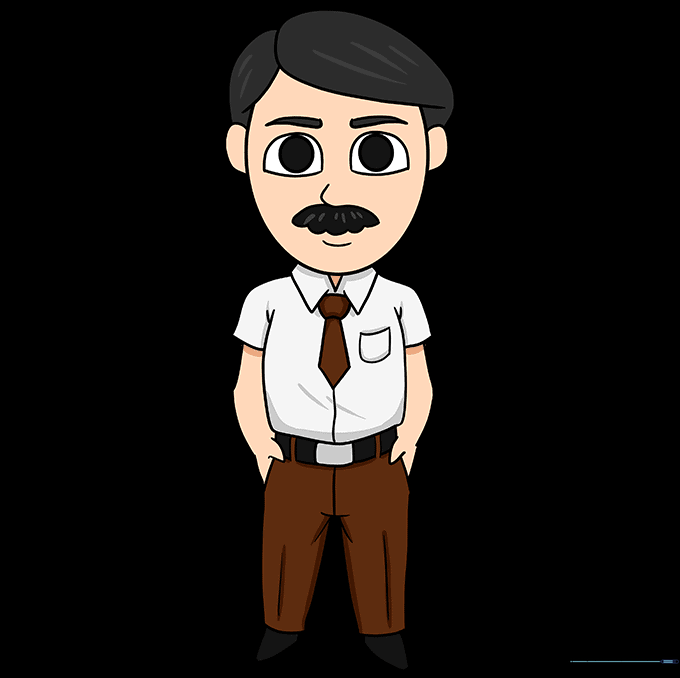
Use your favorite colors to fill in the dad. Teacher's Tip: Try using light shading on one side of the shirt and pants to create a 3D effect.
More Tutorials


