How to Draw a Cartoon Crocodile: Easy 9-Step Guide
Ready to bring a swamp-dwelling friend to life? This tutorial is perfect for young artists ages 5 and up. All you need is a pencil, an eraser, and some paper to start building your character. We will focus on simple shapes to create a friendly crocodile that is full of personality.
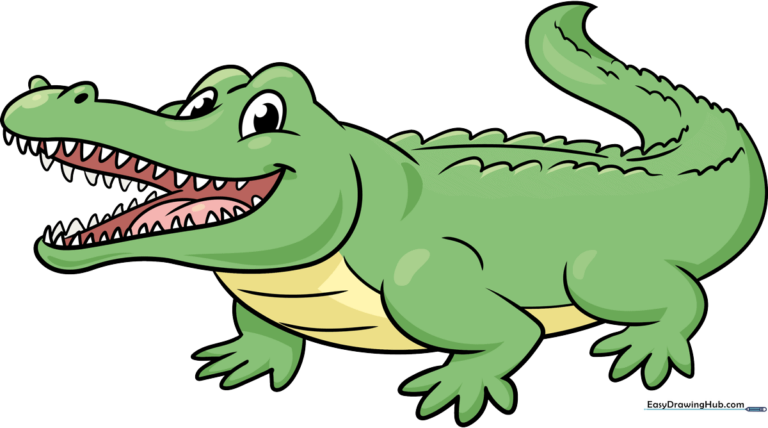
🎯 Final Result
Step-by-Step Instructions
Step 1: Sketching the Eyes
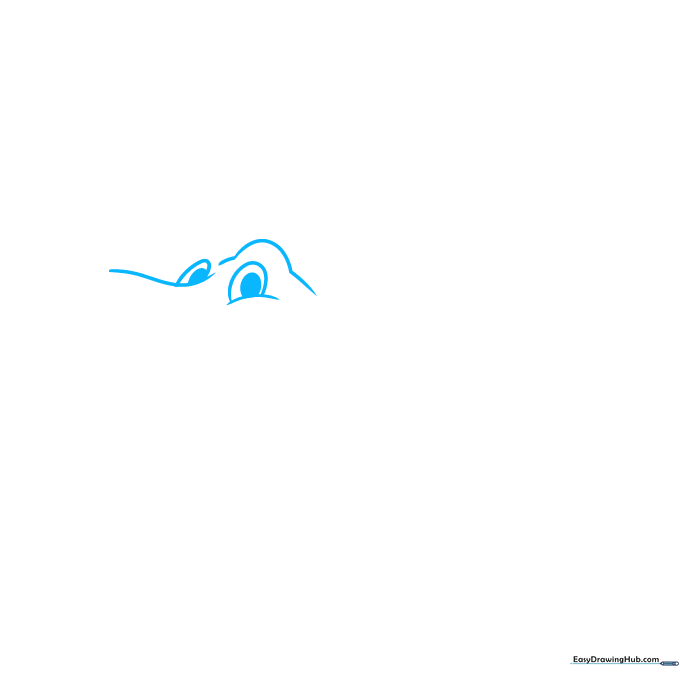
Draw a rounded oval for the eye, adding a smaller pupil inside. Add a small loop above the eye to give it a 'bubbly' look. Teacher's Tip: Keep the eye shape simple; it acts as the anchor for the rest of the crocodile's head.
Step 2: Defining the Snout
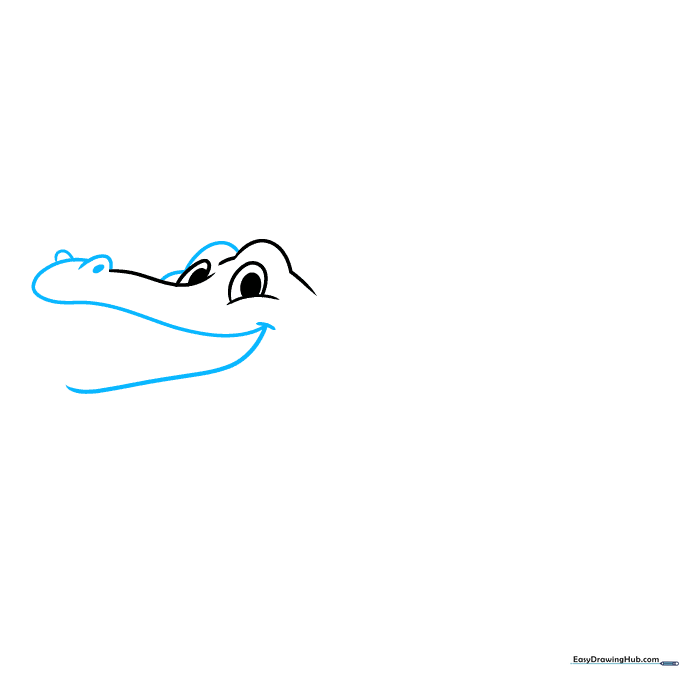
Outline the mouth using a wide, curvy triangle shape. Add small loops near the top for the nostrils. Teacher's Tip: Use a light touch here—crocodiles have long, distinct snouts, so make sure your lines are smooth and continuous.
Step 3: Adding Sharp Teeth
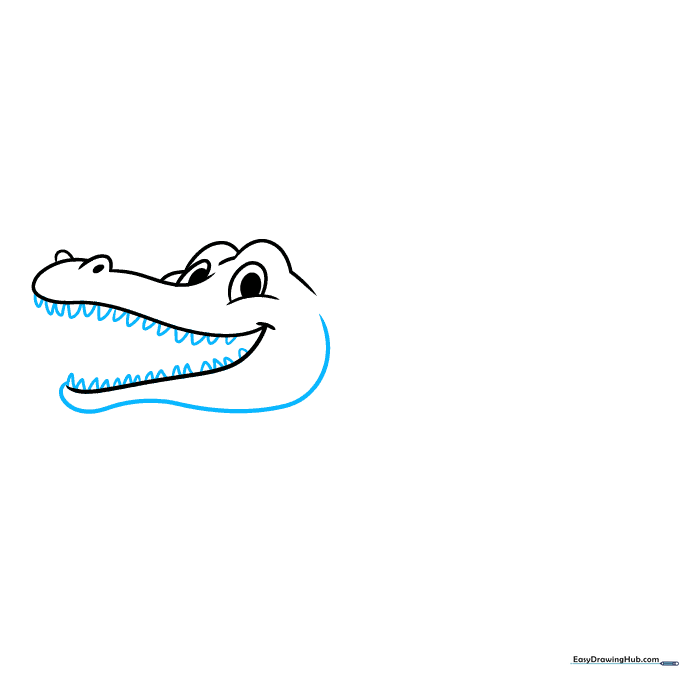
Draw small, jagged triangles along the inside of the mouth to represent teeth. Teacher's Tip: Don't worry about making them perfectly even; slightly irregular teeth make your crocodile look more natural and fun!
Step 4: The Tongue
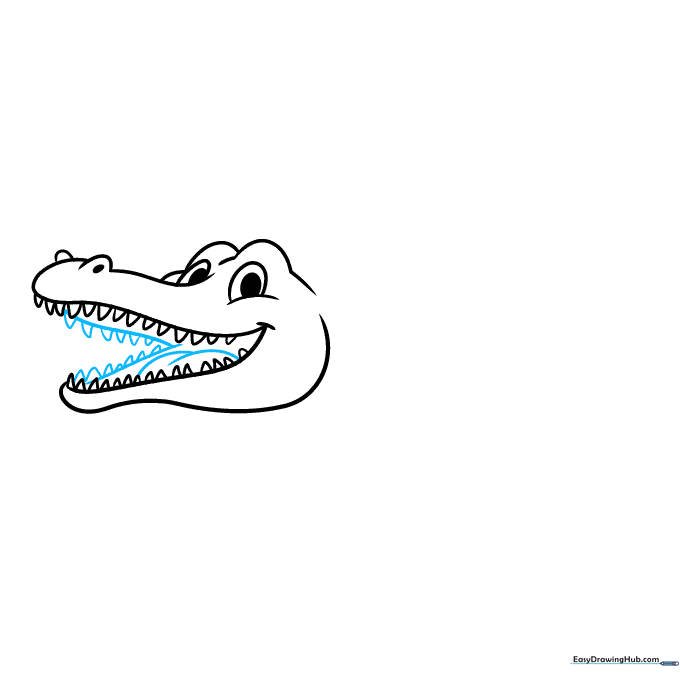
Add two soft curves inside the mouth to form the tongue. Teacher's Tip: A tongue adds character—make it look like your crocodile is smiling or laughing!
Step 5: Drawing the Front Legs
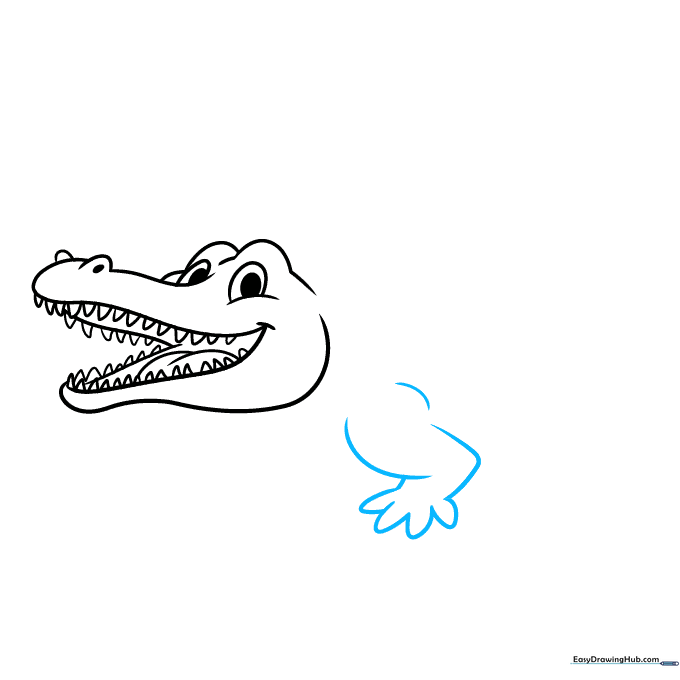
Sketch a large curve for the shoulder and add four small loops at the bottom for the toes. Teacher's Tip: Keep the toes rounded to maintain the 'cartoon' style.
Step 6: Adding the Back Legs
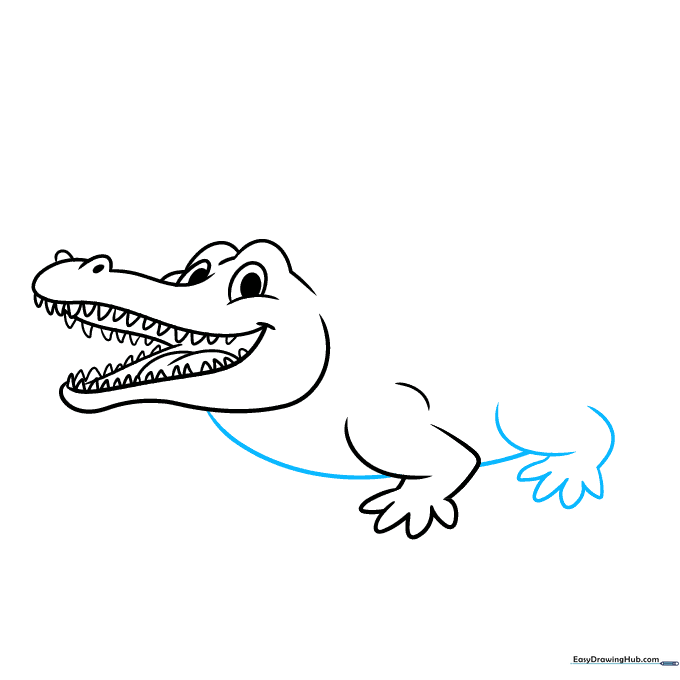
Connect the head to the body with a curve, then repeat the leg-drawing process for the back leg. Teacher's Tip: Ensure the back leg is slightly smaller to create a sense of depth.
Step 7: Adding Texture and Scales
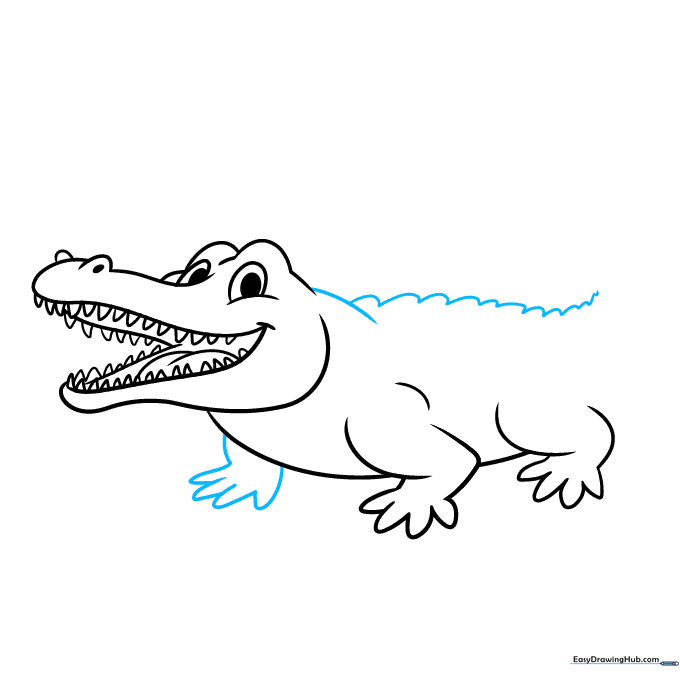
Outline the back with a series of uneven loops to create scales. Teacher's Tip: Vary the size of your loops to make the crocodile look more realistic and textured.
Step 8: The Tail
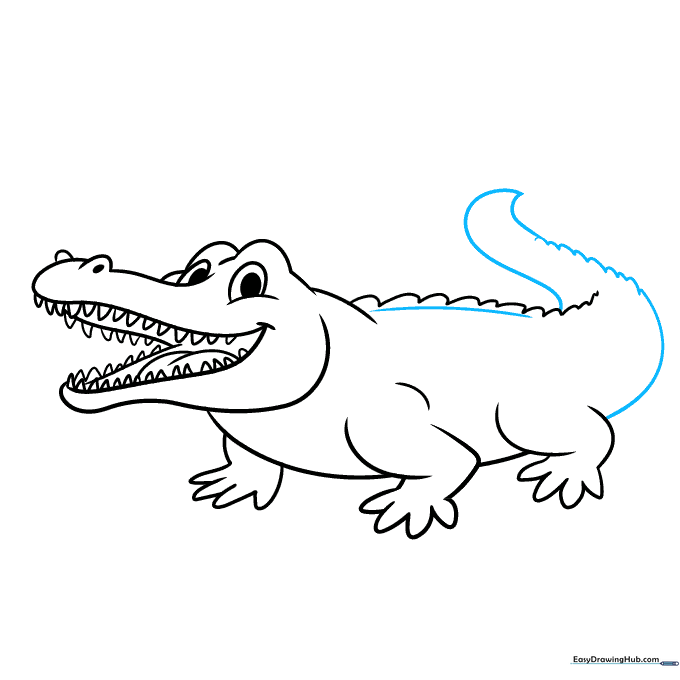
Draw two long S-shapes to form the tail, continuing the scale pattern along the edge. Teacher's Tip: A long, curved tail adds movement to your drawing.
Step 9: Final Details
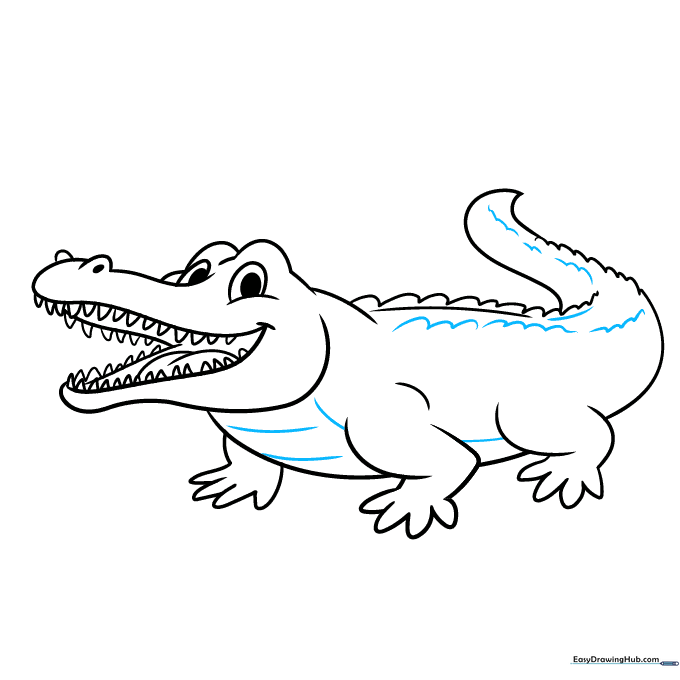
Add texture lines to the belly and refine your scale outlines. Teacher's Tip: Use short, quick strokes to give the belly a leathery appearance.
Step 10: Coloring Your Crocodile
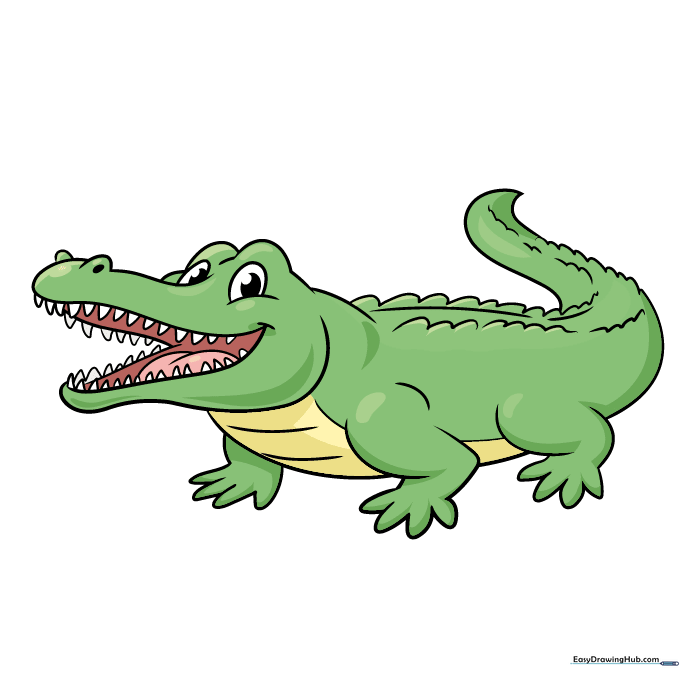
Bring your drawing to life! Use vibrant greens for the body, a pale yellow for the belly, and a pop of pink for the tongue. Teacher's Tip: Keep the teeth and eyes white to make them stand out against the green skin.
More Tutorials


