How to Draw a Cartoon Cloud: Easy 9-Step Guide
Ready to add some whimsy to your sky? This tutorial is perfect for young artists ages 5+ to practice fluid, organic shapes. All you need is a pencil, an eraser, and a piece of paper to bring your own fluffy cloud to life.
🎯 Final Result

Step-by-Step Instructions
Step 1: Sketching the First Curve
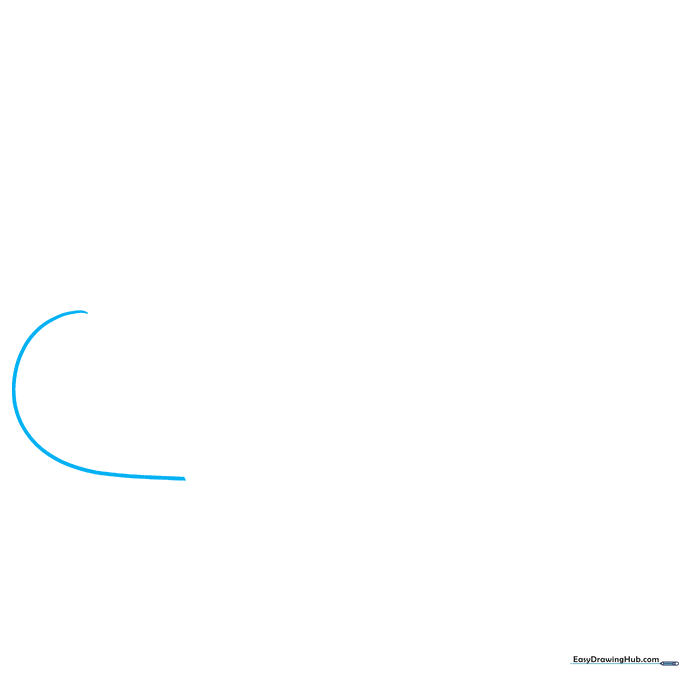
Start by drawing a gentle, rounded curve. Teacher's Tip: Think of this as the 'top' of your cloud; keep your pencil pressure light so the line stays soft.
Step 2: Adding the C-Curve
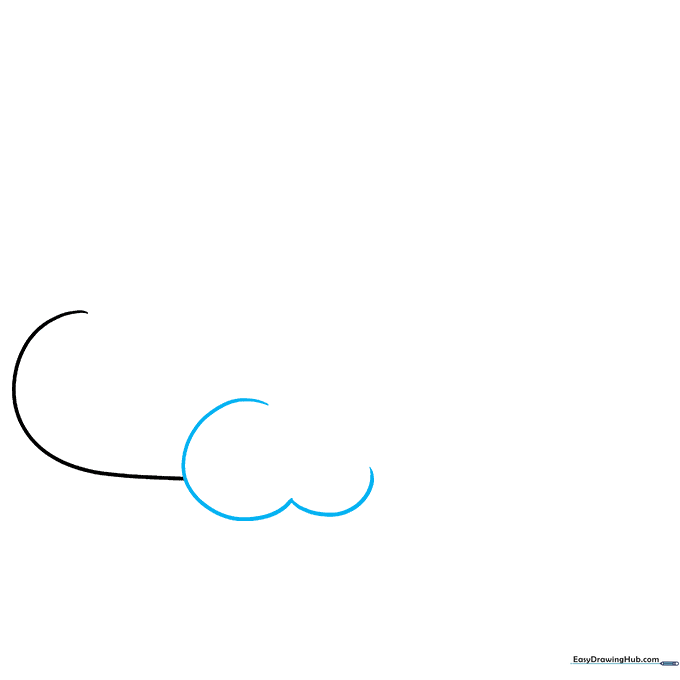
Draw a 'C' shaped line that intersects your first curve. Teacher's Tip: Don't worry about perfect symmetry; clouds are naturally lumpy and irregular.
Step 3: Extending the Outline
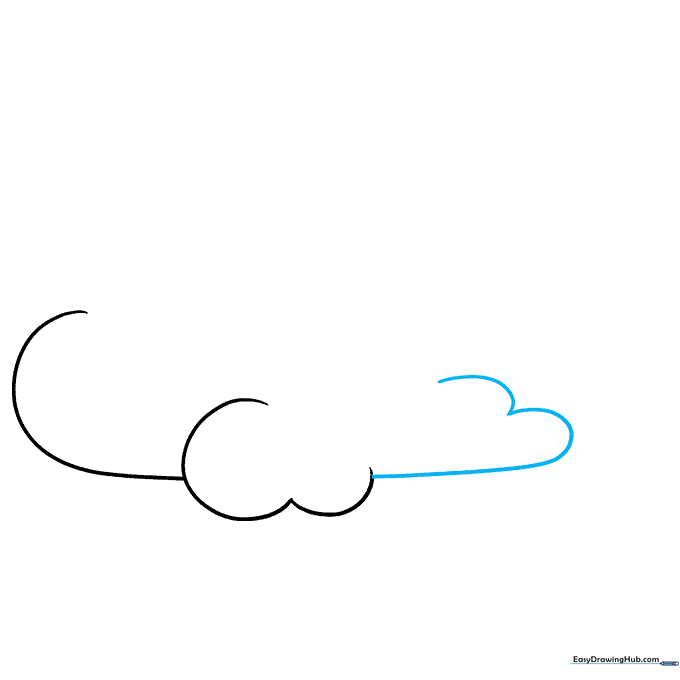
Continue the shape by drawing a long curved line, followed by a shorter one. Teacher's Tip: Varying the length of your curves makes the cloud look more realistic and less like a perfect circle.
Step 4: Building the Fluff
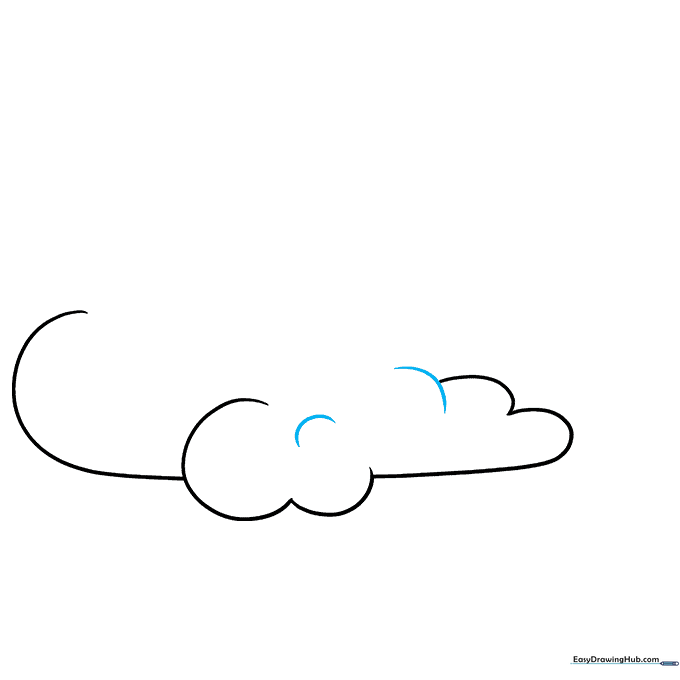
Add a curved line that intersects your previous work, then add a small, unconnected curve nearby. Teacher's Tip: This 'unconnected' line creates the illusion of a fluffy, layered cloud.
Step 5: Creating Windblown Motion
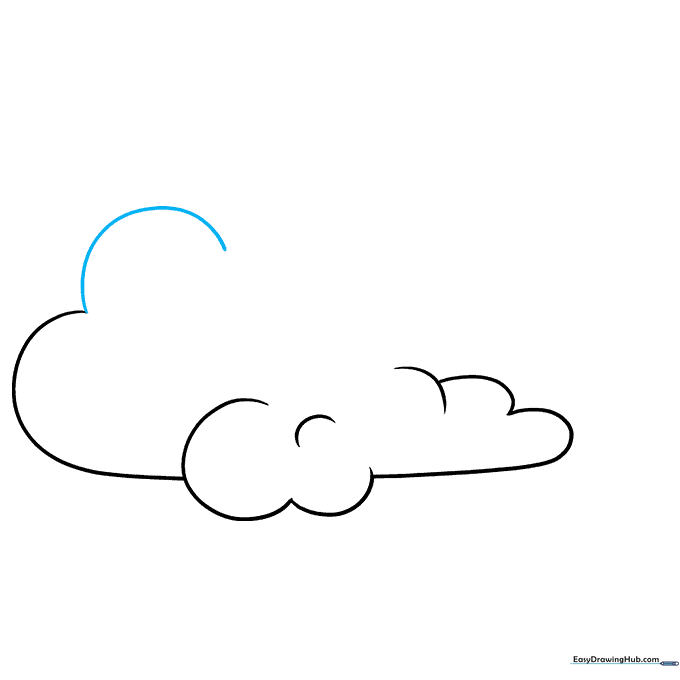
Extend a curved line above the original shape. Teacher's Tip: Imagine the wind is pushing your cloud to one side—this makes the drawing look dynamic.
Step 6: Overlapping Curves
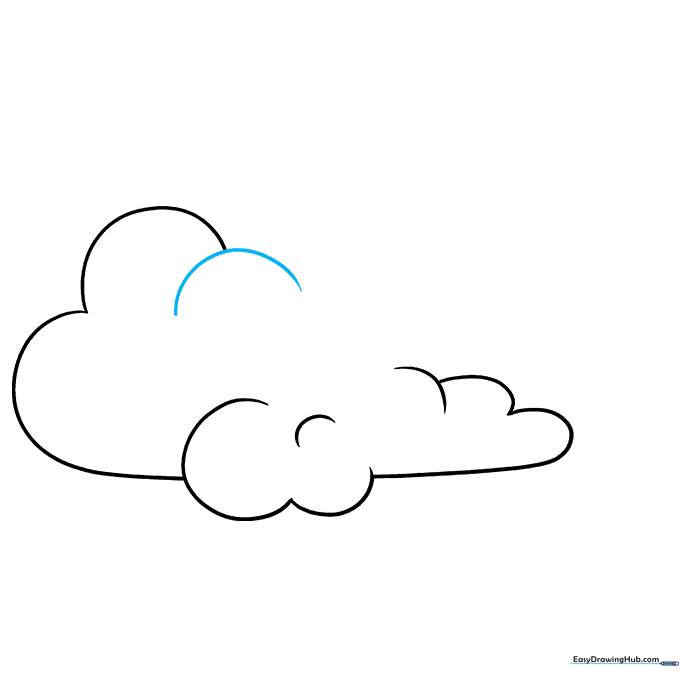
Draw another curve that overlaps the previous line. Teacher's Tip: Overlapping is the secret to making drawings look 3D instead of flat.
Step 7: Adding More Texture
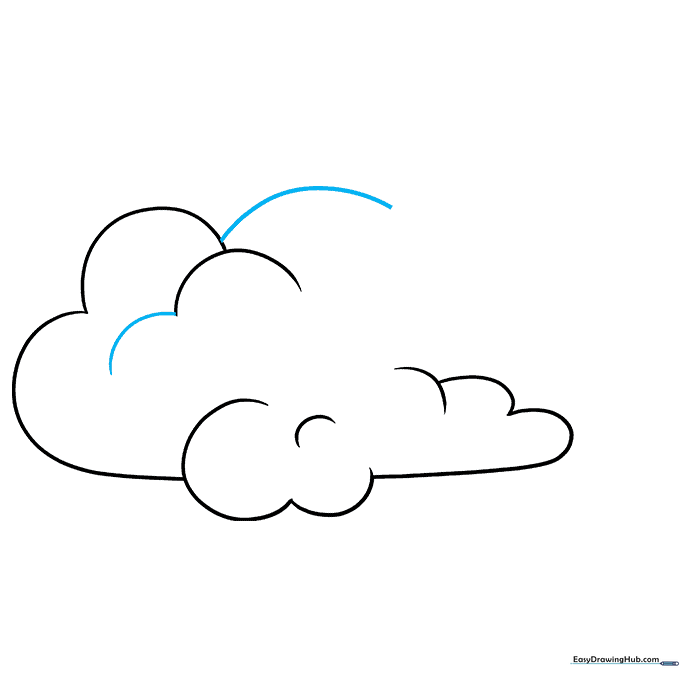
Continue adding connected, overlapping curves around the perimeter. Teacher's Tip: Keep your hand loose and relaxed; don't press too hard!
Step 8: Closing the Outline
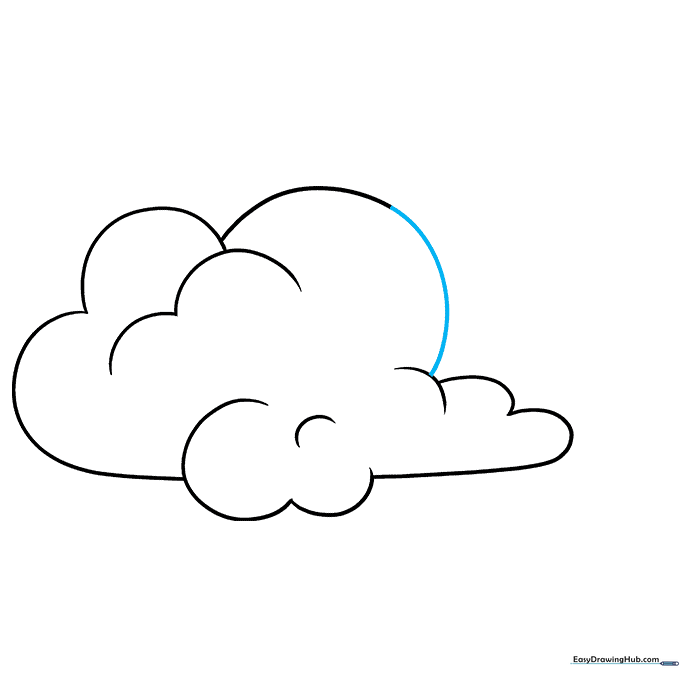
Extend the final curved line to connect back to the start. Teacher's Tip: Check your work—if you see any stray lines inside the cloud, now is the time to erase them.
Step 9: Adding Background Clouds

Draw a few smaller, simple ovals and rounded shapes nearby. Teacher's Tip: Adding smaller clouds in the background creates a sense of distance.
Step 10: Adding Shading and Color

Time to bring it to life! Use light blue or gray to shade the undersides of your clouds. Teacher's Tip: For a 'stormy' look, use darker grays, or use warm oranges and pinks for a sunset effect.
More Tutorials


