How to Draw a Cartoon Castle: Easy 21-Step Guide
Ready to build your own fortress? This tutorial is perfect for young artists ages 5 and up. You will need a pencil, an eraser, and a piece of paper to bring this majestic castle to life while practicing your geometric shapes and steady hand control.
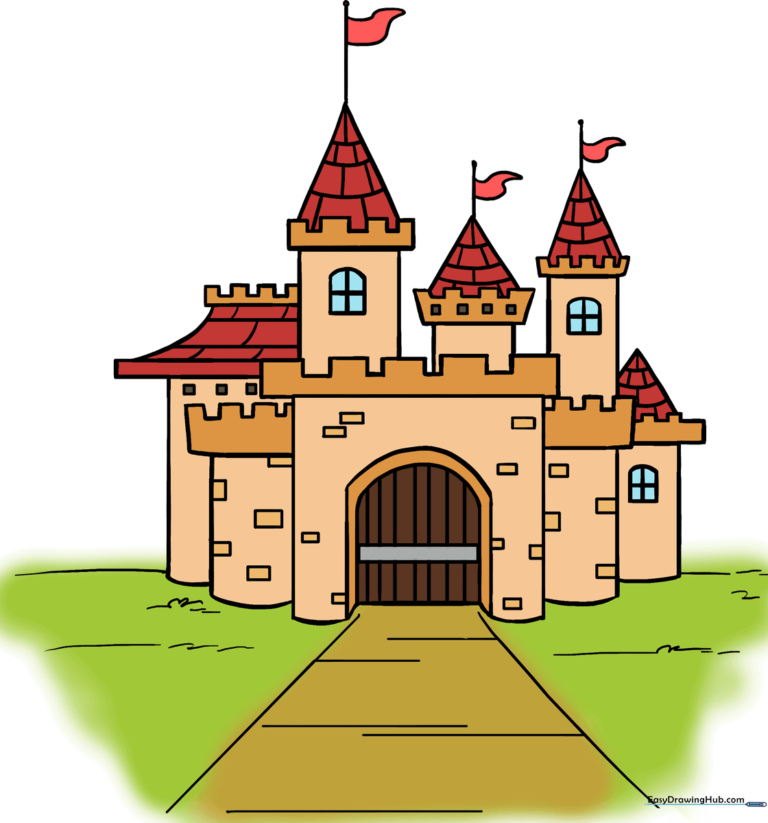
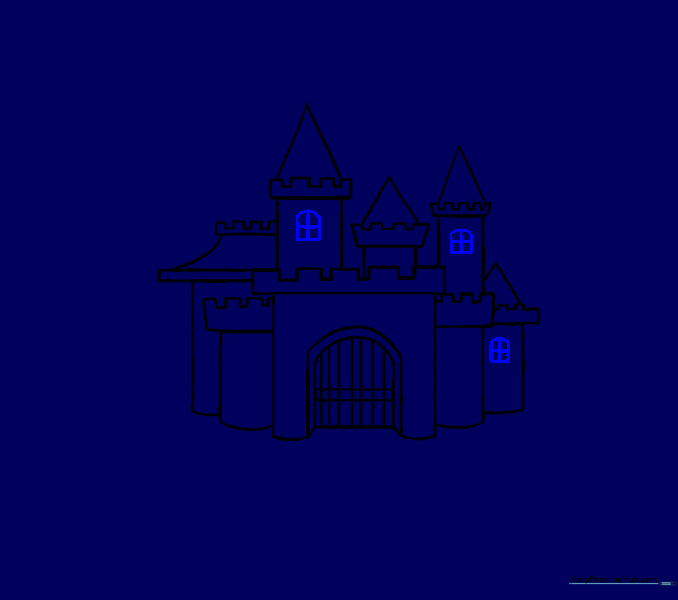
🎯 Final Result
Step-by-Step Instructions
Sketching the Main Walls
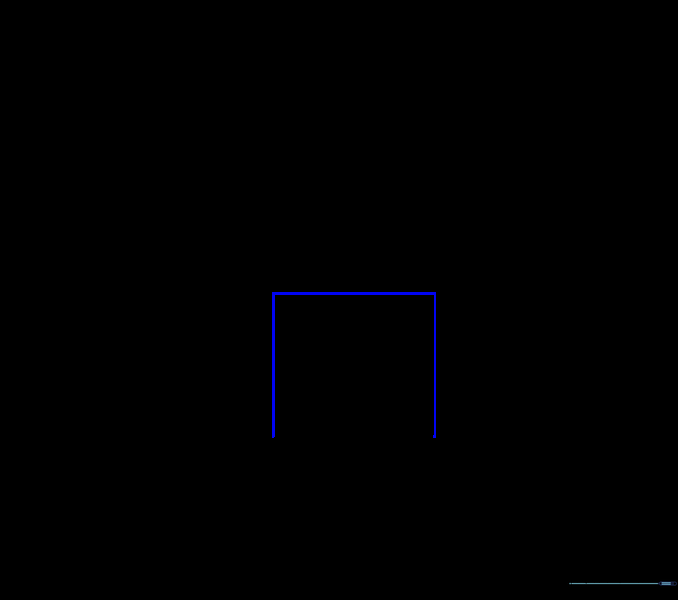
Draw three straight lines that meet at right angles to form an open-bottomed square. Teacher's Tip: Use a ruler if you want perfectly straight walls, or go freehand for a more whimsical, hand-drawn look.
Creating the Grand Entrance
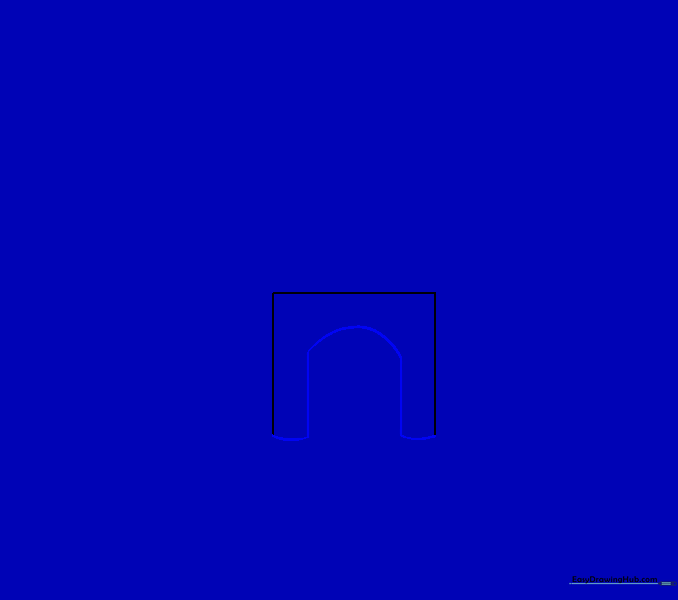
Draw a curved arch inside the square, then extend lines downward to the base. Tip: Imagine you are drawing a doorway big enough for a knight to walk through!
Building the Side Towers
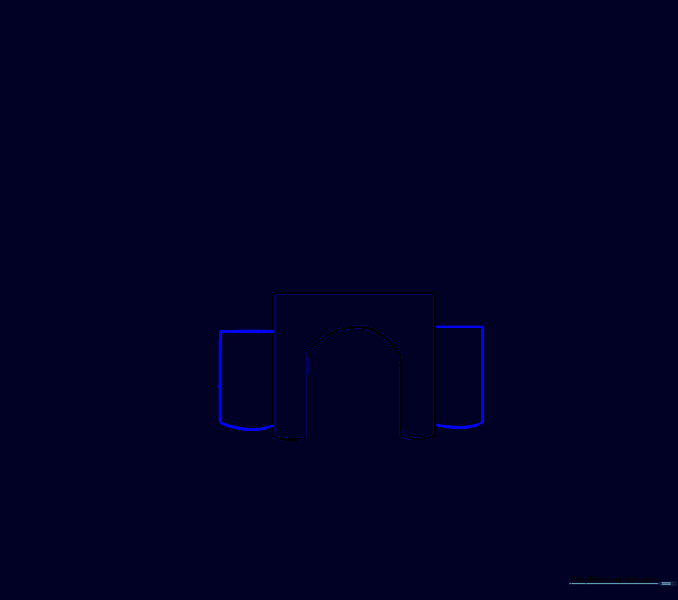
Extend horizontal lines from the main square to create the base of your towers. Tip: Keep your lines parallel to the ground to make the castle look sturdy.
Adding Tower Battlements
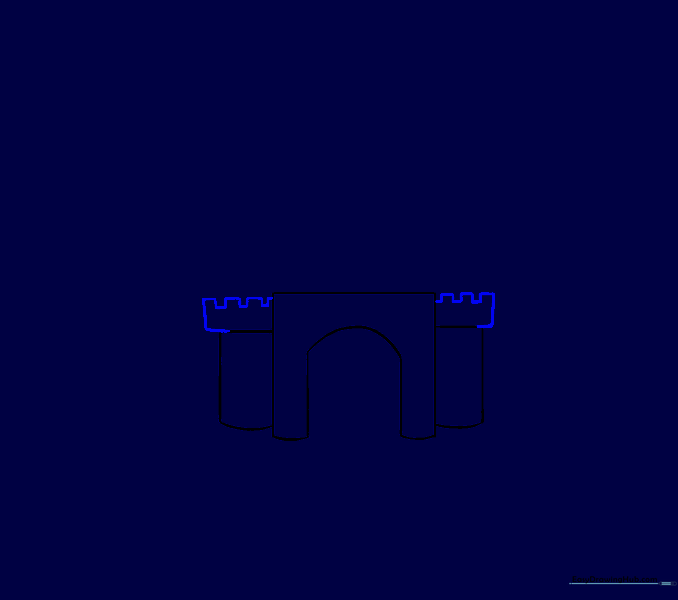
Draw a 'crenelated' pattern (the classic castle top) using alternating small squares. Tip: This is a great exercise for practicing steady, short vertical and horizontal lines.
Detailing the Front Wall
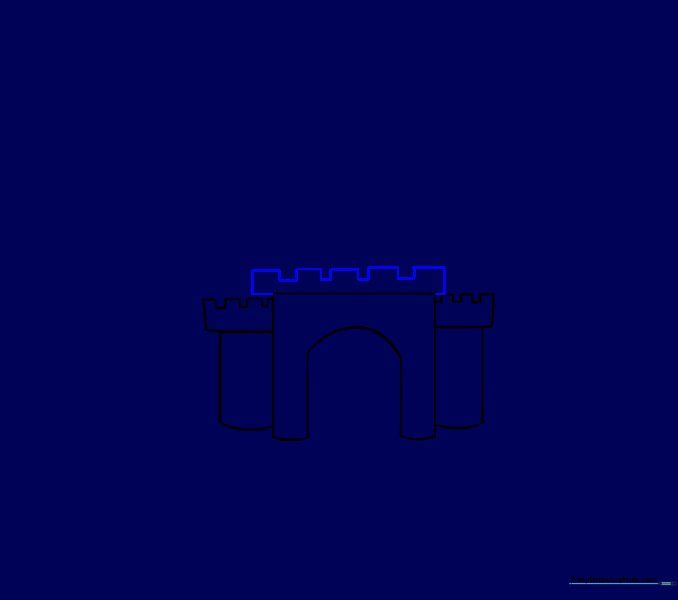
Add a larger version of the battlement pattern to the top of the central wall. Tip: Make sure your squares are evenly spaced for a professional look.
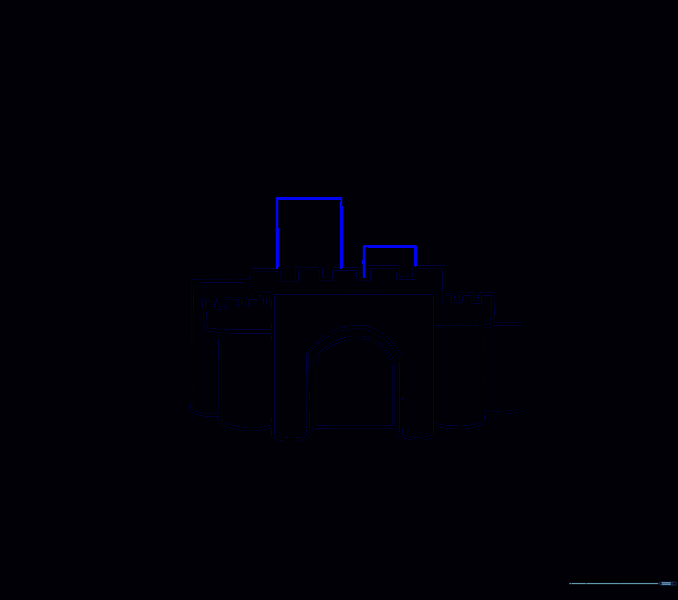
Refining the Doorway
Draw a smaller arch inside the first one to create a door frame. Tip: Adding this extra line creates a 3D effect, making the door look like it has depth.
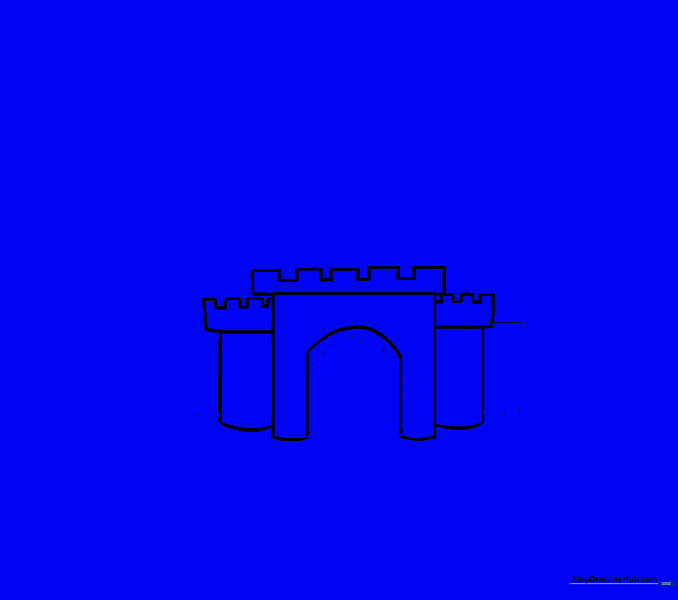
Layering the Structure
Add rectangular shapes behind the main front wall to create height. Tip: Varying the heights of these rectangles makes the castle look more interesting and complex.
Adding Upper Battlements
Repeat the battlement pattern on the new, taller sections. Tip: Keep your pencil light here so you can easily erase any overlapping lines later.
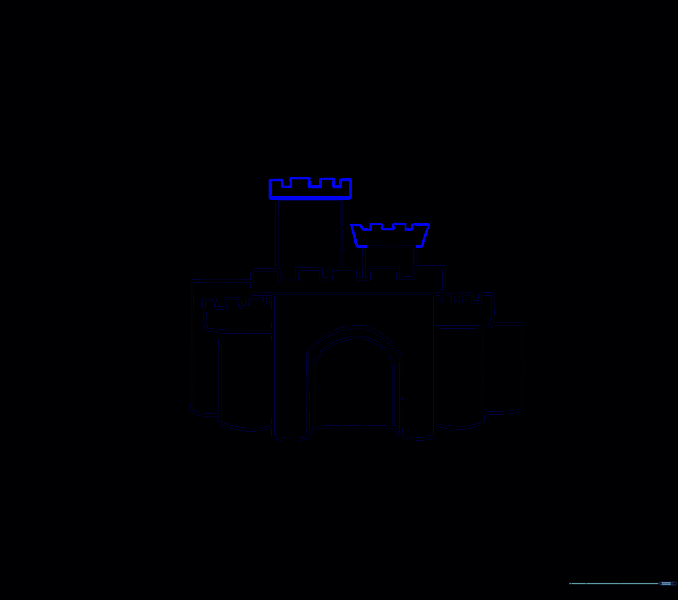
Extending the Side Tower
Add one more tower to the side. Tip: Think of this as building with blocks—you are just stacking shapes on top of each other.
Drawing Triangular Roofs
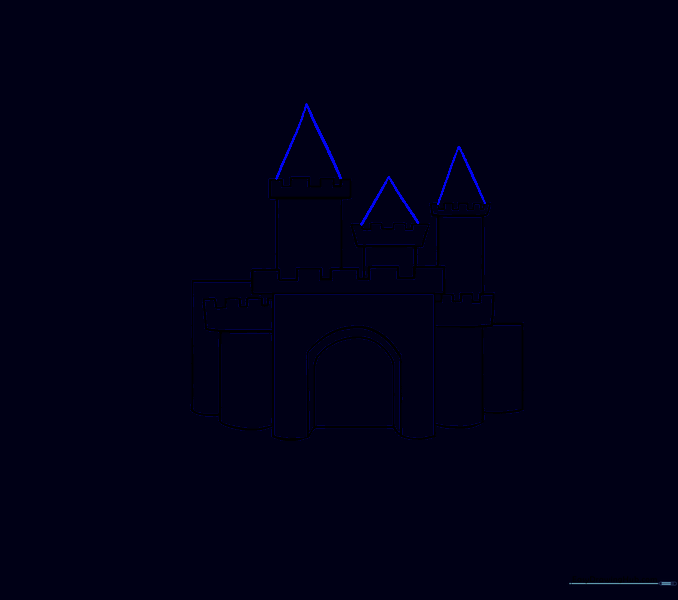
Place triangles on top of your tallest towers. Tip: Use a light guideline down the center of the triangle to keep the peak perfectly centered.
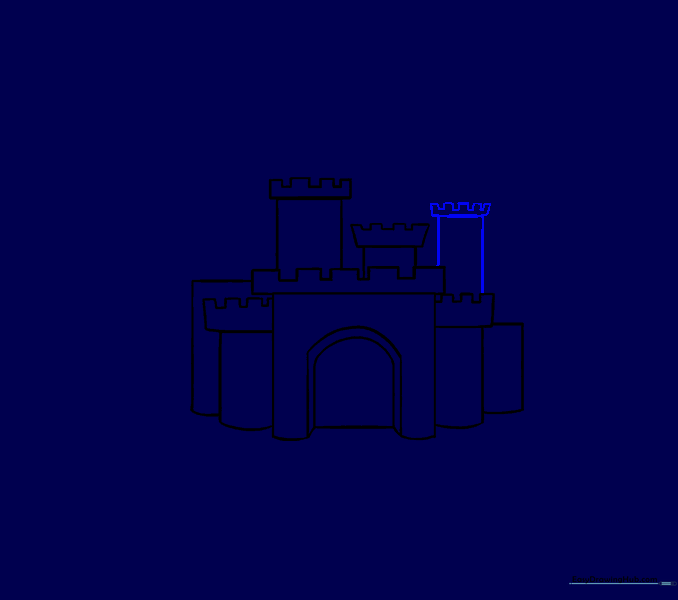
Adding Final Tower Details

Add a small rectangular section to the left wall and finish the right tower. Tip: Small details like these make your drawing look more complex and professional.
Completing the Roofline

Add the final roof section to the left side. Tip: Ensure the roof matches the style of the other towers to keep the drawing cohesive.
Adding Door Planks
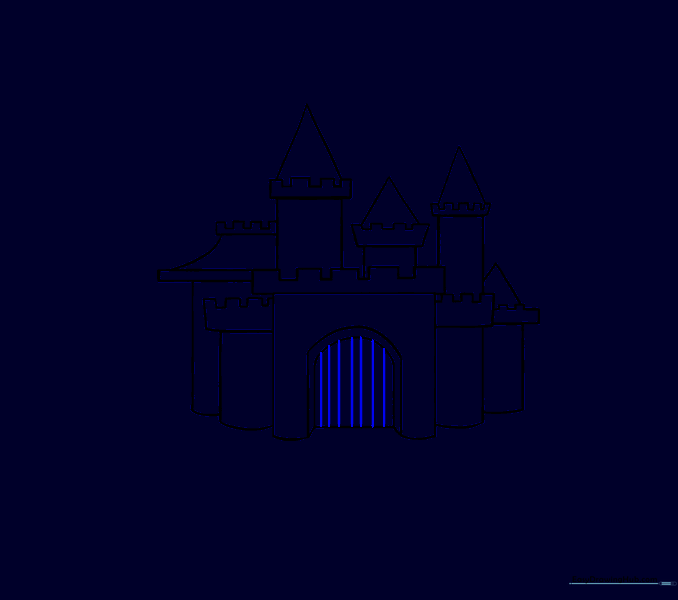
Draw vertical lines on the door to show wooden planks. Tip: Vary the spacing slightly to make it look like real, rustic wood.
Adding Door Hardware
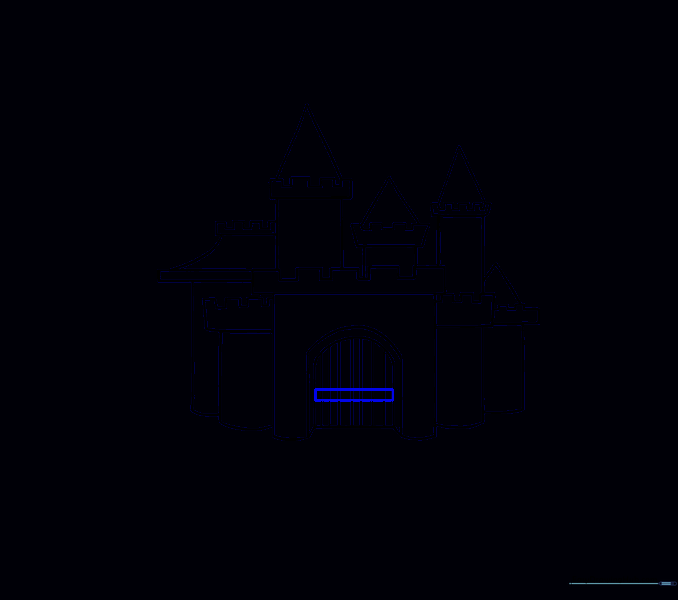
Draw a horizontal rectangle across the door for a handle or reinforcement bar. Tip: This adds a nice focal point to the center of your castle.
Drawing Windows
Add small windows to the towers using squares with crossed lines. Tip: Use a light touch so the window panes look delicate.
Adding Roof Shingles
Draw curved lines on the roofs to suggest shingles. Tip: Don't worry about making them perfect; a slightly irregular pattern looks more natural.
Adding Stone Texture
Scatter small rectangles across the walls to look like stone blocks. Tip: Focus on the corners and edges to give the castle a weathered, ancient feel.
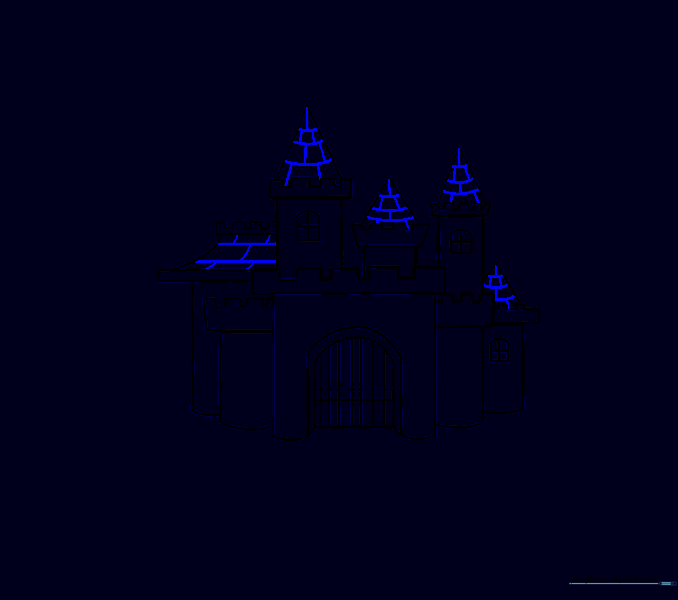
Adding Flags
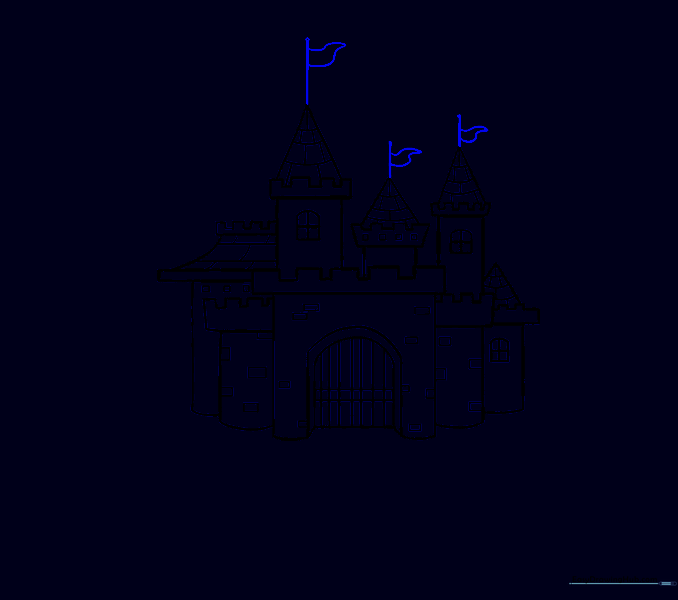
Draw pennant flags on top of the towers. Tip: Draw a slight curve to the flag to make it look like it's blowing in the wind.
Adding the Ground and Path
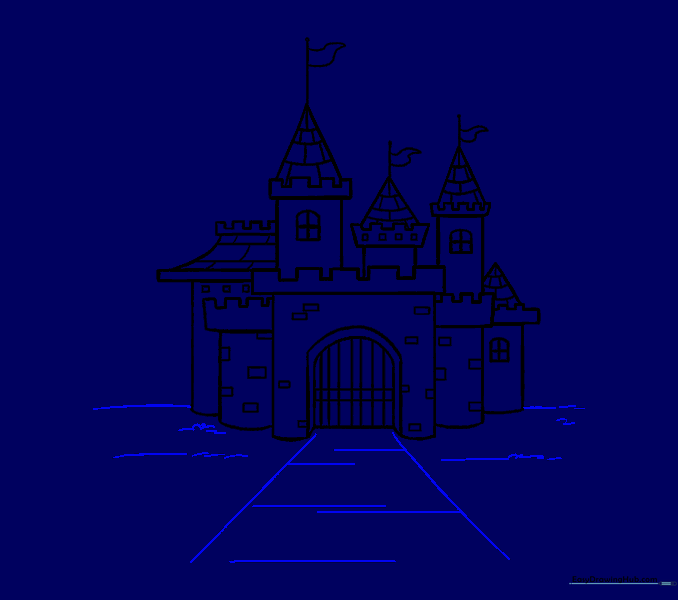
Draw a horizon line and a path leading to the gate. Tip: Use short, curved strokes to add patches of grass around the base.
Cleaning Up
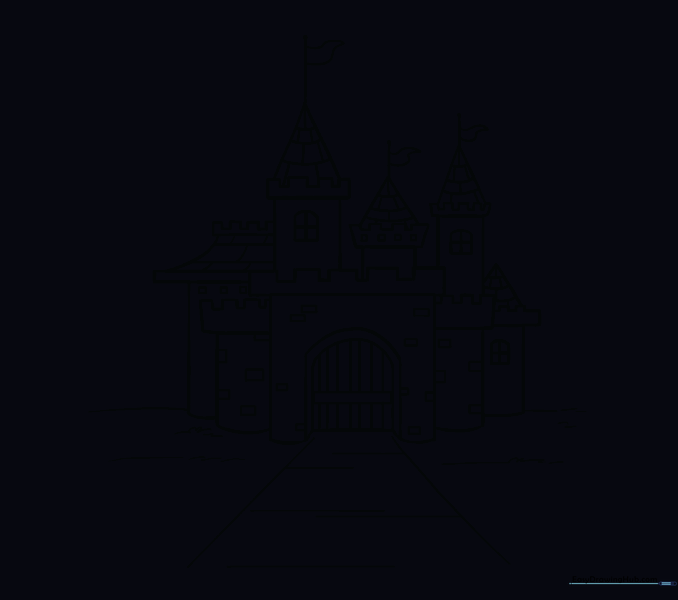
Carefully erase any overlapping lines inside the gate or towers. Tip: Use a kneaded eraser if you have one—it's great for picking up small graphite marks without smudging.
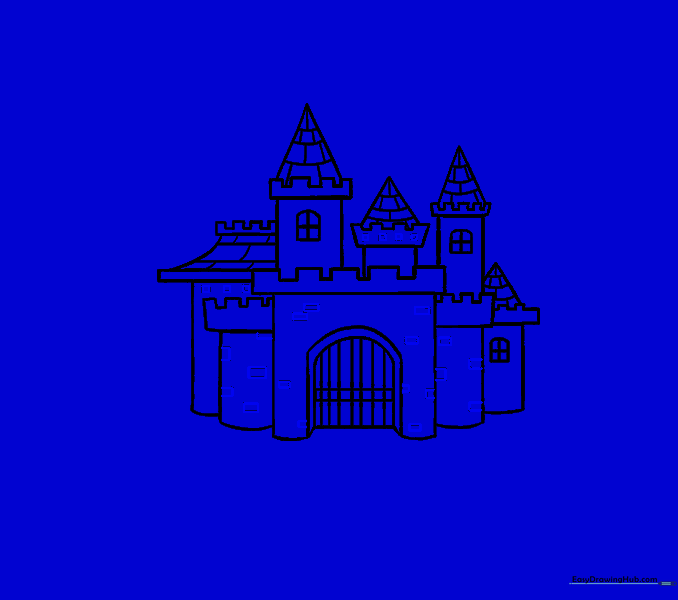
Adding Color

Bring your castle to life with color! Use grays for a stone look, or bright pinks and purples for a magical fairy tale castle. Tip: Use a darker shade of your base color to add shadows under the battlements for a 3D effect.
More Tutorials


