How to Draw a Cartoon Butterfly: Easy 10-Step Guide
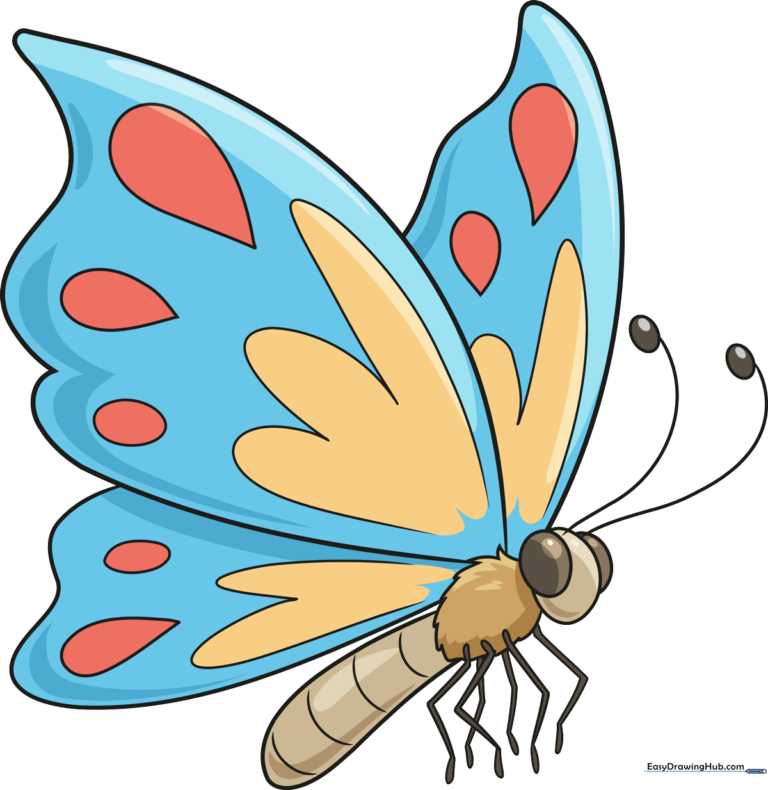
Bring a colorful butterfly to life with this beginner-friendly drawing tutorial. Designed for ages 5 and up, this activity requires only a pencil, paper, and an eraser to build confidence in basic shape construction. Follow along to master the symmetry of wings and the charm of a friendly cartoon insect.
🎯 Final Result
Step-by-Step Instructions
Step 1: Sketching the Head and Eyes

Draw a small oval for the compound eye, then add a larger, partially overlapping oval for the head. Tip: Keep your pencil pressure light so you can easily adjust the shape if it looks a bit lopsided!
Step 2: Defining the Thorax and Abdomen

Use jagged, curved lines to outline the thorax, then extend a long, curved line that loops back to form the abdomen. Tip: Think of the abdomen as a long, thin bean shape.
Step 3: Adding Antennae and First Leg
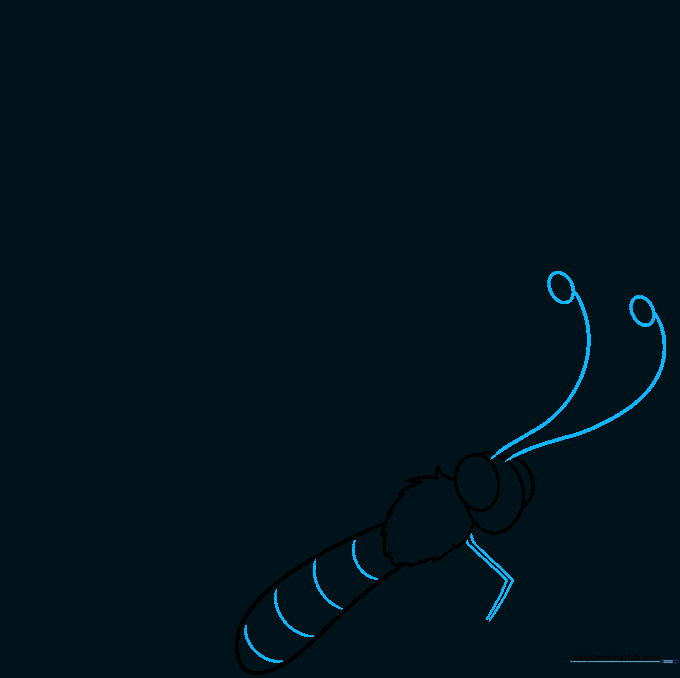
Extend two curved lines from the head with small circles at the tips for antennae. Add the first 'L' shaped leg. Tip: Make the antennae look like little lollipops to give the butterfly a friendly, cartoonish look.
Step 4: Drawing Additional Legs
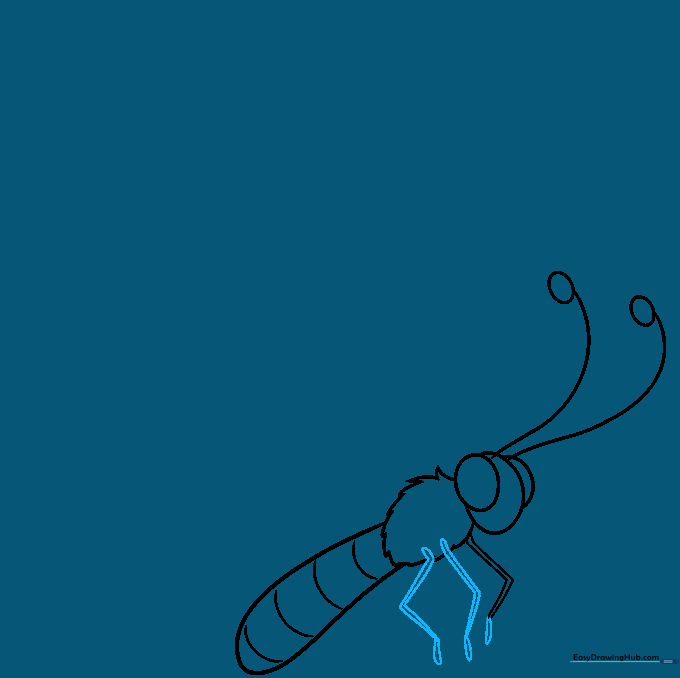
Continue adding 'L' shaped legs along the thorax. Tip: If you make a mistake, use your eraser to gently lift the graphite before moving on to the next leg.
Step 5: Finishing the Leg Structure

Add the remaining legs to complete the set of six. Tip: Ensure the legs are spaced evenly to keep the butterfly looking balanced.
Step 6: Starting the First Wing
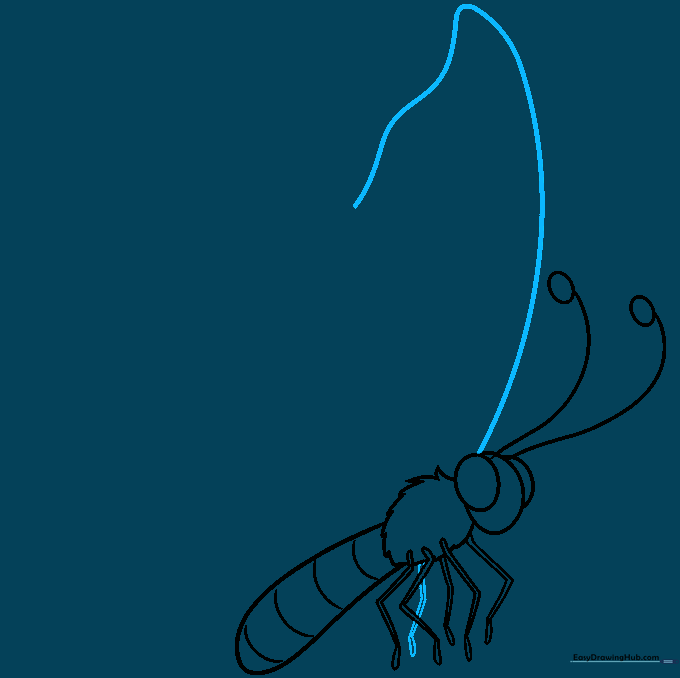
Extend a long, wavy curved line from the head to create the top edge of the wing. Tip: Don't worry about making the line perfectly smooth; a slightly wavy line makes the wing look more natural.
Step 7: Completing the Wing Shape
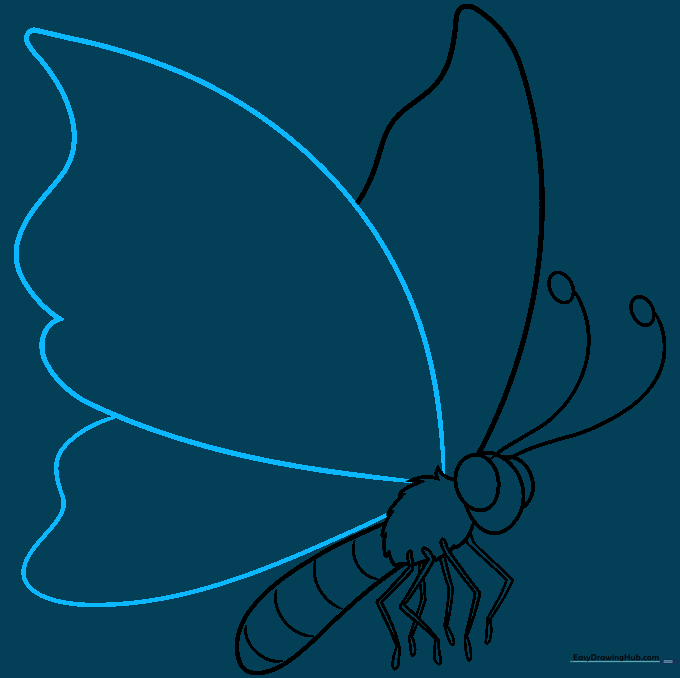
Draw the lower wing by extending a curved line from the thorax and connecting it back to the body. Tip: Make sure the lower wing is slightly smaller than the top one for a realistic proportion.
Step 8: Adding Wing Patterns
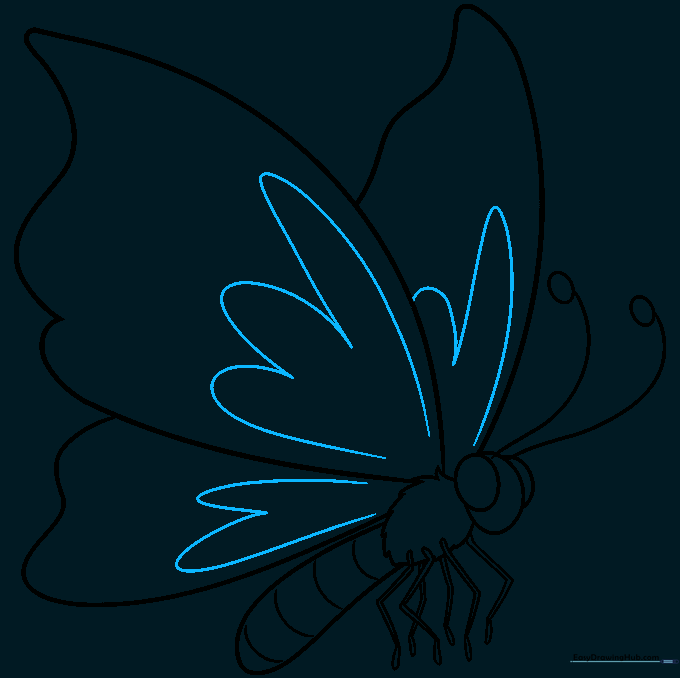
Decorate the wings using connected 'U' shaped lines. Tip: These patterns act as a guide for where you will add color later!
Step 9: Final Wing Details

Add large teardrop shapes inside the wings for extra detail. Tip: Varying the size of these shapes makes the butterfly look more dynamic.
Step 10: Coloring Your Masterpiece
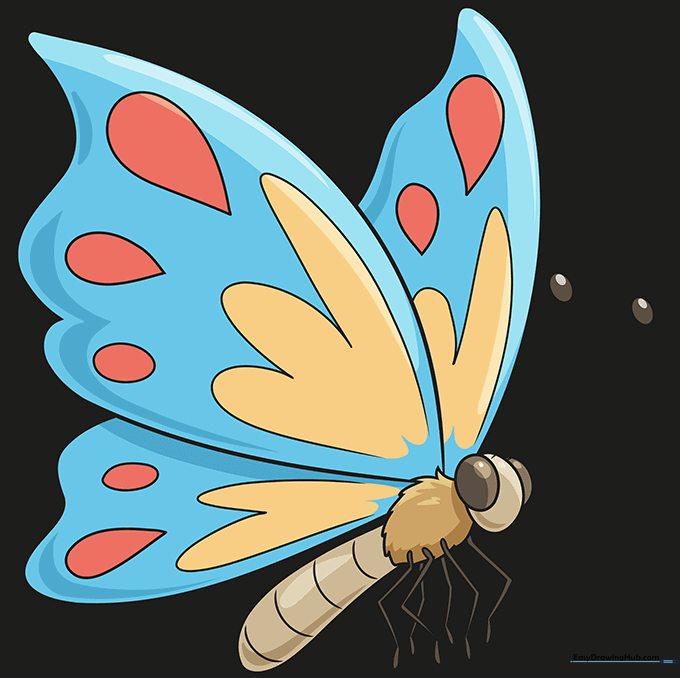
Bring your butterfly to life with bright colors! Tip: Try using warm colors like orange and yellow for a classic look, or look at photos of real butterflies for inspiration.
More Tutorials


