How to Draw a Cartoon Brain: Easy 9-Step Guide
Looking for a fun way to combine art and biology? This tutorial is perfect for students and young artists ages 6+ to practice organic shapes. All you need is a pencil, an eraser, and a piece of paper to bring this clever cartoon brain to life.
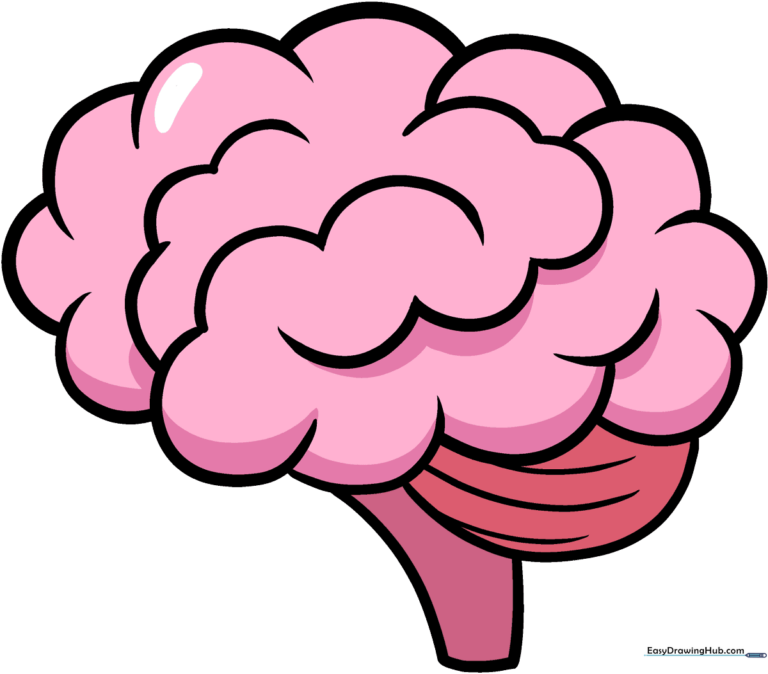
🎯 Final Result
Step-by-Step Instructions
Step 1: Sketching the Brain Stem
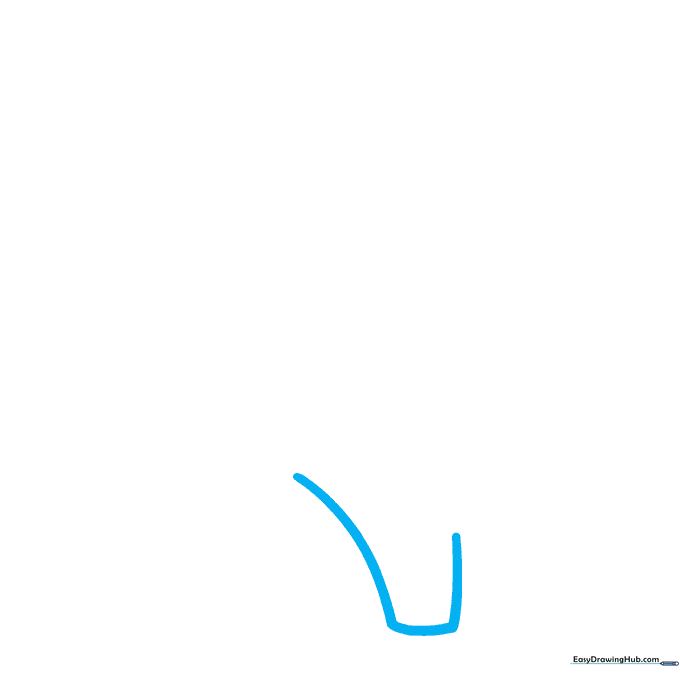
Start by drawing three connected curved lines at the bottom of your page. One line should be slightly longer than the others. Teacher's Tip: Think of this as the base where the brain meets the spinal cord; keep the curves soft and fluid.
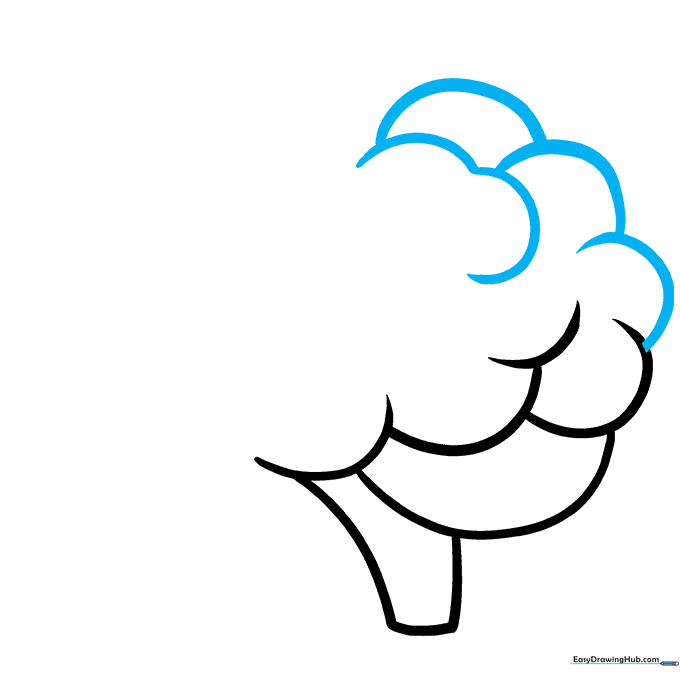
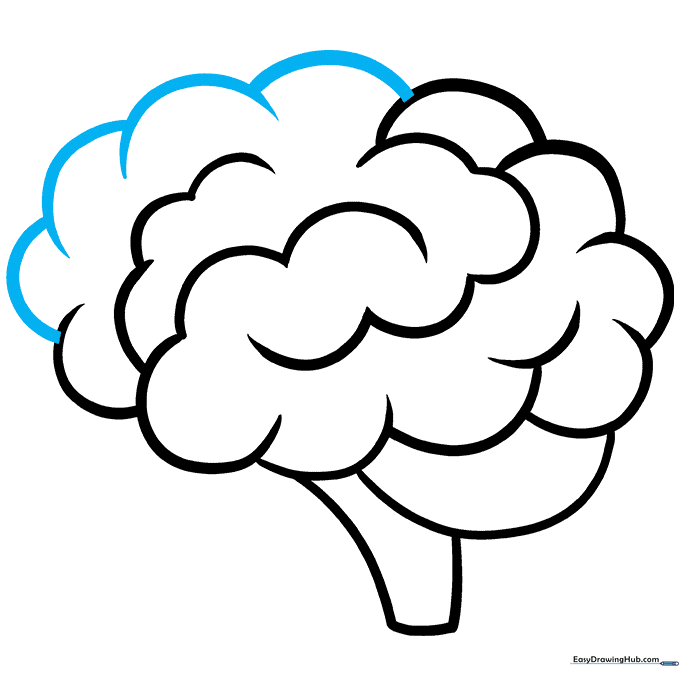
Step 2: Outlining the Cerebellum
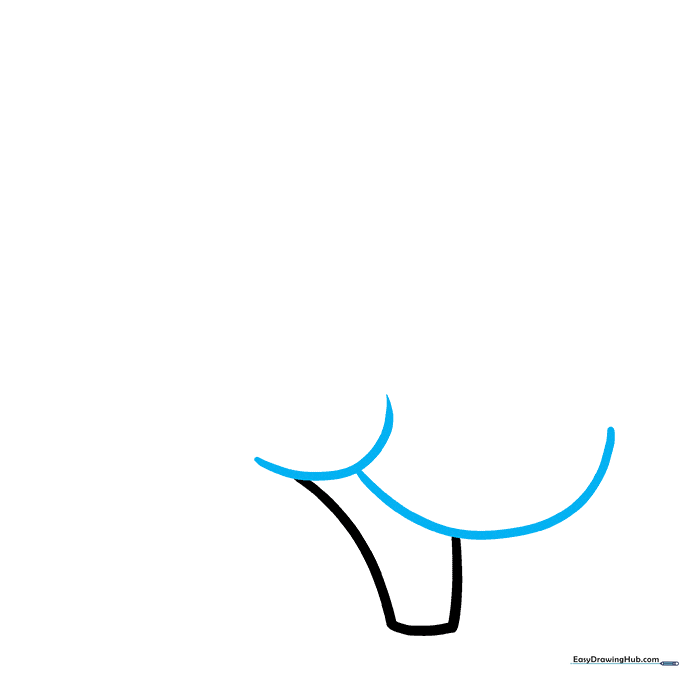
Draw two large, overlapping 'U' shaped lines at the top of your stem. Teacher's Tip: These shapes don't need to be perfect circles; brains have irregular, bumpy textures, so let your hand be a little loose.
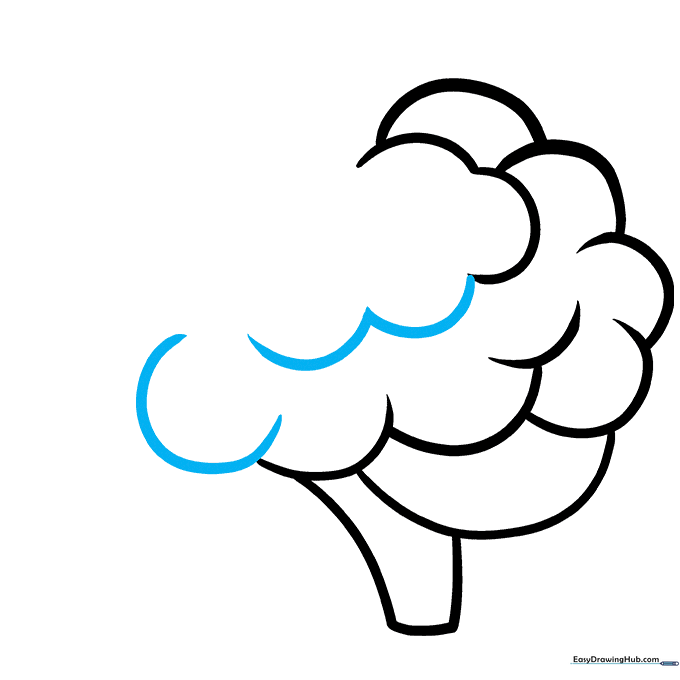
Step 3: Adding the Occipital Lobe
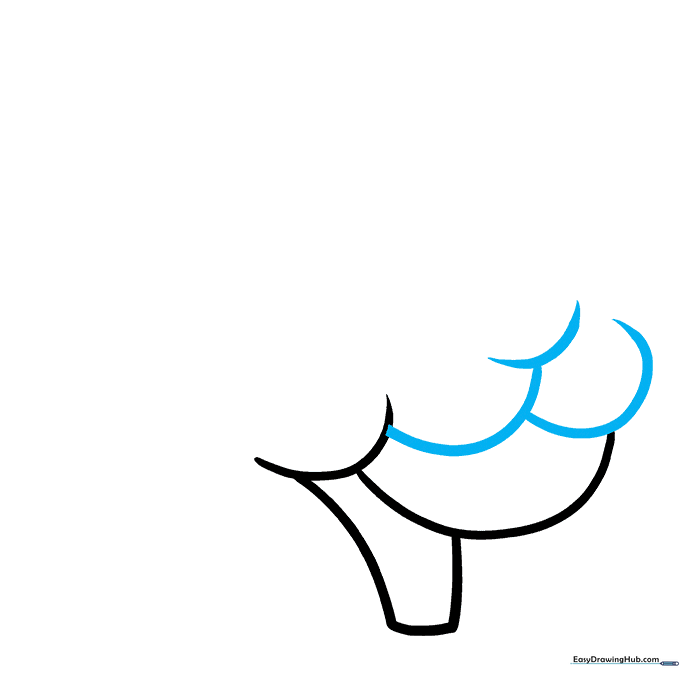
Add more overlapping 'U' shapes toward the back of your drawing. Teacher's Tip: Vary the size of your 'U's to make the brain look more realistic and less like a uniform pattern.
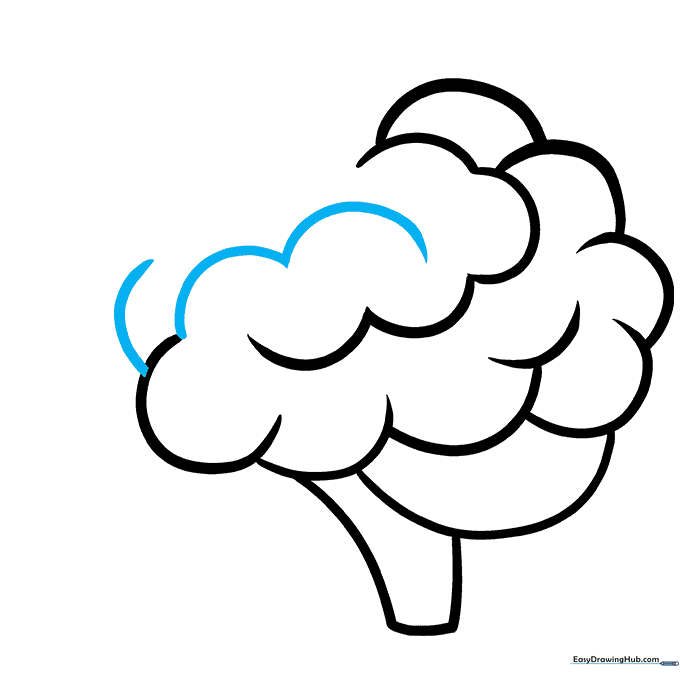
Step 4: Defining the Parietal Lobe
Continue adding overlapping 'U' shapes along the top of the brain. Teacher's Tip: If you make a mistake, don't worry! Just erase it and try again—that's exactly why we draw lightly at first.
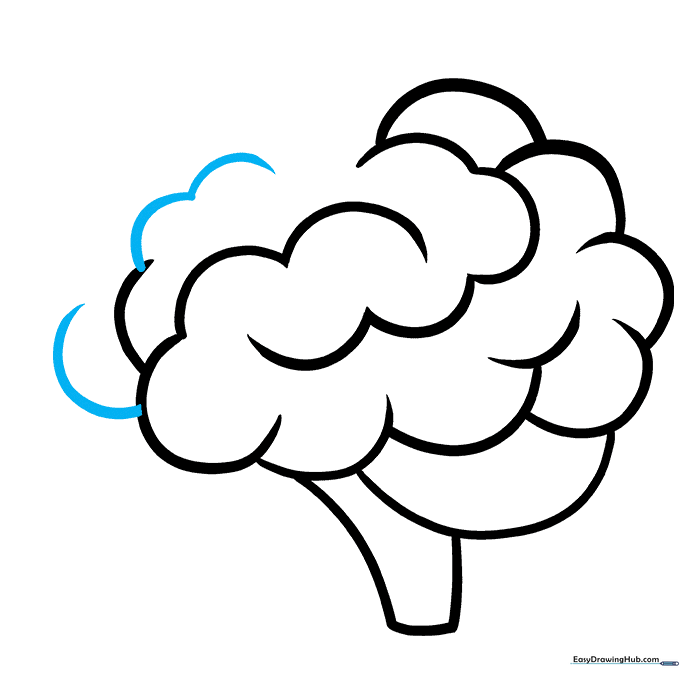
Step 5: Filling the Center
Add a few more 'U' shapes in the center and across the bottom. Teacher's Tip: Try to connect these lines to the ones you've already drawn to create a continuous, folded look.
Step 6: Shaping the Temporal Lobe
Add more overlapping curves near the front to form the temporal lobe. Teacher's Tip: Keep your pencil moving in a rhythmic motion to get those nice, smooth curves.
Step 7: Refining the Front
Draw additional overlapping lines at the very front of the brain. Teacher's Tip: Overlapping lines are the secret to making your drawing look 3D rather than flat.
Step 8: Finishing the Frontal Lobe
Complete the frontal lobe by adding a few more curved lines. Teacher's Tip: Look at your drawing as a whole—if there's a big empty space, add one more small 'U' shape to fill it in.
Step 9: Adding Texture
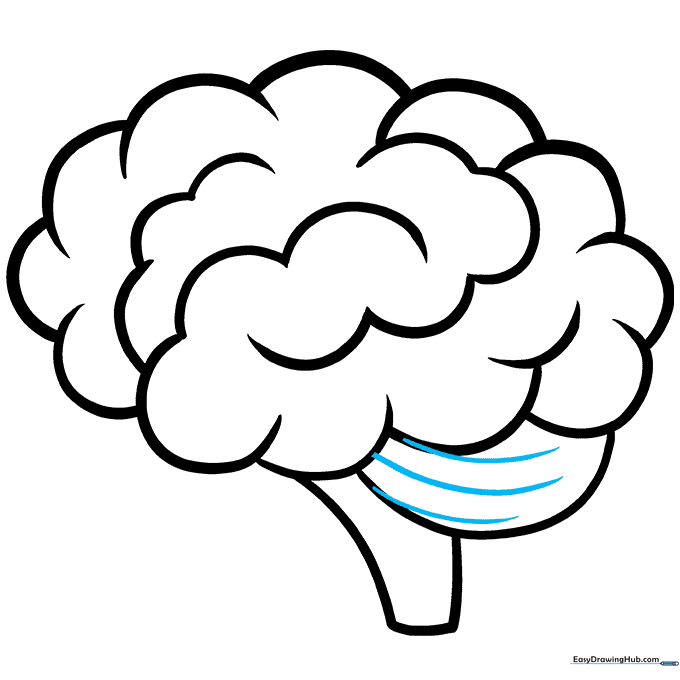
Add texture to the cerebellum at the back with several long, curved lines. Teacher's Tip: These lines should follow the contour of the brain to give it a realistic, folded appearance.
Step 10: Adding Color
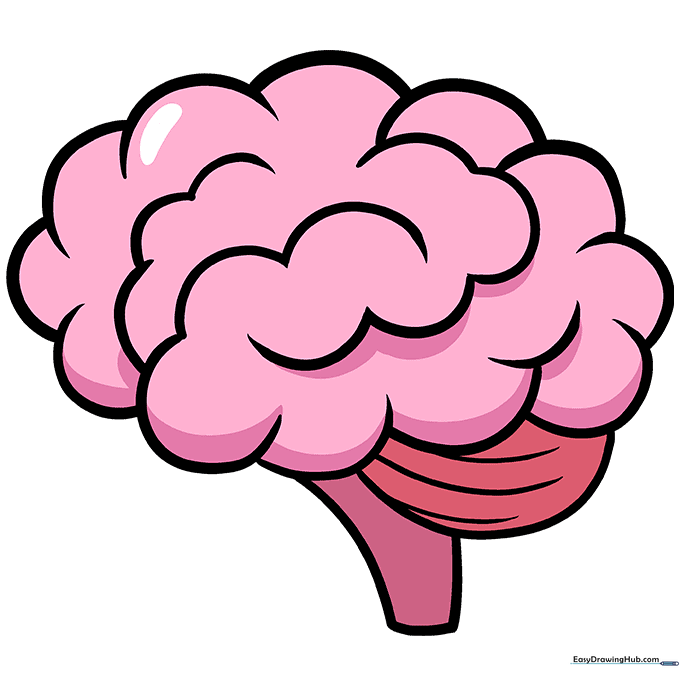
Time to color! Brains are often depicted as a soft, pinkish-grey. Teacher's Tip: Use light pressure with your pink crayon and blend it with a touch of grey to get that perfect 'grey matter' look.
More Tutorials


