How to Draw a Cartoon Bed: Easy 10-Step Guide for Kids
Ready to design your own bedroom scene? This tutorial is perfect for young artists ages 5 and up. All you need is a pencil, an eraser, and a piece of paper to bring this comfy cartoon bed to life.
🎯 Final Result

Step-by-Step Instructions
Step 1: Sketching the First Bedpost
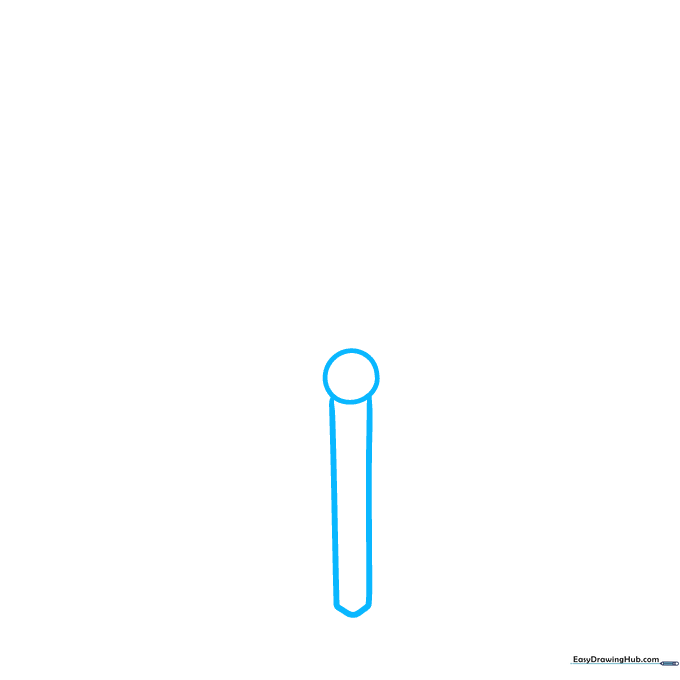
Start by drawing a small circle for the top of the bedpost. Extend two parallel lines downward and connect them with a 'V' shape at the bottom. Teacher's Tip: Keep your lines light; this is just the foundation for your bed frame.
Step 2: Defining the Footboard
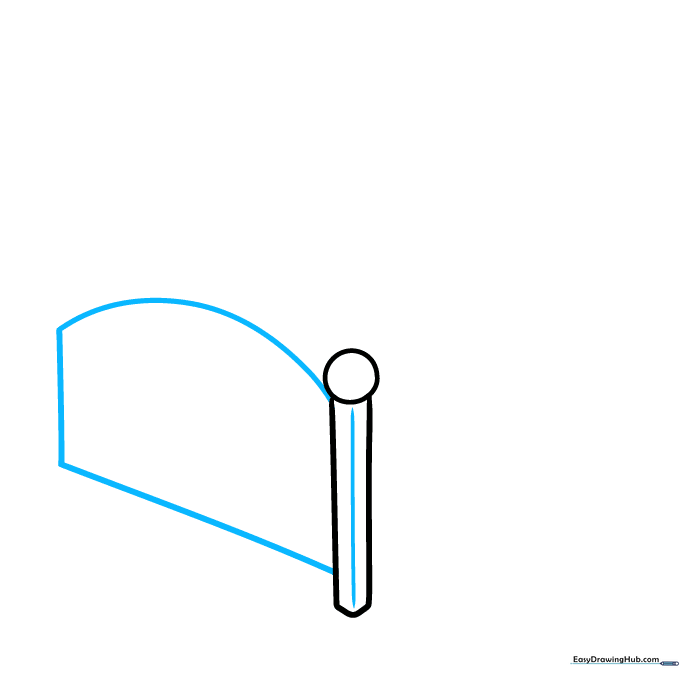
Draw a horizontal line across the post to add depth. Then, sketch the arched footboard using a long straight line for the bottom and a shorter one for the side, connecting it to the post with a gentle curve.
Step 3: Adding the Second Bedpost
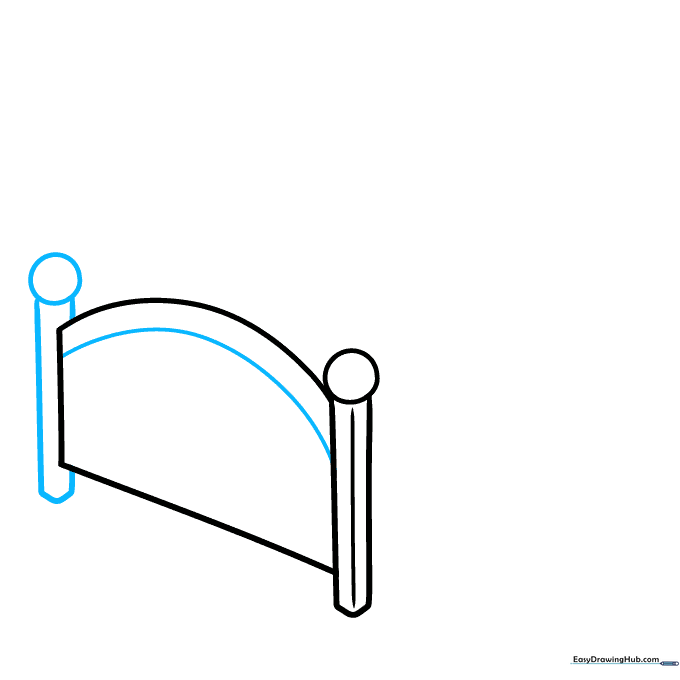
Draw a long curved line across the footboard to show the top edge. Now, sketch a second bedpost on the opposite side as a rectangle topped with a circle. Teacher's Tip: Ensure the two posts are roughly the same height to keep your bed looking balanced.
Step 4: Sketching the Front Post
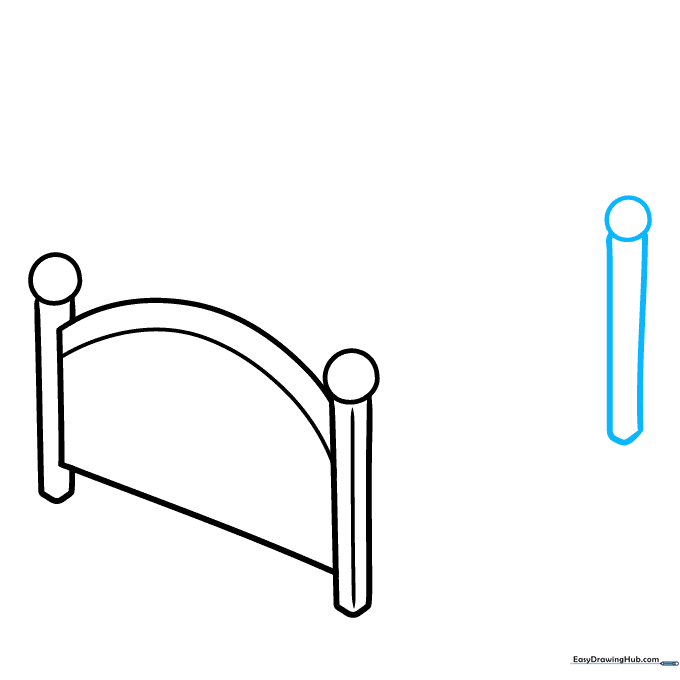
Repeat the process from Step 1 to add a third bedpost at the front of the bed. Remember: circle for the knob, parallel lines for the post, and a 'V' at the base.
Step 5: Outlining the Mattress
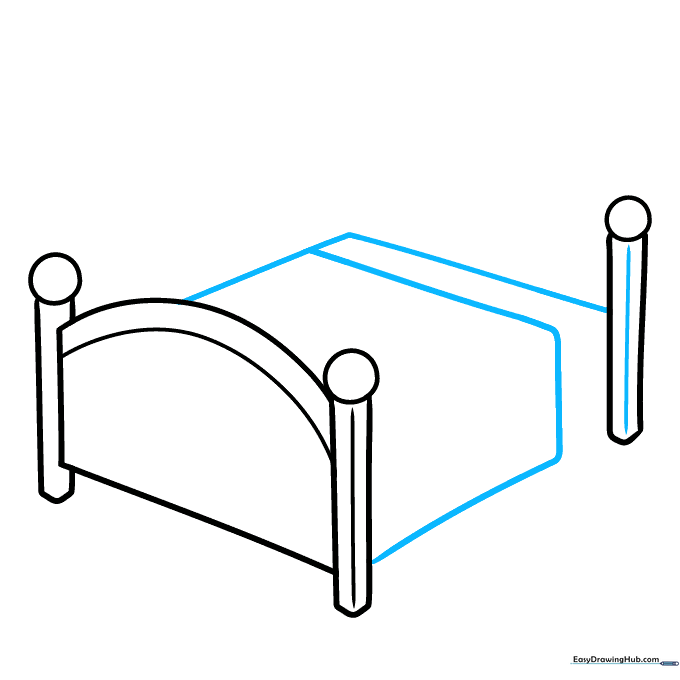
Draw a vertical line up the center of the post. Then, create the mattress and blanket by drawing an 'L' shape between the footboard and the third post, followed by straight lines to enclose the blanket area.
Step 6: Adding Blanket Detail
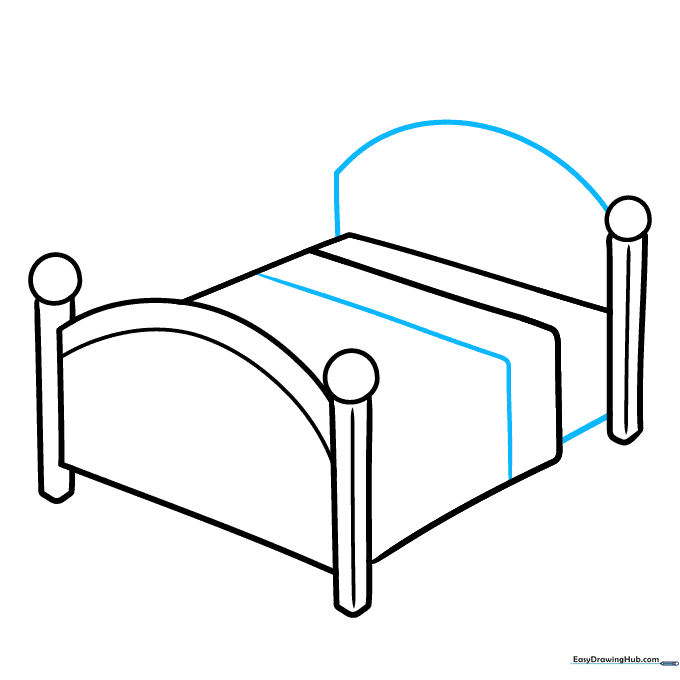
Add an 'L' shaped line across the blanket to show where it's folded down. Connect the blanket to the bedpost with a straight line, then draw a line upward from the corner and connect it to the third post with an arch.
Step 7: The Final Bedpost
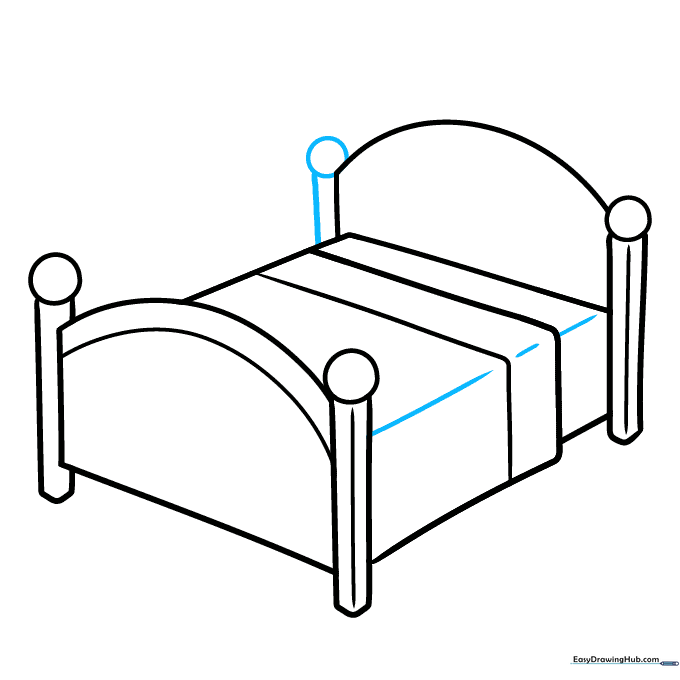
Draw the fourth bedpost to complete the frame. Add depth to the mattress by drawing a few straight lines across the blanket and sheet sections. Teacher's Tip: Use a ruler if you want your lines to look extra crisp and professional!
Step 8: Drawing the Pillow
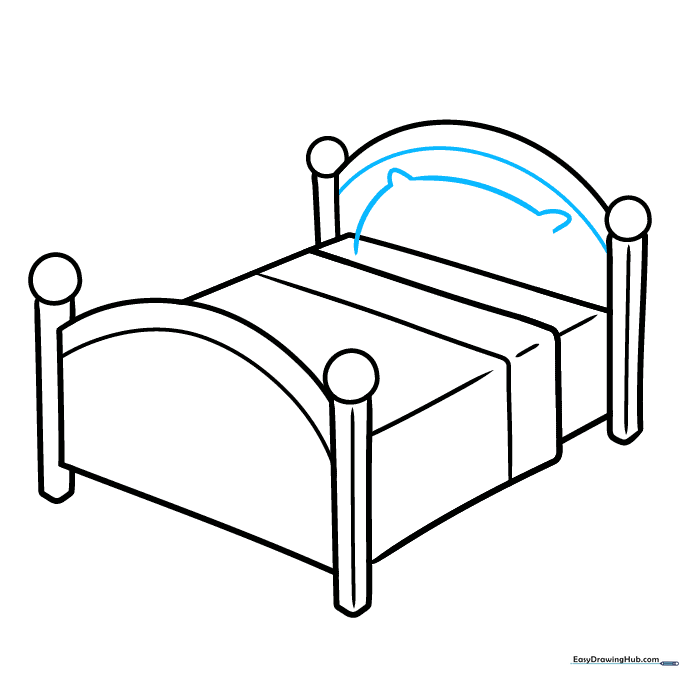
Draw a curved line parallel to the headboard. Start the pillow by sketching a series of curved lines, adding small 'U' shapes at the corners to give it a soft, fluffy look.
Step 9: Final Touches
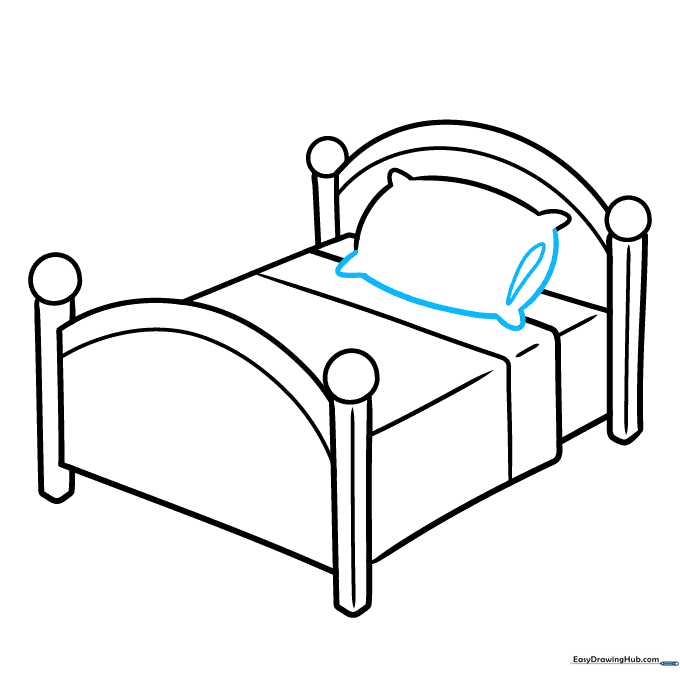
Refine the pillow shape with tufted corners. Erase any overlapping pencil lines. Add a small teardrop shape at the end of the pillow to represent the opening of the pillowcase.
Step 10: Bring It to Life with Color
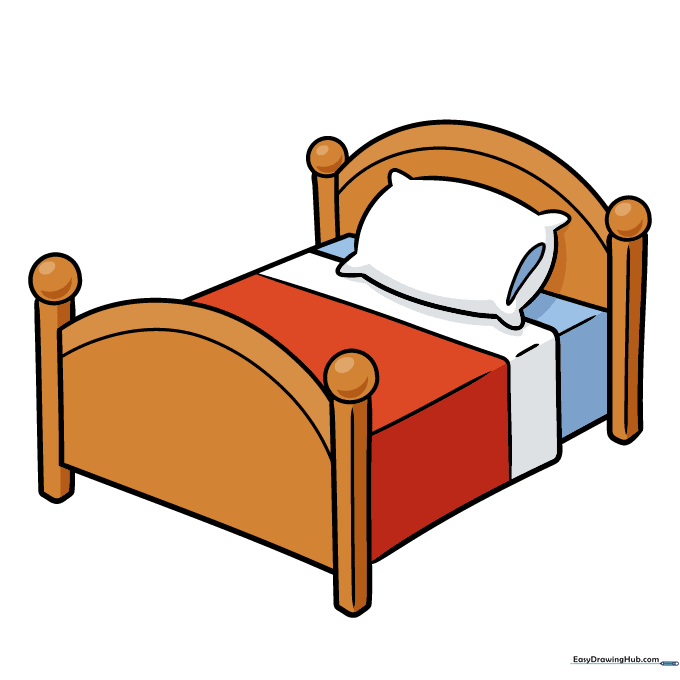
Your bed is ready! Use your favorite colors to shade the frame and blanket. Try using different shades of blue or pink to make it look extra cozy.
More Tutorials


