How to Draw a Cartoon Beach: Easy 10-Step Guide
Bring the summer vibes to your sketchbook with this easy cartoon beach tutorial, perfect for young artists ages 5 and up. All you need is a pencil, an eraser, and your favorite markers or crayons to create a sunny paradise. Follow along to master simple shapes and landscape composition in one sitting.
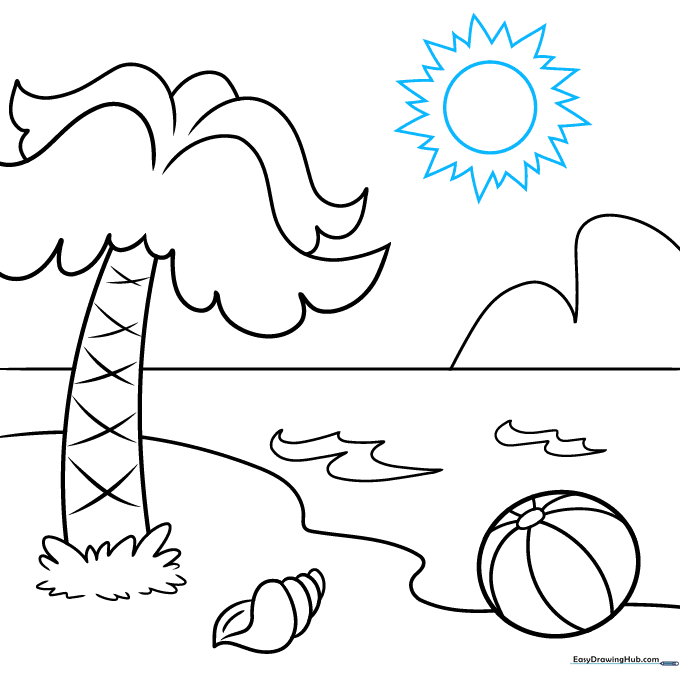
🎯 Final Result
Step-by-Step Instructions
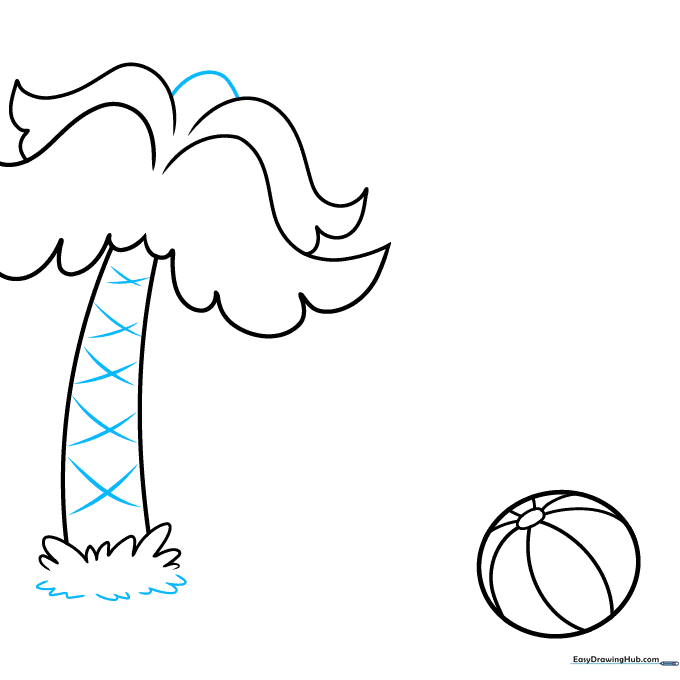
Step 1: Sketching the Beach Ball

Start by drawing a circle for your beach ball. Add a small oval in the center, then draw curved lines connecting the oval to the outer circle. Teacher's Tip: Keep your pencil lines light so you can easily erase any overlapping marks later.
Step 2: Adding the Palm Tree Base
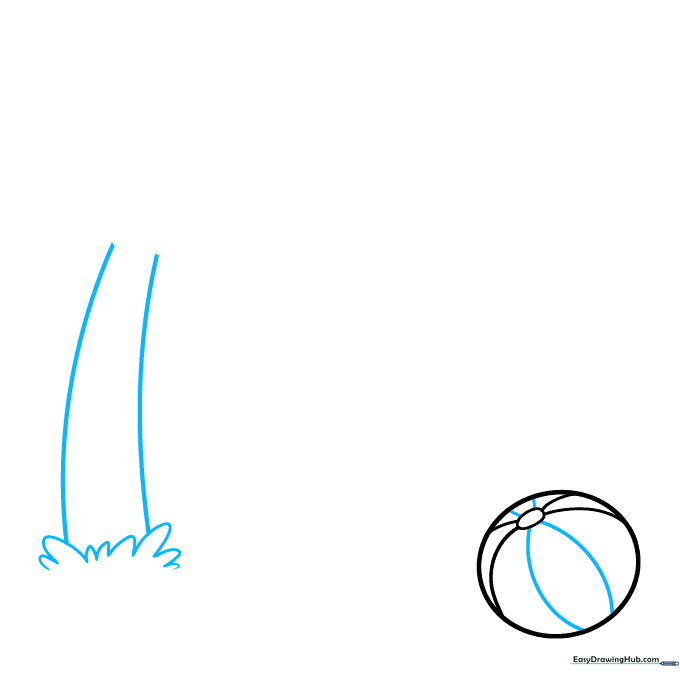
Finish the ball with more curved lines. Next, draw a cluster of seagrass using connected 'U' shapes at the base of your tree. From this grass, draw two curved lines upward to form the trunk. Tip: Vary the height of your 'U' shapes to make the grass look natural and wild.
Step 3: Sketching Palm Fronds
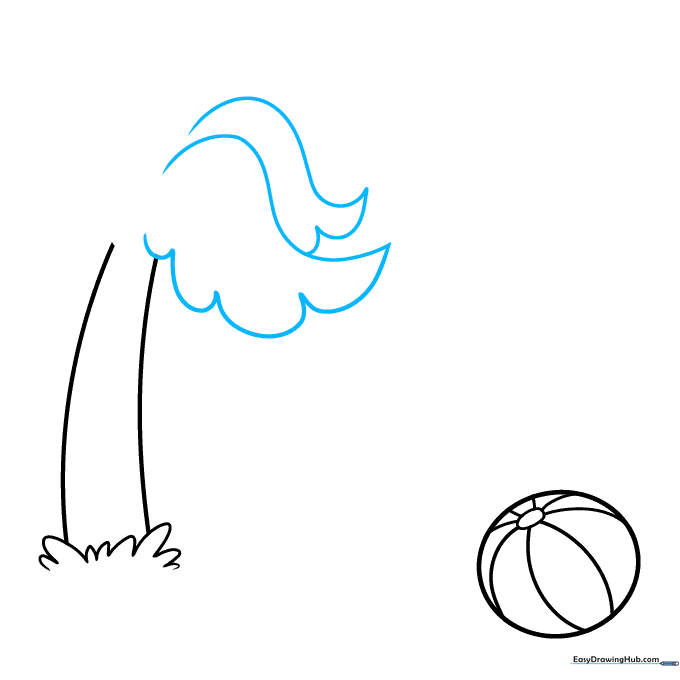
Use long, sweeping curved lines to sketch the palm tree's large leaves. Use a single line for the top edge and several connected 'U' shapes for the bottom edge to create a jagged, leafy texture. Tip: Don't worry about perfection; palm leaves are naturally messy!
Step 4: Filling Out the Canopy
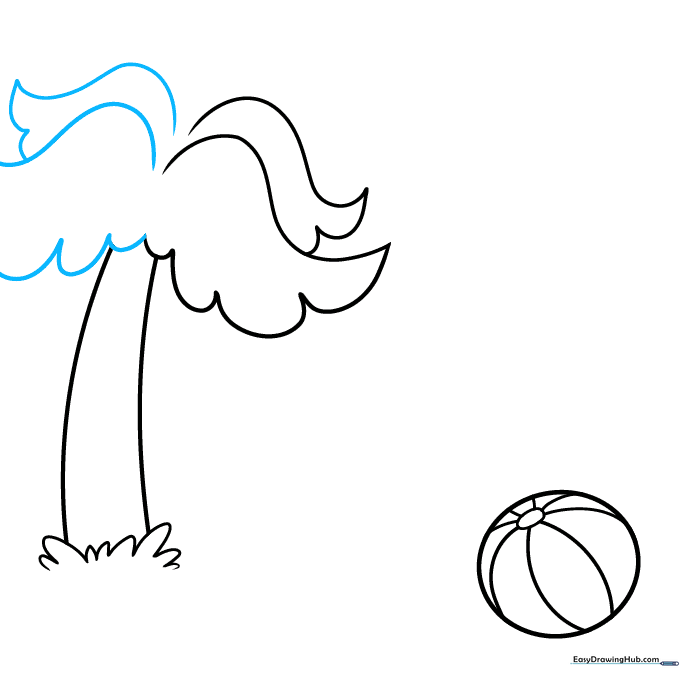
Continue adding leaves on the opposite side of the tree using the same curved line technique. Tip: Try to make the leaves overlap slightly to give your tree a fuller, more realistic look.
Step 5: Adding Texture and Detail
Connect the leaves with a 'U' shaped line at the top. Add 'X' shapes along the trunk for bark texture, and finish the seagrass with small 'U' marks at the bottom. Tip: The 'X' marks should be spaced out to keep the tree looking clean and cartoonish.
Step 6: Drawing the Shoreline and Shell
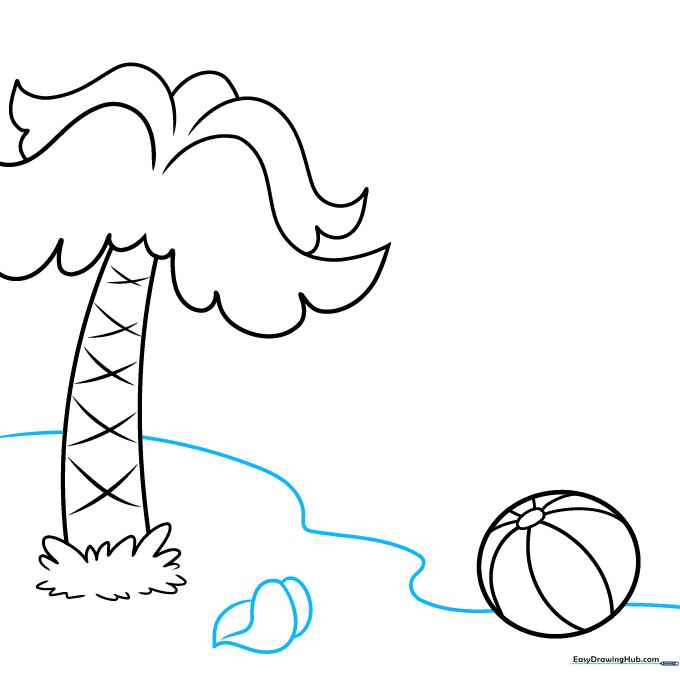
Draw a long, wavy line behind the tree and ball to represent the shoreline. Then, sketch a conch shell using overlapping curved lines that meet at sharp points. Tip: Use a light touch for the shoreline so it doesn't distract from the main objects.
Step 7: Setting the Horizon
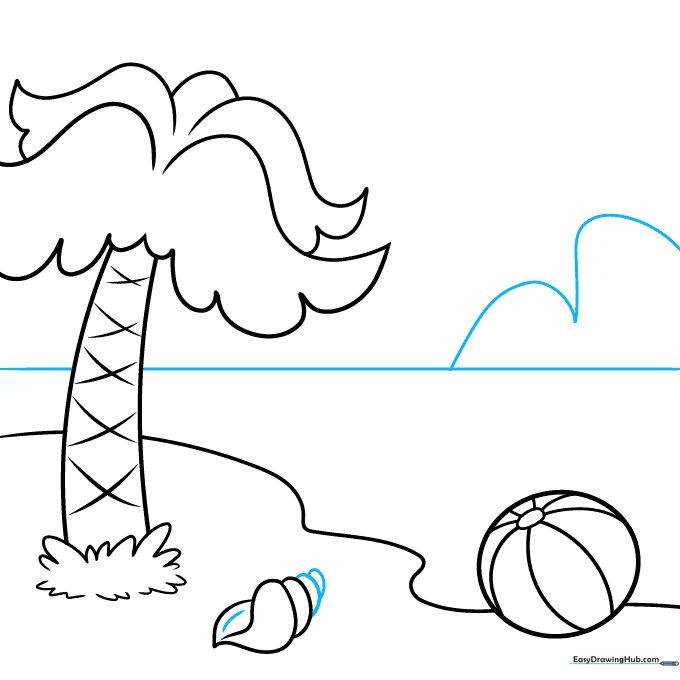
Draw a straight horizontal line in the background to define the horizon. Above this line, use large 'U' shapes to sketch a distant island. Tip: Keep the island small to create a sense of depth in your drawing.
Step 8: Adding Ocean Waves
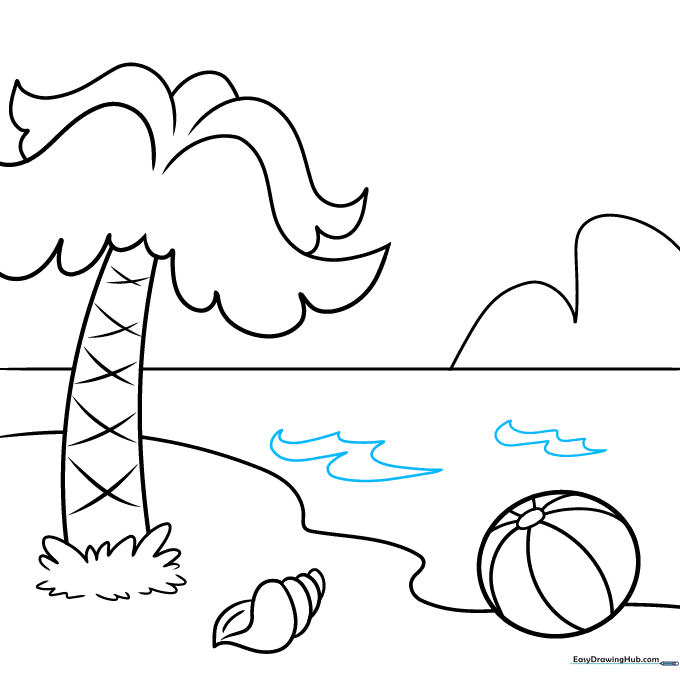
Use curved lines that meet at points to create wavy shapes on the ocean surface. These represent gentle waves rolling toward the sand. Tip: Place these waves near the shoreline to emphasize the water's movement.
Step 9: Drawing the Sun
Complete your scene by drawing a bright sun in the sky. Start with a circle, then surround it with connected 'V' shapes for rays. Tip: Position the sun in a corner to keep the sky from looking too crowded.
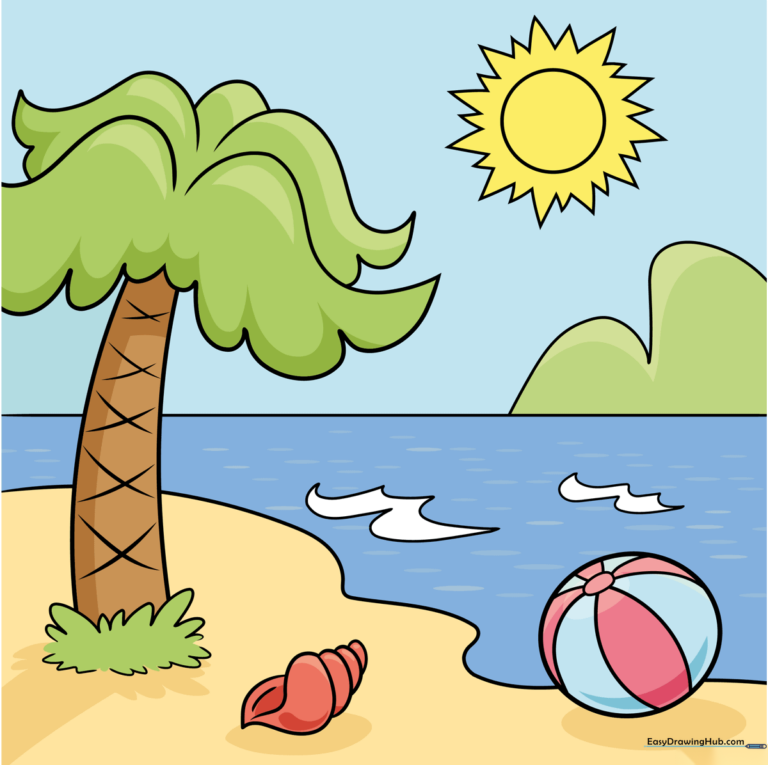
Step 10: Bringing It to Life with Color

Your outline is complete! Now, grab your markers or colored pencils. Use bright blues for the water and sky, and warm yellows or oranges for the sun and sand. Tip: Use a darker blue for the waves to make them pop against the lighter water.
More Tutorials


