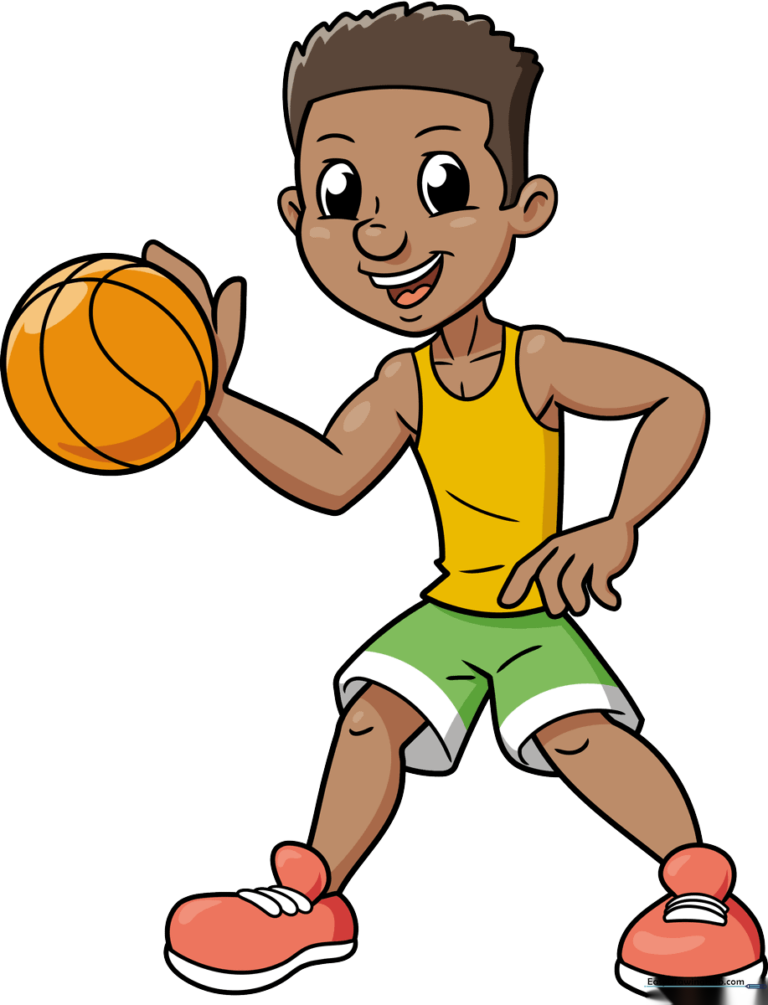
How to Draw a Cartoon Basketball Player: Easy 9-Step Guide
Ready to hit the court? This tutorial is perfect for young artists ages 7+ who want to master character proportions. You'll only need a pencil, eraser, and paper to bring this athlete to life. Follow along to develop your sketching confidence and create a dynamic sports scene.
🎯 Final Result
Step-by-Step Instructions
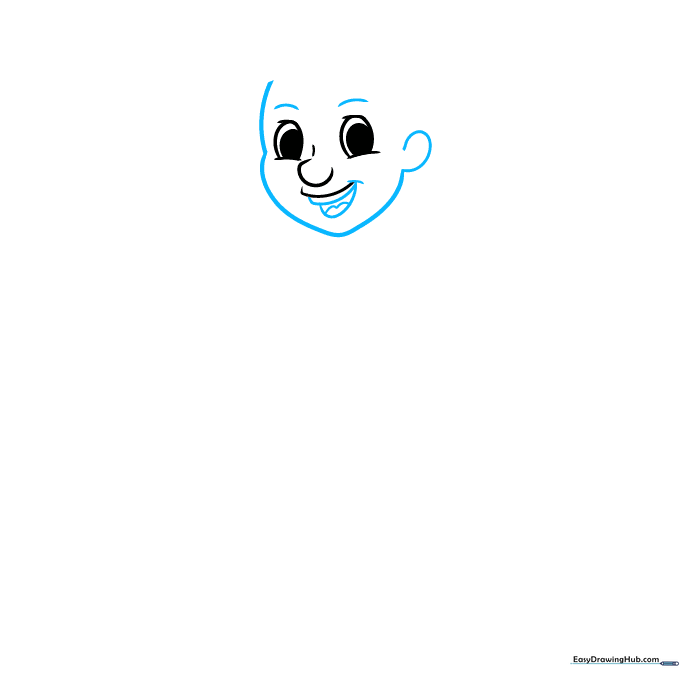
Step 1: Sketching the Facial Features

Start by drawing the eyes using two curved lines for the lids and partial ovals for the pupils. Add a small curved line for the nose and a wide, happy smile. Teacher's Tip: Keep the eyes symmetrical by drawing them at the same time rather than finishing one completely before starting the other.
Step 2: Defining the Head Shape
Outline the face with a smooth, continuous curved line, looping out to create the ear. Add eyebrows and define the teeth and tongue inside the mouth. Teacher's Tip: Use a light touch for the jawline so you can easily adjust the chin shape if it looks too sharp.
Step 3: Adding Hair and Neck
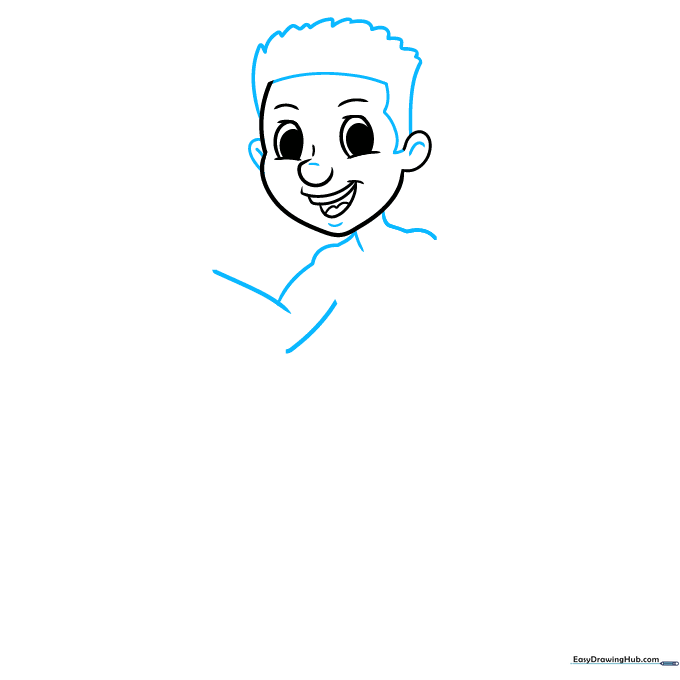
Use short, jagged strokes to create a textured hairstyle. Connect the head to the torso with two simple neck lines. Teacher's Tip: Vary the length of your hair strokes to make the hair look more natural and less like a solid block.
Step 4: Sketching the Basketball
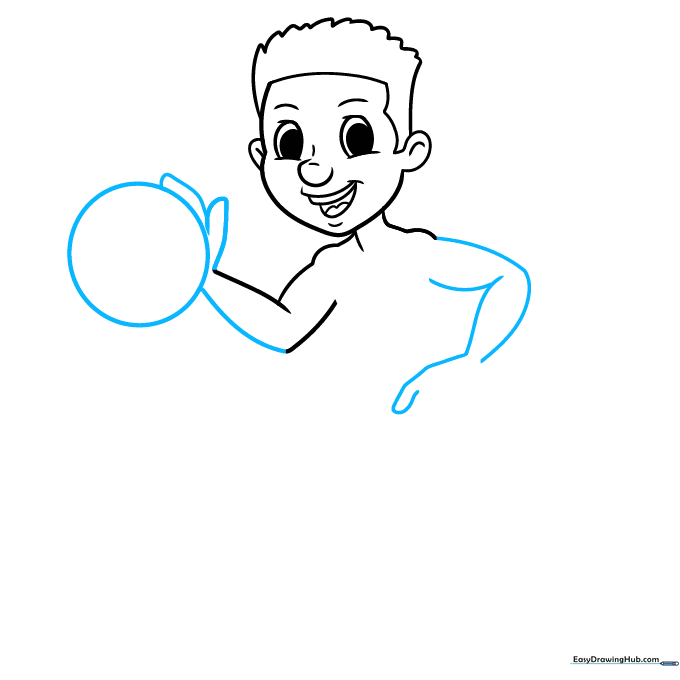
Draw a perfect circle to represent the ball. Position the arms reaching toward it using simple curved lines for the limbs. Teacher's Tip: Use a circular object like a coin or cap as a stencil if you struggle to draw a round ball freehand.
Step 5: Defining the Torso
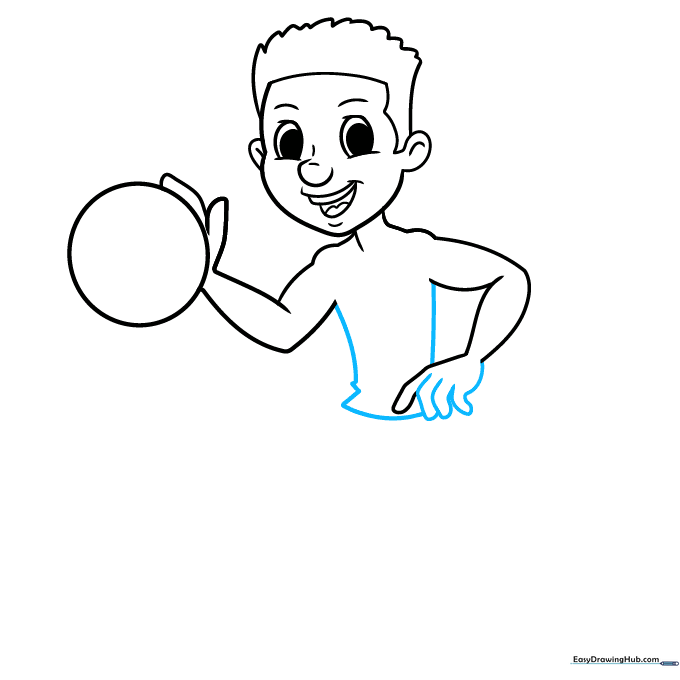
Draw the hands gripping the ball and outline the rectangular shape of the jersey. Teacher's Tip: Focus on the overlap of the fingers on the ball to create a sense of depth and action.
Step 6: Adding Shorts and Legs
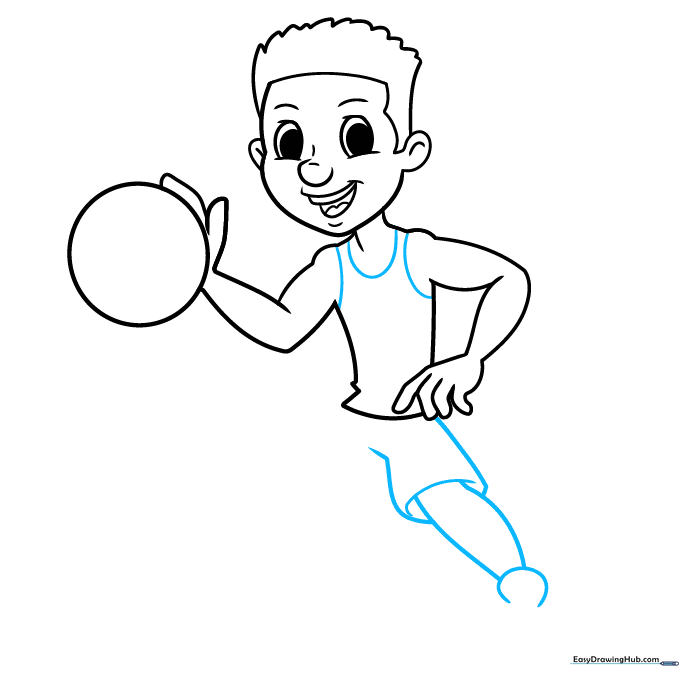
Sketch the jersey sleeves and the baggy shorts. Add the legs extending downward toward the shoes. Teacher's Tip: Keep the leg lines parallel to ensure the character looks balanced and stable.
Step 7: Drawing the Shoes
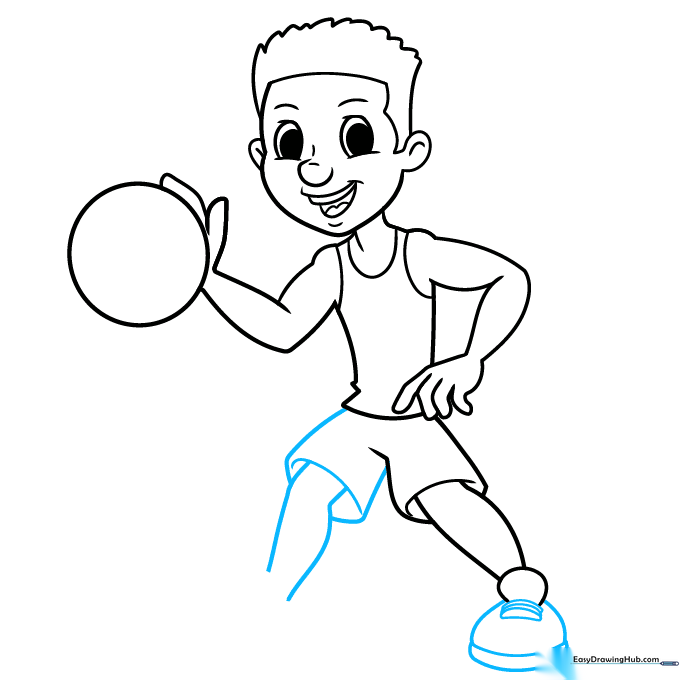
Draw the athletic sneakers with laces and thick soles. Teacher's Tip: Add a small curve at the bottom of the shoe to represent the tread, making them look like real sports gear.
Step 8: Finalizing Details
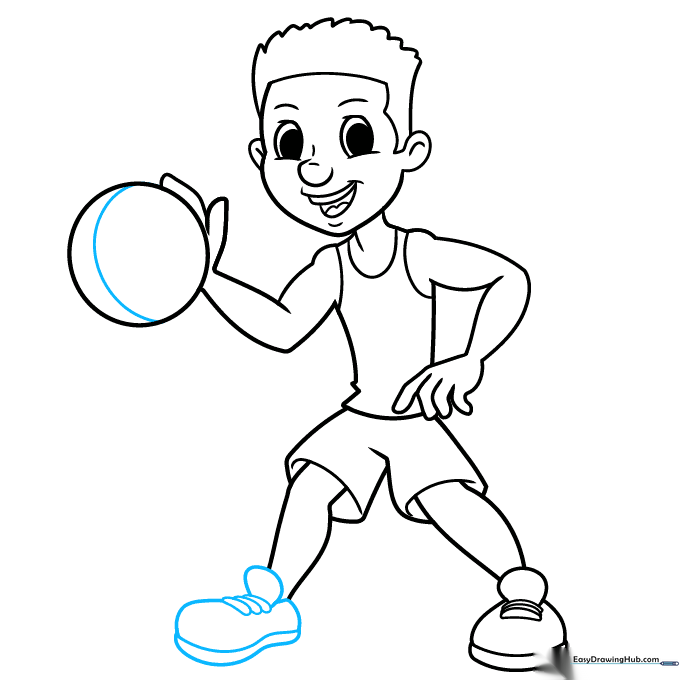
Add the second shoe and the iconic curved lines on the basketball. Teacher's Tip: The lines on the ball should curve slightly to follow the round shape, creating a 3D effect.
Step 9: Refining the Character
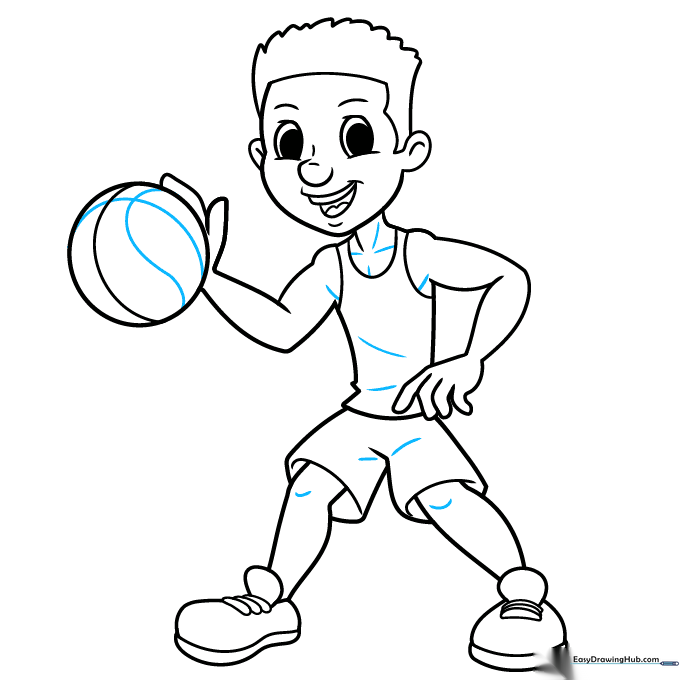
Add small contour lines for the knees, chest, and fabric folds on the jersey. Teacher's Tip: Use these lines sparingly—too many can make the drawing look cluttered.
Step 10: Adding Color
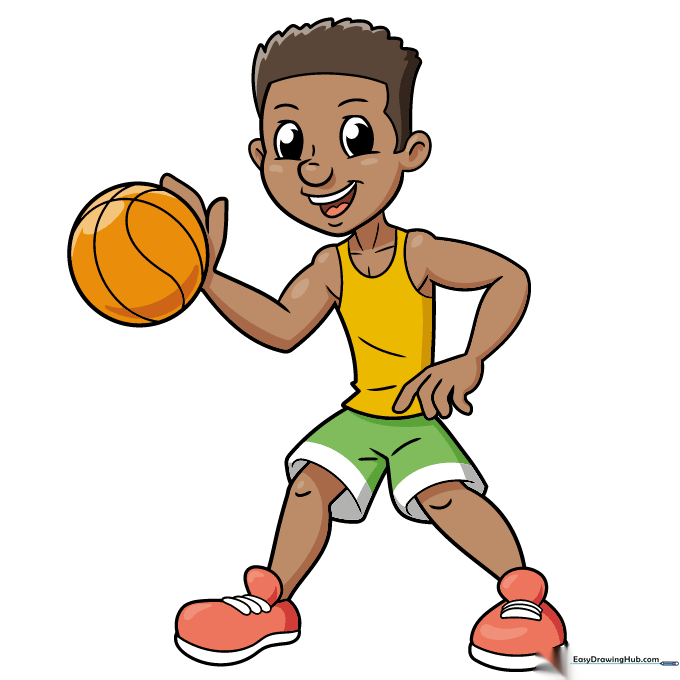
Bring your player to life with color! Use bold team colors for the jersey and classic orange for the ball. Teacher's Tip: Try coloring the jersey in your favorite team's colors to make the character truly yours.
More Tutorials


