How to Draw a Cartoon Apple: Easy 10-Step Guide
Ready to draw a cheerful cartoon apple? This project is perfect for artists ages 5 and up, requiring only a pencil, paper, and your favorite coloring tools. Follow along to build confidence in your line work and learn how simple shapes transform into a fun, expressive character.
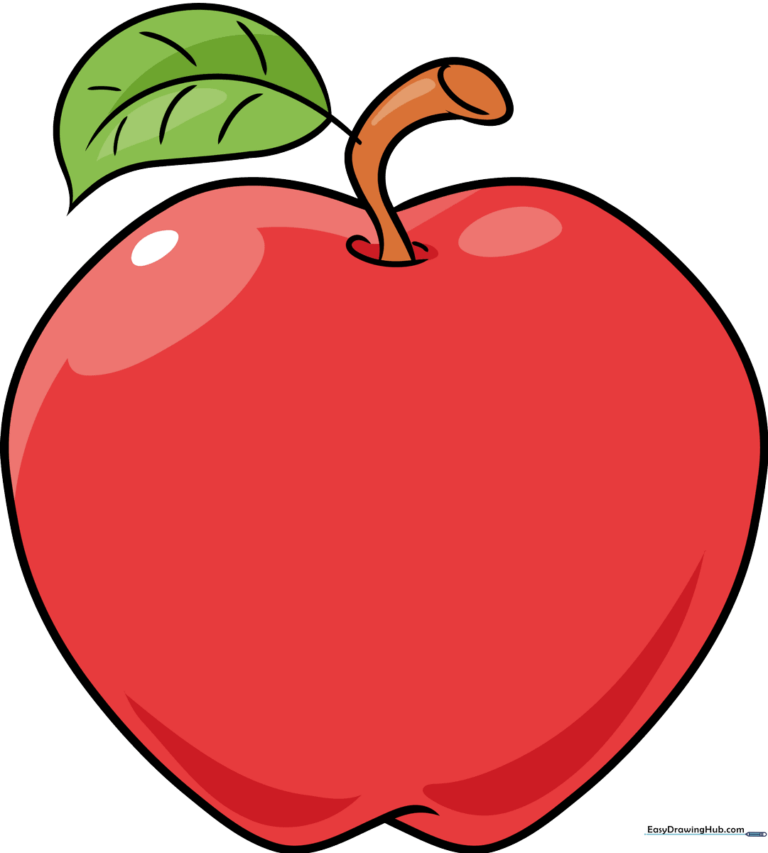
🎯 Final Result
Step-by-Step Instructions
Step 1: Sketching the First Curve

Draw a soft, uneven curve that looks like half a heart on the right side of your paper. Teacher's Tip: Don't worry about making it perfectly symmetrical; apples in nature are wonderfully bumpy!
Step 2: Completing the Apple Shape
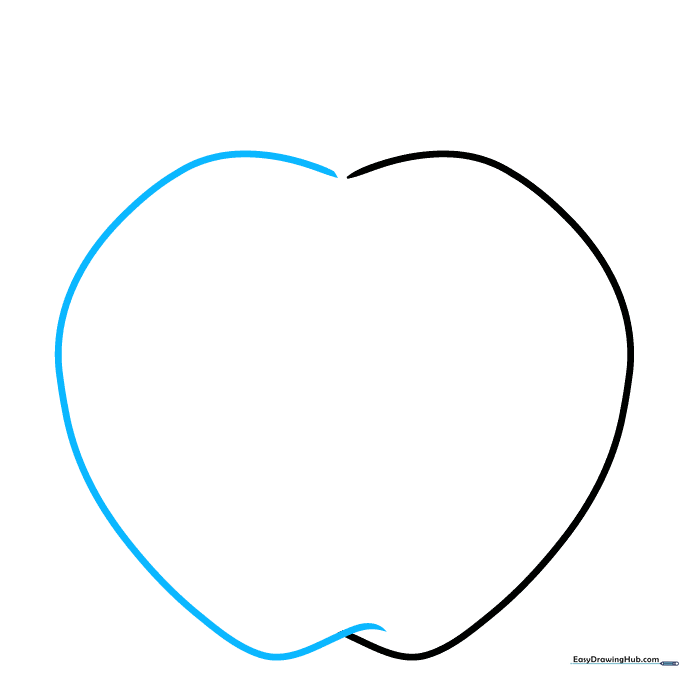
Mirror the first curve on the left side, letting them overlap slightly at the bottom. Teacher's Tip: Use a light touch so the overlapping lines can be cleaned up later with an eraser.
Step 3: Creating the Top Dip
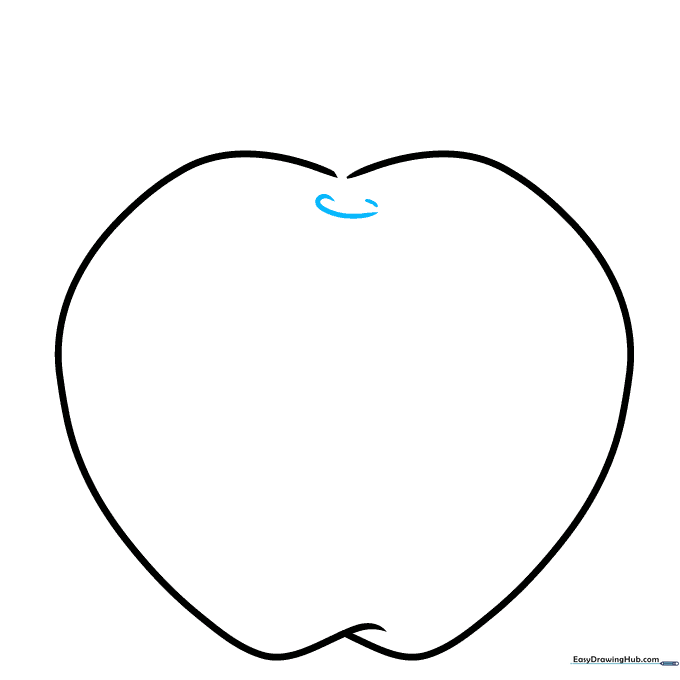
Draw a small, incomplete oval at the very top center to create the dip where the stem will sit. Teacher's Tip: Imagine a small 'u' shape nestled between the two top curves of the apple.
Step 4: Starting the Stem
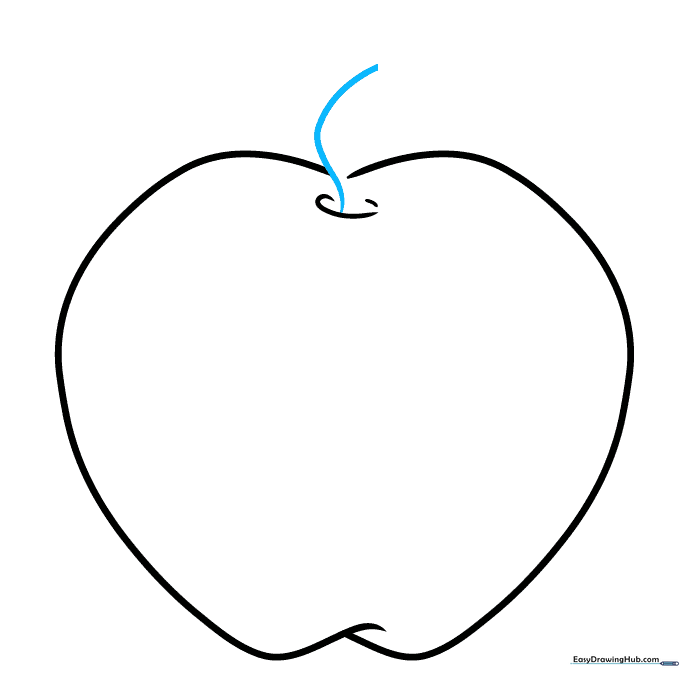
Sketch a short, wavy line pointing upward from the center dip. Teacher's Tip: Keep the line slightly tilted to give your apple a more natural, organic feel.
Step 5: Defining the Stem
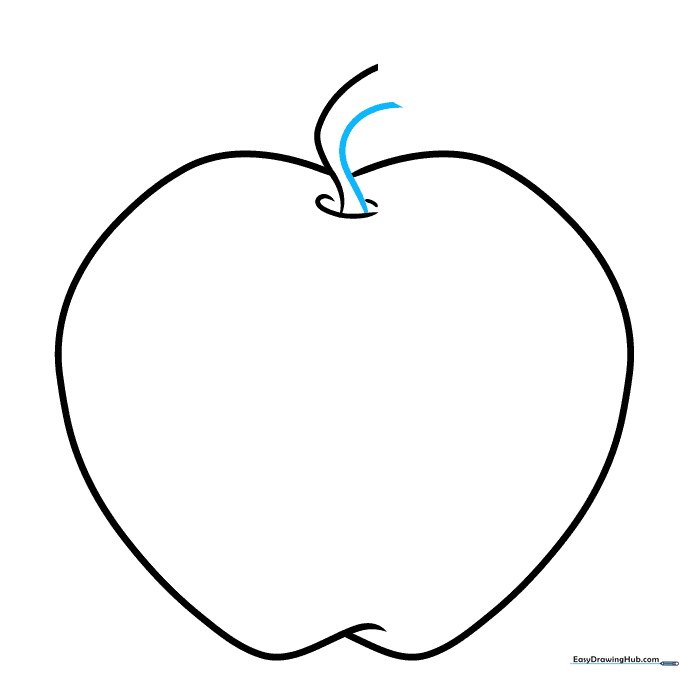
Draw a second curve parallel to the first to give the stem thickness. Teacher's Tip: Make sure the stem isn't too thick, or it might look like a tree branch!
Step 6: Closing the Stem
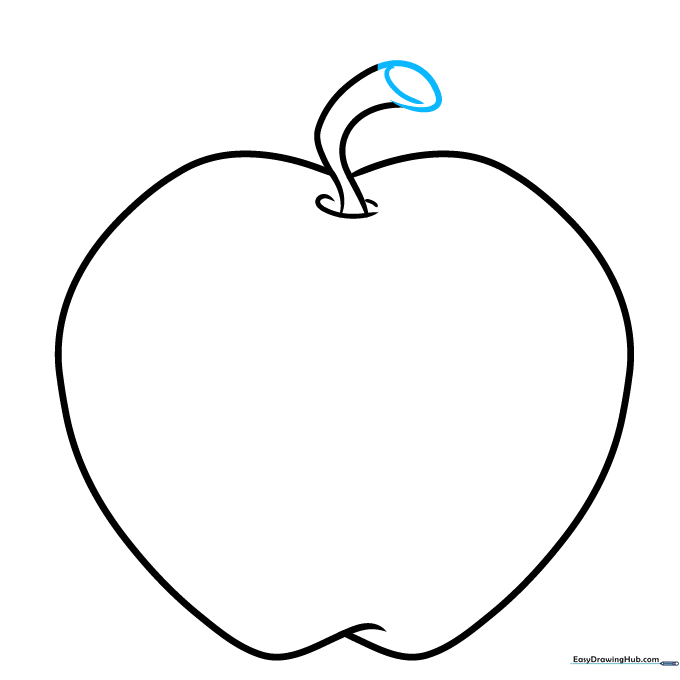
Connect the top and bottom of your stem lines with small semi-circles. Teacher's Tip: This creates the illusion that the stem is a 3D cylinder.
Step 7: Outlining the Leaf
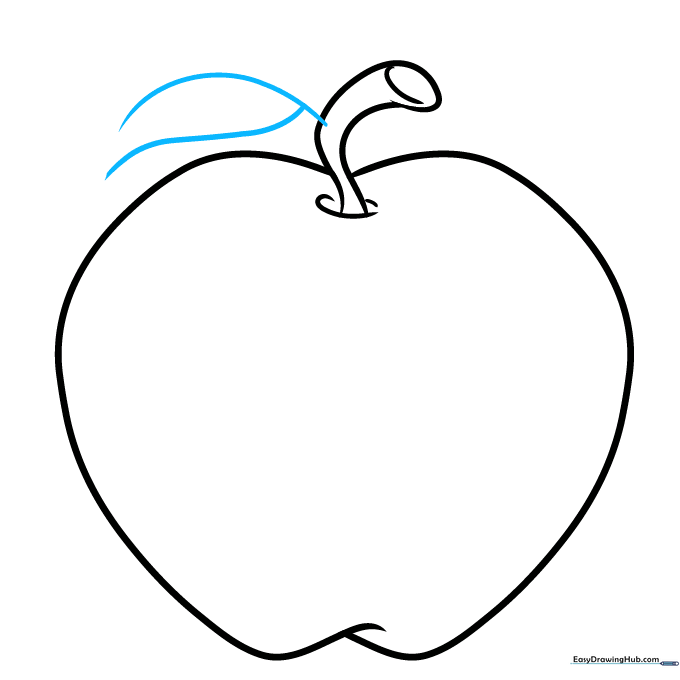
Draw a curved, wavy shape extending from the base of the stem. Teacher's Tip: Think of a teardrop shape that has been slightly stretched.
Step 8: Detailing the Leaf
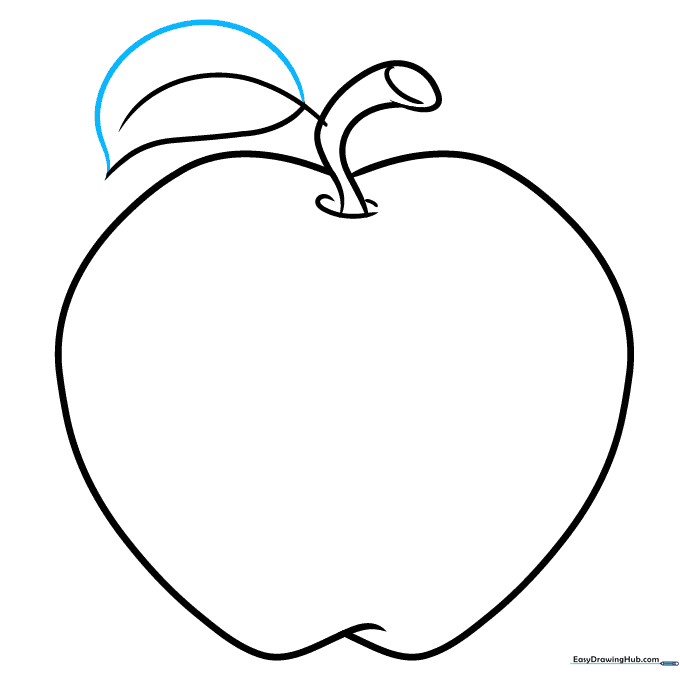
Add a small semi-circle on top of the leaf to give it depth. Teacher's Tip: This simple line helps the leaf look like it is folding over.
Step 9: Adding Leaf Texture
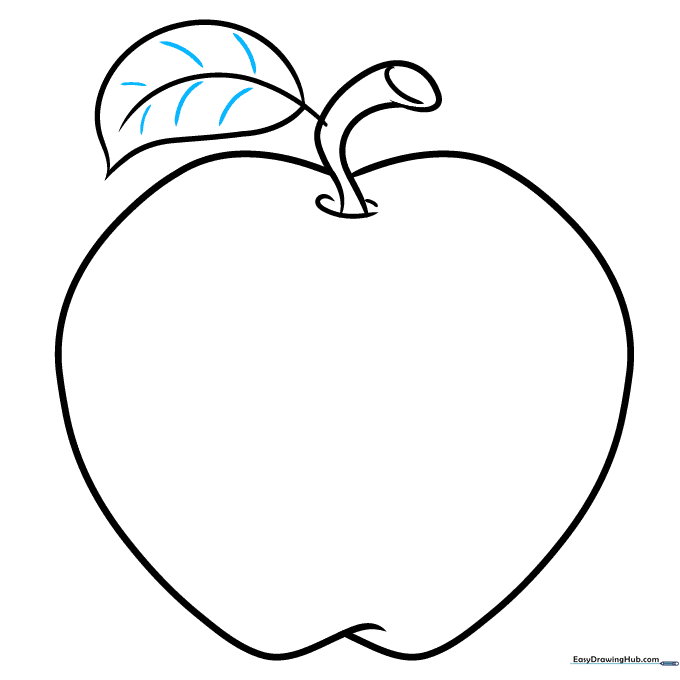
Sketch light, curved lines inside the leaf to represent veins. Teacher's Tip: Keep these lines short and don't let them touch the outer edge of the leaf for a clean look.
Step 10: Bringing Your Apple to Life with Color
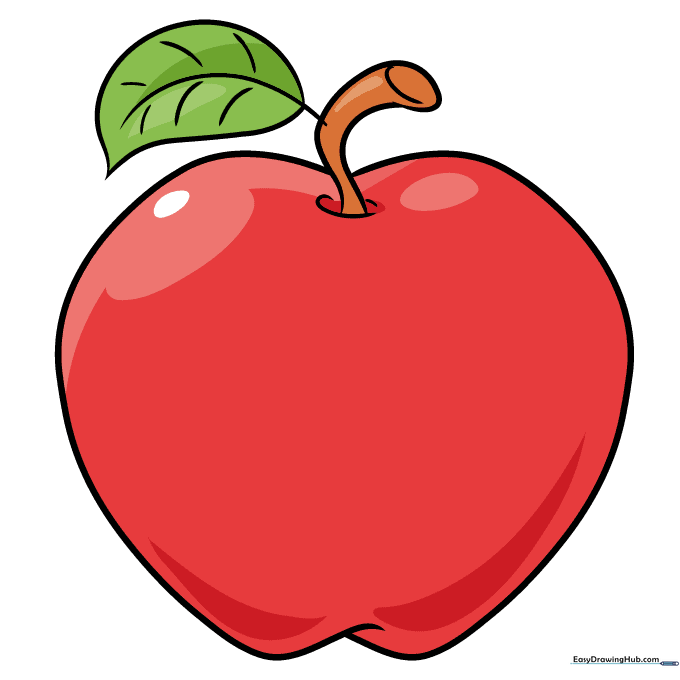
Color your apple using three shades of red for depth. Add a white oval near the top for a 'shine' effect. Use brown for the stem and varying greens for the leaf. Teacher's Tip: Layering your colors from light to dark creates a professional, 3D look.
More Tutorials


