How to Draw a Carrot: Easy 10-Step Guide for Kids
Ready to draw a garden-fresh carrot? This tutorial is perfect for young artists ages 5 and up. All you need is a pencil, an eraser, and some paper to practice these simple, confidence-building shapes.
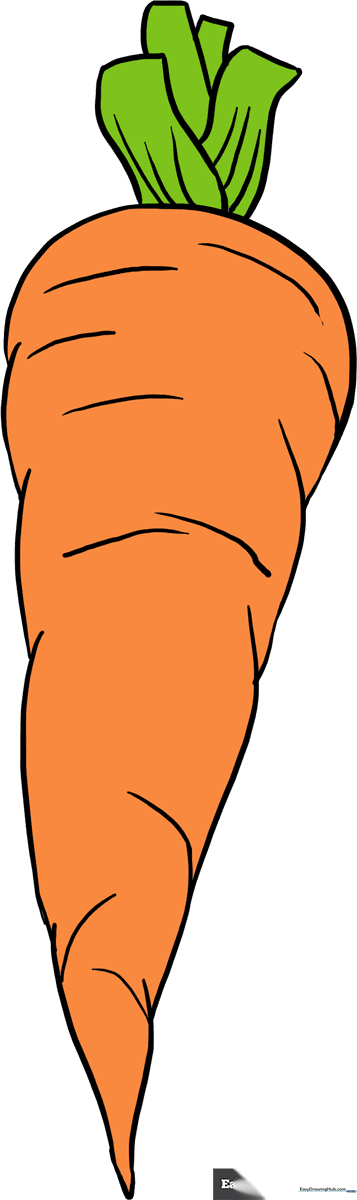
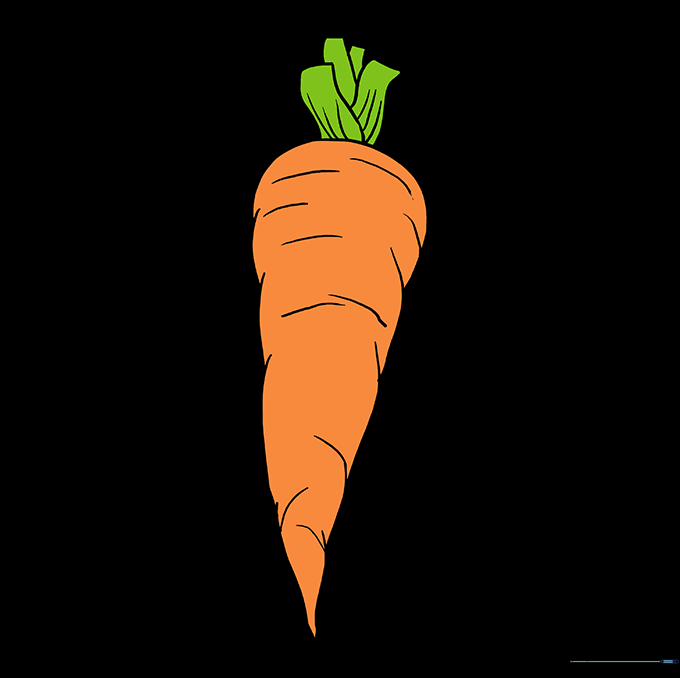
🎯 Final Result
Step-by-Step Instructions
Step 1: Sketching the Top Curve

Draw a curved line that looks like a wide, downward-facing letter 'C.' Teacher's Tip: Keep your pencil pressure light so you can easily adjust the shape if it feels a bit lopsided.
Step 2: Adding Side Curves

Add several overlapping, curved lines down each side of the carrot. Teacher's Tip: Think of these as little 'bumps'—carrots aren't perfectly smooth, so don't worry about making them identical!
Step 3: Tapering the Body

Continue adding curved lines, but start bringing them closer together as you move down. Teacher's Tip: This creates the natural, tapered look of a real carrot root.
Step 4: Forming the Pointed Tip
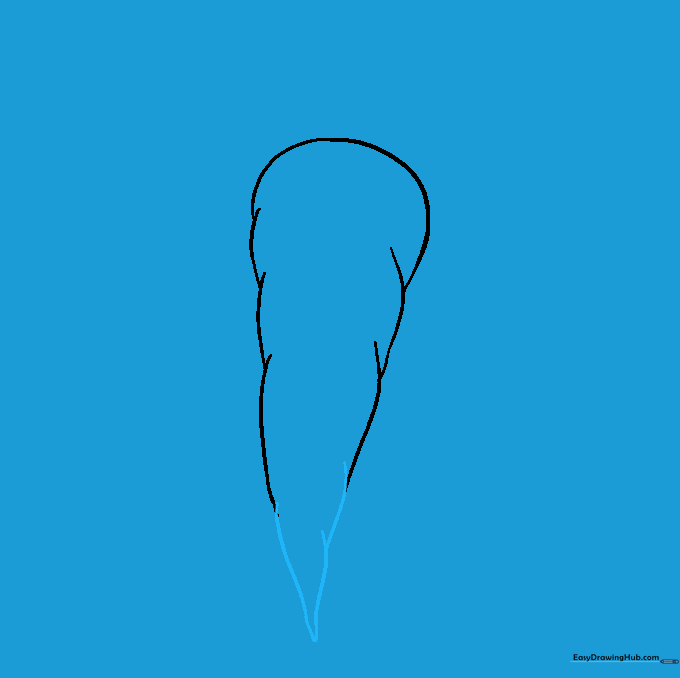
Keep adding overlapping lines until they meet at a sharp point at the bottom. Teacher's Tip: If the tip looks too blunt, just erase and redraw the final two lines at a steeper angle.
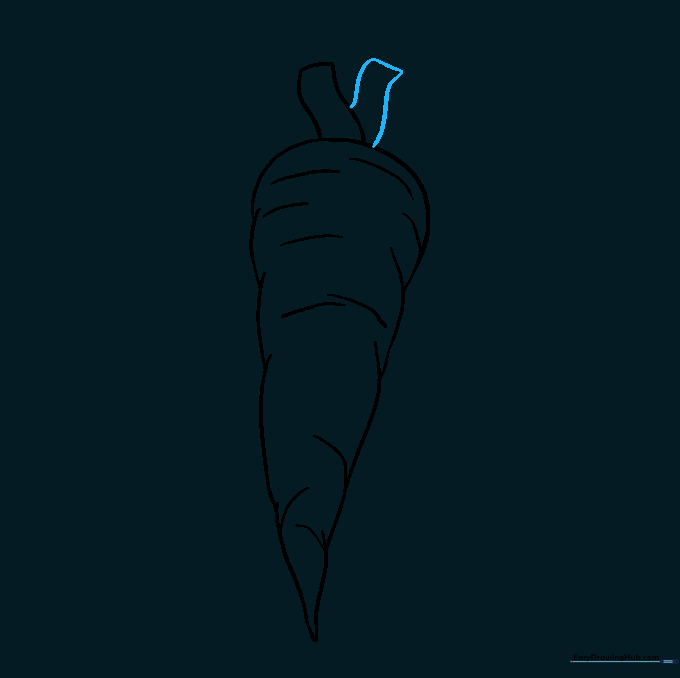
Step 5: Adding Texture Lines

Draw a few extra curved lines across the body of the carrot. Teacher's Tip: These represent the little ridges found on real vegetables, giving your drawing a more realistic, organic feel.
Step 6: Starting the Greenery

Draw two parallel, wavy 'S' shaped lines at the top and connect them. Teacher's Tip: Think of these as the carrot's leafy stems; keep them loose and wiggly!
Step 7: Adding More Stems
Draw another 'S' shaped stem next to the first one. Teacher's Tip: Vary the height of your stems so the greenery looks natural and bushy rather than perfectly uniform.
Step 8: Filling in the Greenery

Add a few more stems in the remaining space at the top. Teacher's Tip: Overlapping these lines slightly will make the carrot look much fuller.
Step 9: Refining the Leaves
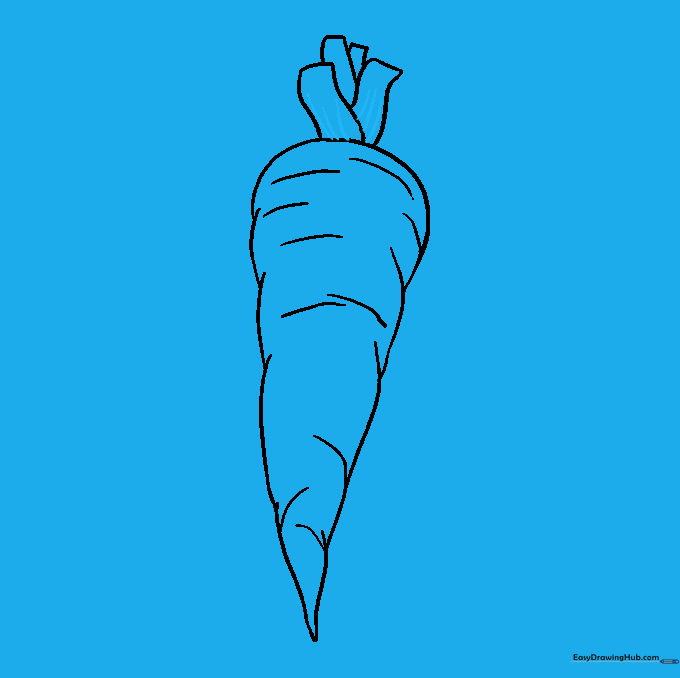
Add small, curved lines along the stems to give the leaves texture. Teacher's Tip: Use short, quick strokes to make the greenery look feathery.
Step 10: Adding Color
Time to color! Use bright orange for the root and vibrant green for the tops. Teacher's Tip: Try using different shades of orange to add highlights and shadows for a 3D effect.
More Tutorials


