How to Draw a Carnation: Easy 10-Step Guide for Kids
Looking for a fun, screen-free activity? This step-by-step guide is perfect for artists ages 5 and up to master drawing a classic carnation. All you need is a pencil, an eraser, and some paper to bring these ruffled blooms to life.
🎯 Final Result

Step-by-Step Instructions
Step 1: Sketching the Central Petal

Start by drawing the center petal using a jagged, wavy line. Teacher's Tip: Think of this as the 'heart' of the flower; keep the waves tight and irregular to mimic the natural texture of a carnation.
Step 2: Building the Petal Layers

Continue adding layers of petals around your center piece. Use consistent jagged, wavy lines. Tip: Vary the size of your waves to make the flower look full and fluffy.
Step 3: Drawing the Sepal

Draw a 'W' shape beneath the flower head to start the sepal. Connect it with curved lines that tuck neatly under the petals. This bulbous part holds the flower head onto the stem.
Step 4: Starting the Second Bloom

Repeat the process from Step 1 to create a second flower head nearby. Use the same jagged, wavy lines to maintain a consistent style across your bouquet.
Step 5: Filling Out the Second Flower
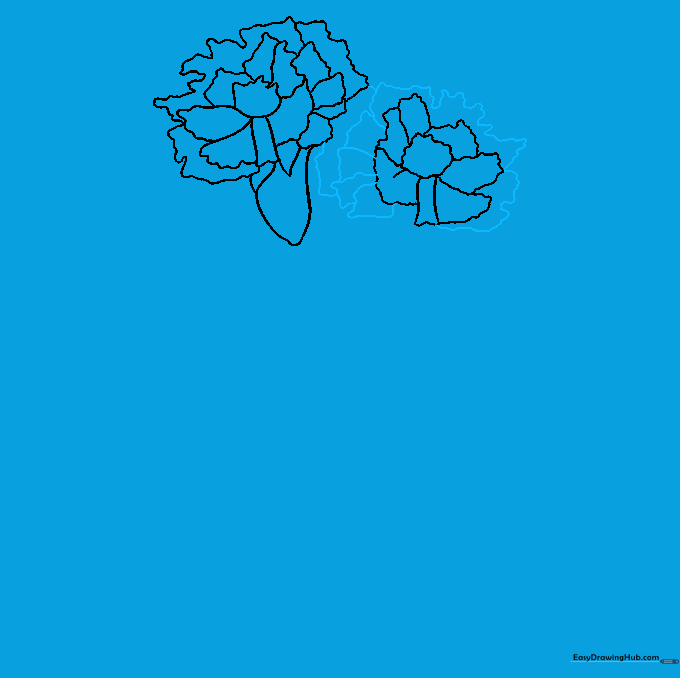
Add more jagged petals to the edges of your second flower. Tip: Make this one slightly smaller or larger than the first to add visual interest to your drawing.
Step 6: Adding the Second Sepal
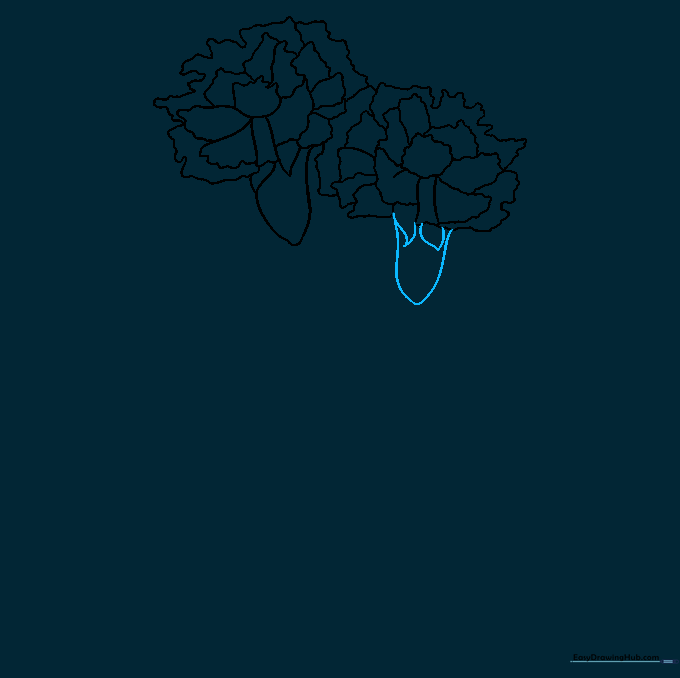
Draw another 'W' shape and a 'U' shape beneath the second flower to create its sepal. This ensures both flowers look like they belong to the same plant.
Step 7: Drawing the Stems
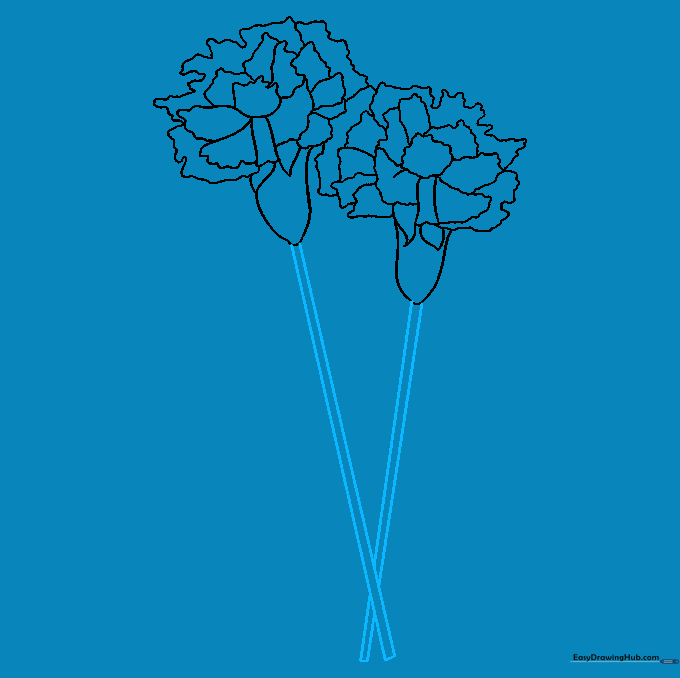
Extend two parallel lines down from each sepal to form the stems. Let them cross each other at the bottom for a natural, artistic look. Keep your lines straight and steady.
Step 8: Adding Leaf Joints

Erase a small section of the stem where you want a leaf to grow. Add a curved 'W' shape to indicate the joint where the leaf attaches to the stem.
Step 9: Drawing the Leaves

Draw long, pointed leaves extending from the joints. Add a single line down the center of each leaf to represent the vein. Tip: Keep the leaves narrow to match the delicate look of a carnation.
Step 10: Adding Color
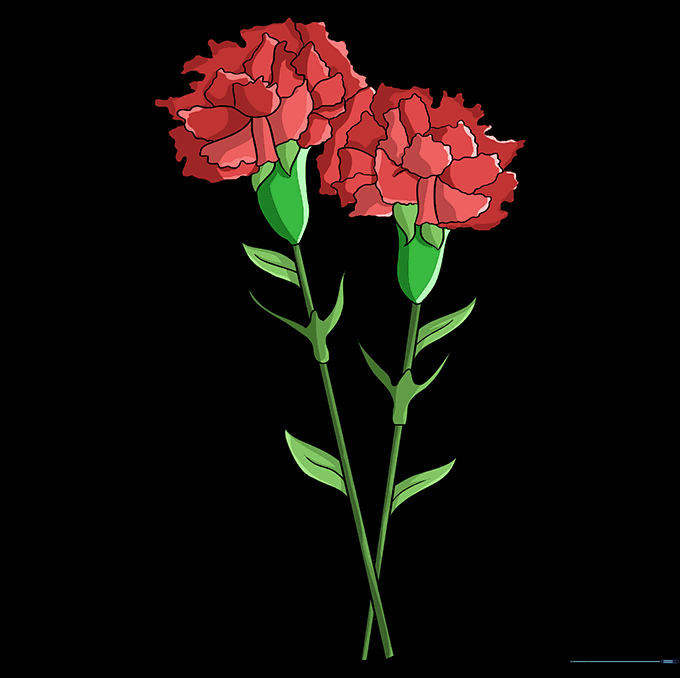
Bring your drawing to life with color! Carnations come in vibrant reds, pinks, whites, and purples. Use a light green for the stems and leaves to make the flowers pop.
More Tutorials


