How to Draw a Candy Heart: Easy Step-by-Step Guide
Create your own sweet Valentine's masterpiece with this beginner-friendly drawing guide. Designed for artists ages 5 and up, this activity requires only paper, a pencil, and your favorite markers. Follow these steps to practice overlapping shapes and lettering to bring your candy hearts to life.
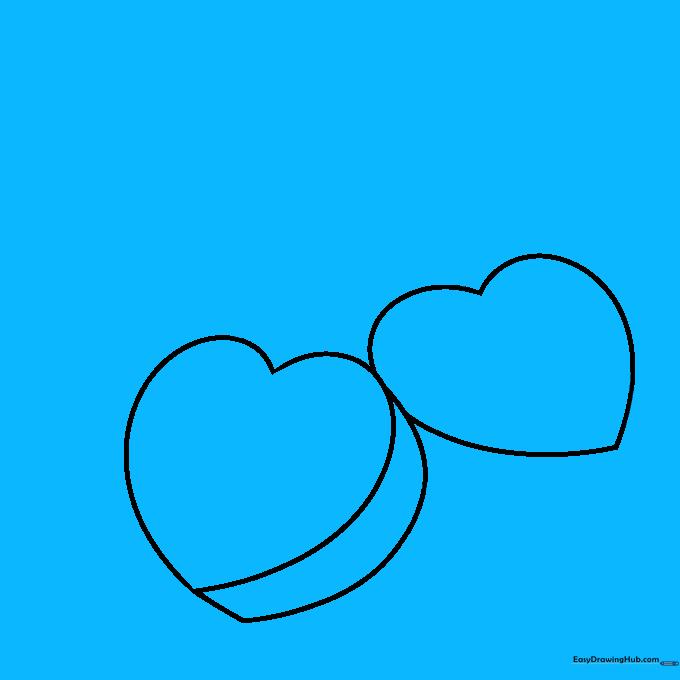
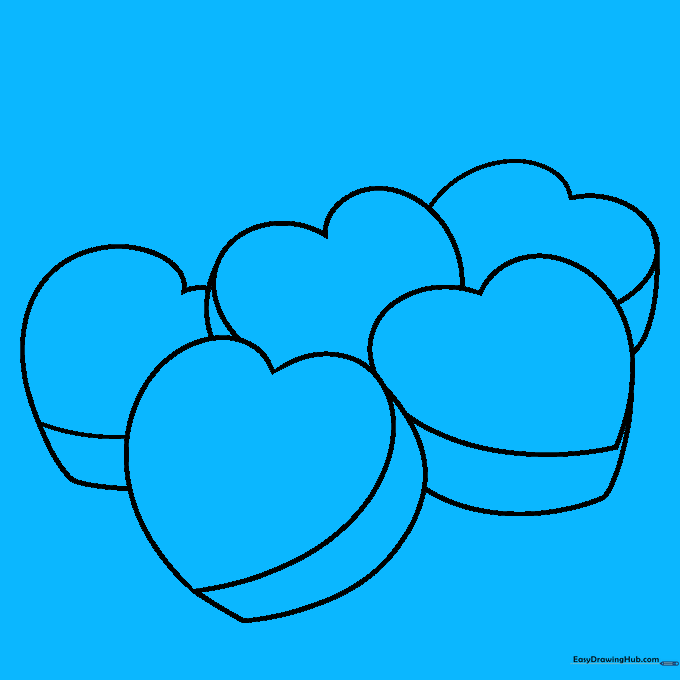
🎯 Final Result

Step-by-Step Instructions
Step 1: Sketching the First Heart
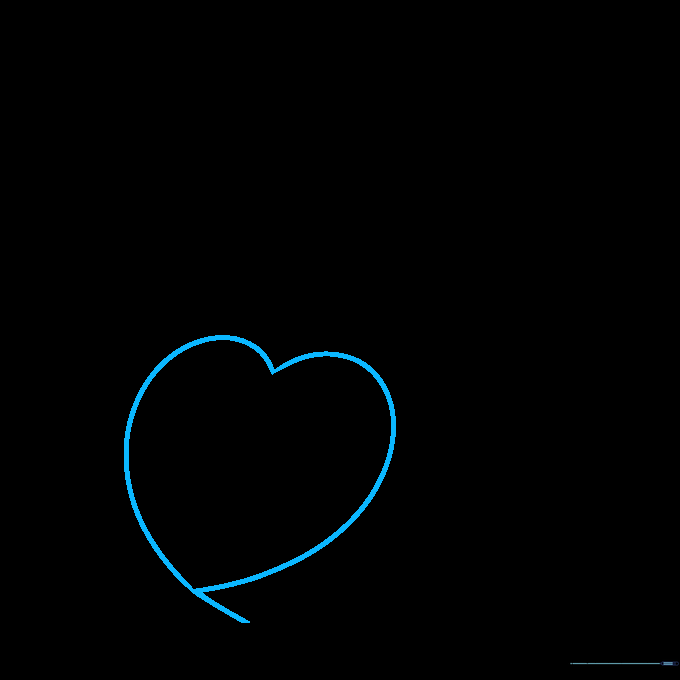
Draw a heart shape slightly tilted to the left. Teacher's Tip: Keep your pencil lines light and loose; this makes it much easier to erase or adjust your shape later if you want a different angle.
Step 2: Adding the Second Heart
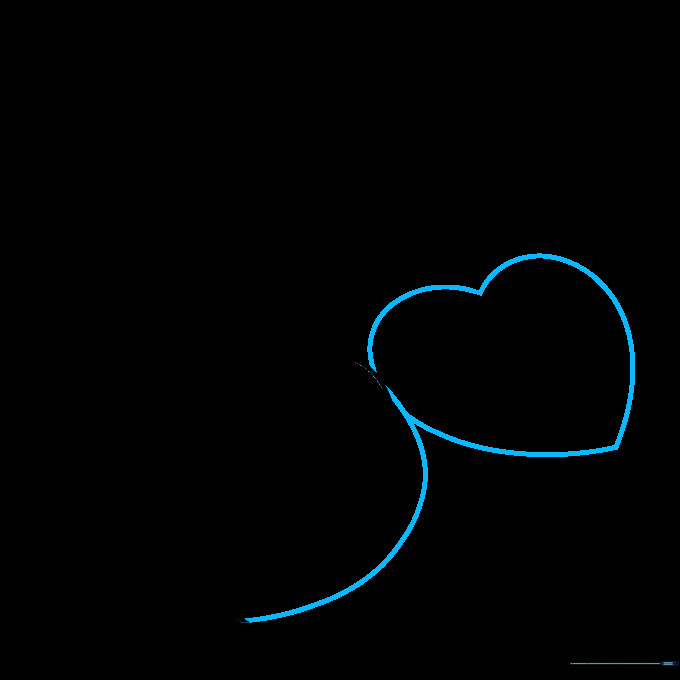
Draw a second heart overlapping the first one on the right side. Teacher's Tip: Try drawing this one at a slightly different angle to make your pile of candy look more natural and dynamic.
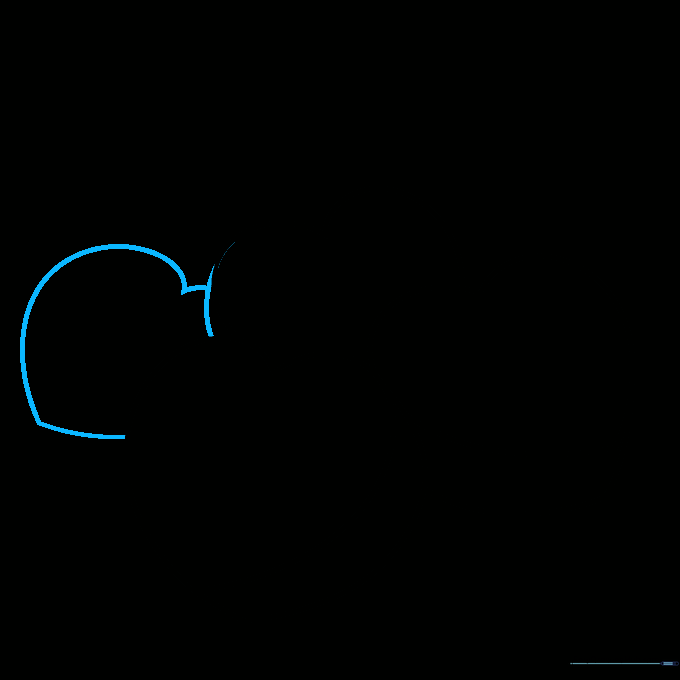
Step 3: Building the Pile
Add a third heart shape tucked behind the first two. Teacher's Tip: Don't worry if the lines cross over each other; that's exactly what creates the 'pile' effect!
Step 4: Expanding the Collection
Sketch another heart behind the others to grow your pile. Teacher's Tip: Varying the size of your hearts makes the drawing look more realistic and less like a perfect grid.
Step 5: Adding More Hearts

Add a fifth heart to the right side of your cluster. Teacher's Tip: Use a 'boxy' or slightly flattened bottom for this heart to give it a unique, chunky candy appearance.
Step 6: Filling the Space
Draw one more heart tucked behind the others. Teacher's Tip: If you run out of room, just draw a partial heart shape to make it look like it's peeking out from behind the pile.
Step 7: Finalizing the Outline

Draw your final heart to complete the cluster. Teacher's Tip: Check that all your hearts look like they are touching or overlapping to create a cohesive group.
Step 8: Adding Sweet Messages

Write fun phrases like 'LOVE YOU' or 'BEST DAY' inside the hearts. Teacher's Tip: Use block letters to make the words look like they are stamped onto the candy surface.
Step 9: Completing the Messages

Add phrases to the remaining hearts, such as 'HUG ME' or 'CUTIE.' Teacher's Tip: Keep your letters centered so they don't get lost near the edges of the heart.
Step 10: Adding Color and Depth

Trace your lines with a black pen and fill in with bright colors. Teacher's Tip: Use a slightly darker shade of your color on one side of each heart to create a simple shadow, making them look 3D and delicious!
More Tutorials


