How to Draw a Candle: Easy 10-Step Guide for Kids
This step-by-step tutorial is perfect for young artists ages 5 and up looking to master basic shapes like cylinders and teardrops. You only need a pencil, an eraser, and your favorite coloring tools to get started. Follow along to build confidence in your drawing skills while creating a cozy, glowing candle illustration.
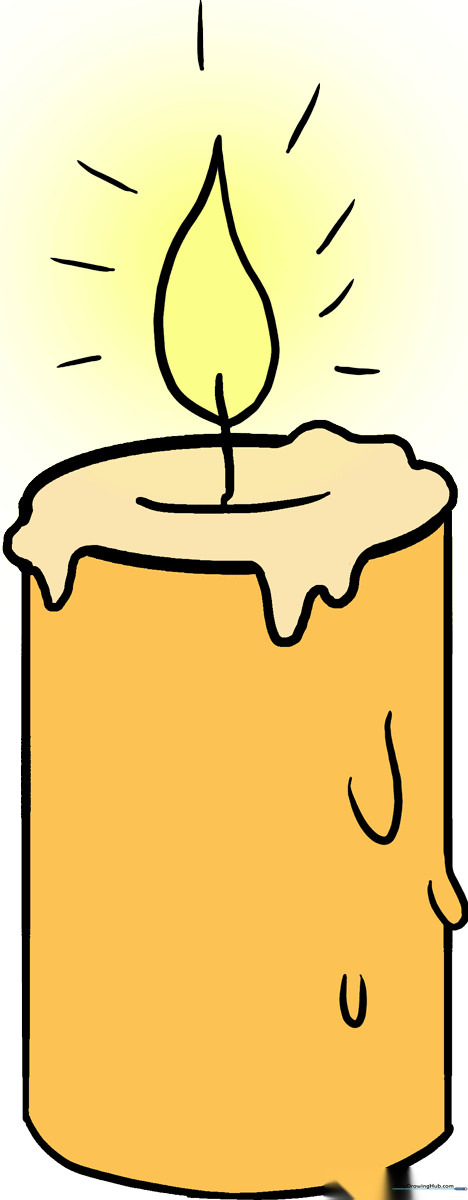
🎯 Final Result
Step-by-Step Instructions
Step 1: Sketching the Top Oval

Start by drawing a flattened oval. This represents the top surface of your candle. Teacher's Tip: Keep your pencil strokes light so you can easily erase the inner lines later!
Step 2: Defining the Sides

Draw two long, straight vertical lines downward from the edges of your oval. These define the height of your candle. Tip: Use a ruler if you want perfectly straight sides, or go freehand for a more organic look.
Step 3: Closing the Cylinder

Connect the bottom of your two vertical lines with a curved line. This creates the base of your candle. Tip: Make the curve match the angle of your top oval to give the drawing a 3D effect.
Step 4: Adding Melted Wax

Add irregular, wavy lines around the top edge of the oval. These represent wax dripping down the side. Tip: Don't worry about making them perfect—real wax drips are messy and unique!
Step 5: Cleaning Your Sketch

Carefully erase the original guide lines from inside the oval. This makes your candle look clean and ready for the final details.
Step 6: Drawing the Wick

Draw a small curved line in the center of the top, then extend a short line upward. This is your wick. Tip: Keep the wick small so it doesn't overpower the flame you'll add next.
Step 7: Sketching the Flame

Draw a teardrop shape around the wick to create the flame. Tip: Make the bottom of the teardrop wider and the top very pointy to show the flicker of the fire.
Step 8: Adding Texture
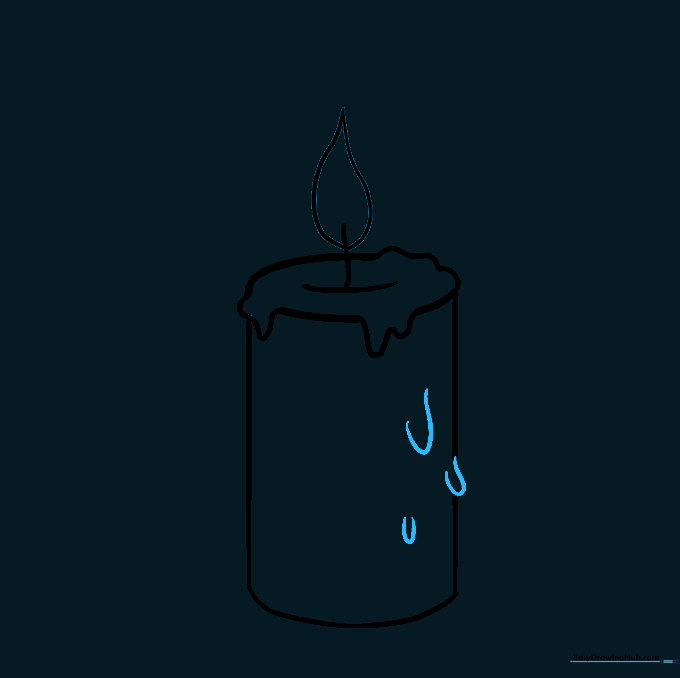
Add a few more 'U' shaped lines down the side of the candle to represent more wax drips. Tip: Vary the size of these drips to make the candle look more realistic.
Step 9: Illustrating the Glow

Draw small, short lines radiating outward from the flame. This creates the effect of a warm, glowing light. Tip: Space them out evenly to make the light look soft.
Step 10: Adding Color
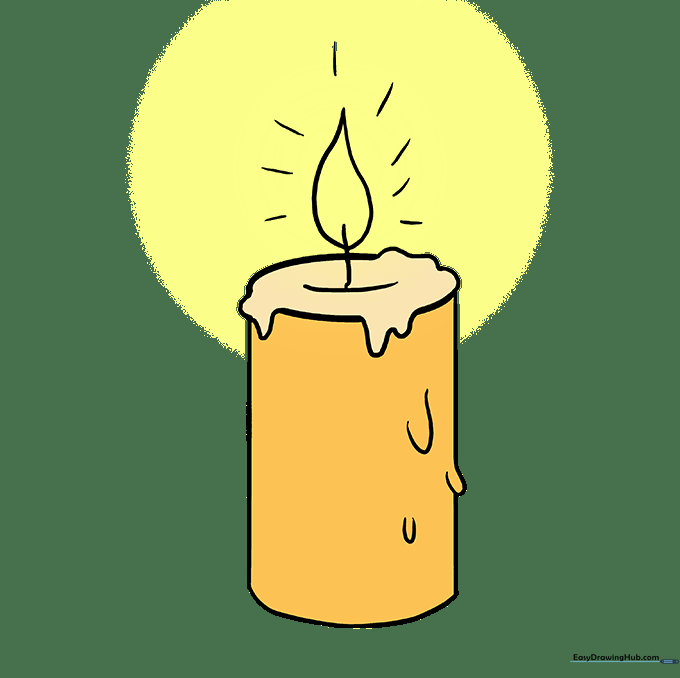
Time to bring your candle to life! Use yellow for the flame and your favorite color for the wax. Tip: If you have scented markers, use them to color your candle—it adds a fun sensory element to your art project!
More Tutorials


