How to Draw a Camping Scene: Easy 10-Step Guide
Ready for an outdoor adventure? This camping scene tutorial is perfect for young artists ages 5 and up to practice spatial awareness and basic shapes. All you need is a pencil, an eraser, and your favorite coloring supplies to bring this wilderness scene to life.
🎯 Final Result

Step-by-Step Instructions
Step 1: Sketching the Tent Base

Draw five curved lines to form an irregular pentagon for the tent shape. Add a long, gentle curve behind it for the horizon line. Teacher's Tip: Keep your pencil pressure light so you can easily erase the horizon line where it meets the tent later.
Step 2: Adding Tent Details

Draw a narrow triangle for the opening and two rounded triangles for the flaps. Add small circles for the buttons and lines for the ropes and tent stake. Teacher's Tip: Use short, quick strokes for the ropes to make them look taut and secure.
Step 3: Creating the Fire Pit
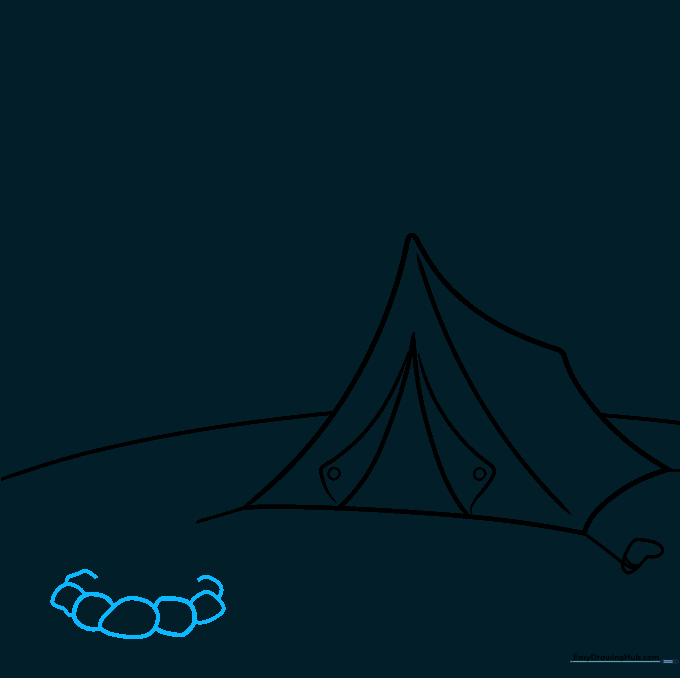
Draw a cluster of irregular, rounded shapes in front of the tent to represent the stones of your fire pit. Teacher's Tip: Vary the sizes of your stones to make the fire pit look natural and organic.
Step 4: Drawing the Campfire
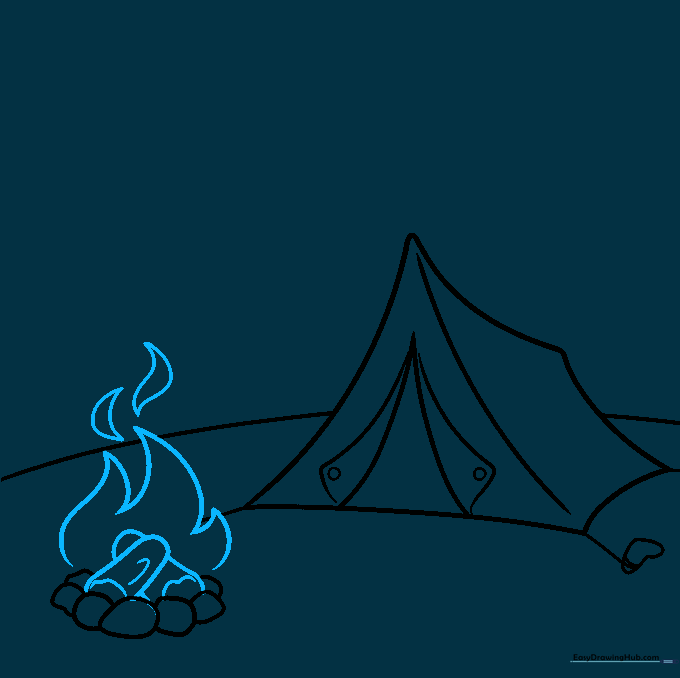
Sketch two logs using rounded rectangles and add flame shapes above them. Teacher's Tip: For the flames, use wavy, upward-reaching lines to give them a sense of movement.
Step 5: Sketching Pine Trees
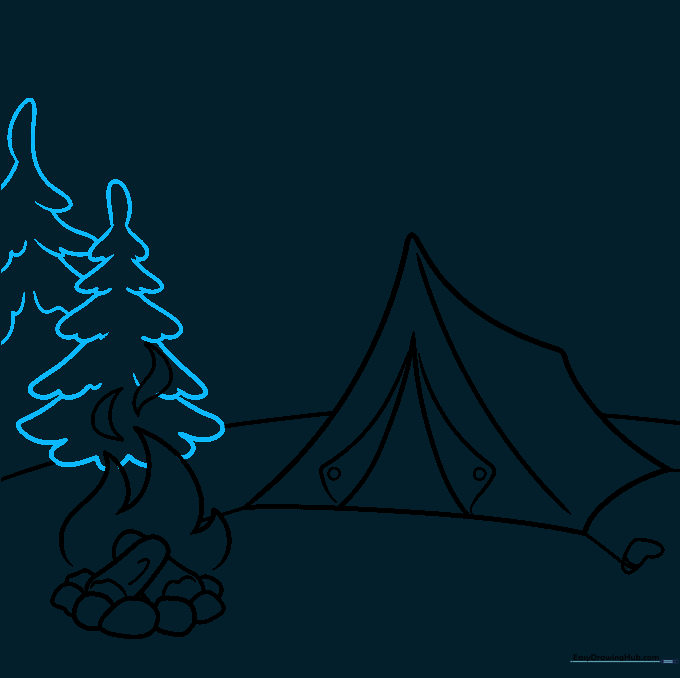
Create pine trees using stacked 'U' shaped lines that get narrower toward the top. Teacher's Tip: Don't worry about making them perfect; pine trees in nature are wonderfully uneven!
Step 6: Adding Distant Trees
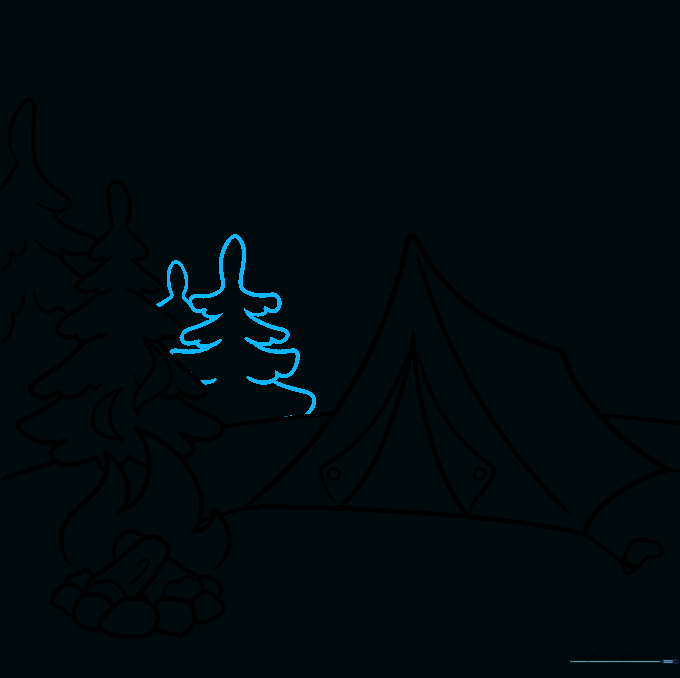
Draw more pine trees in the background, making them smaller to show depth. Teacher's Tip: Smaller, higher-placed objects help create the illusion of a vast forest.
Step 7: Filling the Forest
Add a few more trees behind the tent to complete your forest backdrop. Teacher's Tip: Overlapping the trees slightly makes the forest look dense and realistic.
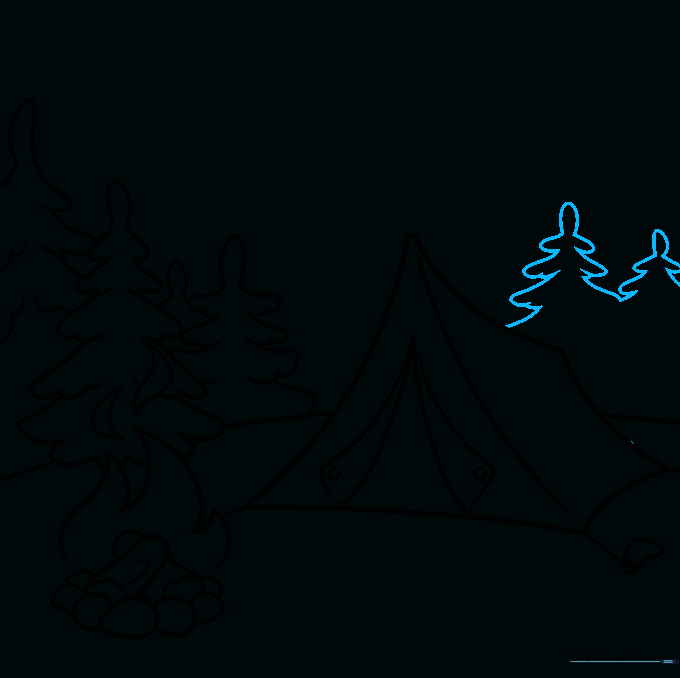
Step 8: Drawing Mountains

Sketch two large, triangular shapes on the horizon to represent distant mountains. Teacher's Tip: Keep these lines very light so they look far away.
Step 9: Adding Sky Details
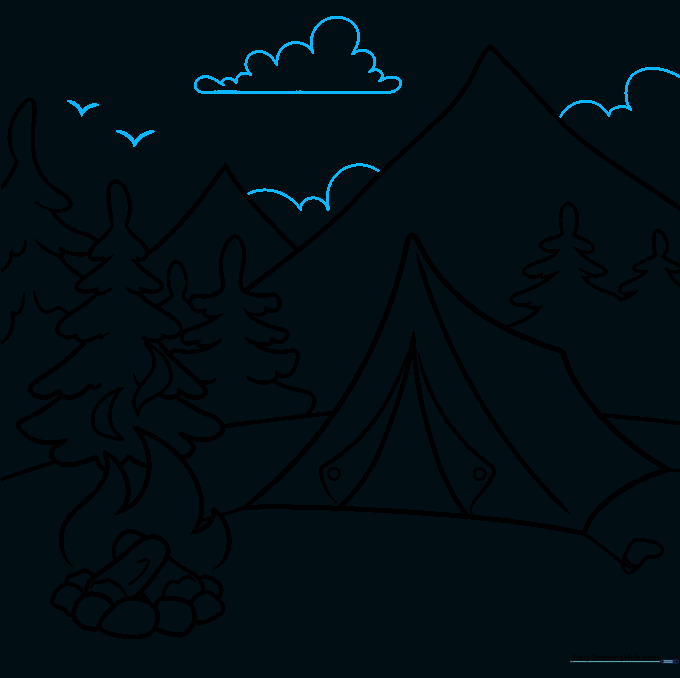
Draw fluffy clouds using 'U' shapes and add small 'V' shapes for birds in the distance. Teacher's Tip: Vary the size of your birds to make them look like they are flying at different heights.
Step 10: Bringing It to Life with Color
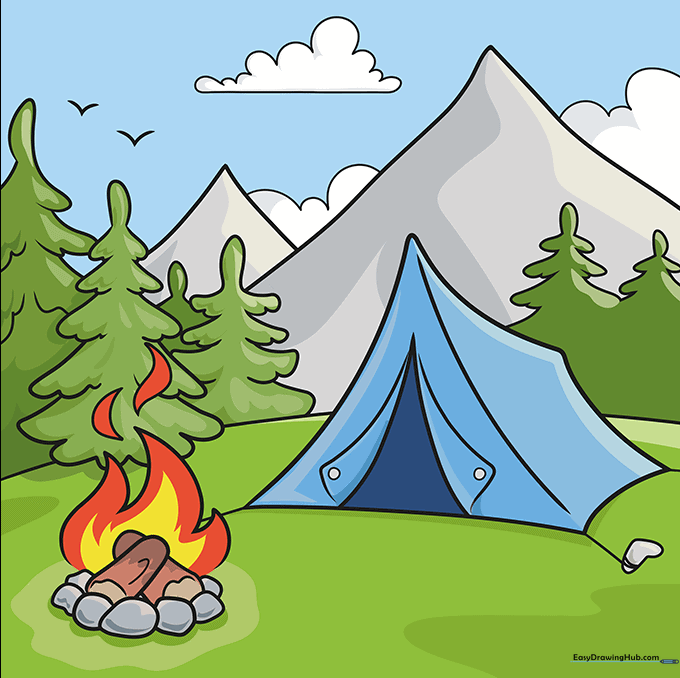
Time to color! Use warm oranges and reds for the fire, and cool greens for the trees. Teacher's Tip: Try coloring the sky in a gradient—light blue at the top and fading to a soft yellow near the mountains for a sunset effect!
More Tutorials


