How to Draw a Camper: Easy 9-Step Guide for Kids
Ready for a road trip? This tutorial is perfect for young artists ages 5+ who want to draw their own retro camper. All you need is a pencil, an eraser, and some paper to get started on this fun, screen-free creative project.
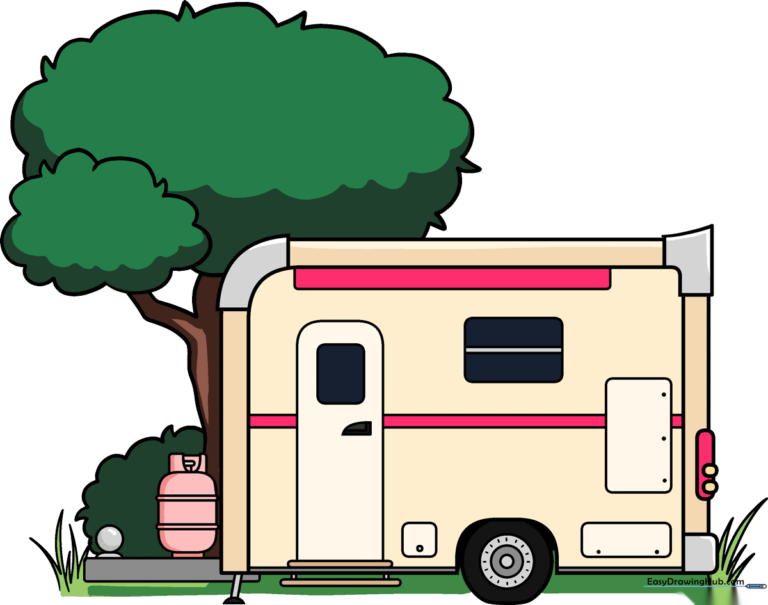
🎯 Final Result
Step-by-Step Instructions
Step 1: Sketching the Main Body
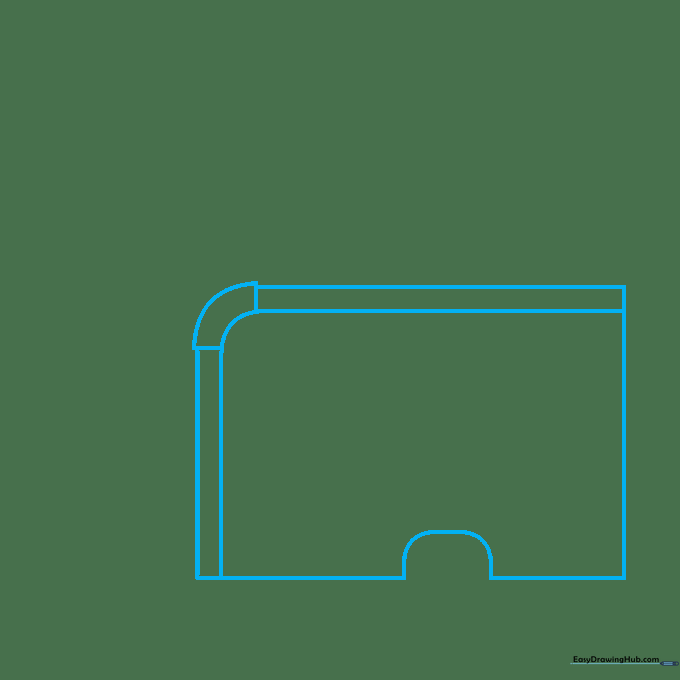
Draw a large rectangle for the main body of the camper. Tip: Keep one corner rounded and add a small notch at the bottom for the wheel well. Use light pressure so you can adjust the shape if needed.
Step 2: Refining the Frame
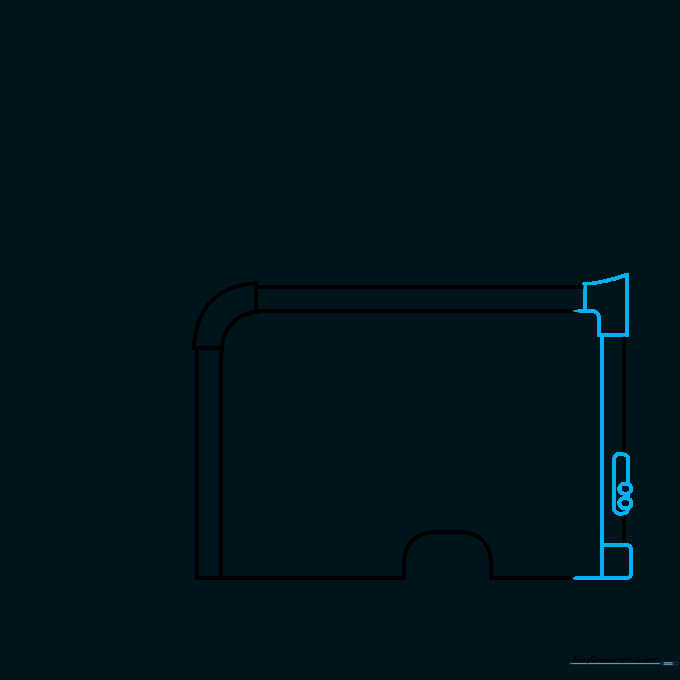
Replace the upper corner with a smooth 'L' shape and connect it to the base. Tip: Use your eraser to clean up the overlapping lines where the shapes meet to make the camper look solid.
Step 3: Adding Exterior Details
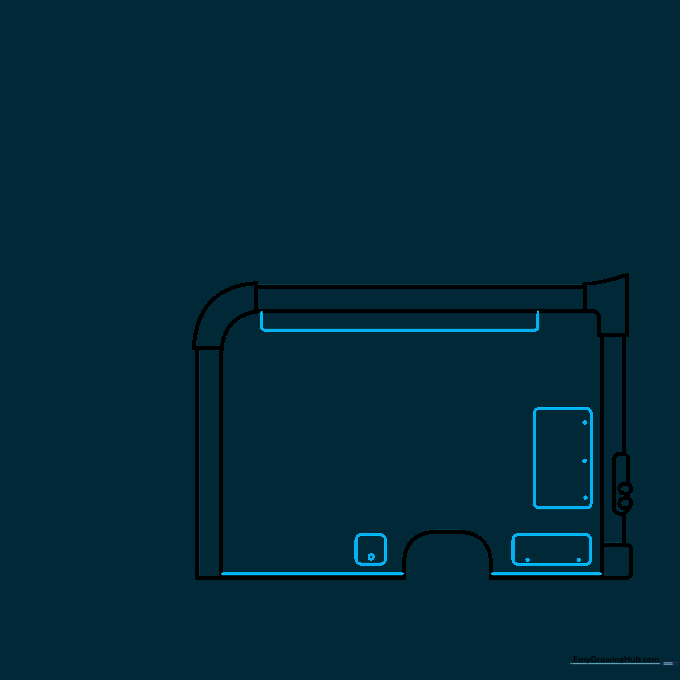
Add small rectangles along the side for windows and trim. Tip: Draw these lightly first to ensure they are spaced evenly before committing to the final lines.
Step 4: Drawing the Door and Stairs
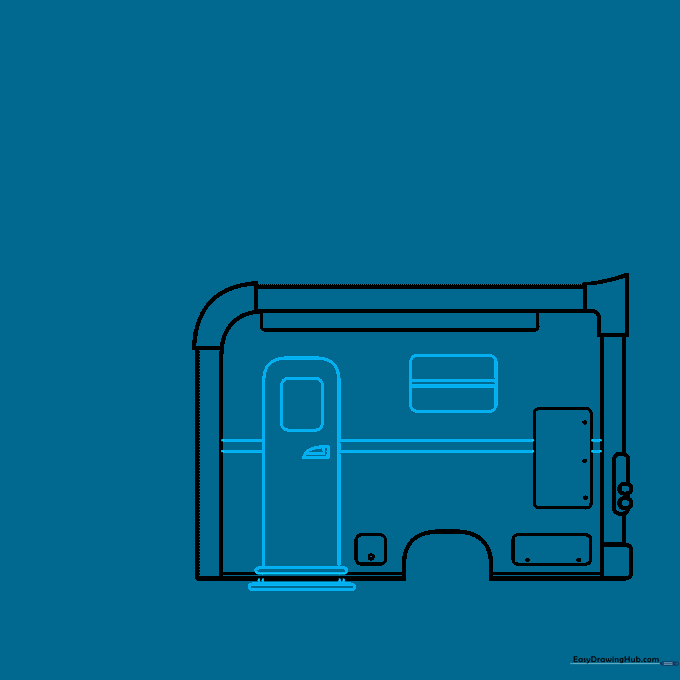
Draw a rounded rectangle for the door and a small triangle for the handle. Add a set of small steps below the door. Tip: Use a ruler if you struggle with straight lines, but don't worry if they aren't perfect—it's a cartoon!
Step 5: Adding the Wheel and Strut

Draw four circles inside the wheel well, getting smaller toward the center. Add a small support strut at the front. Tip: Use a circular object like a coin if you need help making the tire perfectly round.
Step 6: Adding the Propane Tank
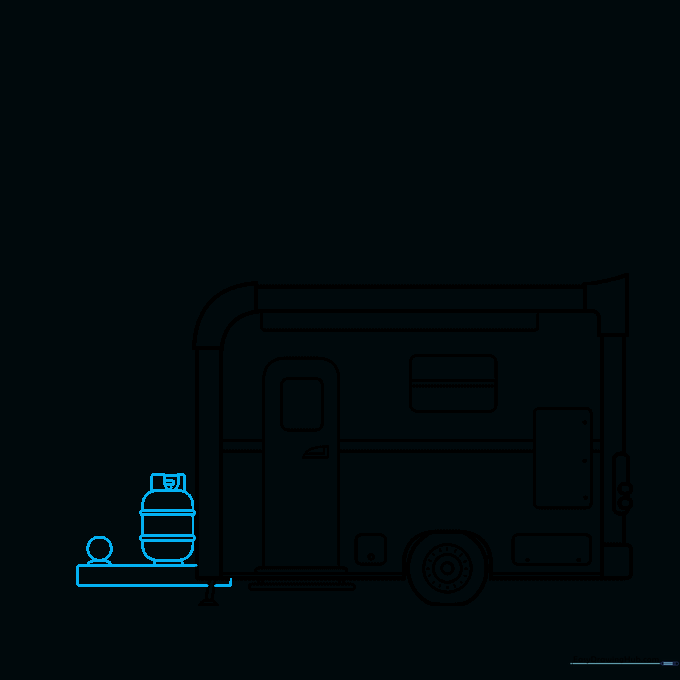
Draw a small rectangle and semicircle at the front to represent the propane tank. Tip: Keep this small so it doesn't distract from the main camper body.
Step 7: Drawing the Ground and Bushes
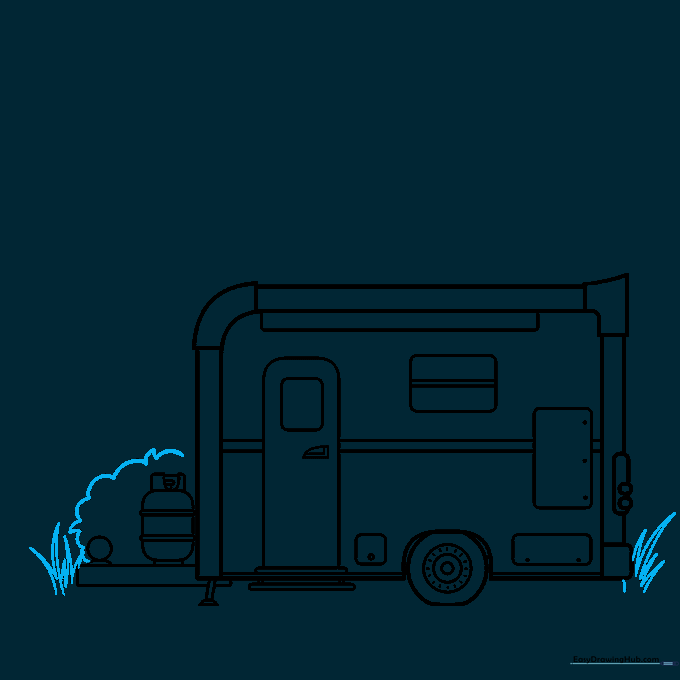
Add some grass and a shrub to ground your camper. Tip: Use short, jagged strokes for the grass to give it a natural, textured look.
Step 8: Adding a Tree
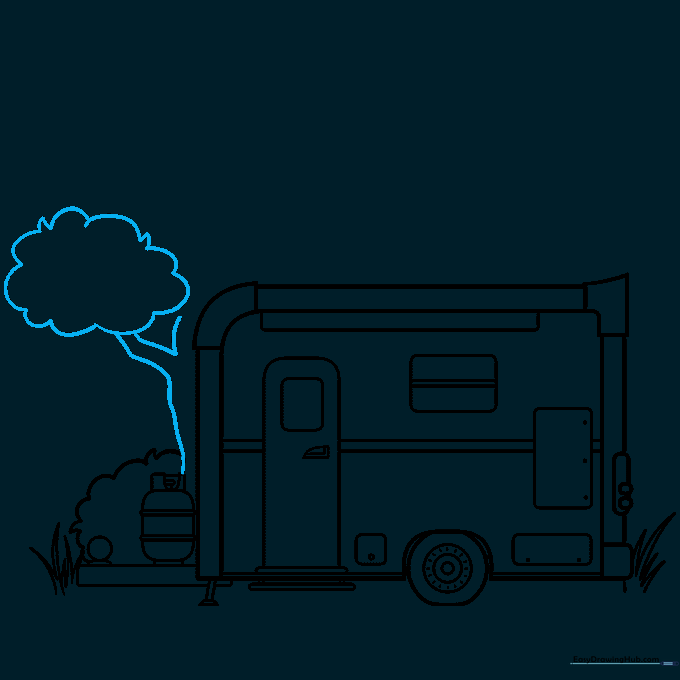
Sketch a tree in the background to set the scene. Tip: Draw the trunk slightly wider at the bottom to make it look sturdy.
Step 9: Finishing the Tree
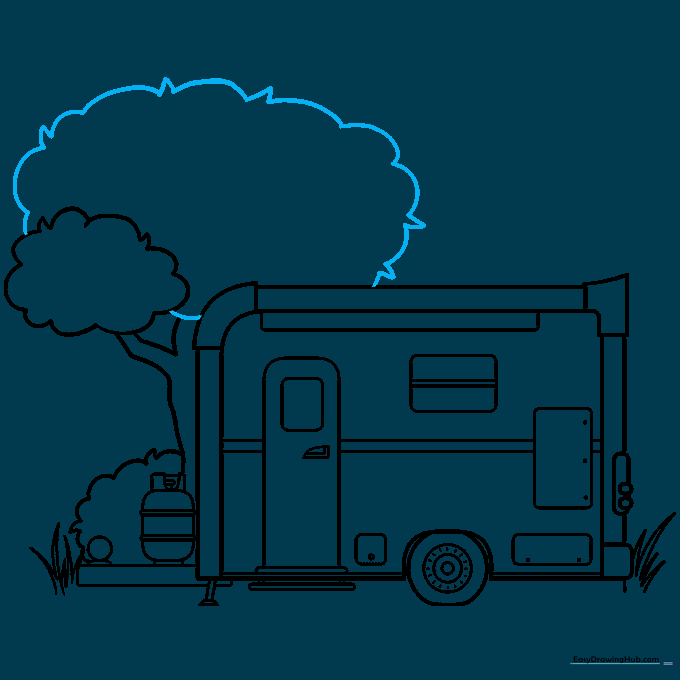
Add the leafy crown to your tree using cloud-like, curved lines. Tip: Vary the size of your curves to make the tree look more realistic and less uniform.
Step 10: Bring It to Life with Color
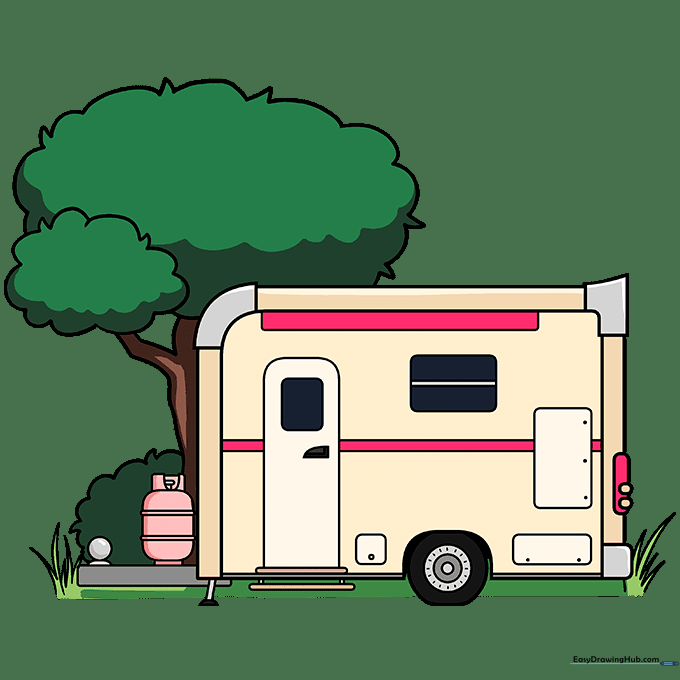
Time to color! Use bright reds and creams for a vintage look, or pick your favorite colors. Tip: Try using light pressure with your colored pencils for a soft look, or press harder for vibrant, bold colors.
More Tutorials


