How to Draw a Camera: Easy 10-Step Guide for Beginners
Capture your creativity with this fun, screen-free drawing activity perfect for artists ages 5 and up. All you need is a pencil, an eraser, and a piece of paper to bring this classic camera to life. Follow these simple steps to build confidence in your geometric drawing skills.
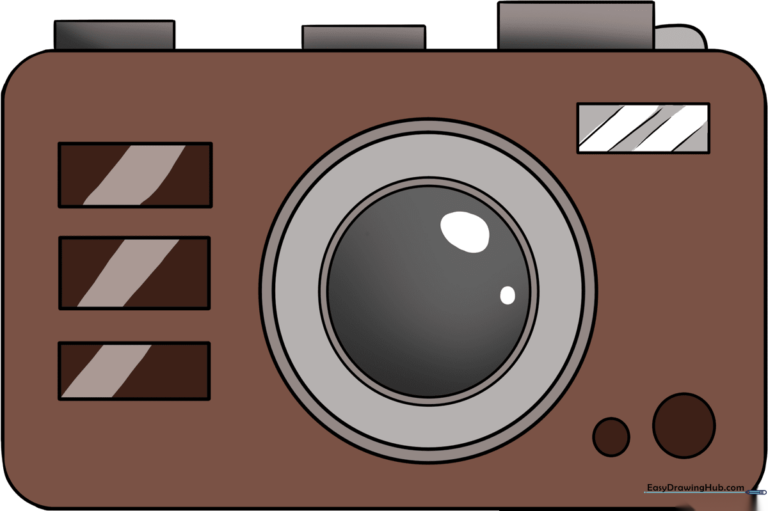
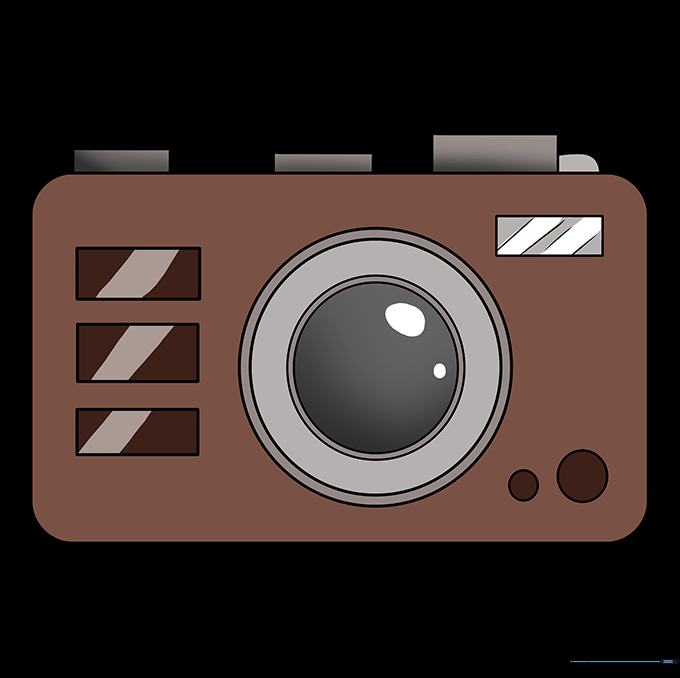
🎯 Final Result
Step-by-Step Instructions
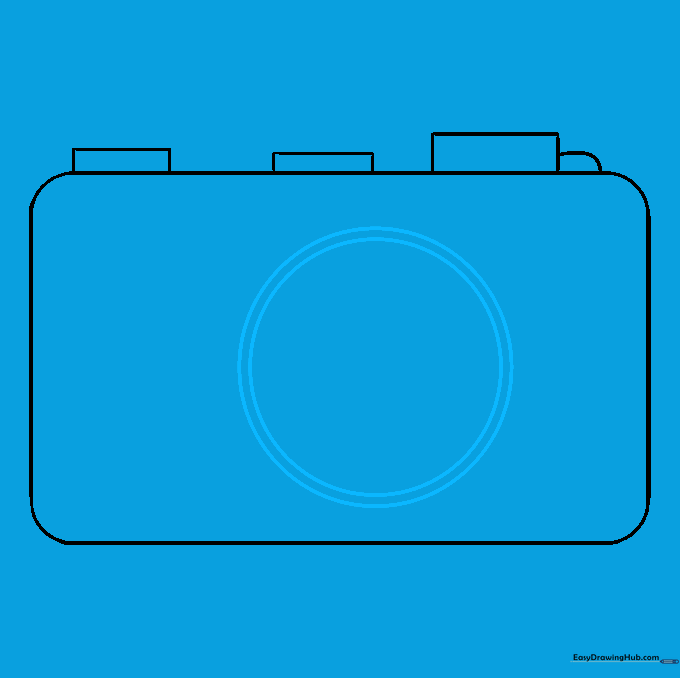
Step 1: Sketching the Camera Body

Start by drawing a clean rectangle to form the main body of your camera. Teacher's Tip: Keep your pencil pressure light so you can easily adjust the lines if your rectangle isn't perfectly straight on the first try.
Step 2: Softening the Edges

Draw a small, curved line inside each of the four corners of your rectangle. Teacher's Tip: These curves will help your camera look more modern and less like a sharp box.
Step 3: Refining the Outline

Carefully erase the sharp corners of the rectangle, leaving only the smooth, curved lines behind. Teacher's Tip: Use a soft eraser to avoid smudging your paper.
Step 4: Adding the Shutter Buttons

Draw two small, thin rectangles on the top edge of your camera. These are your shutter and power buttons. Teacher's Tip: Keep them close together to make the camera look compact.
Step 5: Drawing the Control Dial

Add a slightly larger rectangle on the other side of the top edge, connecting it with a small curved line. Teacher's Tip: This represents the mode dial, which adds a realistic touch to your drawing.
Step 6: Sketching the Lens
Draw a large circle in the center of the camera body, then draw a slightly smaller circle inside it. Teacher's Tip: If you struggle with circles, trace the bottom of a small cup or a circular object.
Step 7: Detailing the Lens

Add two more smaller circles inside the lens area to create depth. Teacher's Tip: Centering these circles makes the lens look like it's pointing directly at the viewer.
Step 8: Adding the Flash
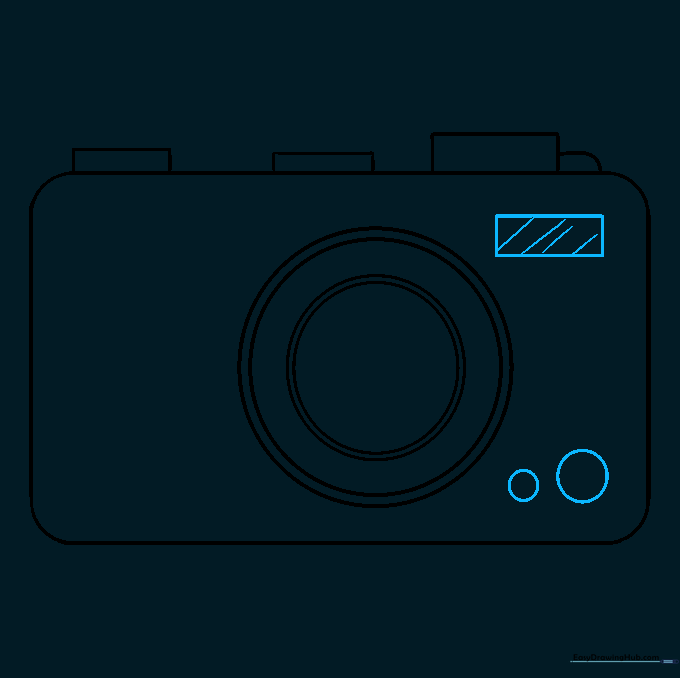
Draw a small rectangle in the top corner and add diagonal lines inside for texture. Then, add two small circles in the bottom corner. Teacher's Tip: The diagonal lines simulate the glass of the camera flash.
Step 9: Drawing the Grip
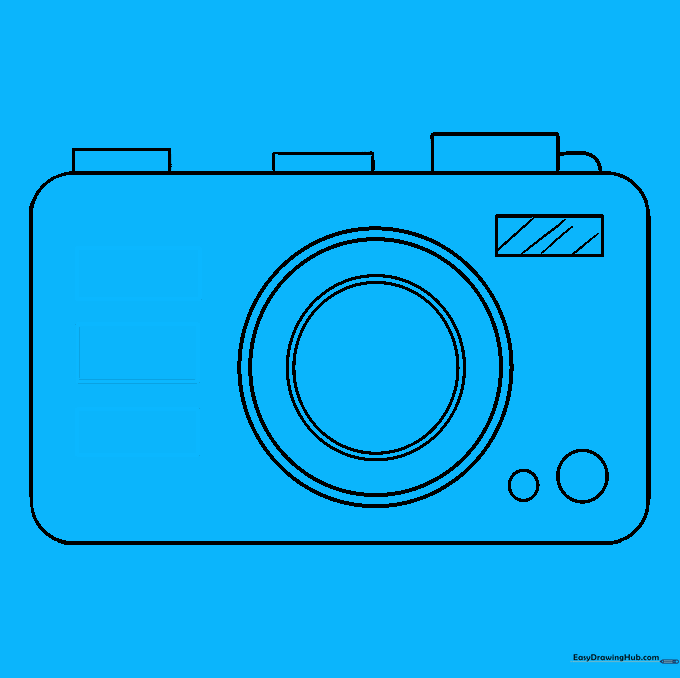
Sketch three identical rectangles next to the lens to create the finger grip. Teacher's Tip: This makes your drawing look professional and ergonomic.
Step 10: Bringing Your Camera to Life
Color your camera! Use classic black or silver, or get creative with bright colors like red or yellow. Teacher's Tip: Use a darker shade of your chosen color on the grip to make it pop.
More Tutorials


