How to Draw a Camellia: Easy 10-Step Floral Guide
Bring the elegance of a camellia to your sketchbook with this beginner-friendly tutorial. Designed for ages 5 and up, this activity requires only a pencil, paper, and an eraser to build confidence in floral sketching. Follow along to create a layered, professional-looking bloom in just ten simple steps.
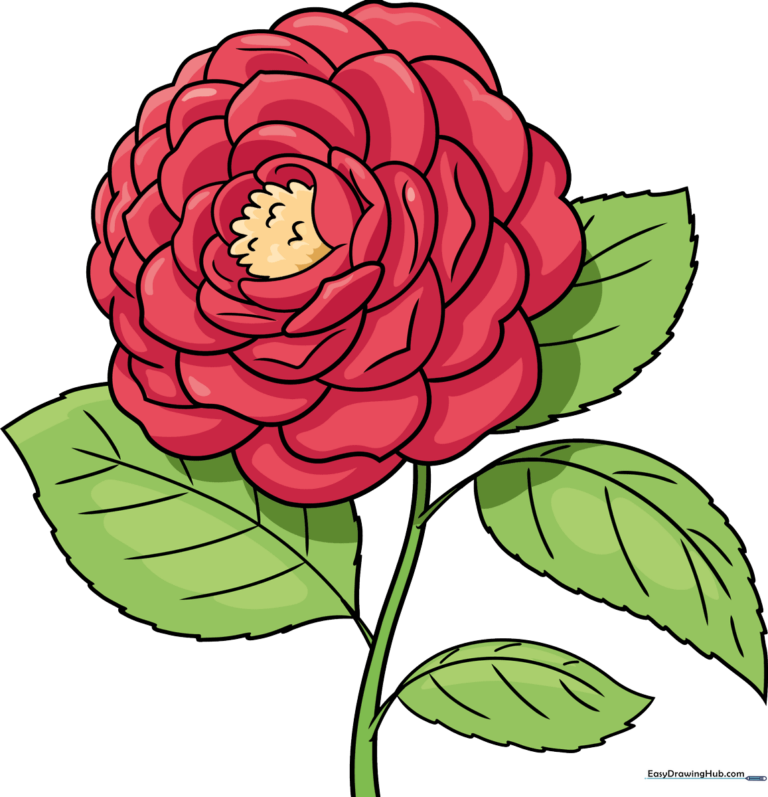
🎯 Final Result
Step-by-Step Instructions
Step 1: Sketching the Center Petals
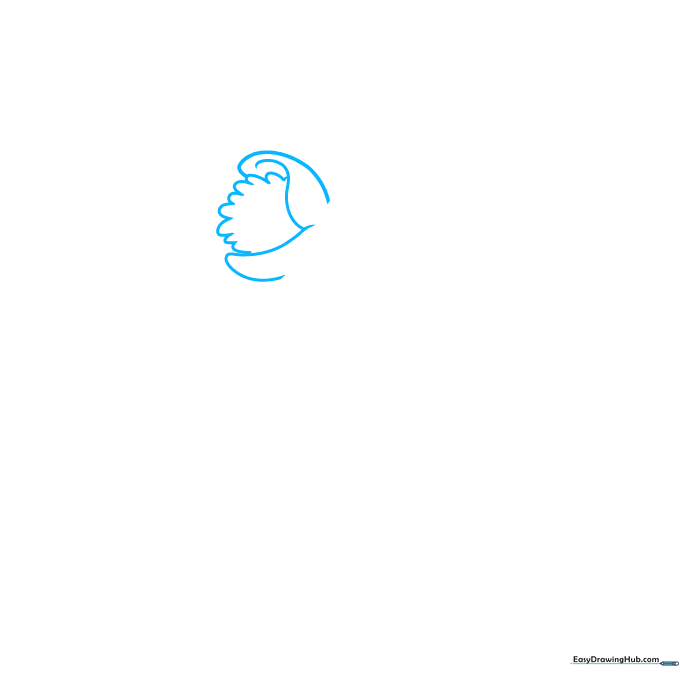
Start by drawing the small, delicate petals at the very heart of the flower. Use soft, curved lines to create crescent shapes. Teacher's Tip: Keep your pencil pressure light here so you can easily adjust the symmetry later.
Step 2: Building the Inner Bloom
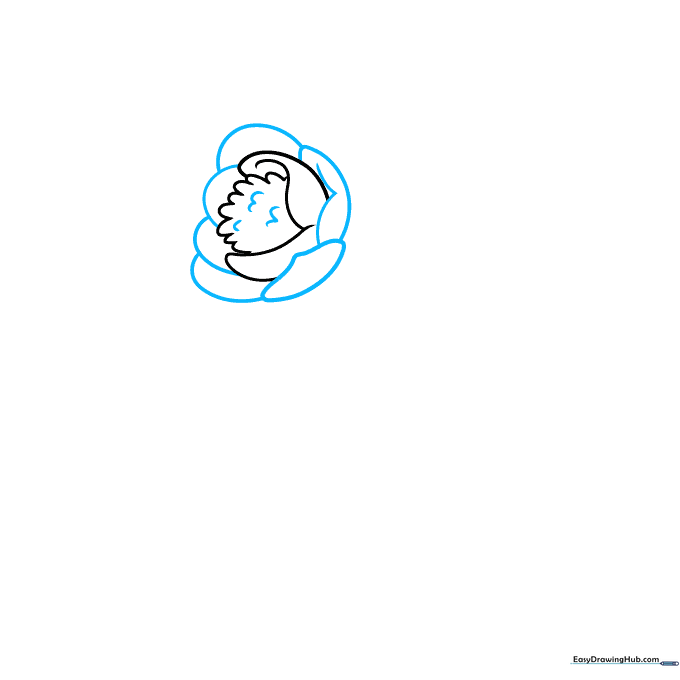
Enclose your center petals with a ring of irregular, half-circle shapes. Tip: Don't worry about making them perfect; nature is beautifully imperfect, so vary the size of your curves.
Step 3: Adding Depth with Overlapping Petals
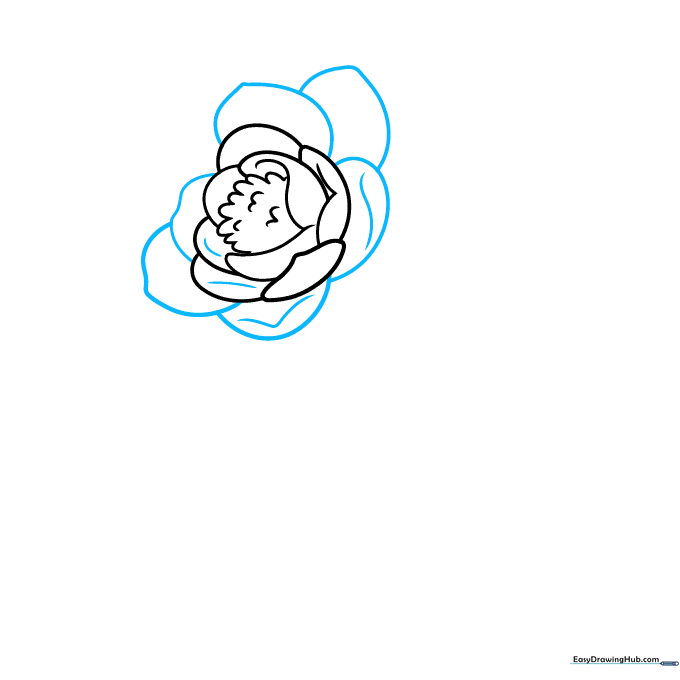
Continue adding larger, overlapping petals around the center. Give some of them gentle points to make the flower look realistic. Tip: Overlapping creates the illusion of depth, making your drawing pop off the page.
Step 4: Creating Petal Texture
Add a new layer of petals, mixing rounded shapes with pointed ones. Use small 'V' shaped lines at the tips to suggest the natural folds of a real flower. Tip: Use short, quick strokes for a more organic look.
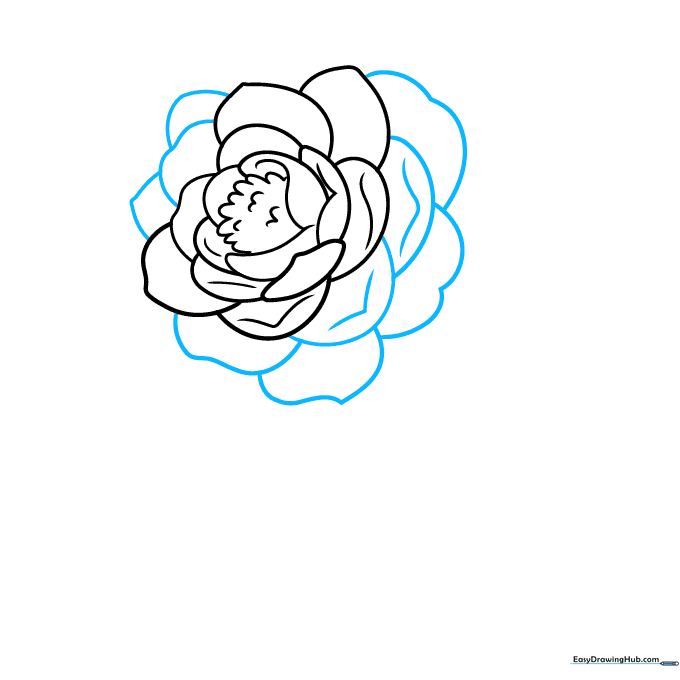
Step 5: Expanding the Flower
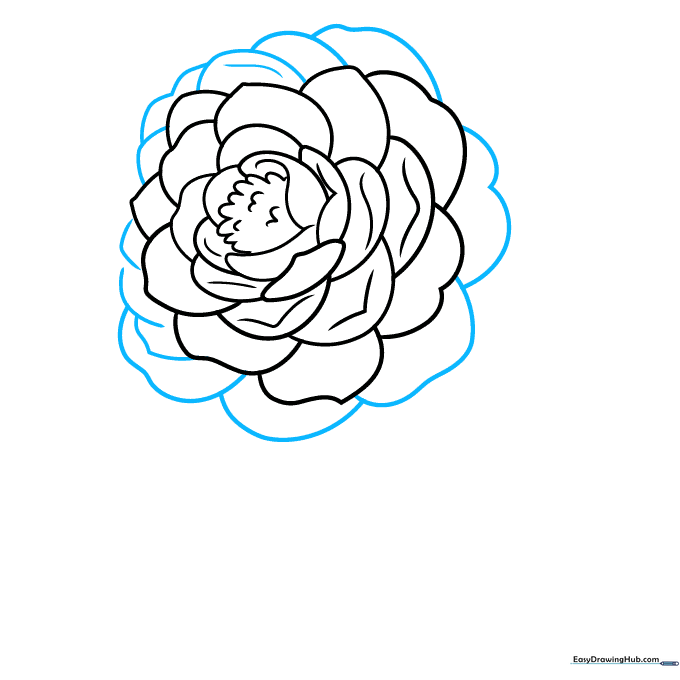
Keep building outward with more rounded, overlapping petals. Ensure each new petal connects to the ones drawn previously. Tip: If you run out of space, just make your petals slightly smaller as you move toward the outer edge.
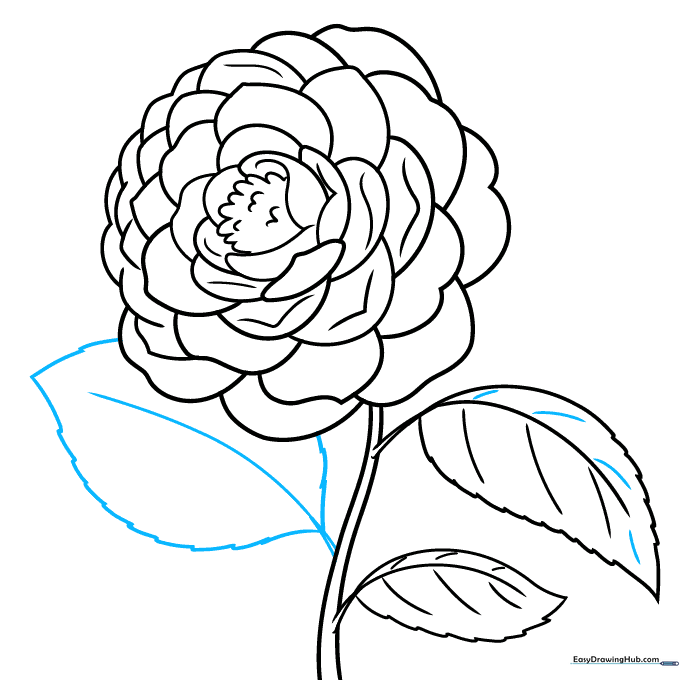
Step 6: Adding the Stem and First Leaf
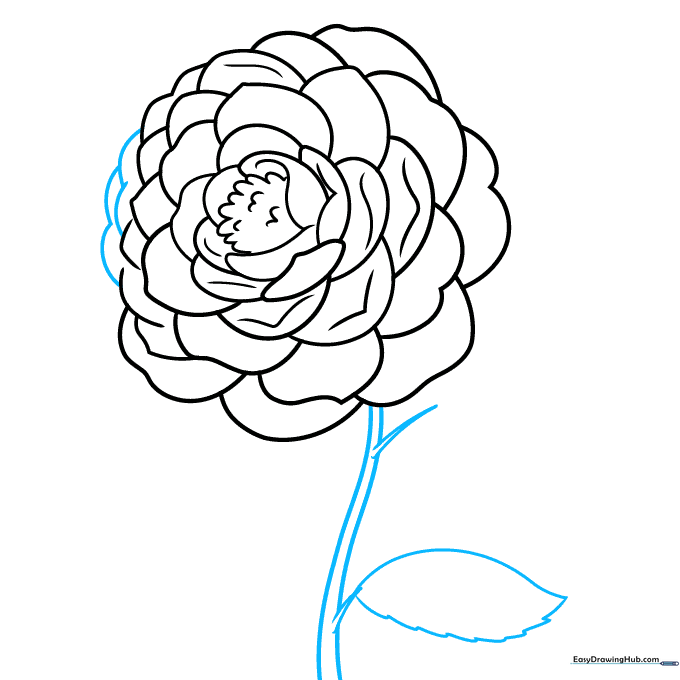
Finish the flower shape, then draw two long, parallel curved lines downward for the stem. Add a small twig branching off and draw the outline of a serrated leaf. Tip: Serrated edges look best when you use a 'zigzag' motion with your pencil.
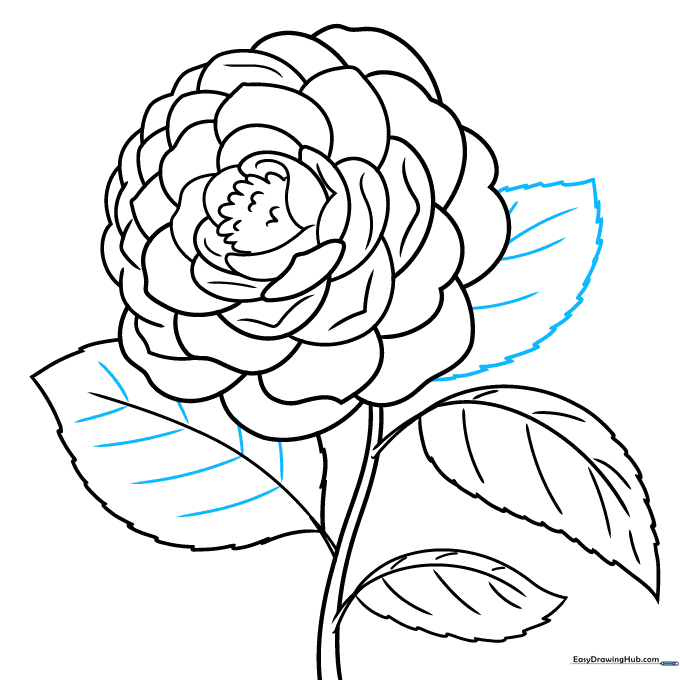
Step 7: Veining the Leaves
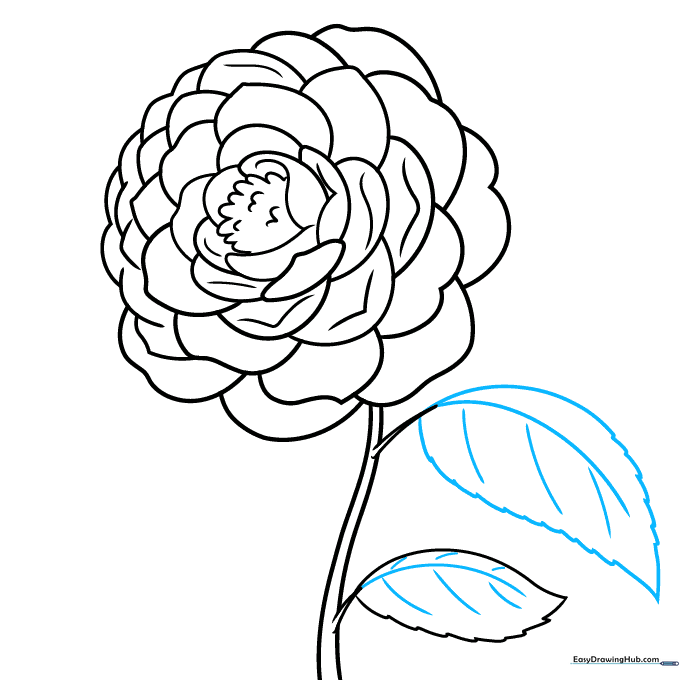
Draw a second leaf on the opposite side. Add a central vein down the middle of each leaf, followed by smaller auxiliary veins branching out. Tip: Keep the veins thin to maintain a delicate, natural appearance.
Step 8: Adding More Foliage
Add another small leaf branch to the stem. Remember to use the serrated edge technique for consistency. Tip: Varying the size of your leaves makes the drawing look more professional and balanced.
Step 9: Final Touches
Add one final leaf partially tucked behind the flower to create a sense of depth. Add a few final contour lines to the leaves to emphasize their shape. Tip: Erase any overlapping lines inside the leaves to make them look clean.
Step 10: Bringing Your Camellia to Life
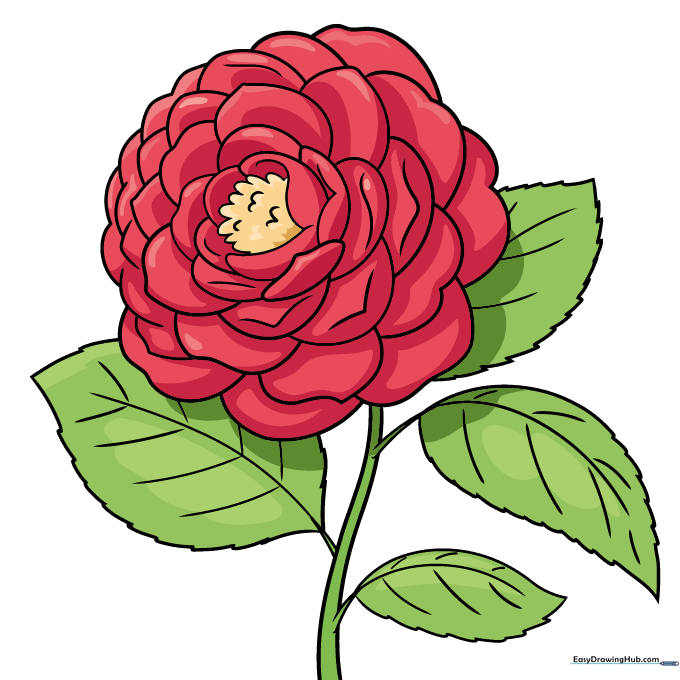
Time to color! Use vibrant reds for the petals and a sunny yellow for the center. Don't forget a deep green for the leaves. Tip: Try using light and dark shades of green on the leaves to show where the light hits them.
More Tutorials


