How to Draw a Camel: Simple 10-Step Guide for Kids
Ready to bring a desert explorer to life? This tutorial is perfect for young artists ages 5 and up. All you need is a pencil, an eraser, and a piece of paper to master the unique humps and legs of a camel in just 10 simple steps.
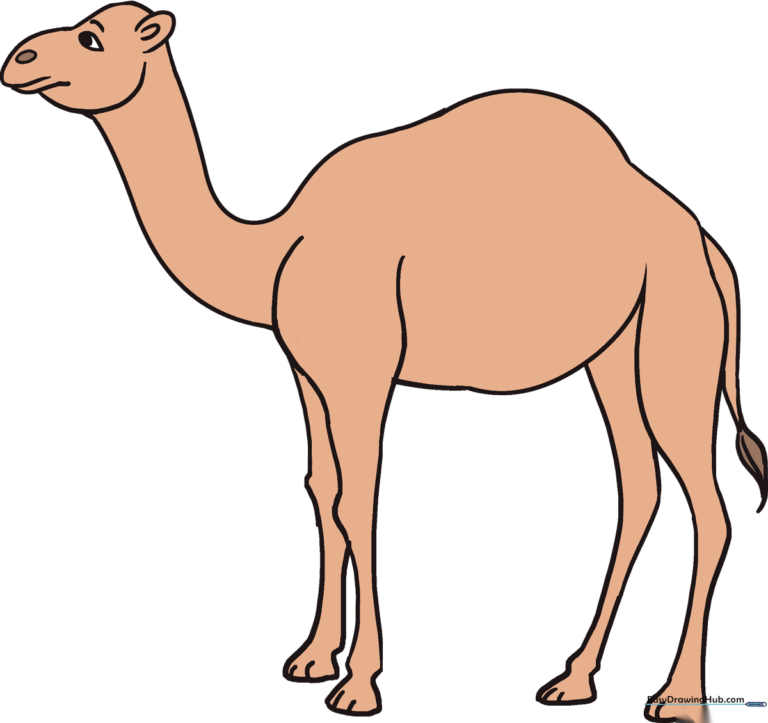
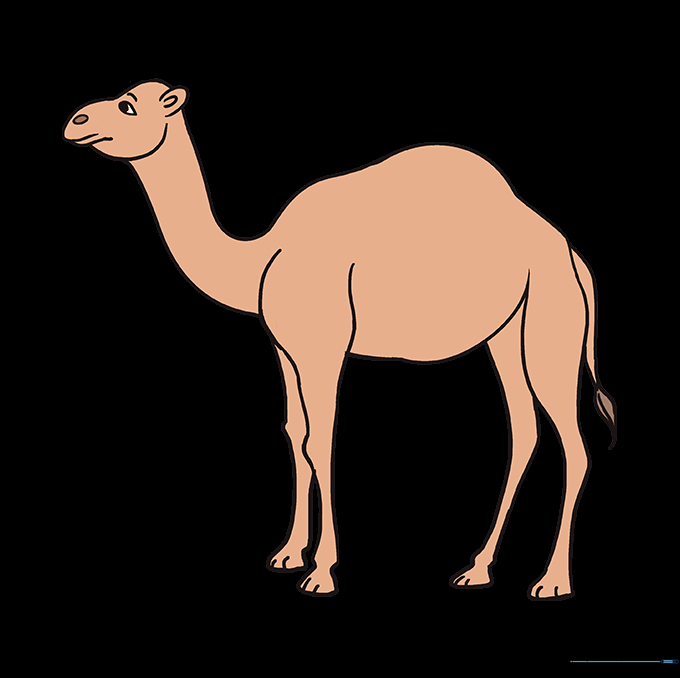
🎯 Final Result
Step-by-Step Instructions
Step 1: Sketching the Head

Draw a light circle to represent the camel's head. Teacher's Tip: Keep this circle about the size of a quarter; it gives you plenty of room to add facial details later.
Step 2: Placing the Body
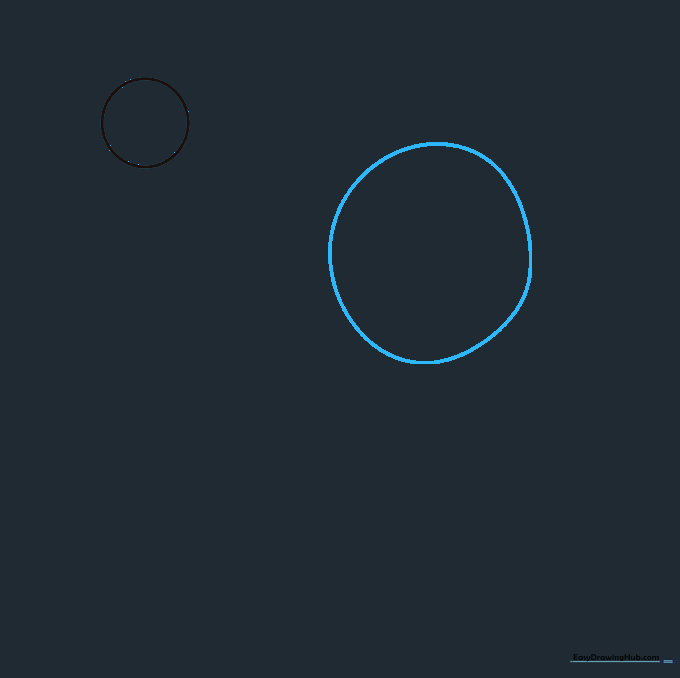
Draw a larger circle a few inches away from the head. This will be the main part of the camel's body. Tip: Don't worry about it being a perfect circle; camels have round, bulky bodies!
Step 3: Connecting the Neck

Connect the head and body with two curved lines to form the long neck. Notice how the lines flare out slightly as they reach the body to show the camel's sturdy shoulders.
Step 4: Defining the Profile
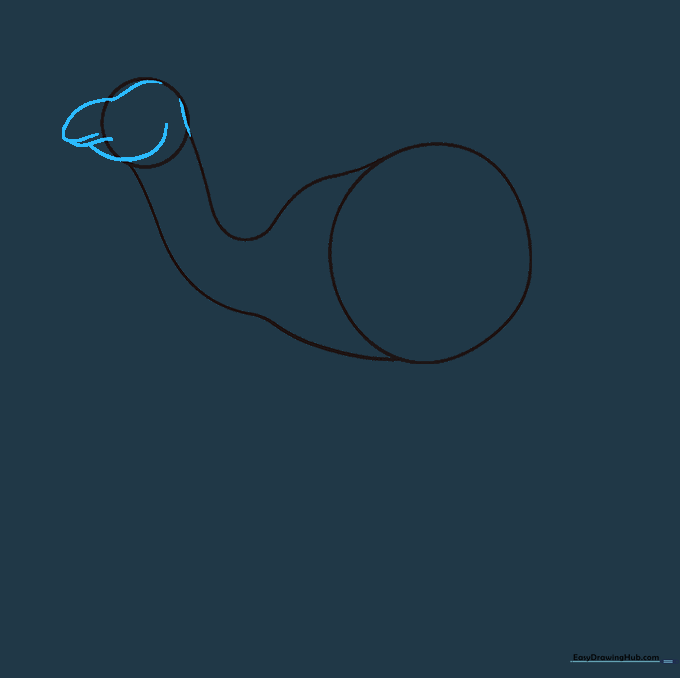
Use soft, curved lines to sketch the snout and forehead. Tip: Camels have a very distinct, slightly bumpy profile, so don't make the lines too straight.
Step 5: Sketching Rear Legs
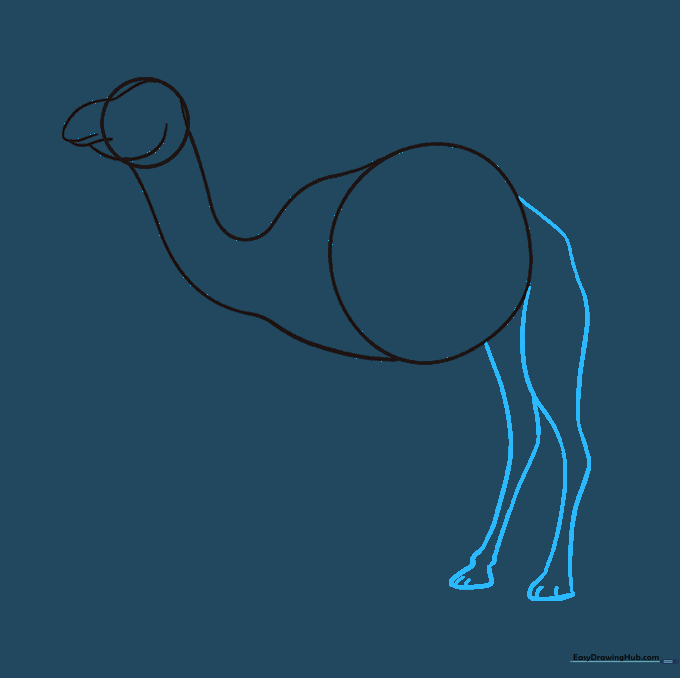
Draw the back legs using curved lines that taper at the knees. Add small horizontal lines at the bottom to represent the hooves. Tip: Keep the knees pointed to give the legs a realistic structure.
Step 6: Adding Front Legs
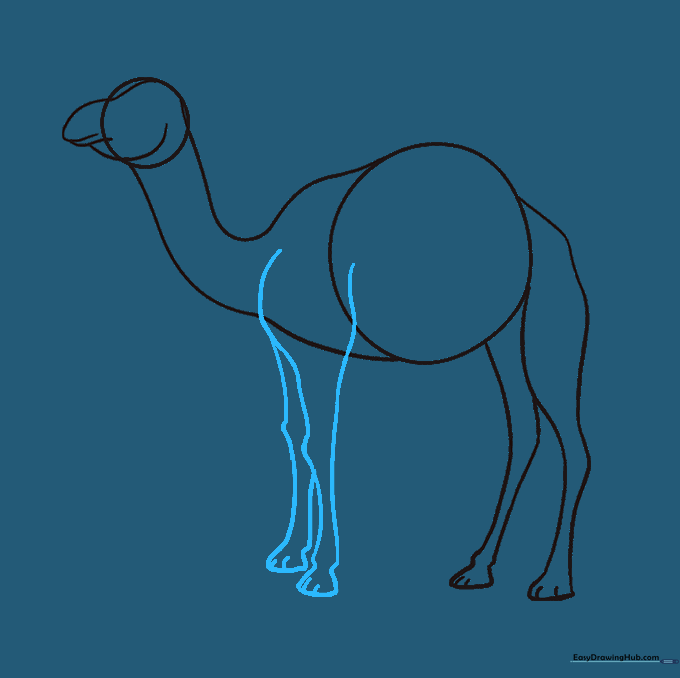
Repeat the process for the front legs. Ensure they align with the shoulder area of your body circle. Tip: Make sure the legs look sturdy, as camels are strong desert animals!
Step 7: Cleaning the Outline
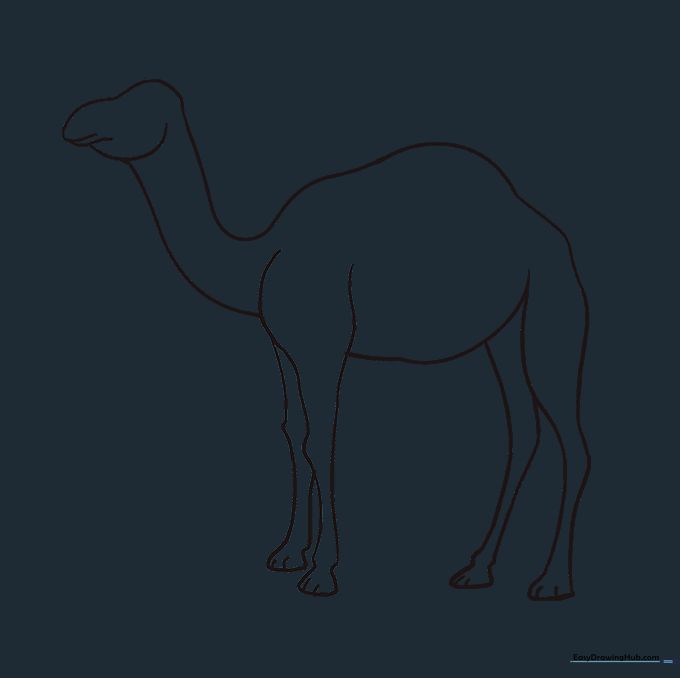
Gently erase the overlapping guide lines inside the body and legs. This creates a clean, solid silhouette for your camel.
Step 8: Facial Features
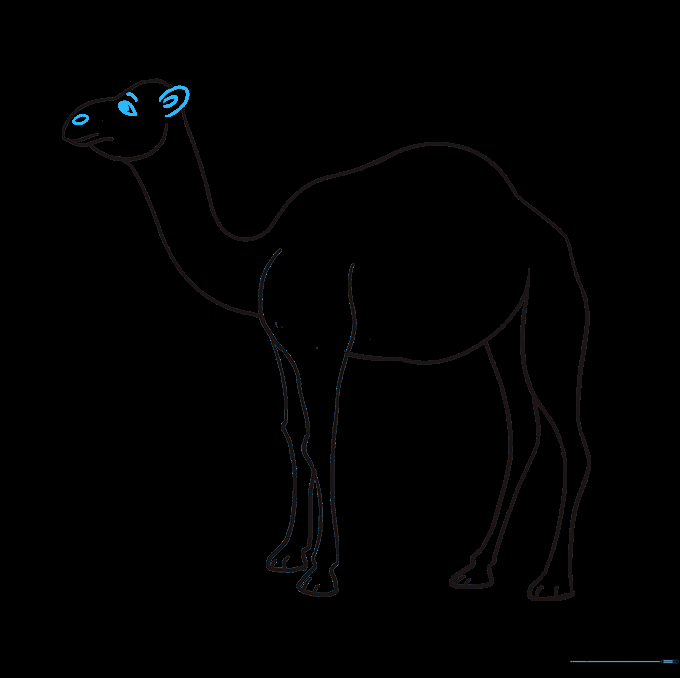
Add the ear, eye, and nostril. Use a small teardrop shape for the eye and a simple 'C' shape for the ear. Tip: Adding a tiny white dot in the pupil makes the eye look bright and alive.
Step 9: The Tail
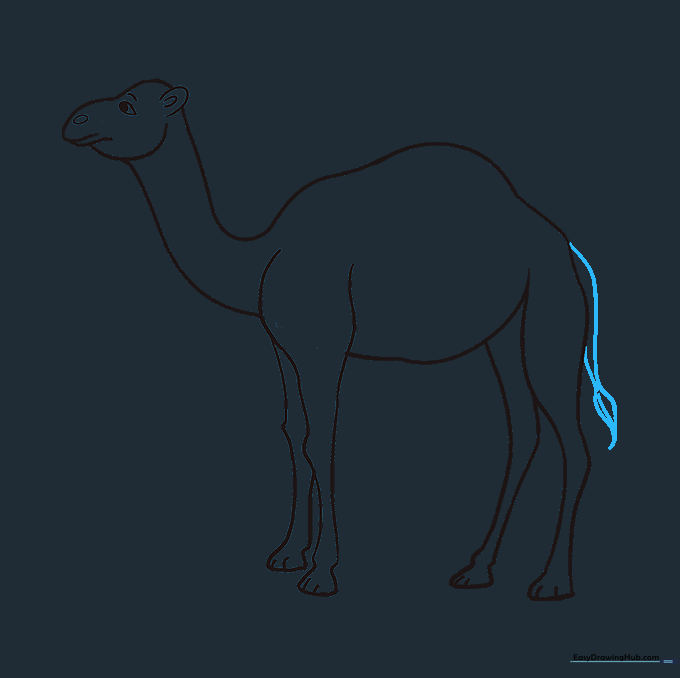
Draw a small, pointed tail with a tuft of hair at the end. Use quick, short strokes to give the hair a realistic, textured look.
Step 10: Bringing it to Life with Color
Color your camel in shades of tan, sandy brown, or light gold. Tip: Use a darker brown for the shadows under the belly to make your drawing look 3D!
More Tutorials


