How to Draw a Burrito: Easy 10-Step Guide for Kids
Ready to draw your favorite lunch? This tutorial is perfect for young artists ages 5 and up. All you need is a pencil, an eraser, and your favorite markers or crayons to bring this tasty treat to life.
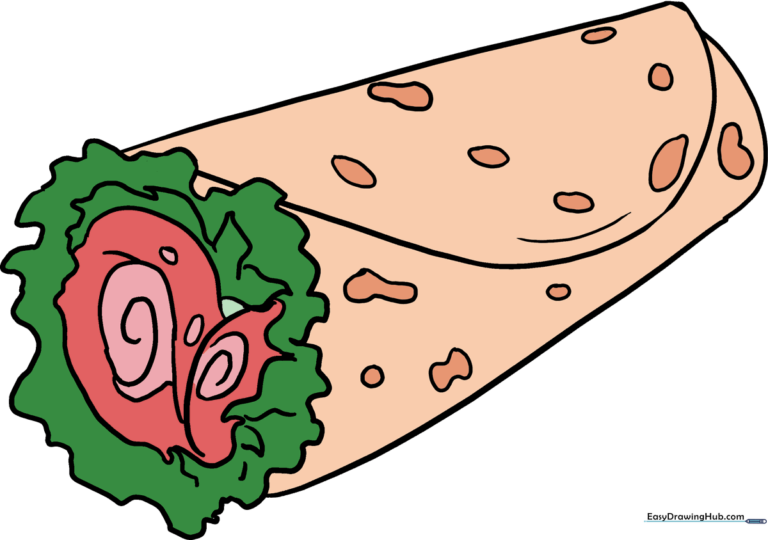
🎯 Final Result
Step-by-Step Instructions
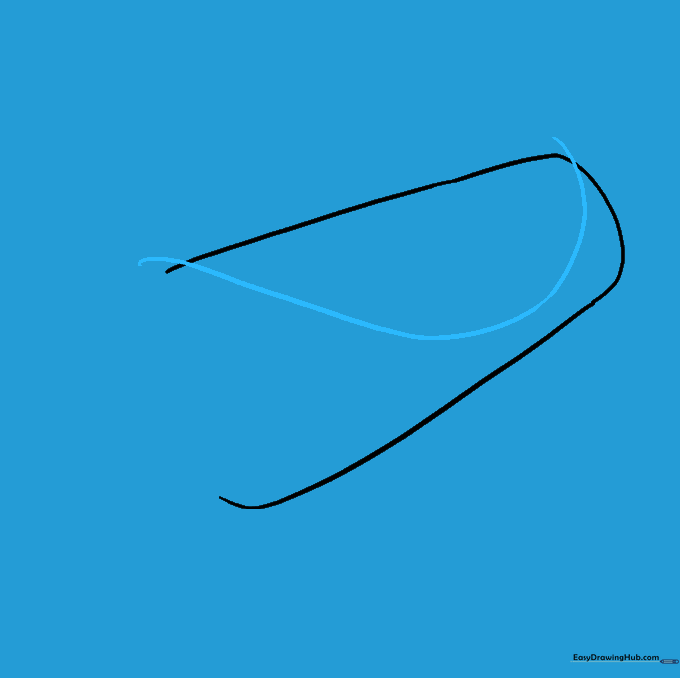
Step 1: Sketching the Main Body

Draw a long, curved line that loops back on itself to create an irregular, rounded rectangle. Leave the top open. Teacher's Tip: Think of this as the shape of a cozy sleeping bag for your ingredients!
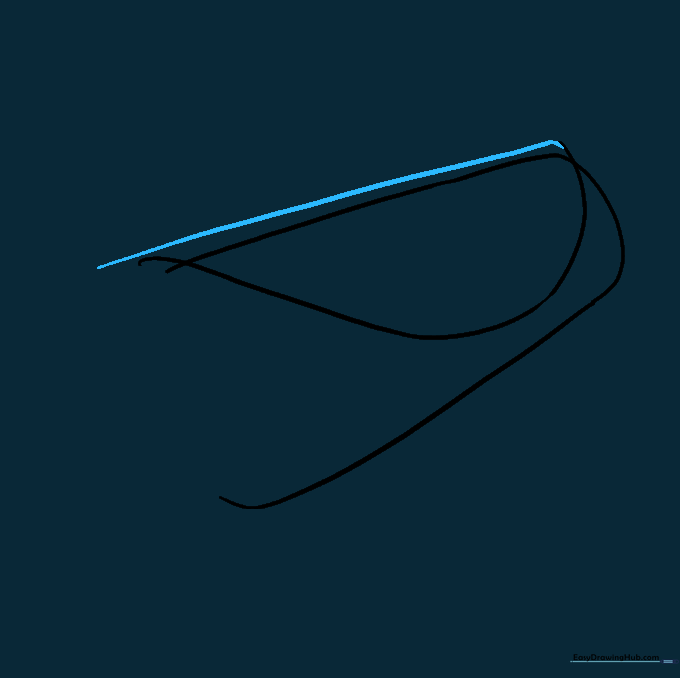
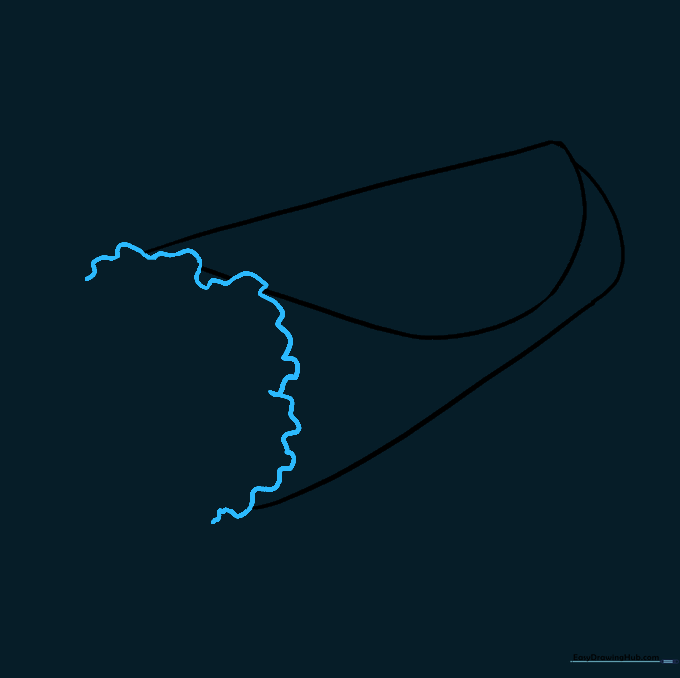
Step 2: Adding the Tortilla Fold
Draw a 'C' shaped line that dips into the body and curves back out. This represents the folded edge of the tortilla. Tip: Keep this line smooth to make the tortilla look soft and pliable.
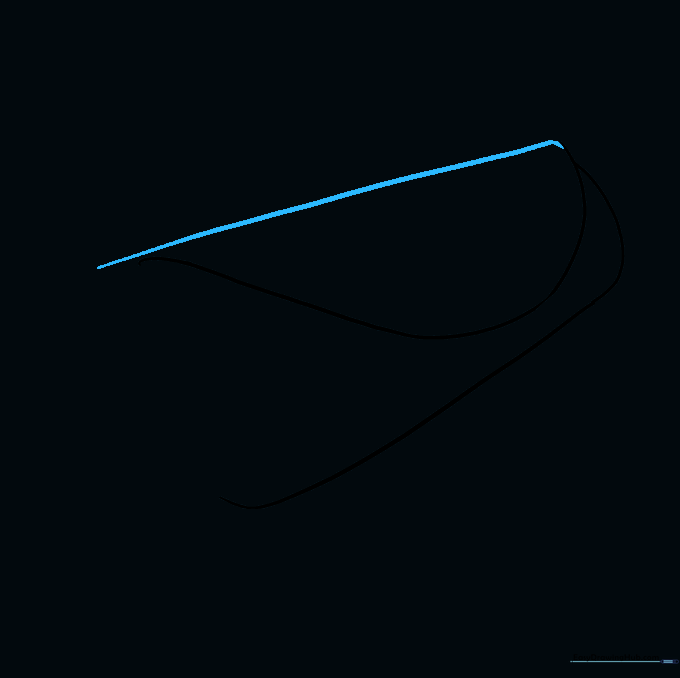
Step 3: Connecting the Edges
Draw a nearly straight line connecting the ends of your 'C' shape, extending it slightly past the edge. This creates the depth of the wrap.
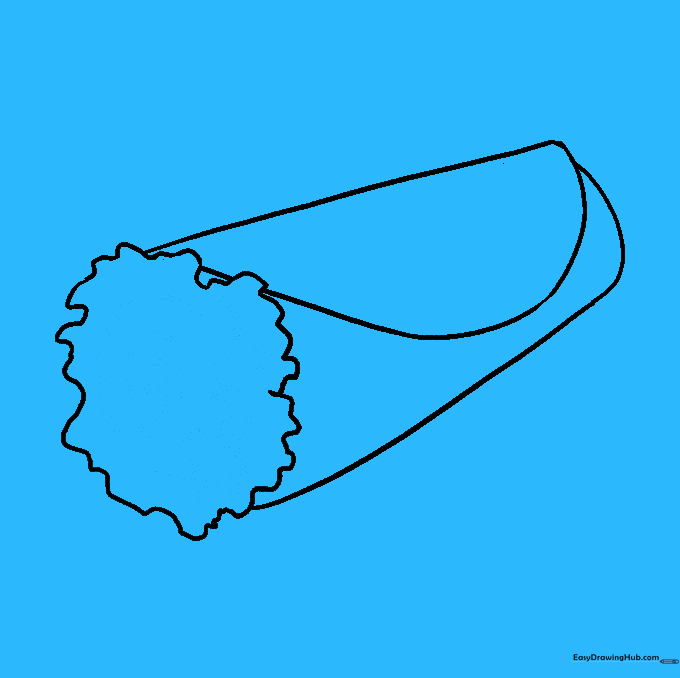
Step 4: Cleaning Up
Carefully erase any overlapping guide lines inside the burrito shape. Tip: Use a clean eraser and gentle pressure so you don't smudge your paper.
Step 5: Drawing the Filling
Use a zigzagging, wavy line at the open end to represent lettuce and ingredients spilling out. Tip: Don't worry about making it perfect; real food is messy and irregular!
Step 6: Closing the Top
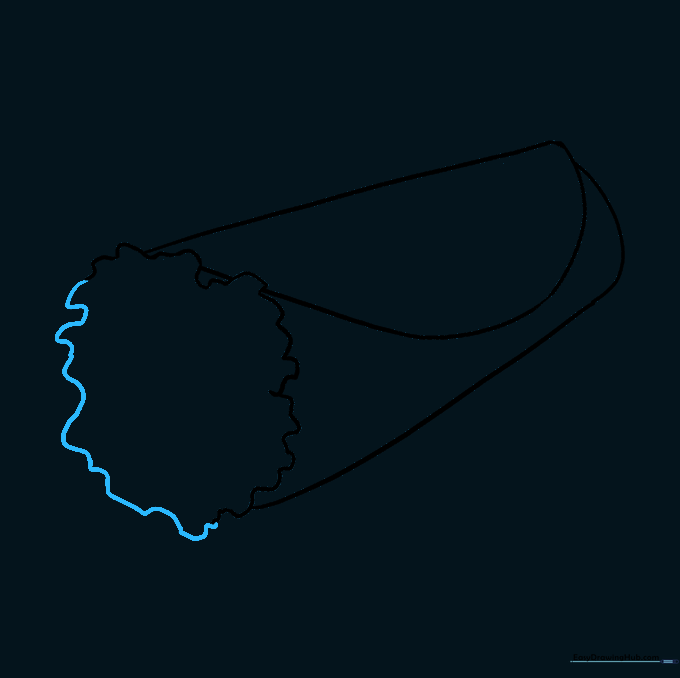
Continue your wavy lines to fully enclose the top of the burrito. This creates the 'overflowing' look of a well-stuffed meal.
Step 7: Adding Texture
Add small, rounded shapes and swirls inside the filling area to represent beans, cheese, or meat. Tip: Vary the sizes of these shapes to make the filling look realistic.
Step 8: Refining the Details
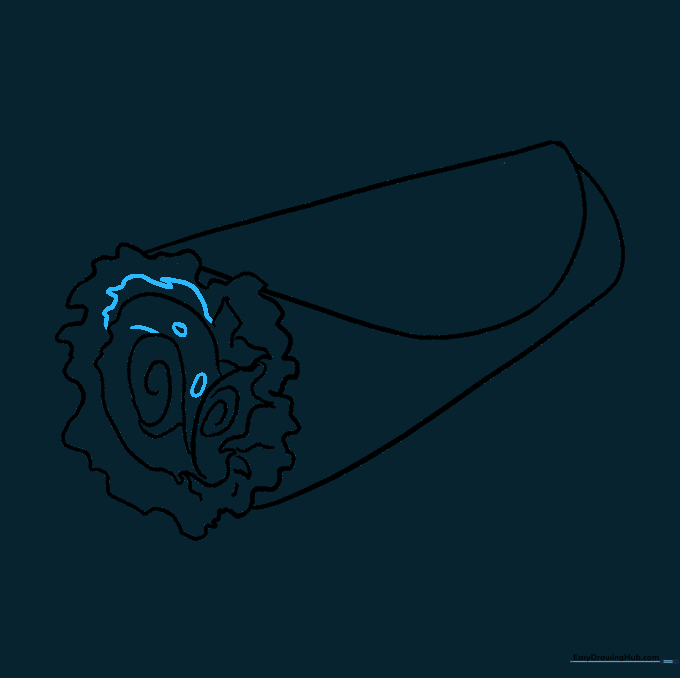
Add short lines and ovals to the filling area. This adds 'visual noise' that makes the drawing look more complex and interesting.
Step 9: Final Touches

Add a few small shapes on the tortilla surface to show texture. What are your favorite burrito fillings? Use your imagination to customize it!
Step 10: Bring it to Life with Color
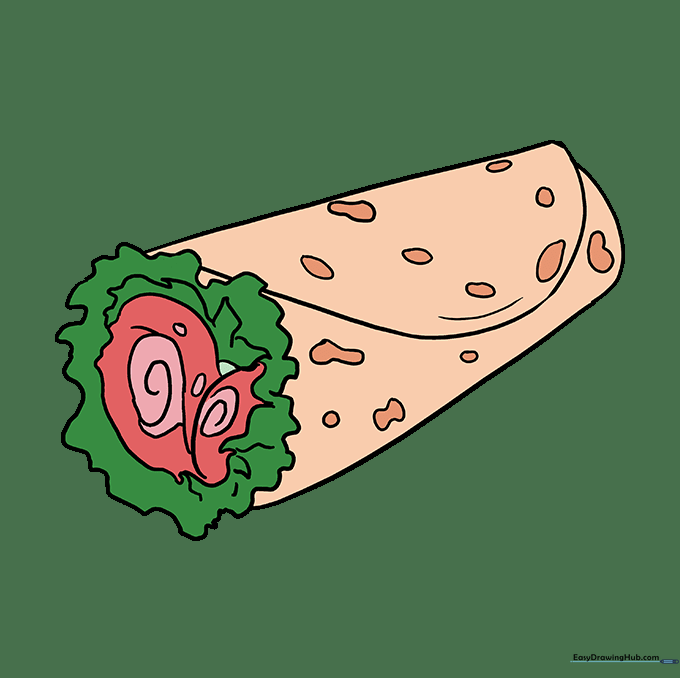
Time to color! Use warm tans for the tortilla and bright greens, reds, and yellows for the ingredients. Tip: Use light pressure with your colored pencils to blend colors together.
More Tutorials


