How to Draw a Burger: Easy 10-Step Guide for Kids
Ready to draw the ultimate comfort food? This project is perfect for young artists ages 5 and up. All you need is a pencil, an eraser, and your favorite markers to create a tasty masterpiece that builds confidence in basic shape construction.
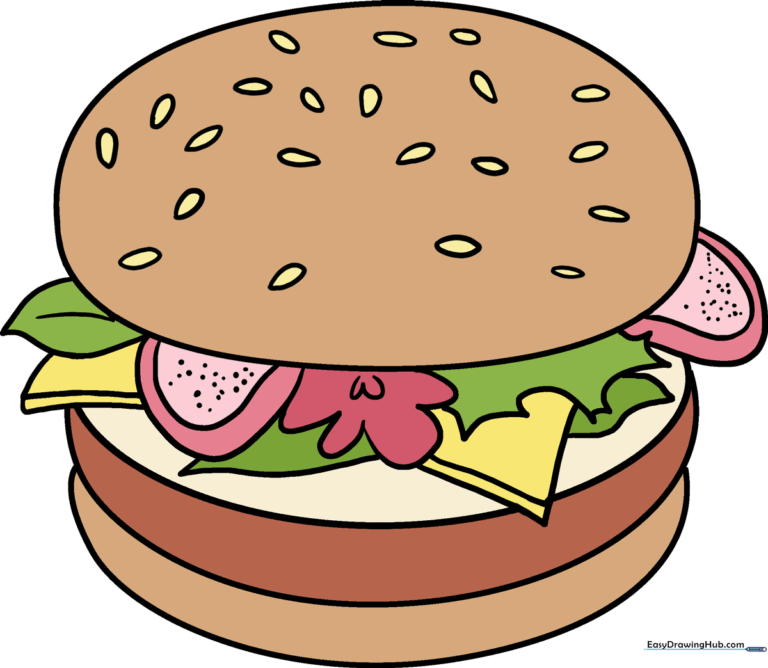
🎯 Final Result
Step-by-Step Instructions
Step 1: Sketching the Patty

Start by drawing a wide, flat oval in the center of your page. Teacher's Tip: Keep your pencil pressure light so you can easily adjust the shape if it looks a bit lopsided!
Step 2: Adding Depth

Draw a long, curved line beneath the oval, connecting it to the sides. This creates the bottom edge of your patty. Tip: Imagine the patty has a little bit of thickness—curving the line helps it look 3D.
Step 3: The Bottom Bun

Draw another curved line below the patty to form the bottom bun. Make sure it’s slightly wider than the patty to give it that realistic 'stacked' look.
Step 4: The Top Bun

Place a large, rounded oval over the top of your patty. This is the crown of your burger! Tip: Don't worry if it overlaps the patty; we will clean that up in the next step.
Step 5: Cleaning the Lines

Carefully erase the lines inside the bun where it overlaps the patty. This makes your drawing look professional and clean.
Step 6: Adding Lettuce and Tomato

Draw wavy, jagged lines under the top bun for lettuce. Add a half-circle with small dots for a tomato slice. Tip: Use short, quick strokes for the lettuce to make it look ruffled and fresh.
Step 7: More Toppings
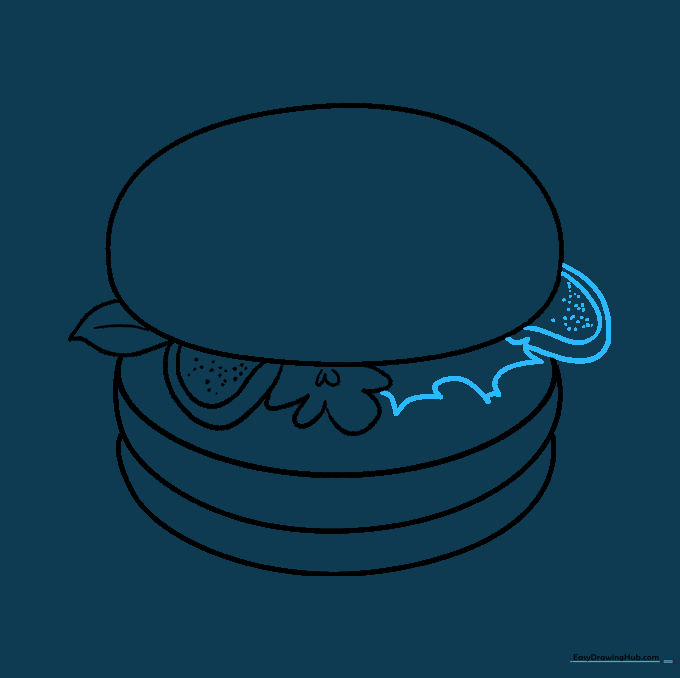
Layer in more lettuce and another tomato slice. Don't be afraid to let the lettuce 'peek out' from the sides of the bun to add texture.
Step 8: Adding Cheese
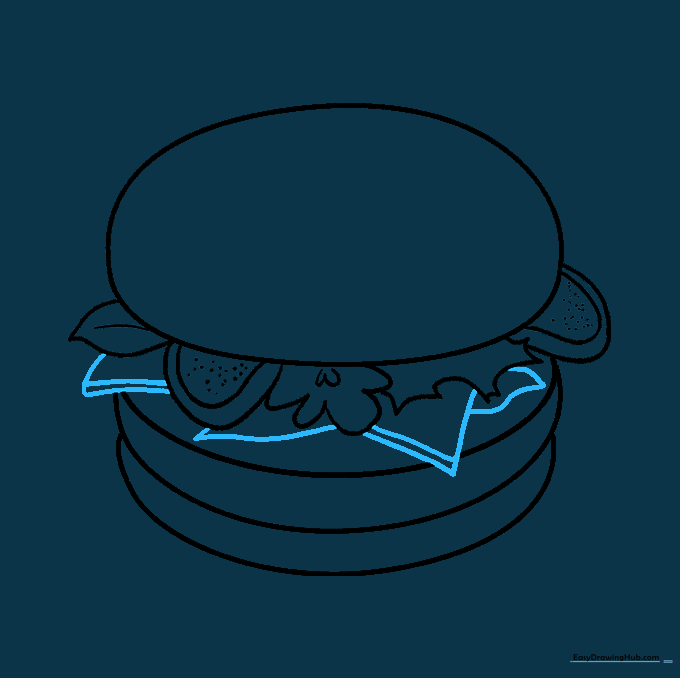
Draw small triangles hanging off the side of the patty to represent melted cheese. Add a small line across each triangle to give it a 3D, 'dripping' look.
Step 9: Sesame Seeds
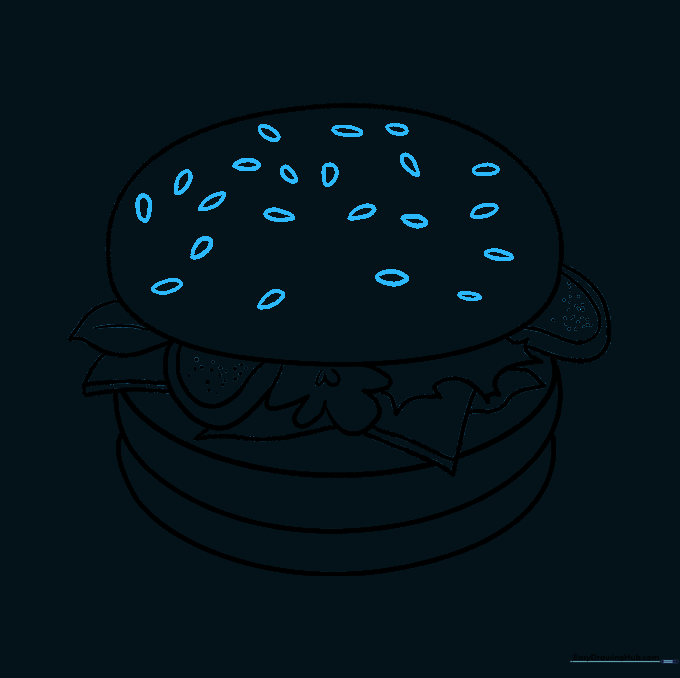
Add little oval shapes on the top bun for sesame seeds. Tip: Vary the direction of the seeds so they look scattered naturally, just like a real bun!
Step 10: Bring it to Life with Color
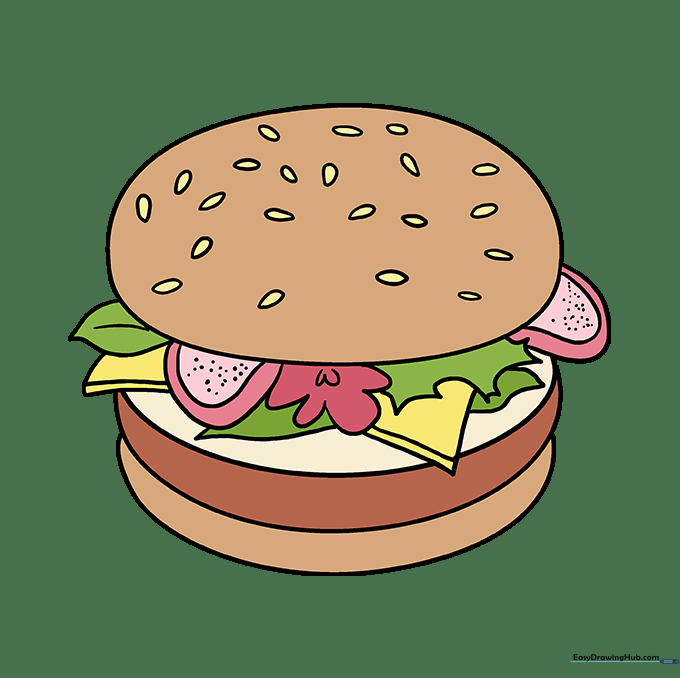
Time to color! Use warm browns for the bun, a deep brown for the patty, and bright greens and reds for the veggies. Your burger is ready to serve!
More Tutorials


