How to Draw a Bunny: Easy 10-Step Guide for Kids
Ready to draw a fluffy friend? This tutorial is perfect for ages 5 and up, requiring only a pencil, paper, and an eraser. Follow these simple steps to build your bunny from basic shapes, helping young artists develop spatial awareness and fine motor control.
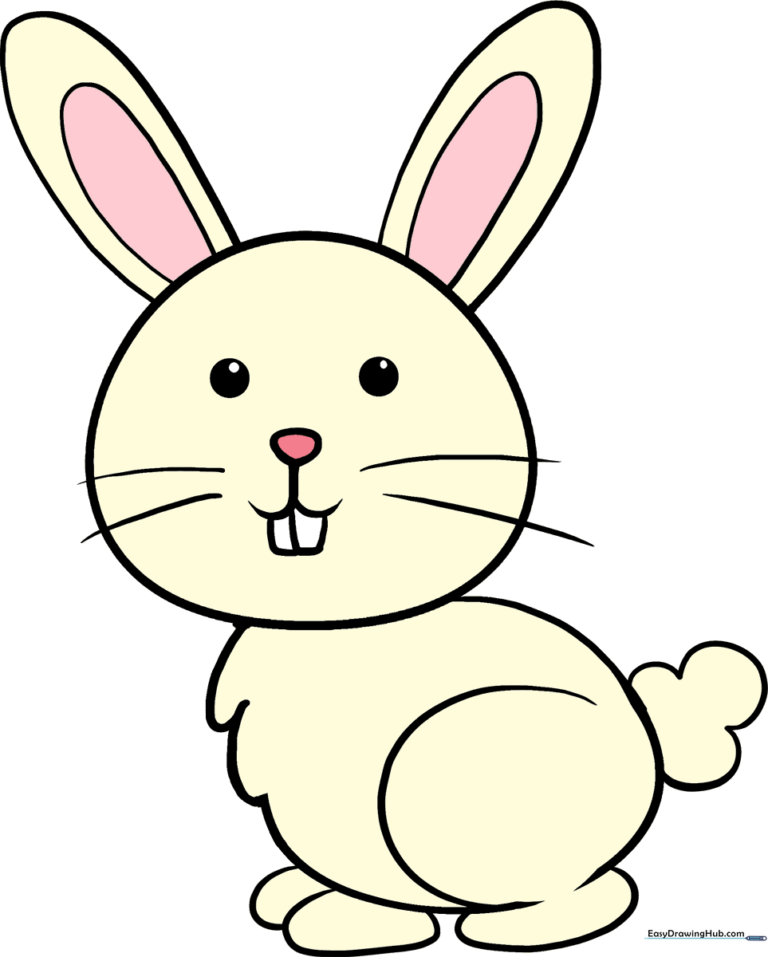
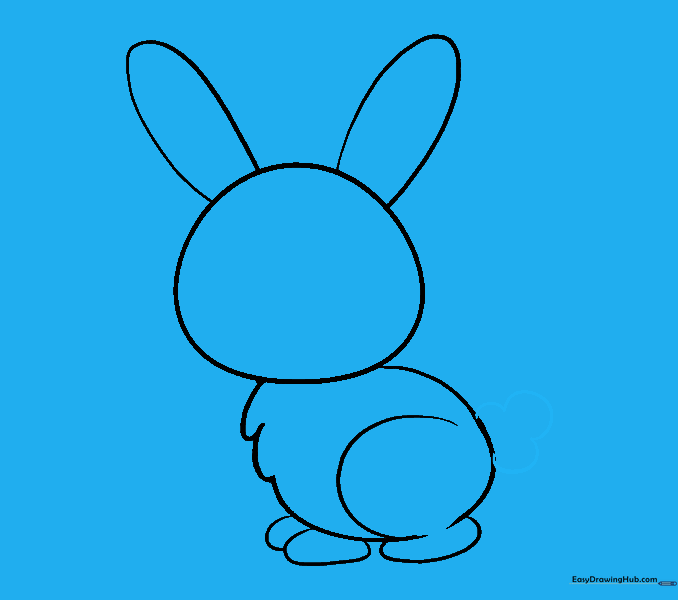
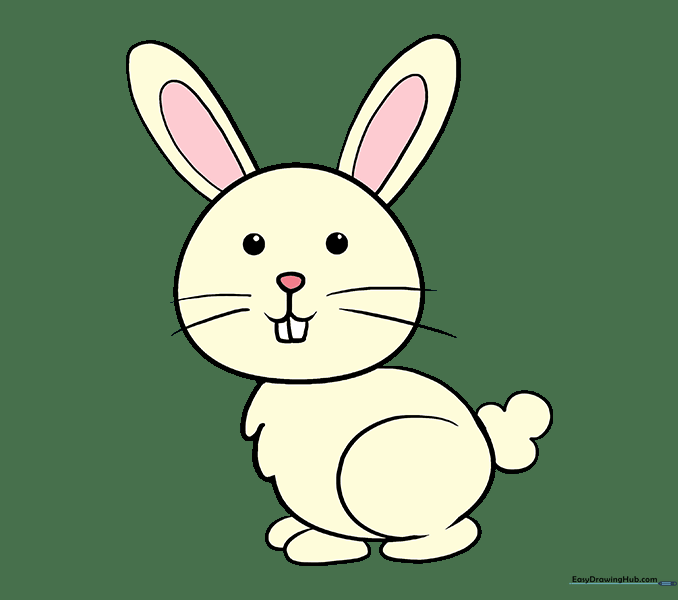
🎯 Final Result
Step-by-Step Instructions
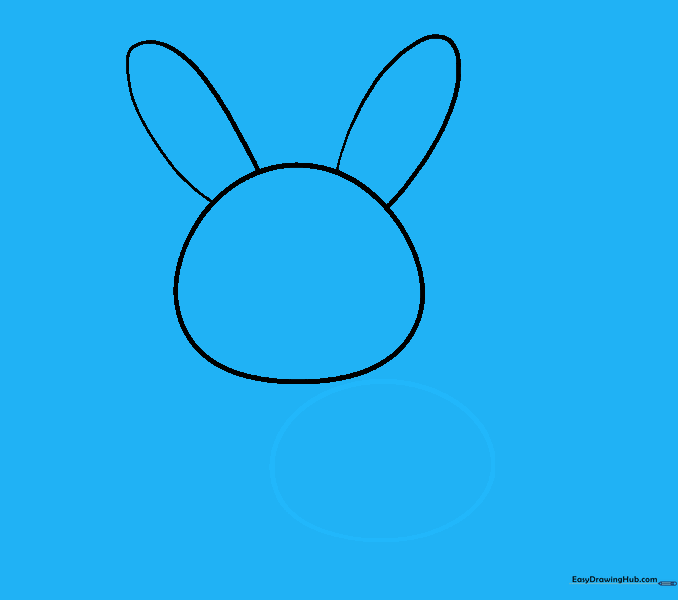
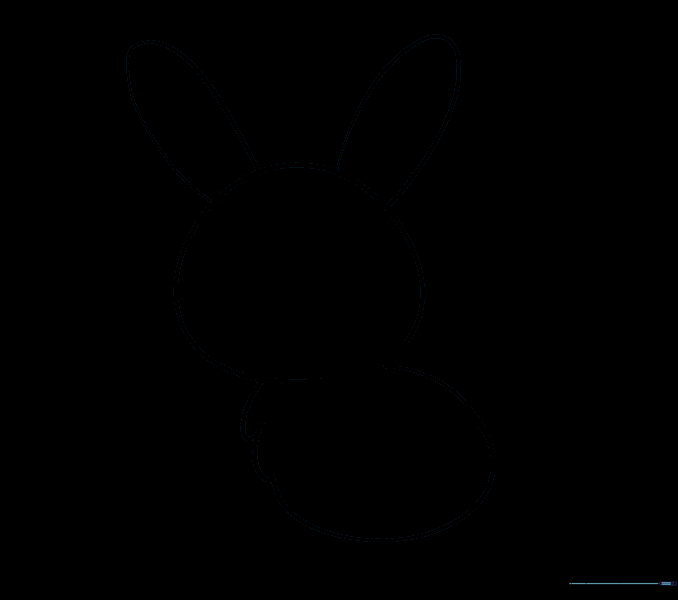
Step 1: Sketching the Head

Draw a light, irregular circle for the head, making it slightly wider at the bottom. Teacher's Tip: Keep your pencil strokes soft so you can easily clean up the lines later.
Step 2: Adding Long Ears
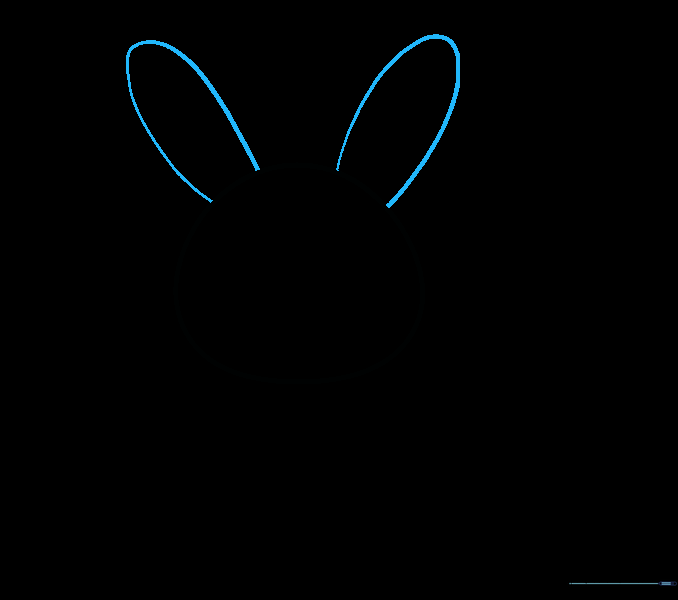
Draw two long, narrow shapes extending from the top of the head. Teacher's Tip: Try to make them look like tall, thin leaves to give your bunny that classic floppy-ear look.
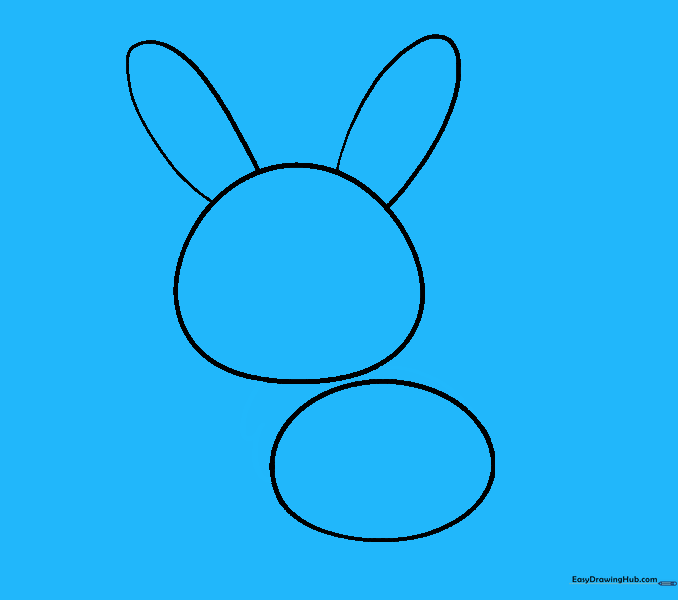
Step 3: Forming the Body
Draw a large oval beneath the head to serve as the body. Teacher's Tip: Don't worry about it being perfect; bunnies come in all shapes and sizes!
Step 4: Connecting and Texturing
Connect the head to the body with curved lines, and add little 'zig-zag' strokes on the chest for fur. Teacher's Tip: Use short, quick strokes to make the fur look soft and fluffy.
Step 5: Cleaning Your Sketch
Gently erase the overlapping guide lines inside the body. Teacher's Tip: This is the 'magic' step where your drawing starts to look like a real character!
Step 6: Drawing the Back Leg
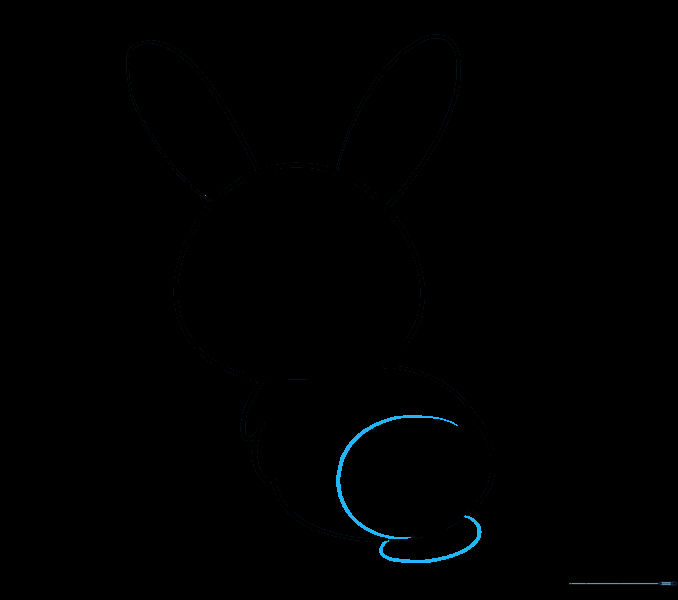
Draw a curved line for the back leg and a rounded foot at the bottom. Teacher's Tip: Imagine the leg is a strong, bent spring ready to hop!
Step 7: Adding Front Paws
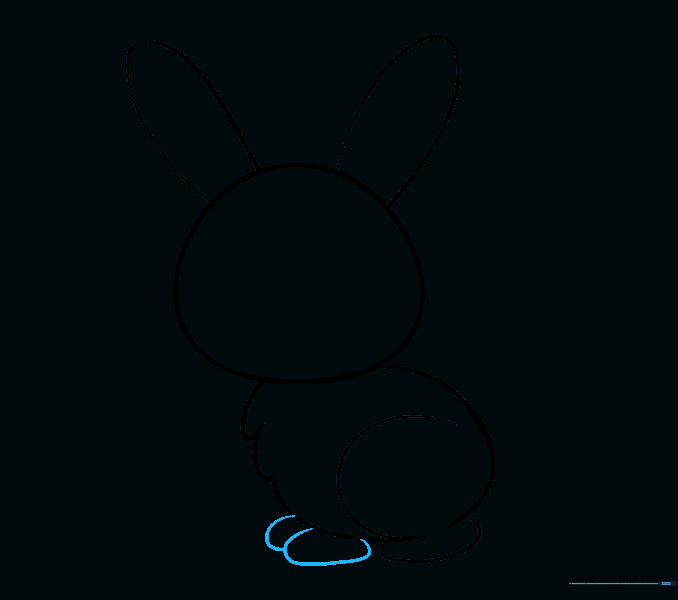
Draw two small, irregular shapes under the chest for the front paws. Teacher's Tip: Keep these smaller than the back foot to maintain the right proportions.
Step 8: The Fluffy Tail
Add a small, bumpy circle on the back for the tail. Teacher's Tip: Use short, overlapping curved lines to make it look like a little cotton ball.
Step 9: Bringing the Face to Life

Add eyes, a nose, mouth, teeth, and long whiskers. Teacher's Tip: Leave a tiny white dot in the eyes to give your bunny a 'sparkle' and make it look friendly.
Step 10: Adding Color
Bring your bunny to life with color! Whether you choose classic brown, white, or even a spotted pattern, make it your own. Teacher's Tip: Use light pressure with your crayons to create a soft, furry look.
More Tutorials


