How to Draw a Bunny Face: Easy 5-Minute Step-by-Step Guide
This bunny face tutorial is perfect for young artists ages 5 and up looking to build their confidence with basic shapes. You will only need a pencil, an eraser, and a piece of paper to get started. Follow along to create a charming, expressive rabbit character while practicing your symmetry and line control.
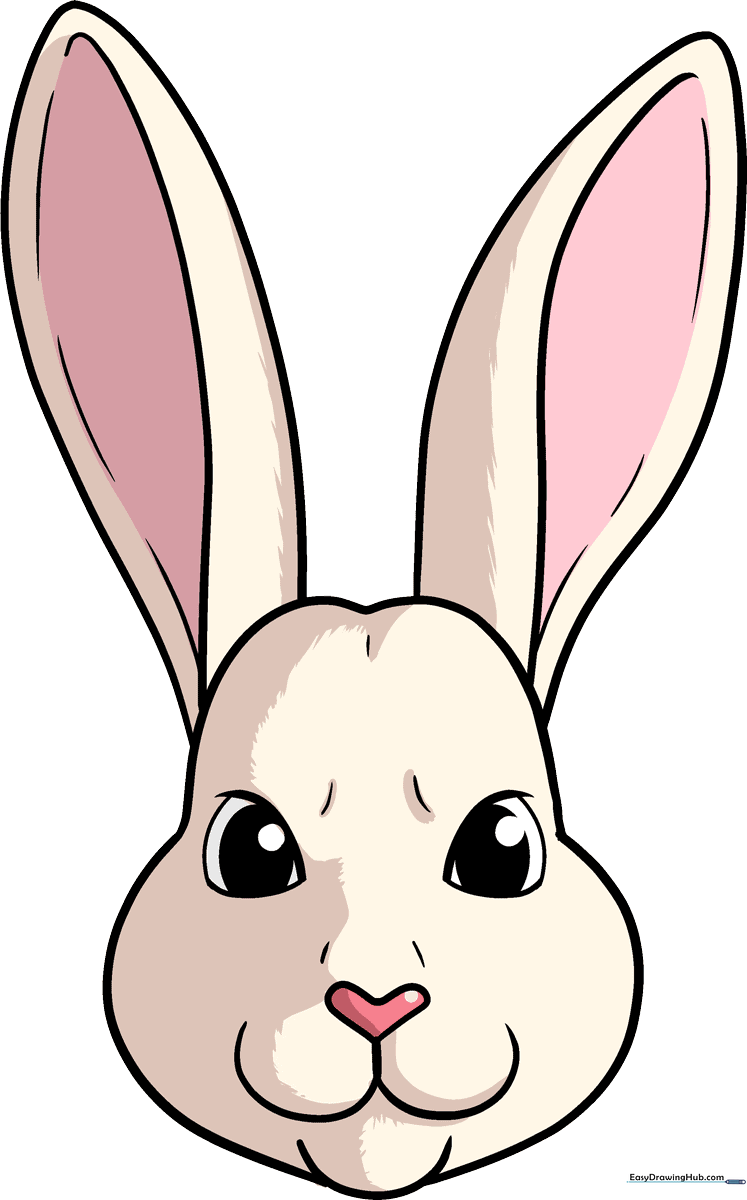
🎯 Final Result
Step-by-Step Instructions
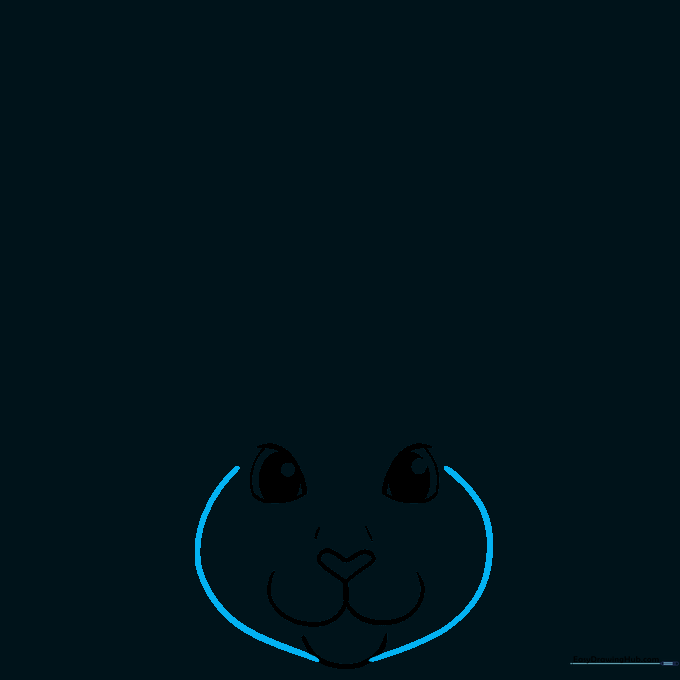
Step 1: Sketching the Eyes

Draw two rounded triangles to form the base of the eyes. Inside each, add an oval with a smaller circle inside. Teacher's Tip: Keep your pencil pressure light here so you can easily erase any stray marks later.
Step 2: Adding the Nose and Mouth

Sketch a small heart shape for the nose, then draw a 'W' shape directly underneath for the mouth. Teacher's Tip: If the heart is tricky, start by drawing a small triangle and rounding the top edges.
Step 3: Defining the Muzzle

Draw a soft curve connecting the bottom of the mouth, and add two small dashes above the nose for whiskers. Teacher's Tip: Keep these lines light and feathery to give the bunny a soft, friendly look.
Step 4: Outlining the Face
Draw a smooth curve on either side of the face to connect the features. Teacher's Tip: Imagine you are drawing the shape of a fluffy cloud to help keep your hand movement fluid.
Step 5: Shaping the Head
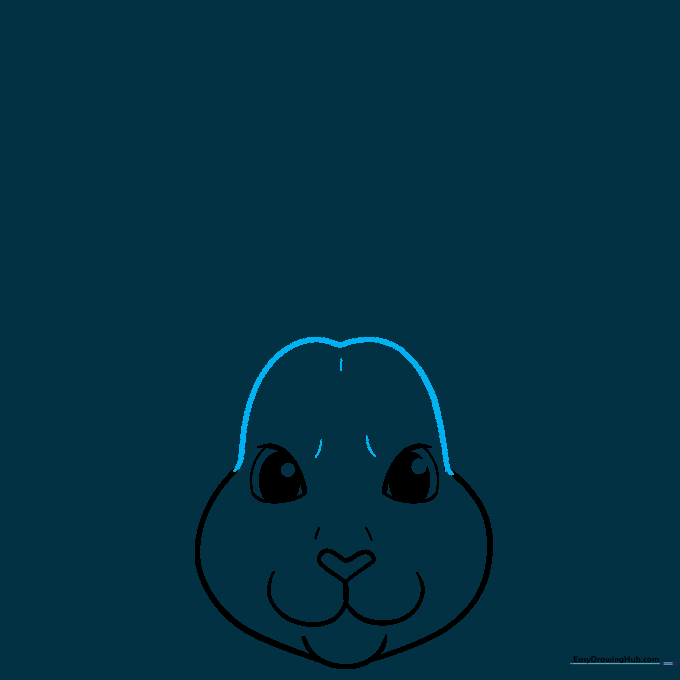
Create a dome shape for the top of the head that dips slightly in the middle. Teacher's Tip: The dip in the middle helps define where the ears will eventually attach.
Step 6: Drawing the First Ear
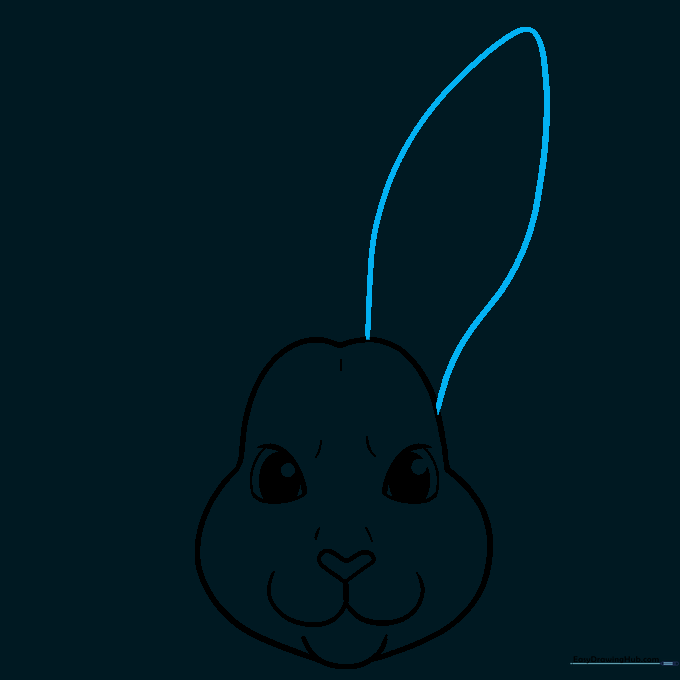
Draw a long, rounded oblong shape for the right ear. Teacher's Tip: Think of it like a long, soft leaf or a flipper; keep the edges rounded to make the bunny look cuddly.
Step 7: Adding Ear Detail
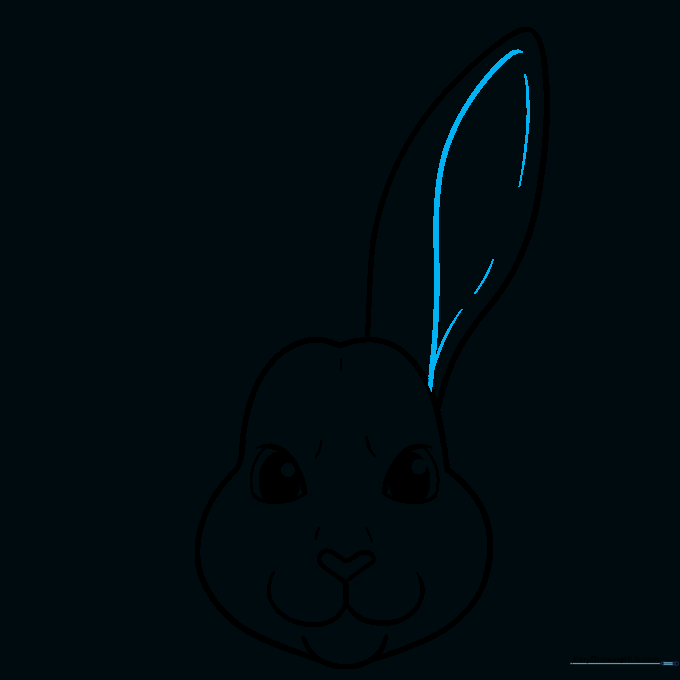
Sketch a curved line inside the ear to show it folding over. Teacher's Tip: This simple line adds depth and makes your drawing look much more professional.
Step 8: Drawing the Second Ear
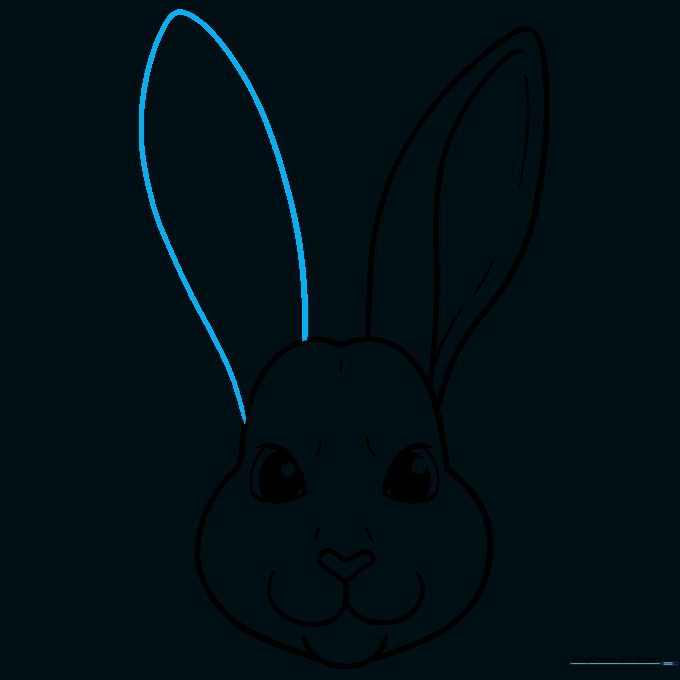
Repeat the process from Step 6 to draw the left ear. Teacher's Tip: Try to match the size of the first ear so your bunny looks balanced.
Step 9: Finalizing the Outline
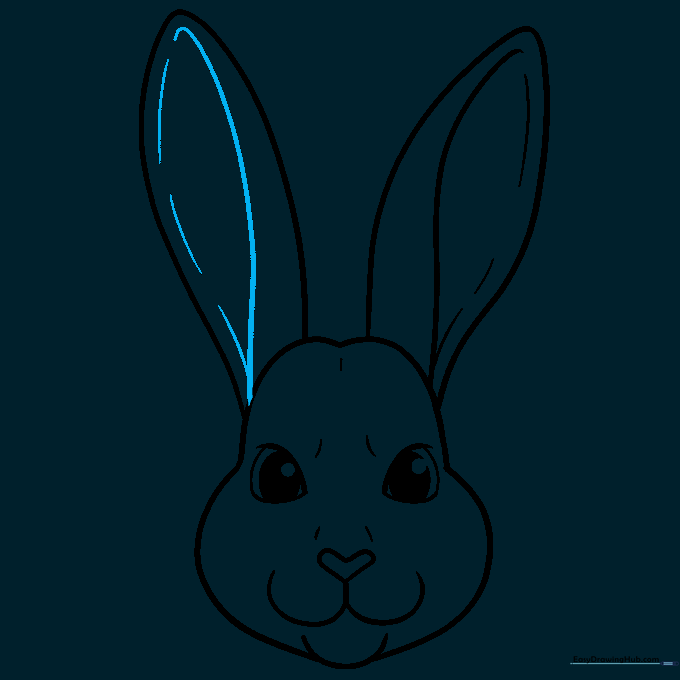
Add inner curves to the second ear. Use a black marker to trace your lines, filling in the pupils while leaving a small white circle for a 'sparkle' effect. Teacher's Tip: A steady hand makes the outline pop!
Step 10: Adding Color
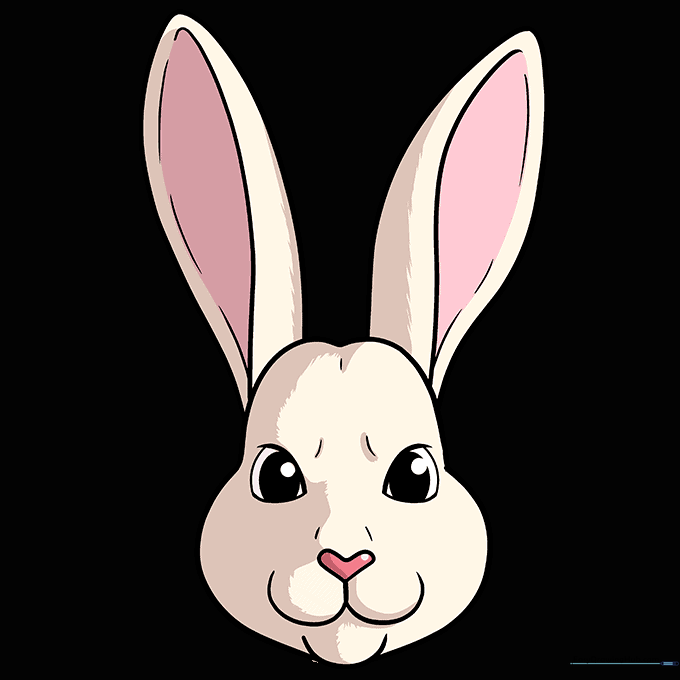
Use light tan for the fur, soft pink for the inner ears, and a darker pink for the nose. Teacher's Tip: Use a slightly darker shade of tan near the edges of the face to create a soft, shaded look.
More Tutorials


