How to Draw a Cartoon Bullet: Easy 10-Step Guide
Ready to add some action to your comic book art? This tutorial is perfect for young artists ages 7+ looking to master dynamic shapes. Grab a pencil, an eraser, and a piece of paper to follow along as we build this classic cartoon icon step-by-step.
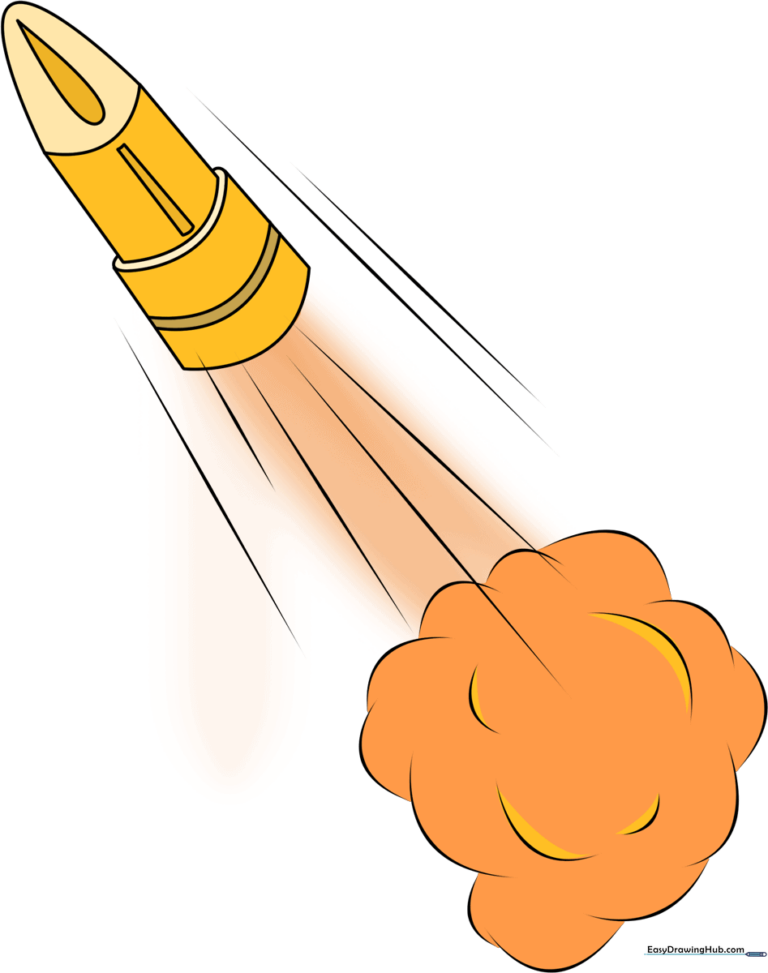
🎯 Final Result
Step-by-Step Instructions
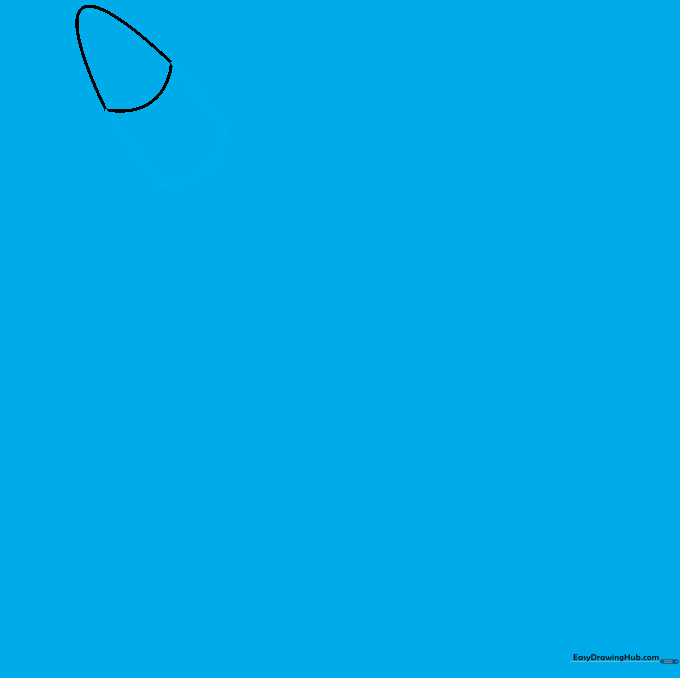
Step 1: Sketching the Bullet Tip
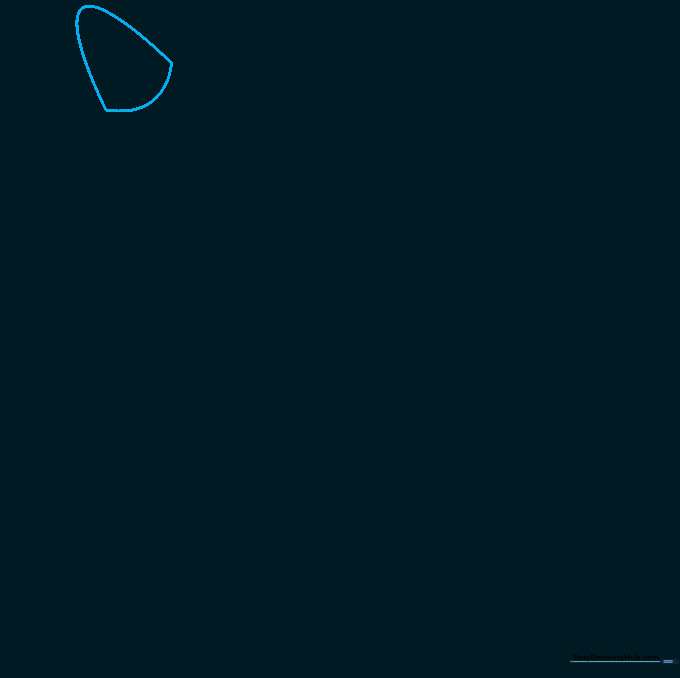
Use light, curved lines to draw a triangular shape for the tip, keeping the top point rounded. Tip: Draw this at a slight diagonal angle to give your bullet a sense of movement. Keep your pencil pressure light so you can refine the shape later!
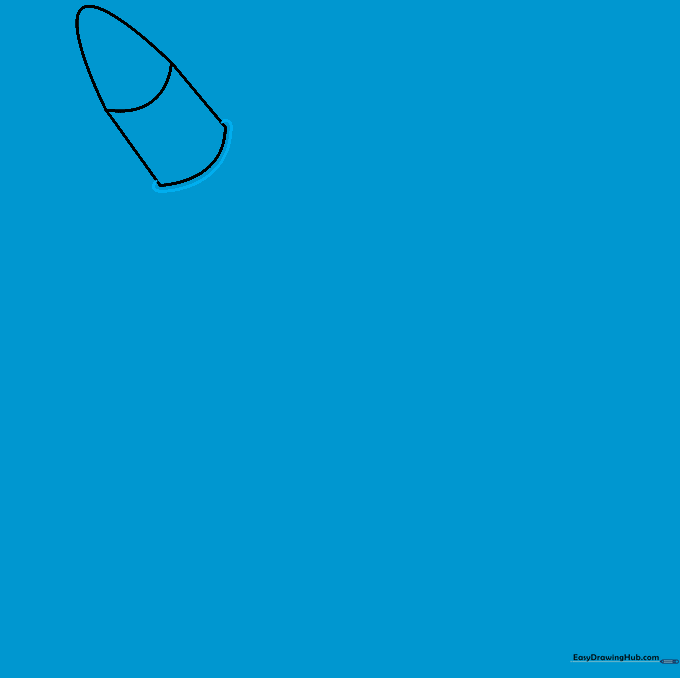
Step 2: Defining the Casing
Extend two straight lines downward from the corners of your triangle, then connect them with a gentle curve. Tip: Imagine you are drawing a tall, thin cup; keeping these lines parallel will make your bullet look symmetrical and professional.
Step 3: Adding the Base Curve
Draw a long, smooth curved line across the bottom of the casing. Tip: This creates the 'rim' of the cartridge. Make sure the curve matches the angle of your bottom line to keep the perspective consistent.
Step 4: Extending the Casing
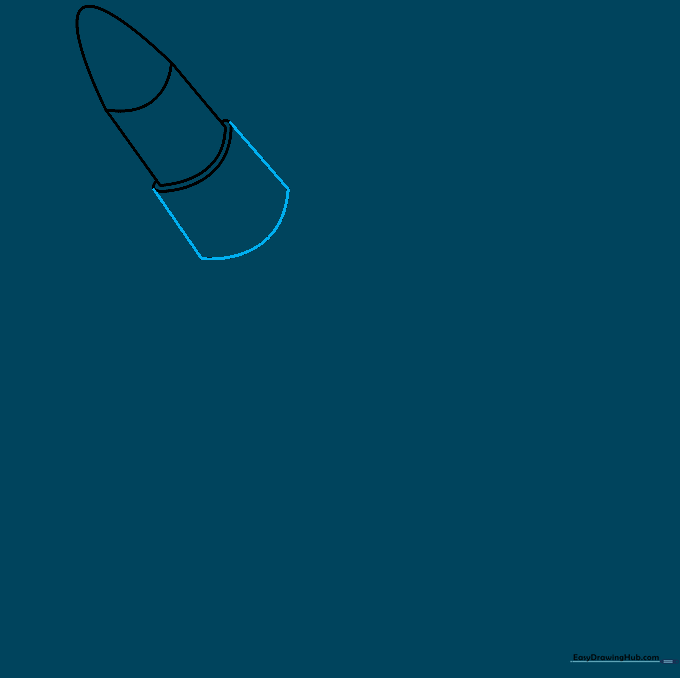
Draw two more lines extending from the bottom corners and connect them with another curve. Tip: This adds length to the cartridge. If your lines look a bit wobbly, try using a ruler or a steady hand to keep them straight.
Step 5: Detailing the Midsection

Add two curved lines across the middle of the casing. Tip: These lines represent the grooves on a real cartridge. Keep them parallel to the bottom curve for a realistic 3D effect.
Step 6: Refining the Shape
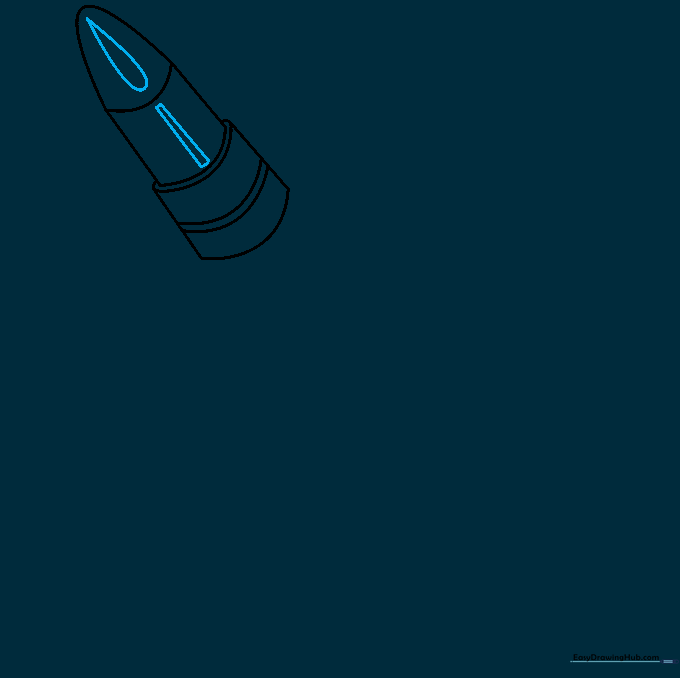
Add a small teardrop shape near the tip and reinforce the midsection lines. Tip: This adds 'sheen' and makes the bullet look metallic. Use a darker pencil stroke here to make the details pop.
Step 7: Adding Motion Lines
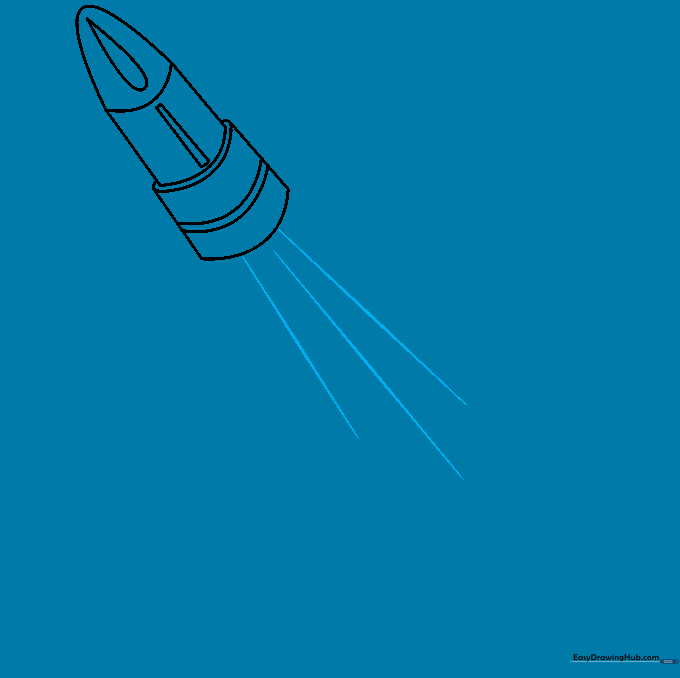
Draw several diagonal lines behind the bullet. Tip: These are 'speed lines.' The closer they are to the bullet, the faster it looks like it's traveling!
Step 8: Drawing the Smoke Cloud
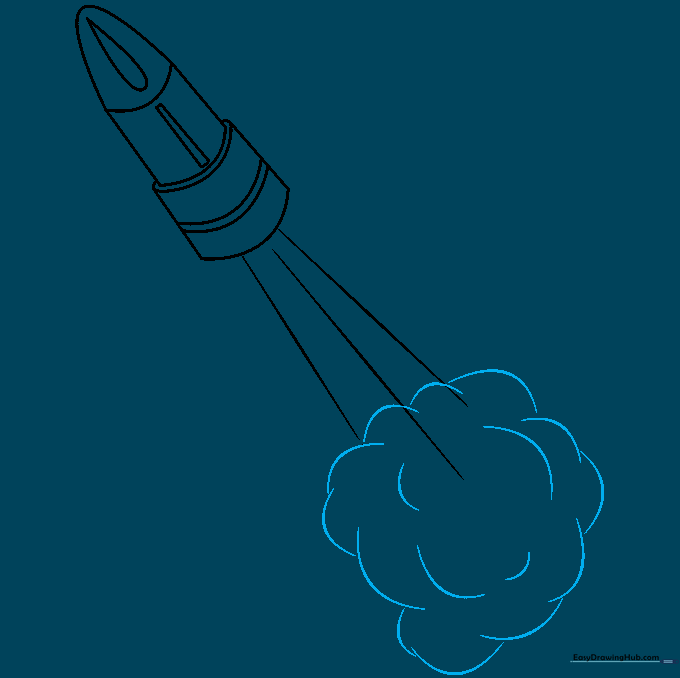
Use overlapping, irregular curved lines to create a 'poof' of smoke behind the bullet. Tip: Don't worry about making the cloud perfect—smoke is naturally messy and unpredictable, so have fun with loose, bubbly shapes.
Step 9: Finalizing the Outline
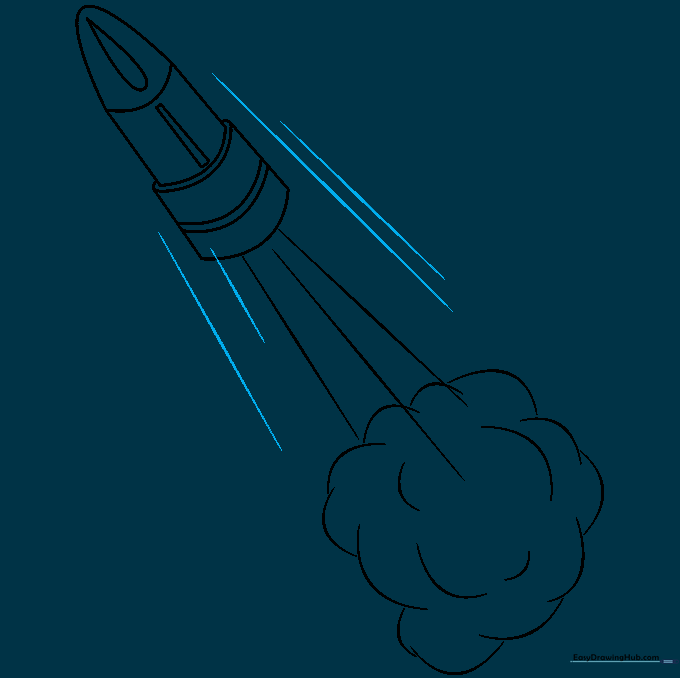
Add a few more motion lines around the smoke to emphasize the action. Tip: Use a fine-liner or a dark pencil to trace over your final lines, then gently erase your original light construction marks.
Step 10: Adding Color
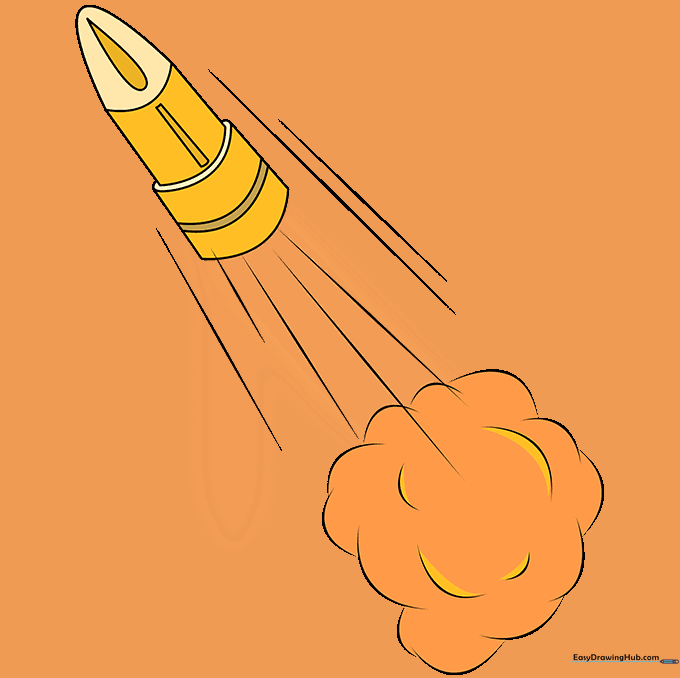
Bring your drawing to life with color! Use warm yellows and brass tones for the casing and a metallic grey for the tip. Tip: Add a small white highlight on the side of the bullet to make it look shiny and polished.
More Tutorials


