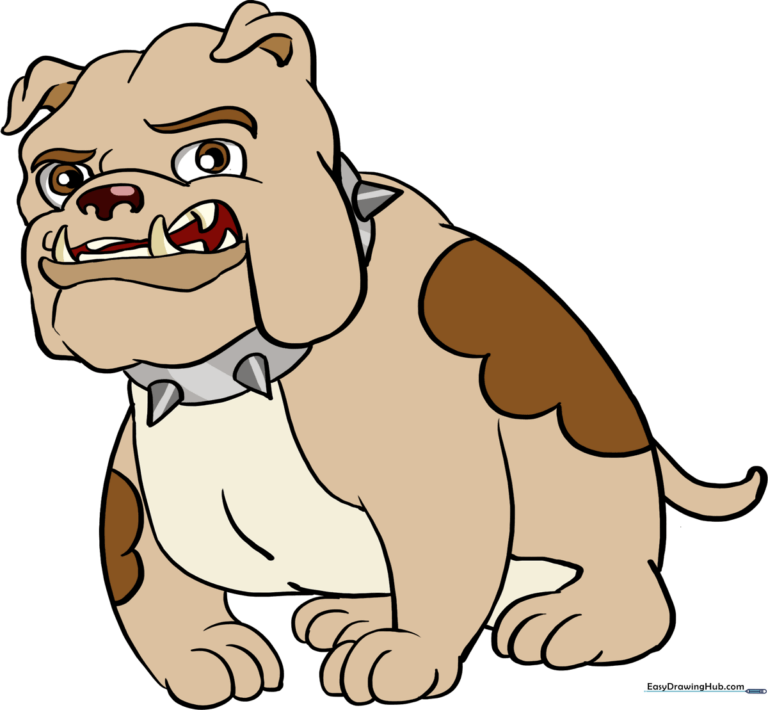
How to Draw a Bulldog: Easy 10-Step Guide for Kids
Bring a friendly bulldog to life with this simple, step-by-step drawing tutorial perfect for young artists ages 6 and up. All you need is a pencil, an eraser, and a piece of paper to start building your character. Follow along to develop your sketching confidence and learn how to capture the bulldog's iconic, sturdy build.
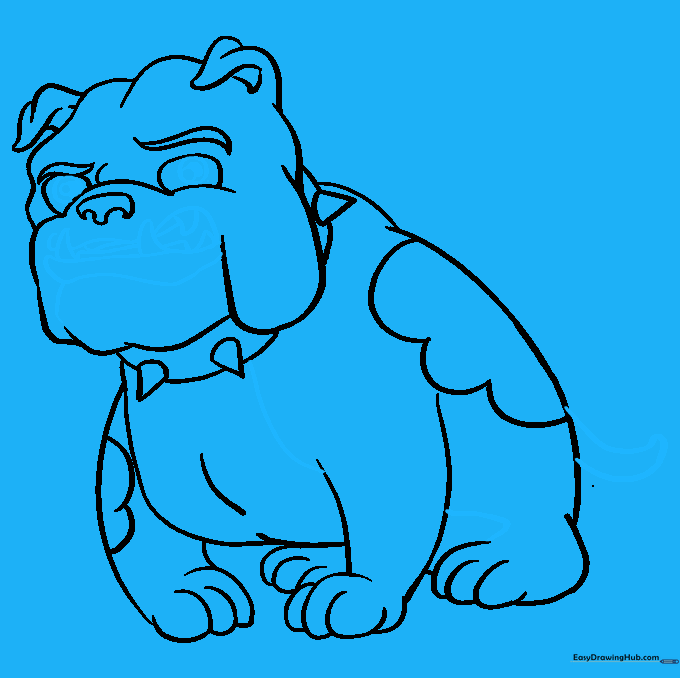
🎯 Final Result
Step-by-Step Instructions
Step 1: Sketching the Head
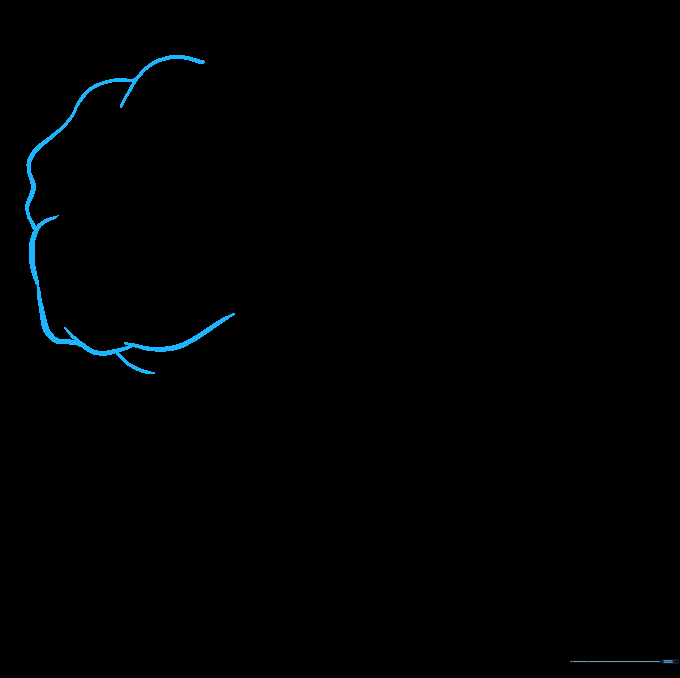
Start by sketching the bulldog's head using light, overlapping curved lines to form an irregular, lumpy circle. Teacher's Tip: Keep your pencil pressure very light here so you can easily erase any overlapping lines later.
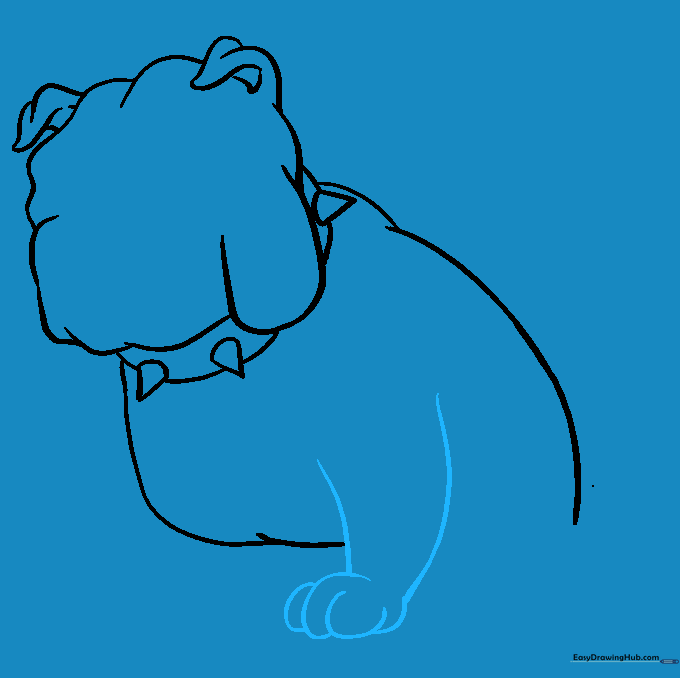
Step 2: Adding Ears and Jowls
Draw the rounded, triangular ears on top of the head. Then, add a large 'U' shaped line at the bottom of the face to create the bulldog's signature droopy jowl. Teacher's Tip: Bulldogs are known for their loose skin, so don't worry if your lines look a bit wavy!
Step 3: Drawing the Collar
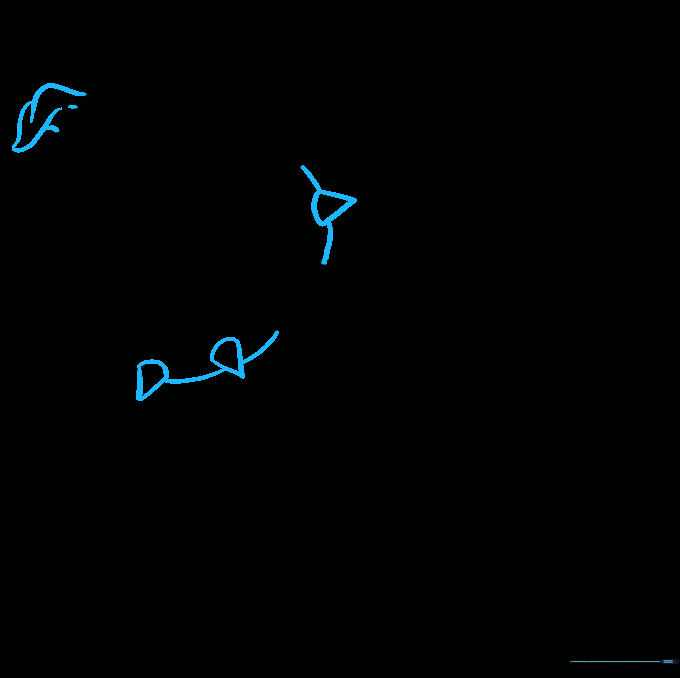
Sketch the second floppy ear and add a collar by drawing small triangles with rounded bases around the neck area. Connect them with curved lines. Teacher's Tip: Imagine the collar is sitting snugly against the neck; keep the triangles uniform in size.
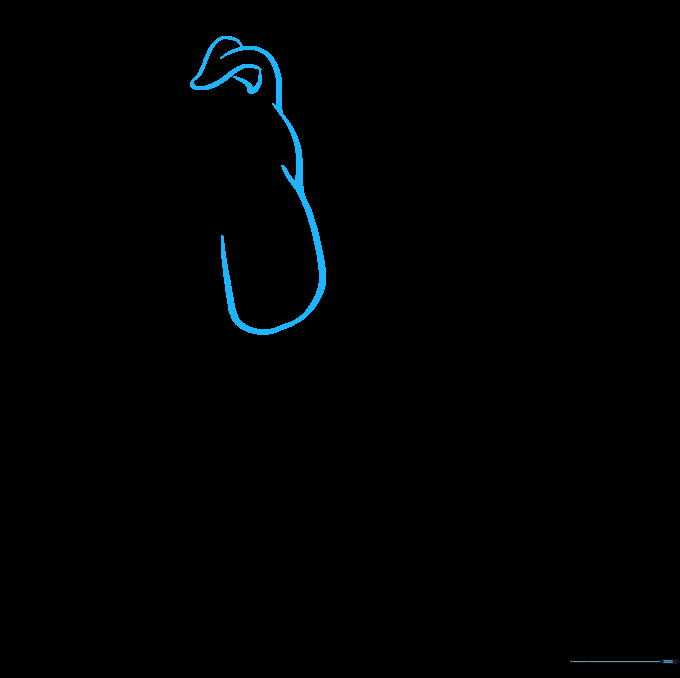
Step 4: Shaping the Body
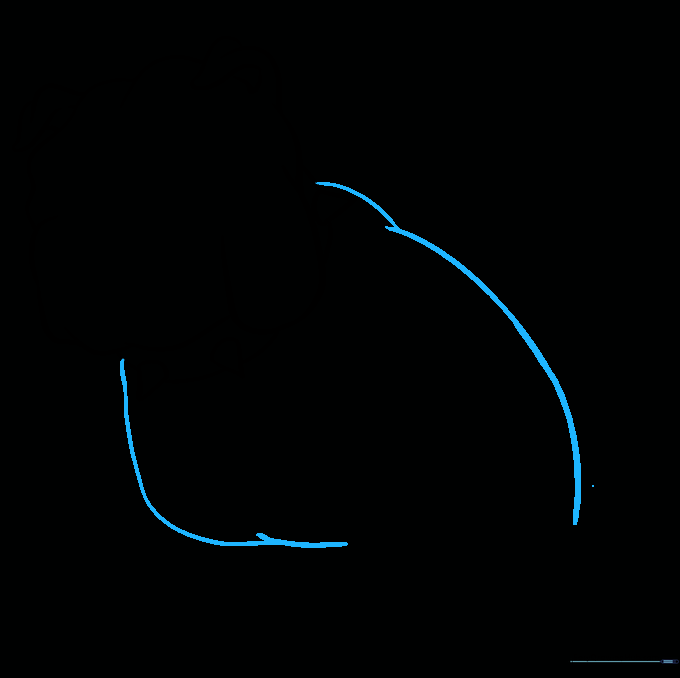
Use long, sweeping, overlapping curved lines to define the bulldog's back and chest. Teacher's Tip: Bulldogs have a broad, sturdy chest, so make these lines nice and wide to give him that strong look.
Step 5: Sketching the First Leg
Extend two curved lines downward to form the front leg, converging them at the paw. Use small 'U' shapes at the bottom to indicate the toes. Teacher's Tip: Keep the leg slightly thick to match the bulldog's muscular build.
Step 6: Adding the Remaining Legs
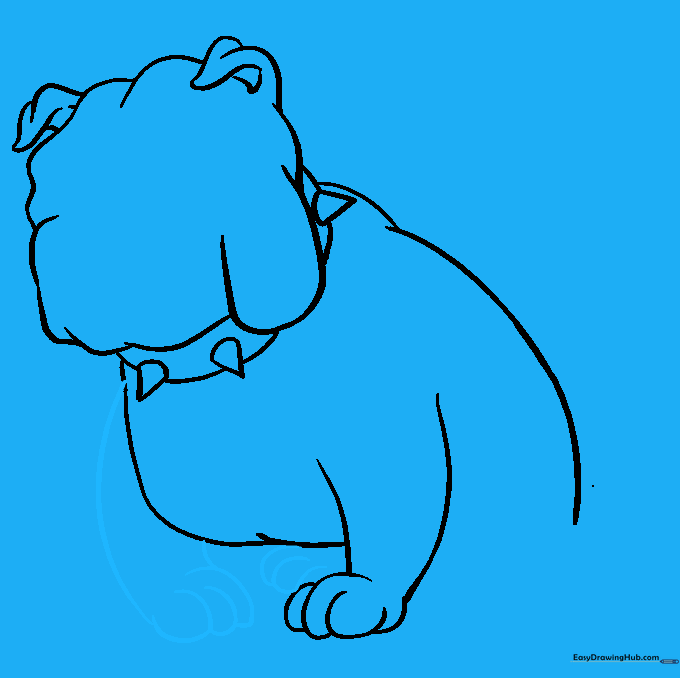
Draw the second front leg and the visible rear paw behind it. Use the same overlapping 'U' shapes for the toes. Teacher's Tip: Overlapping lines create depth, making your drawing look more 3D.
Step 7: Finalizing the Paws

Complete the final rear paw by adding the last set of 'U' shaped toes. Teacher's Tip: Ensure the paws look grounded so your bulldog doesn't look like he's floating!
Step 8: Adding Facial Features
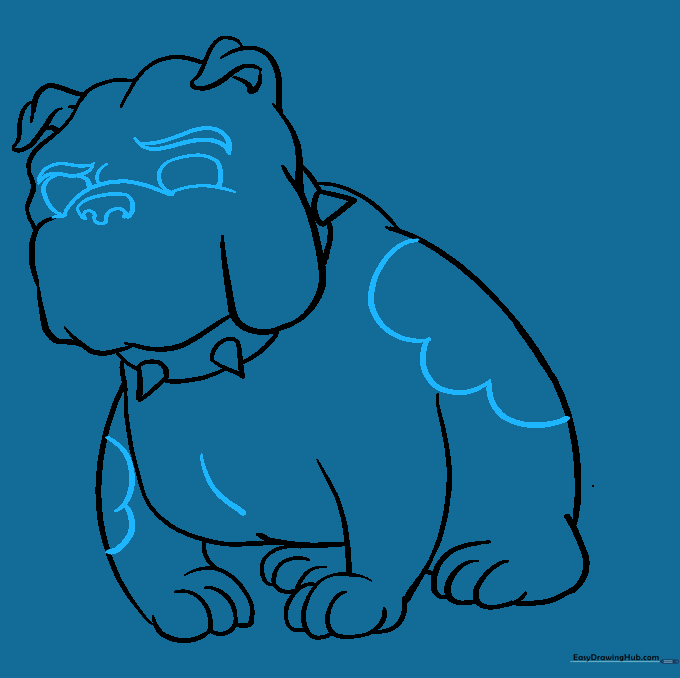
Add the eyes, nose, and snout details. Use large ovals for eyes and a 'U' shape for the nose. Add curved lines for the brow and snout. Teacher's Tip: The brow lines give the bulldog his classic, grumpy-but-cute expression.
Step 9: The Mouth and Teeth
Sketch the lower lip and an open mouth with small, curved triangles for teeth. Teacher's Tip: Keep the teeth small to maintain the bulldog's friendly, playful look.
Step 10: Color Your Bulldog
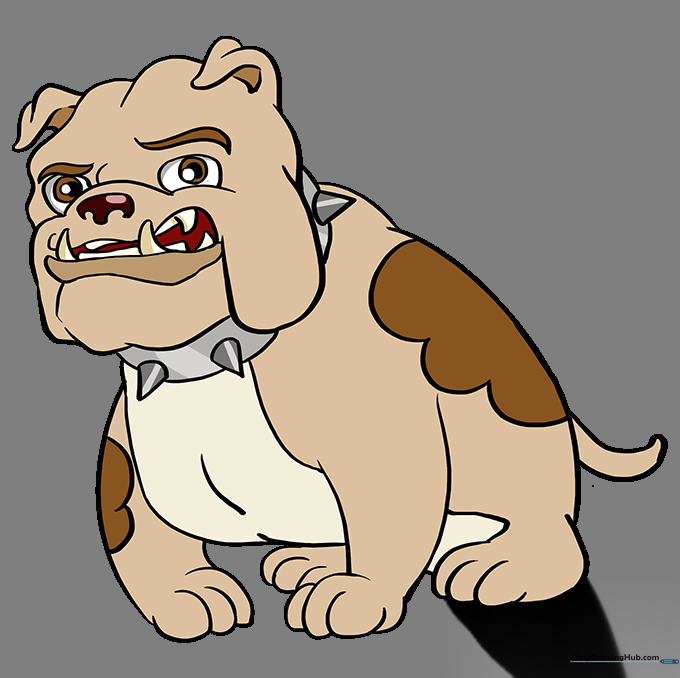
Bring your drawing to life with color! Use shades of tan, white, or reddish-brown. You can even add spots to give your bulldog personality. Teacher's Tip: Try using light brown for the base and darker brown for the spots to create a realistic brindle effect.
More Tutorials


