How to Draw a Bull: Easy 10-Step Guide for Kids
Ready to bring a mighty bull to life on paper? This tutorial is perfect for young artists ages 5 and up. All you need is a pencil, an eraser, and some paper to practice these simple, confidence-building shapes.
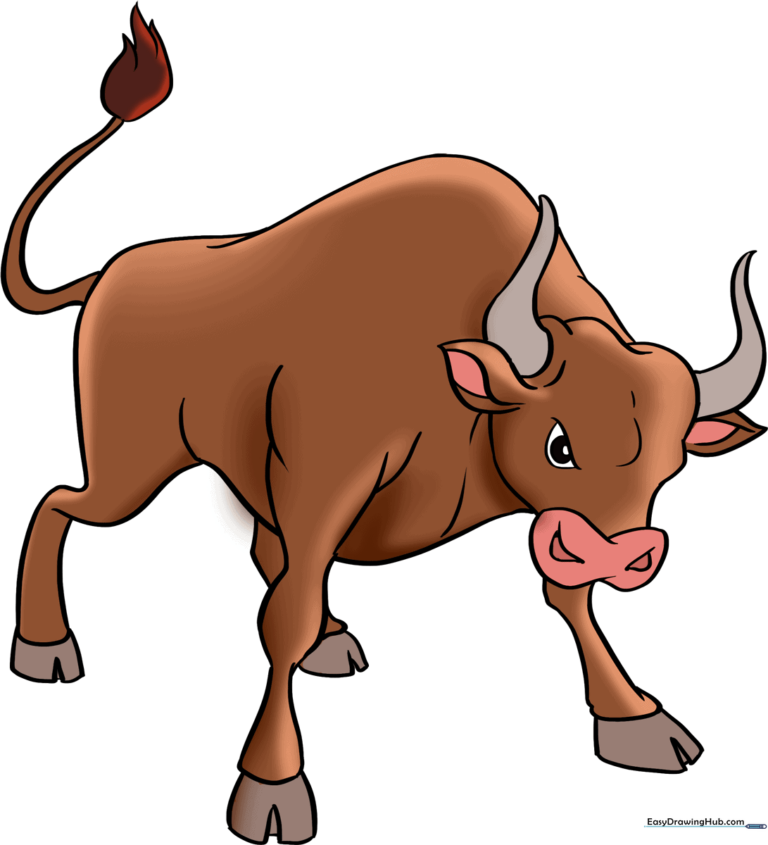
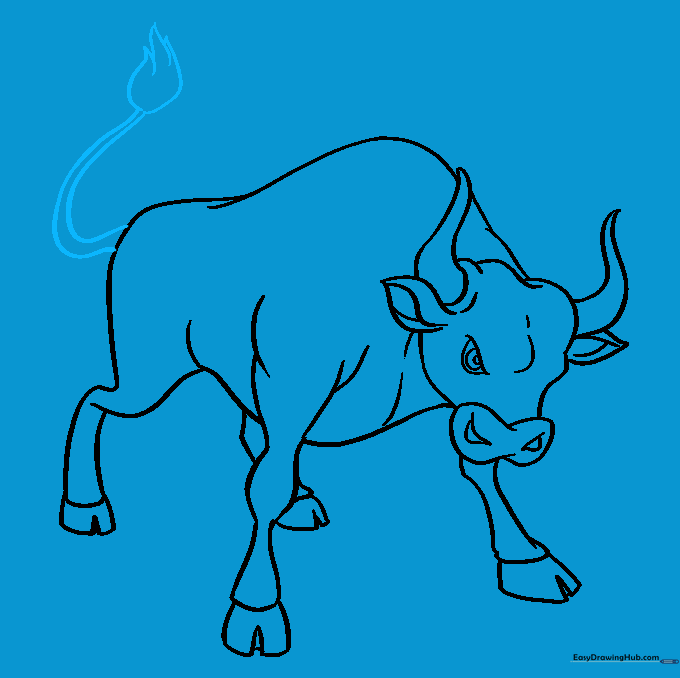
🎯 Final Result
Step-by-Step Instructions
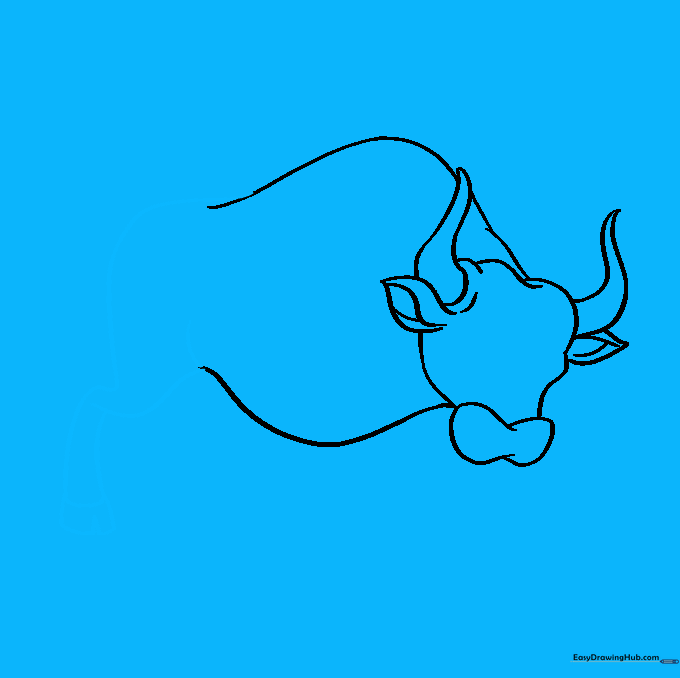
Step 1: Sketching the Head Shape

Start by sketching the bull's head using light, curved lines. Focus on the snout area and the eye socket. Teacher's Tip: Keep your pencil pressure light so you can easily adjust the shape later if needed.
Step 2: Adding Ears and Snout
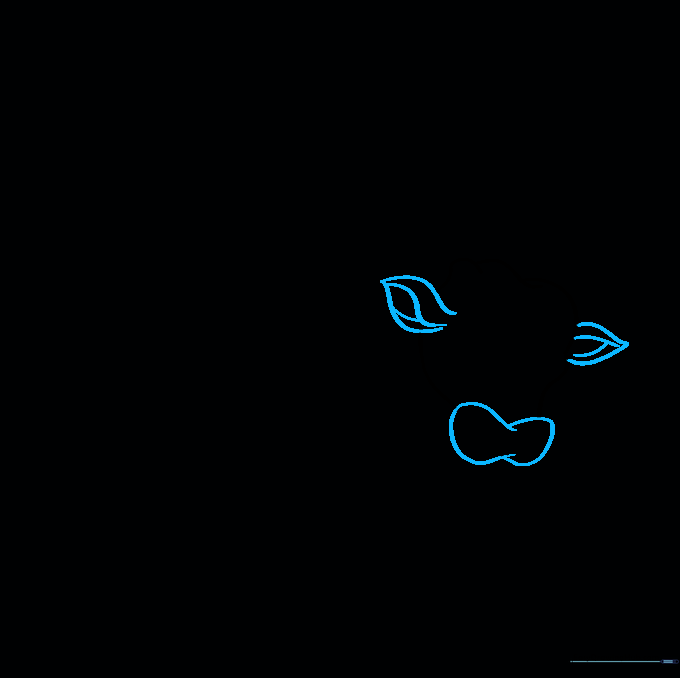
Draw two pointed ears on the sides of the head and a peanut-shaped nose at the end of the snout. Teacher's Tip: Use short, quick strokes to make the ears look perky and alert.
Step 3: Drawing the Horns
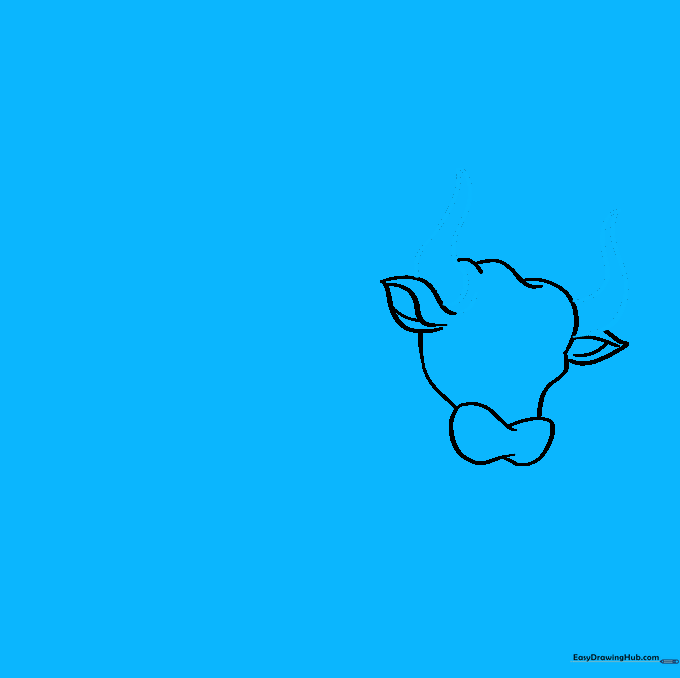
Add two curved, pointed horns on top of the head. Add a small line at the base of each to show where they attach. Teacher's Tip: Make the horns symmetrical to give your bull a balanced look.
Step 4: Outlining the Back and Torso
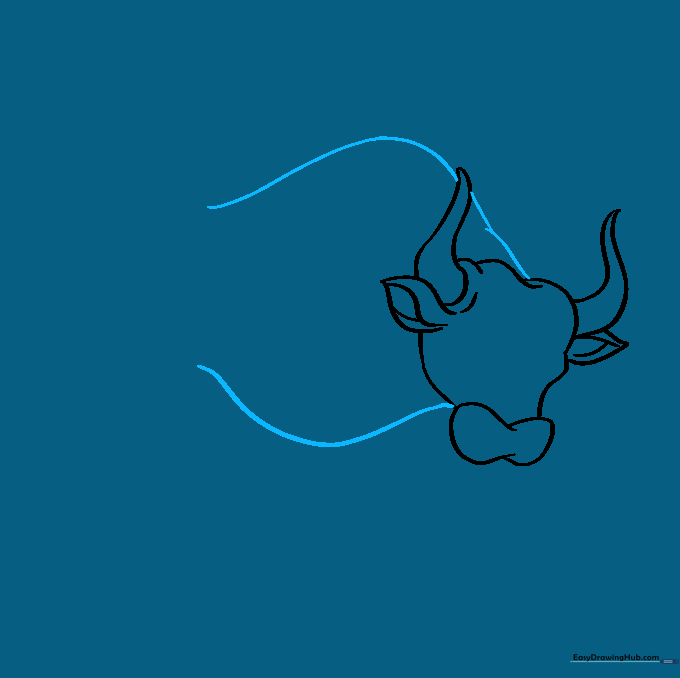
Use long, sweeping curved lines to connect the head to the body. Teacher's Tip: Imagine the bull is standing tall; use a smooth, continuous motion for the back line.
Step 5: Sketching the Hind Leg
Draw the back leg with a slight bend at the knee. Add a small triangle at the bottom to define the hoof. Teacher's Tip: The overlap of lines at the hip helps show the bull's muscle.
Step 6: Drawing the Front Leg
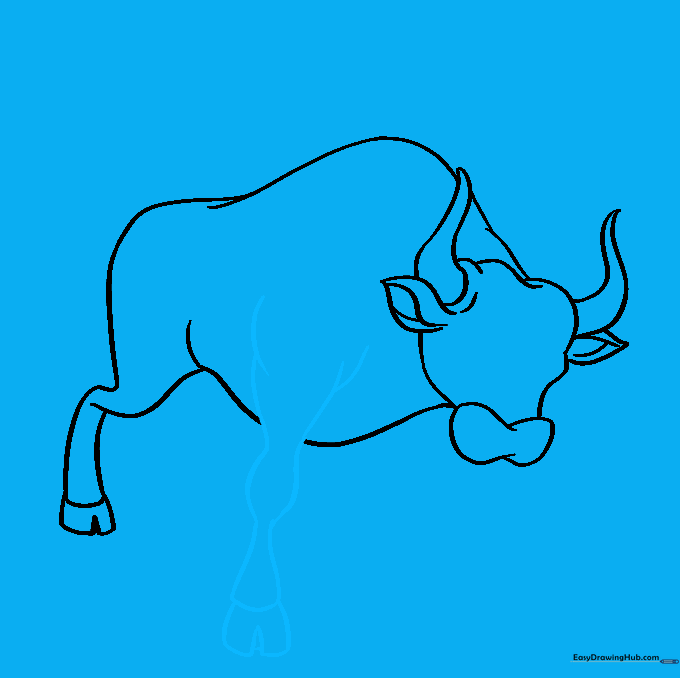
Sketch the front leg using overlapping lines to show the shoulder muscle. Add the hoof at the bottom. Teacher's Tip: Keep the front leg straight to show the bull is standing firmly.
Step 7: Adding the Far Legs
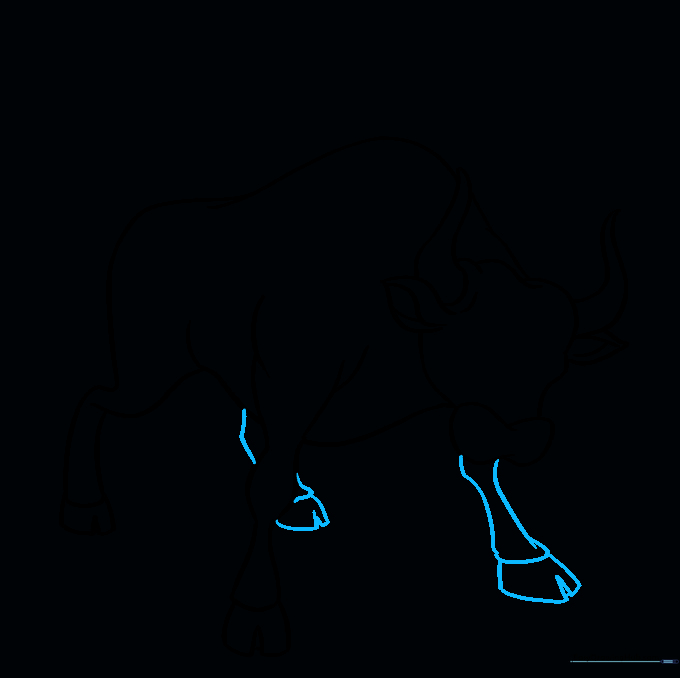
Draw the legs on the opposite side to give your bull depth. Teacher's Tip: Draw these slightly higher up on the body to create the illusion of perspective.
Step 8: Facial Details
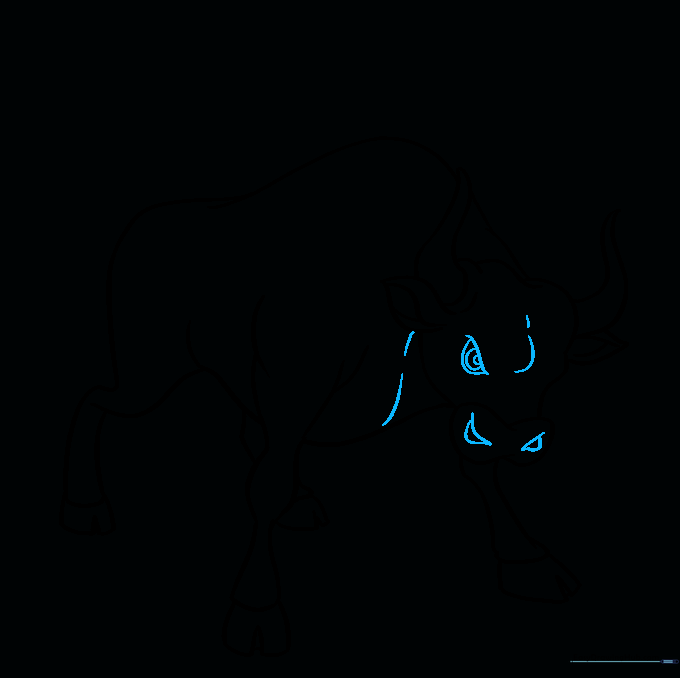
Add the nostrils, eye, and some chest details. Teacher's Tip: A simple circle-within-a-circle for the eye makes the bull look friendly rather than scary.
Step 9: The Tail
Draw the tail with a tuft of fur at the end. Teacher's Tip: Use jagged lines for the tuft to make it look like real hair.
Step 10: Coloring Time

Bring your bull to life with color! You can use brown, black, or even grey. Teacher's Tip: Try adding spots to make your bull unique.
More Tutorials


