How to Draw a Bull Head: Easy 10-Step Guide for Kids
Ready to bring a powerful bull to life on paper? This tutorial is perfect for young artists ages 6+ looking to master animal features. All you need is a pencil, an eraser, and some paper to start building your character's personality.
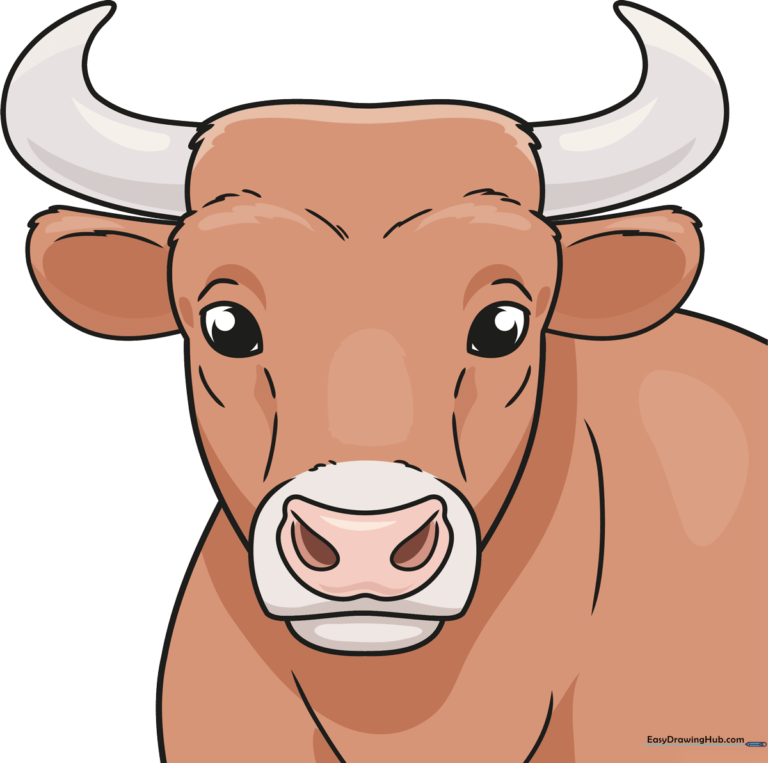
🎯 Final Result
Step-by-Step Instructions
Step 1: Sketching the Eyes
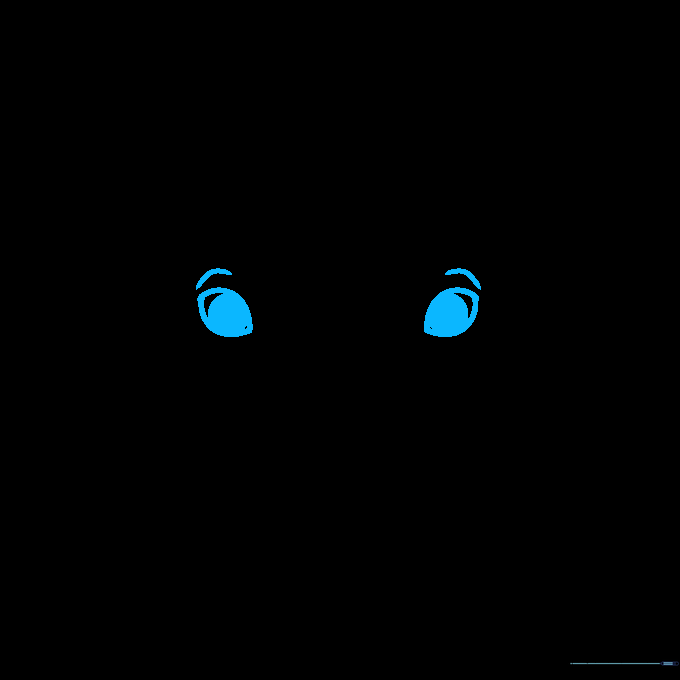
Draw two lemon-shaped outlines for the eyes, then add small circles inside for pupils. Tip: Keep the pupils centered to give your bull a friendly, focused look.
Step 2: Forming the Snout

Create a downward curve for the top of the nose, then add loops on either side. Tip: Think of this shape like a wide, soft 'U' to give the bull a sturdy muzzle.
Step 3: Defining the Nostrils

Add two long, teardrop shapes inside the snout for nostrils. Tip: Pointing them slightly inward makes the bull look more realistic.
Step 4: Shaping the Mouth
Draw a semi-oval under the nose to create the mouth. Tip: Keep this line light, as it's just a guide for the lower jaw.
Step 5: Adding Texture
Use short, uneven strokes around the eyes to suggest fur. Tip: Vary the length of your lines to make the fur look natural and fluffy.
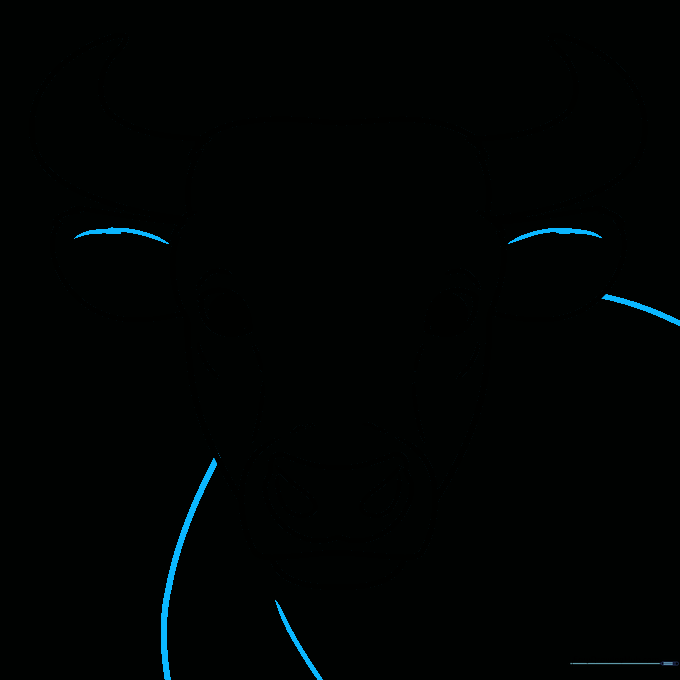
Step 6: Drawing the Horns

Sketch two wide, sweeping curves that taper to a point for the horns. Tip: Make sure they curve outward to give your bull a strong, majestic silhouette.
Step 7: Adding Ears
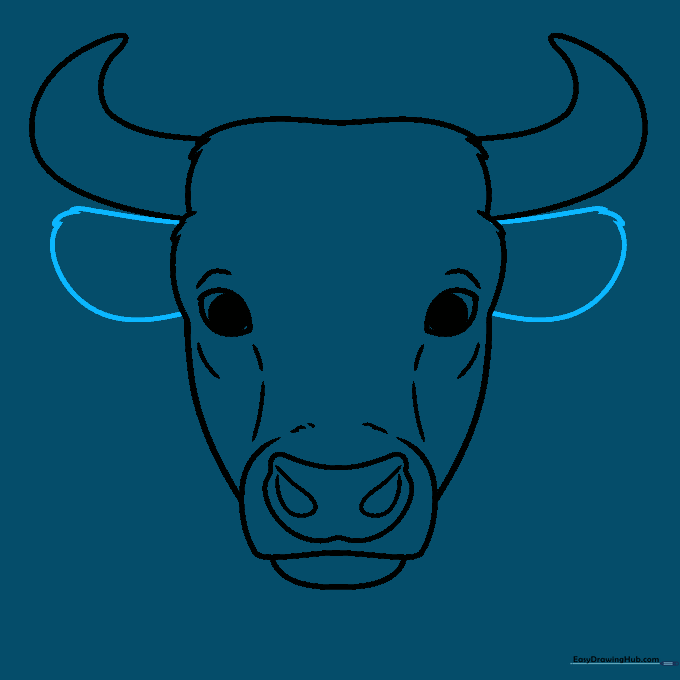
Draw the ears by starting with a flat line, then curving it down to attach to the head. Tip: Add a few jagged lines to the edges to show the texture of the ear.
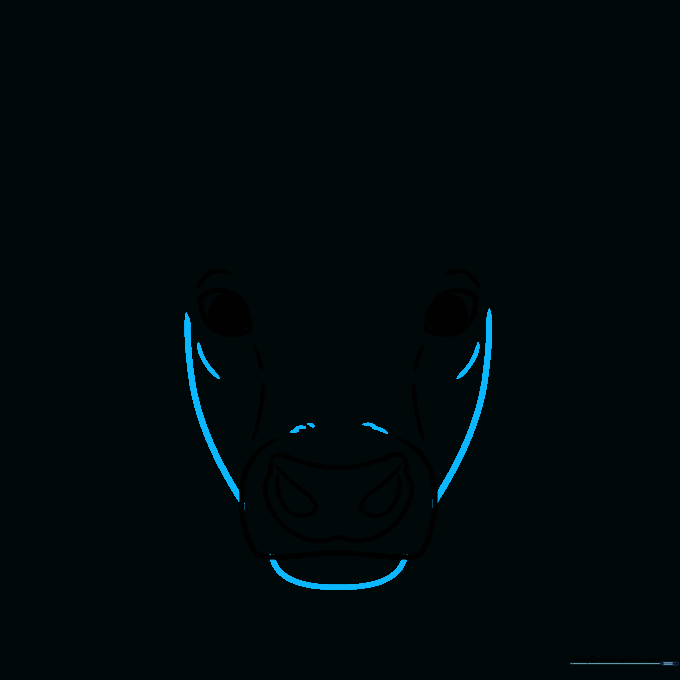
Step 8: Refining Details
Add sketchy lines inside the ears and define the jawline with curved strokes. Tip: These small details help define the bull's facial structure.
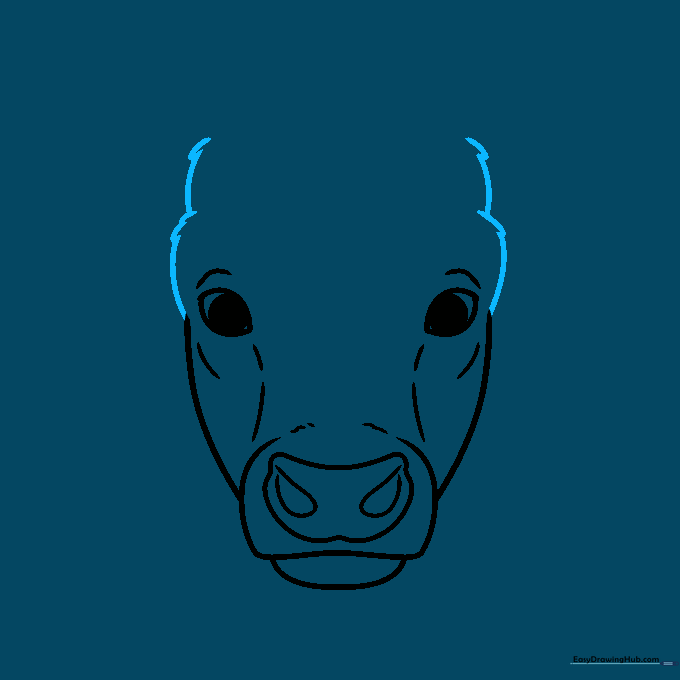
Step 9: Final Touches
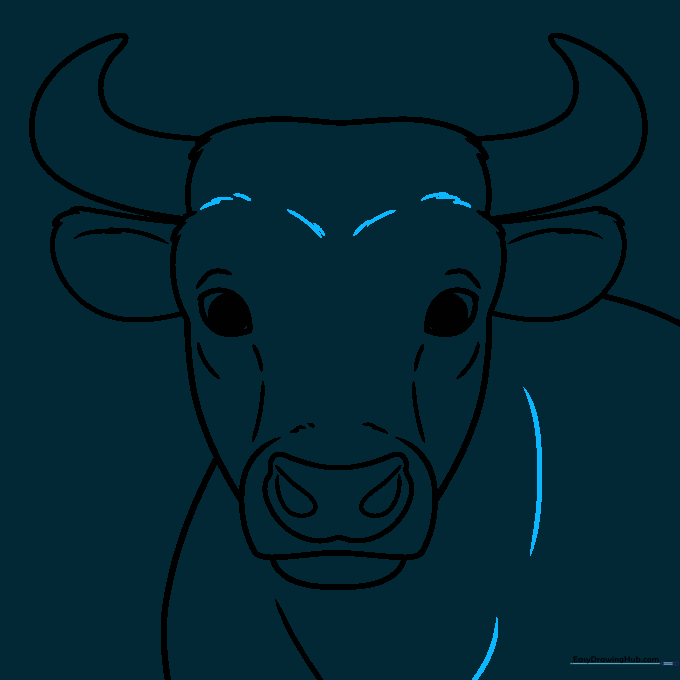
Add a few more curves to the face to emphasize the bull's features. Tip: Focus on the area around the chin to make it look solid and strong.
Step 10: Coloring Your Bull
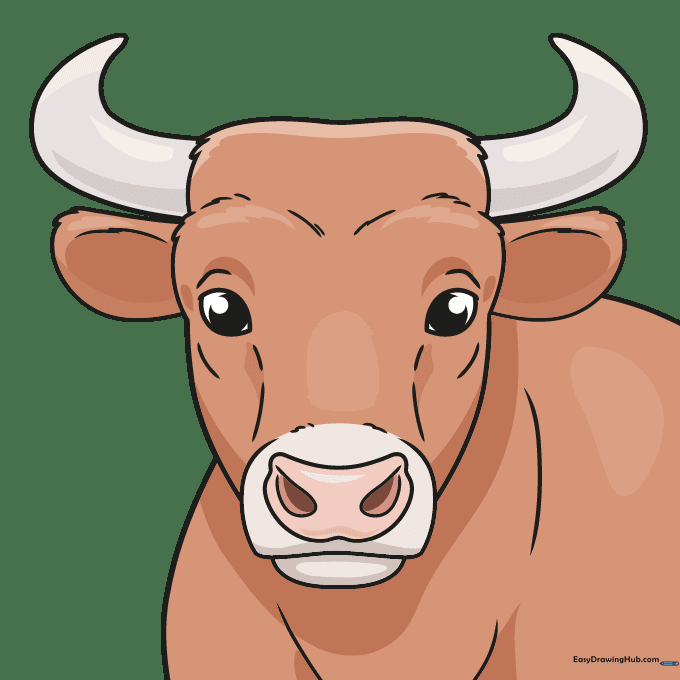
Outline your drawing with a black pen, erase the pencil lines, and color it in! Use reddish-brown for the fur, pale pink for the nose, and off-white for the horns. Tip: Use light pressure with your colored pencils to create smooth, even shading.
More Tutorials


